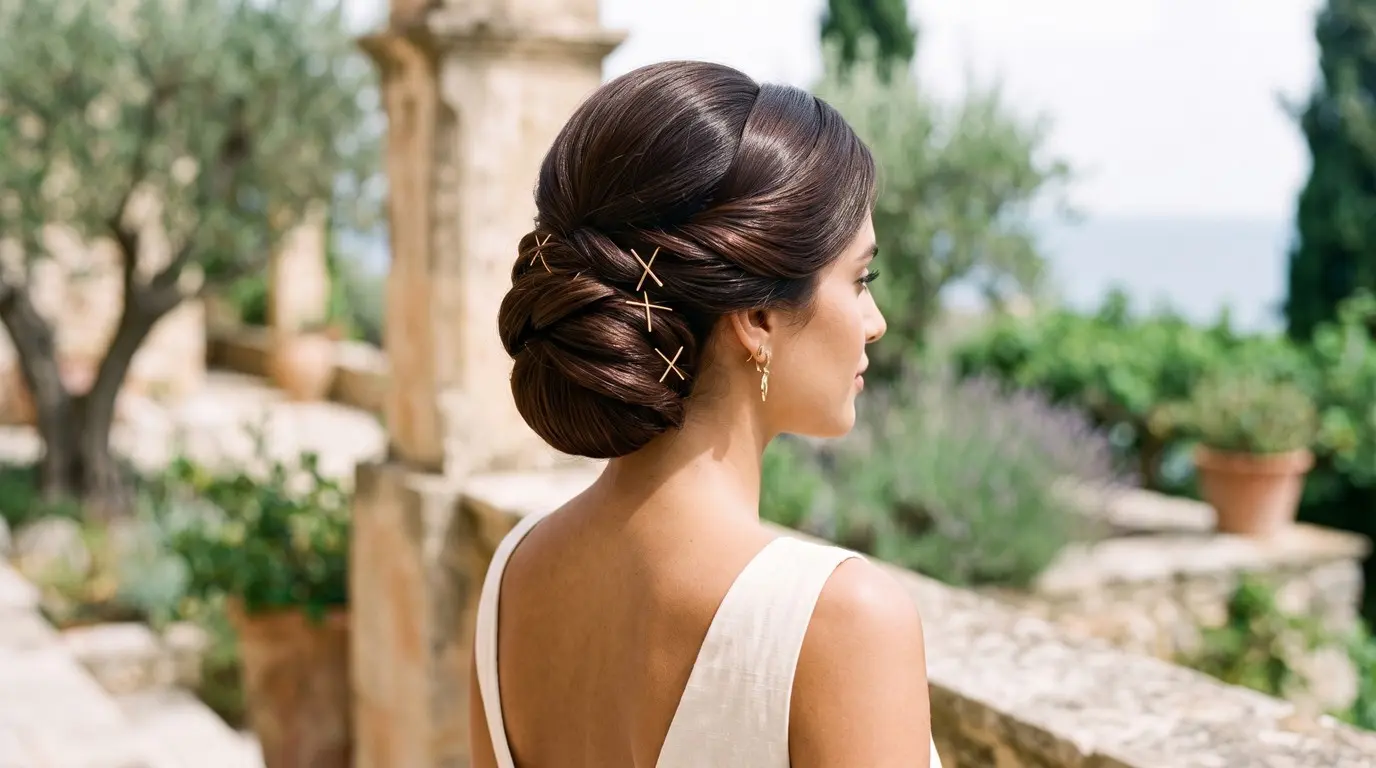
The fullest-looking ponytails for thin hair are the stacked double ponytail, the split-tie ponytail and the pancaked braid ponytail. Add waves before tying, tease the underside of the crown, and skip slicked-back gel finishes that flatten hair and expose the scalp.
A ponytail is the most honest hairstyle there is: gather thin hair into one elastic and it shows you exactly how much is there. That is why the fullest-looking ponytails for thin hair right now are built on technique rather than hair you do not have. Stylists and creators keep sharing the same handful of fixes because they work: how you wrap the tie, where you tease, and what you do to the lengths before you gather them.
Each of the 20 looks below comes with its own make-it-fuller move, from the single hair-tie trick and the stacked double ponytail to pancaked Dutch braids and a mini claw clip hidden at the crown. Each also carries a skip-this note, because some popular finishes, gel-slicked ponytails and tight elastics above all, flatten fine hair and show more scalp than they hide.
1. Split-Tie Mid-Height Ponytail

Hover on images and discover how pinning can transform your collection of favorites!
The quickest fix for a skinny tail, and it suits any length past the shoulders. Wrap your elastic as usual, stop before the last loop, split the ponytail in two and wrap that final loop around the bottom half only. The top layer falls over it, so the tail sits propped up and looks rounder. Skip pulling the elastic tighter to compensate; fine strands snap under tension. Redo it once at midday, since the propped section slides as the tie loosens.
2. Stacked Double Ponytail

Hover on images and discover how pinning can transform your collection of favorites!
Two small ponytails read as one long, full one, which makes this one of the strongest options for fine hair that is also low in density. Part the hair ear to ear, tie the top half at the crown and the bottom half directly beneath it, then layer and fan the two tails so they blend. Curl both for extra spread. Skip it on hair shorter than the collarbone, where the join shows. Check from the side in a mirror and re-fan after a windy commute.
3. Hidden Claw-Clip Crown Ponytail

Hover on images and discover how pinning can transform your collection of favorites!
A mini claw clip does the lifting a flat crown cannot. Tie a mid-height ponytail, lift the top section of the tail, and fasten the clip into the base underneath so it props the hair up and away from the head; let the top layer drop back over it. It flatters anyone whose ponytail hangs limp against the neck. Skip jumbo clips, which poke through fine hair. Choose a clip close to your hair color and reposition it if it starts to peek out.
4. Underside-Teased High Ponytail

Hover on images and discover how pinning can transform your collection of favorites!
Height at the crown tends to lengthen a round face, and teasing supplies it without product weight. Before tying, lift a section at the crown and brush the underside from mid-shaft up toward the scalp, two or three strokes, then smooth only the surface. Gather at the crown and tease the underside of the tail the same way. Skip teasing right at the ends, which are the oldest, most fragile part. To undo it, work a little conditioner through and detangle from the ends upward.
5. Wave-First Low Ponytail

Hover on images and discover how pinning can transform your collection of favorites!
Straight fine hair collapses into a narrow rope once tied; waved hair takes up more room. Curl the lengths in loose bends with a wand before you gather them, let them cool fully, then tie low at the nape and shake the tail out. It suits long, straight, slippery hair. Skip tight ringlets, which shrink the tail and look sparse. Waves often hold into a second day; revive them with a dry texture spray rather than re-curling.
6. Pancaked Dutch-Braid Crown Ponytail

Hover on images and discover how pinning can transform your collection of favorites!
A Dutch braid sits raised on top of the head, so it adds visible bulk where thin hair lies flattest. Braid a single Dutch braid from the hairline back to the crown, crossing strands under rather than over, then gather it with the rest into a high ponytail. Gently tug each loop outward to pancake it wider. Skip scalp-tight tension, which defeats the pancaking. It suits hair with some grip, so start on day-two hair or mist in texture spray first. It holds all day without touch-ups.
7. Braid-Wrapped Base Ponytail

Hover on images and discover how pinning can transform your collection of favorites!
Wrapping the base hides the elastic and thickens the point where a thin ponytail looks narrowest. Tie a mid-height ponytail, take a pencil-width strand from the underside, braid it, wind it around the elastic and pin the end underneath with a bobby pin. It suits medium-to-long hair with enough density to spare that strand. Skip a wide wrap section, which thins the tail you are trying to bulk up. Slide a second pin in crosswise if the braid loosens by afternoon.
8. Tugged Bubble Ponytail

Hover on images and discover how pinning can transform your collection of favorites!
Bubbles turn a thin tail into a row of rounded shapes, so the eye reads fullness instead of one narrow line. Tie a ponytail, add small elastics every two inches down the length, then pull each section outward into a puff. Tease the underside of each bubble for more hold. It suits long, layered fine hair, since the elastics catch shorter pieces. Skip rubber-band elastics that rip on removal; use coated mini ties. At night, slide each tie off slowly rather than yanking the stack down.
9. Half-Up Crown Ponytail

Hover on images and discover how pinning can transform your collection of favorites!
When there is not enough hair for a full ponytail to look substantial, tie only the top half. The lengths left down keep density around the shoulders while the small crown tail adds height. Section from the temples back, tease the underside lightly, and secure with a soft tie. It suits bobs, lobs and fine hair with face-framing layers. Skip a sharp, straight parting line that exposes scalp; zigzag it with a comb tail. It needs no touch-ups beyond a quick re-fluff.
10. Scaled-Scrunchie Low Ponytail

Hover on images and discover how pinning can transform your collection of favorites!
A scrunchie adds bulk at the base, but only if its size matches the tail. A jumbo scrunchie makes a slim ponytail look smaller by contrast, so pick a mid-size or skinny one roughly as wide as the gathered hair, in silk or satin so it holds without a hard crease. Tie low and loosen the crown with your fingertips. It suits fine, breakage-prone hair because fabric spreads the pressure. Skip thin rubber elastics here. Hand-wash the scrunchie when product builds up and it starts slipping.
11. Curtain-Bang Mid Ponytail

Hover on images and discover how pinning can transform your collection of favorites!
Fringe covers the hairline, the place where thin hair looks sparsest once it is pulled back. Ask your stylist for curtain bangs that hit the cheekbone, cut light and wispy so they do not rob the tail of density. Tie the rest at mid-height and leave the bangs out. Soft sweeping pieces tend to flatter square and heart-shaped faces. Skip heavy, blunt bangs, which take too much hair from the ponytail. Book a fringe trim every four to six weeks as the shape loses definition.
12. Side-Swept Wavy Ponytail

Hover on images and discover how pinning can transform your collection of favorites!
Draped over one shoulder, a ponytail shows its full width from the front instead of hiding behind the neck. Add loose waves first, gather the hair just behind one ear, and tie with a covered elastic using the split-tie trick. A deep side part tends to break up the length of a long face. Skip pulling the far side taut; leave it relaxed so the scalp is not exposed. Pin the far side behind the ear with one bobby pin and it stays put.
13. Pancaked Fishtail Ponytail

Hover on images and discover how pinning can transform your collection of favorites!
Braiding the tail itself turns a thin length into a flat, wide ribbon once it is loosened. Tie a low ponytail, fishtail it by crossing small pieces from each outer edge to the opposite side, secure the end, then pull the edges outward from bottom to top. It suits long fine hair with few layers, since short pieces pop out. Skip it on freshly washed, slippery hair without texture spray. The braid survives a full day and leaves soft waves when undone.
14. Rope-Twist Ponytail

Hover on images and discover how pinning can transform your collection of favorites!
A two-strand twist is the easiest braid substitute and it makes a thin tail look like a thick cord. Tie a high or mid ponytail, split it in two, twist each half clockwise, then wrap the halves around each other counterclockwise and secure the end. The opposing directions stop it unraveling. It suits straight or wavy fine hair of any density. Skip twisting so tightly that the tail narrows; loosen it with your fingers. Retwist the last few inches if it slackens.
15. Flipped-Through Low Ponytail

Hover on images and discover how pinning can transform your collection of favorites!
Flipping the tail through itself creates two rolled twists above the elastic that add shape at the nape and hide the tie. Tie a loose low ponytail, open a gap above the elastic with your fingers, push the tail up and through, and pull down gently. It suits shoulder-length to long fine hair and looks polished enough for work. Skip leaving the gap open, which shows a line of scalp; nudge the two rolls together with your fingers. It rarely needs redoing.
16. Blunt-Ended Low Ponytail

Hover on images and discover how pinning can transform your collection of favorites!
The ends decide whether a ponytail looks thick or stringy. Ask your stylist for a blunt, one-length perimeter with no thinning shears and only minimal long layers, so the tail finishes in a solid line rather than a wisp. Tie low with the split-tie trick. It suits fine, straight hair that looks see-through at the bottom. Skip heavy razored layers, which taper the tail. Trim every eight to ten weeks, because the blunt line loses its shape as the ends wear.
17. Clip-In Wrap Ponytail

Hover on images and discover how pinning can transform your collection of favorites!
When technique alone is not enough, a wrap-around ponytail piece adds the hair you do not have. Tie your own hair into a small, secure mid-height ponytail or bun, clip the piece over it and wind its strap around the base. Choose a lightweight piece matched to your color and close to your own length so it looks believable. Skip heavy, extra-long pieces, which drag on fine roots. Save it for occasions rather than daily wear, and brush the piece out after each use.
18. Double Dutch Braids into a Low Ponytail

Hover on images and discover how pinning can transform your collection of favorites!
Two raised braids along the sides cover the temples, where fine hair often looks sparse when pulled back. Part down the center, Dutch braid each side from the hairline to behind the ear, then join both braids and the loose back hair in one low ponytail. Pancake the braids gently. It suits active days and fine hair that slips out of plain ponytails. Skip braiding tightly at the hairline. It lasts through a workout; take it down before bed to give the hairline a rest.
19. Ribbon-Bow Low Ponytail

Hover on images and discover how pinning can transform your collection of favorites!
A bow puts visual weight exactly where a thin ponytail lacks it, at the base. Tie a low ponytail with a soft elastic, then knot a ribbon over it and shape a bow, leaving the ribbon tails to hang alongside the hair for extra apparent width. Scale matters: a medium-width ribbon balances a slim tail, while a giant bow overwhelms it. It suits fine hair of any length that reaches a tie. Skip stiff, heavy bows on clips that slide. Re-knot when it droops.
20. Soft-Brushed Glossy Ponytail

Hover on images and discover how pinning can transform your collection of favorites!
This is the thin-hair answer to the slick-back. Gel-slicked styles press hair flat to the head, so the scalp shows through at the part and hairline, and the tight elastic they rely on strains fine strands. Instead, smooth the surface with a boar-bristle brush and a pea-sized amount of light cream, keep a little lift at the crown, and tie at mid-height with a covered elastic. It suits anyone who wants polish. Skip wet-look gel. Rotate the ponytail’s position daily so tension never sits on one spot.
You Might Also Like
- volume-faking updos for thin hair
- featherlight layers for thin hair
- curtain bangs for thin hair
- how to get rid of fine hair frizz without weighing it down
- oversized bow hairstyle ideas
Thin hair does not need a different ponytail so much as a different order of operations: add texture or waves first, lift the crown second, tie last, and choose a tie scaled to the tail. Shapes that stack, braid or drape the hair make it look fuller; finishes that flatten it against the head do the opposite.
If you try only one thing tomorrow, make it the split-tie trick: stop before the final loop of your elastic, divide the ponytail in two and wrap that last loop around the bottom half only. It takes seconds, needs no product and props the tail up at once.
Frequently Asked Questions
What is the best ponytail for thin hair?
A stacked double ponytail gives the most visible fullness: tie the top half of the hair at the crown and the bottom half directly beneath, then fan the two tails together. For everyday speed, the split-tie ponytail and a wave-first low ponytail come close with less effort.
How do I make a thin ponytail look thicker?
Use the single hair-tie trick: wrap the elastic, stop before the last loop, split the ponytail in two and wrap that loop around the bottom section only, so the top layer falls over it. Then lift sections and brush the underside from mid-shaft toward the scalp, and add loose waves before tying so the tail takes up more space.
Are slick-back ponytails bad for thin hair?
They are harder on it than softer styles. Slicking presses hair flat against the head, which exposes the scalp at the part and hairline, and the tight elastic needed to hold the look puts constant tension on fine strands that break easily. Repeated tight styling is also linked to traction hair loss along the hairline, so keep slick styles occasional and loosen the tie.
Does curling thin hair before a ponytail damage it?
Very little, if the heat is controlled. Apply a heat protectant first and keep a curling iron or wand at about 150C/300F for fine or bleached hair; 180-200C/355-390F is for coarse strands only. Irons go on completely dry hair, never damp. A blow-dryer is the exception, since it is designed to be used on damp hair.
What kind of hair tie is best for a thin ponytail?
Choose a soft, fabric-covered tie or a silk or satin scrunchie sized to the tail: roughly as wide as the gathered hair. An oversized scrunchie makes a slim ponytail look smaller by contrast, while thin rubber elastics concentrate pressure and snag fine strands. Spiral coil ties are a gentle option for workouts.
Sources
- Single hair-tie trick: wrap the elastic, stop before the last loop, split the pony in two, and wrap the last loop around only the bottom section so the top layer falls over it. theskinnyconfidential.com