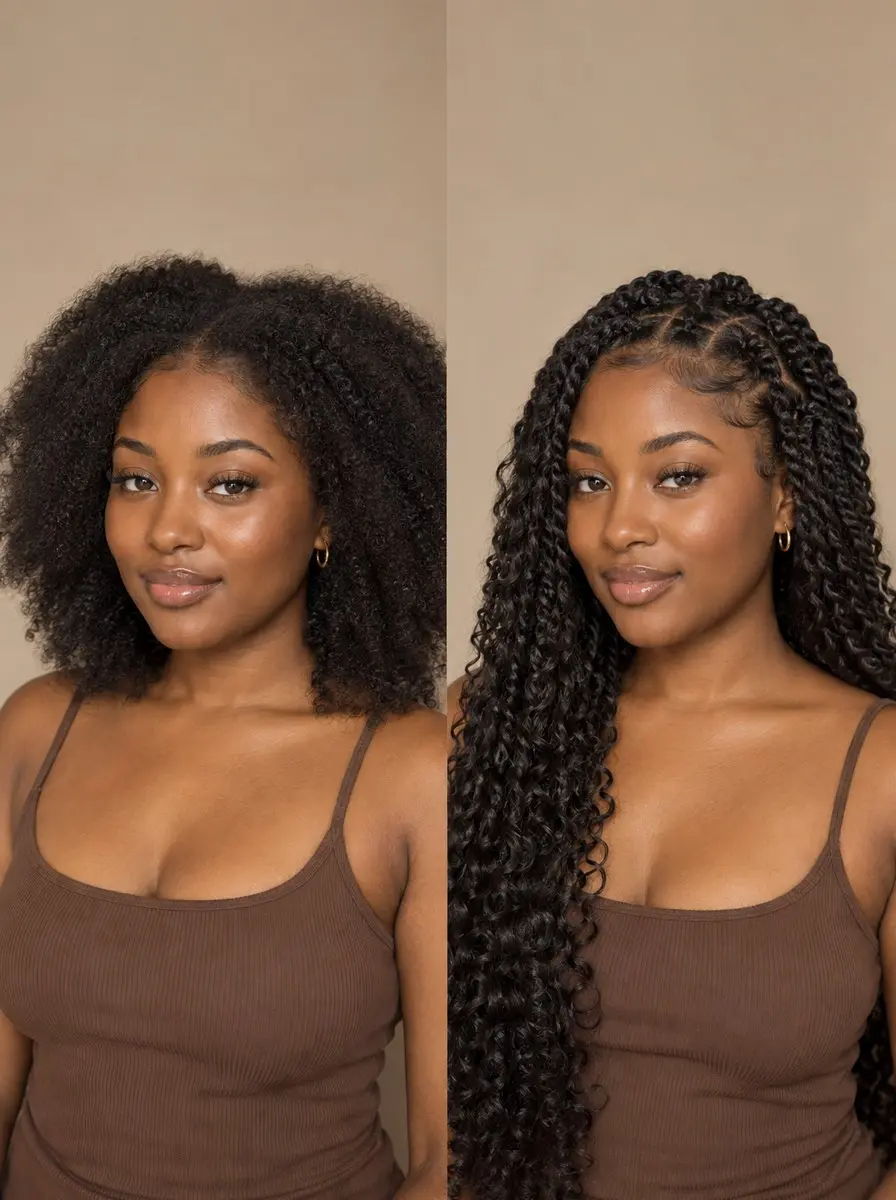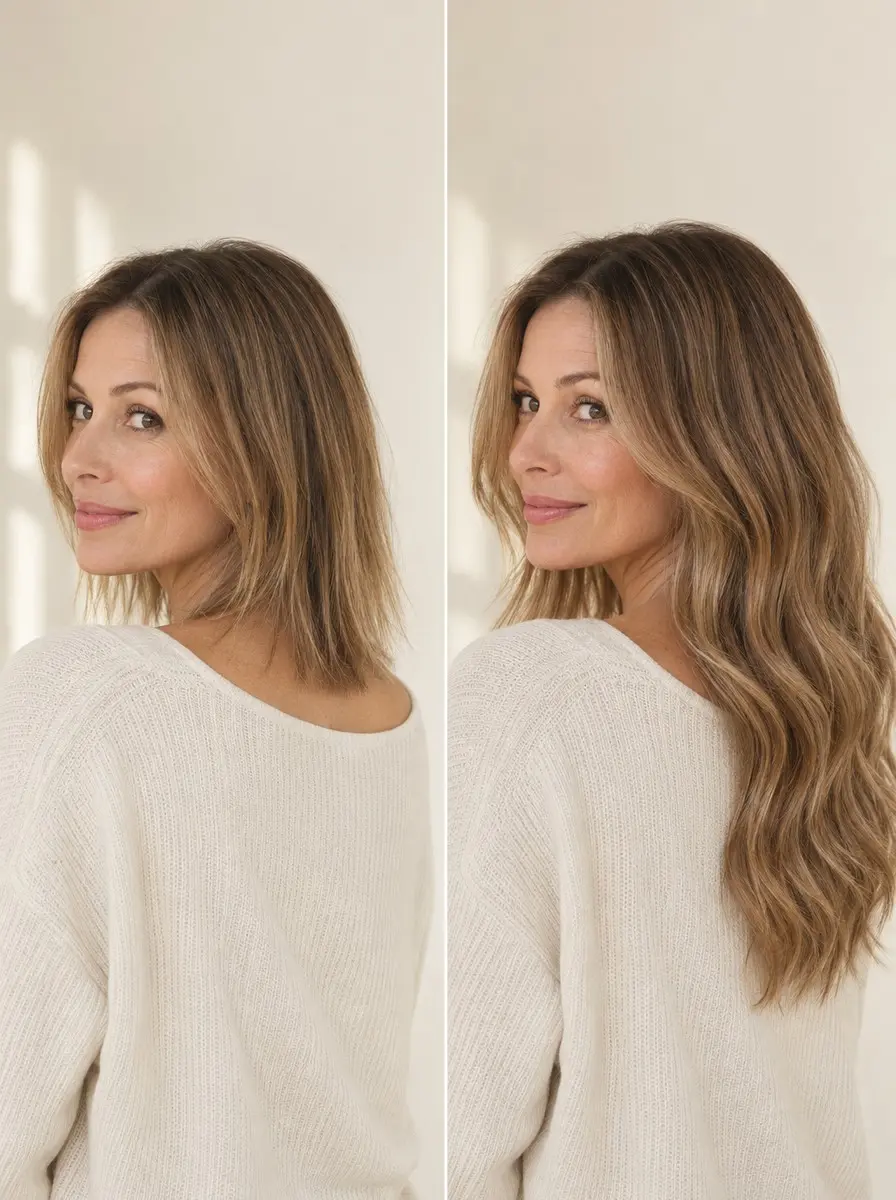
Quick answer To put in halo hair extensions, adjust the wire to your head, part off the top of your hair 1-3 inches behind the hairline, seat the wire flat in that part with the weft below your crown, drop your top layer over it, then curl both together to blend.
Fine hair is often less short of length than short of body. It lies flat through the lengths, the ends look see-through, and adding volume at the roots doesn’t make it look like there’s more hair. Halo hair extensions change that in minutes. A halo is a single weft on a clear, adjustable wire. The wire sits roughly 1-3 inches behind your hairline under your top layer, and it needs no tape or glue.
Getting the fit right is the hard part. Too much weight, or a wire set too loose or too tight, is what makes a halo slip, give you a headache or look like a helmet.
This guide covers choosing a weight for fine hair, fitting the wire before your first wear, hiding it at the temples and nape, and blending it with curls and a face-framing cut, so the extra fullness just looks like your own hair.
Time 20-30 minutesDifficulty BeginnerSteps 9
Halo vs Clip-Ins vs Tape-Ins vs Topper
| Option | Attaches with | Best for | Wear |
|---|---|---|---|
| Halo | Invisible wire, no tape or glue | Fine hair: length and fullness | Daily, off at night |
| Clip-ins | Several clipped wefts | Most volume, ponytails, updos | Daily, off at night |
| Tape-ins | Adhesive wefts, stylist-applied | No daily on and off | Weeks, then a salon move-up |
| Topper | Clips at the crown or part | A see-through part or crown | Daily, off at night |
What You’ll Need
As an Amazon Associate, HairAide earns from qualifying purchases. Product links in this guide are affiliate links: they cost you nothing extra and help keep these tutorials free.
- Halo hair extension The piece itself: a light human-hair set won’t show through fine hair and can be curled to blend.
- Loop brush Detangles the halo from the ends up before each wear, after curling and before storage without snagging the weft.
- Texturizing spray Optional: gives freshly washed, silky roots enough grip along the part that the wire stays put.
- Tail comb Draws the clean ear-to-ear part, lifts out hair trapped under the wire, and backcombs the part line when the halo slips.
- Sectioning clips Hold the front section forward while you seat the wire, so the part stays clean.
- Heat protectant spray Misted over your hair and the halo before curling, so both handle the heat better.
- Curling iron or wand Curls your hair and the halo together so the line where your own ends stop disappears.
- Sulfate-free shampoo and conditioner Washes the halo gently when it feels coated with product, without stripping the hair.
Step-by-Step
Step 1 Decide a halo suits your goal
A halo hangs from an invisible wire with no tape or glue and no row of clips gripping your roots. It adds length and fullness through the back and sides, which makes it the gentlest choice for fine hair. Clip-ins use several clipped wefts and give the most volume, plus better coverage for ponytails and updos, where a halo’s wire tends to show.
Tape-ins are adhesive wefts a stylist applies, a good fit if you’d rather not put extensions on and take them off every day; you wear them for weeks at a time, then go back to the salon for a move-up.
If your real worry is a see-through part or a thin crown, choose a topper that clips at the crown or part, because a halo sits under your top layer and can’t cover that area. Halos, clip-ins and toppers all come off at night, and you can wear a topper and a halo together if you need both.
Step 2 Choose weight, length and shade
On fine hair, weight matters more than length. One halo guide advises roughly 80-120 g for fine or thin hair, because a heavier set shows through and gives the bulky, helmet-like look, while thicker, denser hair can carry a fuller set (check the brand’s own weight chart).
Pick a length that adds a few inches past your own ends rather than a dramatic jump, because the bigger the jump, the more obvious the line where your hair stops. Match the shade to your mid-lengths and ends in daylight, not your roots.
If you’re going gray, match the lengths at the back where the halo actually sits and leave your own silver at the part on top, or choose a multi-tonal shade if your lengths are mixed. Match texture too, straight to straight or wavy to wavy, and buy human hair if you plan to curl it, because synthetic fiber can’t take a hot tool unless it is labeled heat-friendly.
Step 3 Fit the wire before first wear
Adjust the wire to your head before you style with it. If the wire is too long, the halo sits too low and slips; if it’s too short, the halo perches too high and presses. Put the halo on over loose, dry hair like a headband.
The front of the wire should sit about 1-3 inches behind your hairline, with the weft lying across the back just below your crown.
Lengthen or shorten the wire in small steps using the adjuster your halo has, which may be a sliding bead, loop or clip depending on the brand, so follow its insert. It fits when you can shake your head and bend forward without it moving, and you feel no pressure point after ten minutes of wear.
Step 4 Prep and part off the top
Start with fully dry, styled hair. Freshly washed, silky hair gives the wire nothing to grip, so day-two hair or a mist of texturizing spray at the roots where the wire will sit helps it stay put.
Brush the halo from the ends up with a loop brush so the weft lies flat and tangle-free. With a tail comb, draw a part from just above one ear, over the top of your head, to just above the other, about 1-3 inches behind your front hairline.
Clip the hair in front of the part forward with sectioning clips. This clean channel lets the wire sit flat against your scalp instead of on top of your hair, and it’s ready when the part is straight and the hair behind it is smooth.
Step 5 Seat the wire in the part
Hold the halo by the weft, set the wire into your part like a headband, and lower the weft so it lies across the back of your head just below your crown.
Check that the wire lies flat on your scalp down both sides, sitting in the part rather than on top of hair, and that the weft is level, centered and untwisted. Check the back with your phone’s camera: the weft should sit well above your nape hairline, so your crown hair falls over it and your nape hair hangs below it.
A wire seated flat in a channel is what disappears later, while one resting on top of hair leaves a ridge you can see and feel.
Step 6 Drop the top and hide the wire
Unclip the front section and comb it back over the wire. Then use the tip of the tail comb to lift out any of your own hair caught under the wire or weft so it lies on top.
Fine hair at the temples hides the wire least, so draw a thin layer of hair from in front of the wire back over it there, or leave a few face-framing pieces loose to fall across it.
At the nape, tip your head forward and check the back on your phone’s camera; if the weft peeks out underneath, it has dropped too low, so shorten the wire a step. You’re done when you can run your fingers from crown to ends without feeling a ridge and nothing glints at the temples under overhead light.
Step 7 Curl your hair and the halo together
Your own hair and a halo rarely have the same texture straight out of the packet, and curling them together breaks up the line where your ends stop and the extension carries on. Mist a heat protectant over both.
Then take 1-2 inch sections that mix your hair with halo hair and wrap them around a 1 to 1.25-inch curling iron or wand, alternating the direction of each section so the waves don’t stack into one block.
Curl the front pieces away from your face and let every section cool completely before touching it, because a curl that cools in shape holds longer. Brush through with your fingers or the loop brush to soften the curls into waves; it’s blended when you can’t find where your hair ends from any angle.
Step 8 Book a blending cut for the front
A new halo has thick, evenly cut ends, while your own front pieces are usually the finest hair on your head. That contrast between a full back and a wispy front is what gives extensions away.
Wear the halo to a stylist, placed as usual, and ask them to soften its ends into your length with point-cutting and to add or refresh face-framing layers so the front moves like the back.
Don’t cut the halo yourself the first time: extension hair never grows back, so one blunt snip is permanent. The cut is right when, from the front, your face-framing layers and the halo read as one haircut rather than two lengths.
Step 9 Fix slipping, show-through and tension
If the halo slips, shorten the wire a step, mist texturizing spray along the part, and lightly backcomb the roots along the part line with your tail comb so the wire sits in a small cushion of grip. If you can see a wire line, the wire is usually too far forward or sitting on top of hair.
Move it back within the 1-3 inch range, re-seat it flat in a clean part and pull more hair over it at the temples.
If your head aches or feels tight, the wire is too short or the set too heavy, so lengthen it a step; if the pressure or a helmet-like bulk persists, switch to a lighter-density set, which is the usual advice for thin hair. Take it off for a break whenever you feel pressure, because a good fit is one you forget you’re wearing.
Common Mistakes to Avoid
- Buying the fullest, heaviest set for fine hair, which shows through and gives a bulky, helmet-like look
- Wearing the halo straight out of the packet without fitting the wire, so it sits too high or too low, slips or presses
- Laying the wire over your hair instead of seating it flat in a clean part, which leaves a ridge you can see and feel
- Matching the shade to your roots or the silver at your part instead of your mid-lengths and ends
- Sleeping in the halo, which bends the wire out of fit and mats the weft
- Trimming the halo yourself before a stylist has cut it on your head; extension hair never grows back
Pro tip On fine hair, a halo most often shows where your part crosses the wire. Soften the back inch of your part into a loose zigzag with the tail comb so hair falls across that spot instead of opening a gap.
The Bottom Line
Once the wire is fitted and you know where it sits, a halo becomes a quick morning routine: section, seat, drop, curl. Take it off every night, brush it out and store it flat so the wire keeps its shape. Wash it only when it feels coated with product.
Your own face-framing layers lose their shape as they grow out, so book a quick blending trim when the front stops lining up with the halo. See a stylist rather than troubleshooting at home if you want a custom color match or the halo dyed. See a dermatologist if your hair is noticeably thinning, or if your scalp still feels tender after you loosen the wire.
Frequently Asked Questions
Do halo hair extensions damage fine hair?
A halo is one of the gentlest extension options, because it uses no tape or glue and doesn't grip your roots with rows of clips, so it puts little stress on your strands. Problems usually come from setup: a wire fitted too tight can cause headaches, and a set that's too heavy pulls and shows. Choose a lighter-density set and fit the wire so it feels comfortable.
Can you sleep in halo hair extensions?
No. Take a halo off every night. Lying on the wire can bend it and change its fit, and the weft tangles and mats against the pillow. Brush it out from the ends up with a loop brush and store it flat in its packaging or a drawer, so the wire keeps its shape and the halo is ready for the morning.
How often should you wash a halo extension?
Wash it only when it feels coated, stiff or dull from product, not on your own hair's schedule, because a halo gets no oil from your scalp. Detangle it with a loop brush, wash gently with a sulfate-free shampoo, and condition the mid-lengths and ends while keeping conditioner off the weft. Gently squeeze out the water and let it air-dry flat; never wear or store it wet.
Can you curl or heat-style halo hair extensions?
Yes, if the halo is human hair or synthetic labeled heat-friendly; regular synthetic can melt. Mist a heat protectant over your hair and the halo, and curl only completely dry hair, because an iron on wet hair is the one genuinely damaging mistake. Keep the iron near 300°F (150°C) for fine or bleached hair and the halo itself, and no higher than 355-390°F (180-200°C) for coarse hair.
How long does a halo extension last?
With gentle care, a human-hair halo worn a few days a week can last many months, while synthetic halos wear out sooner. How long it lasts depends mostly on how often you heat-style and wash it. Replace it when the ends stay dry and tangled even after conditioning, or when shedding at the weft has left it visibly thinner.
Keep Reading
Sources
- How do i apply halo extensions luxyhair.com
- Halo hair extensions guide perfectlocks.com
- How to put in halo extensions laurenmariehair.squarespace.com
- Natural extensions for thin hair purewow.com