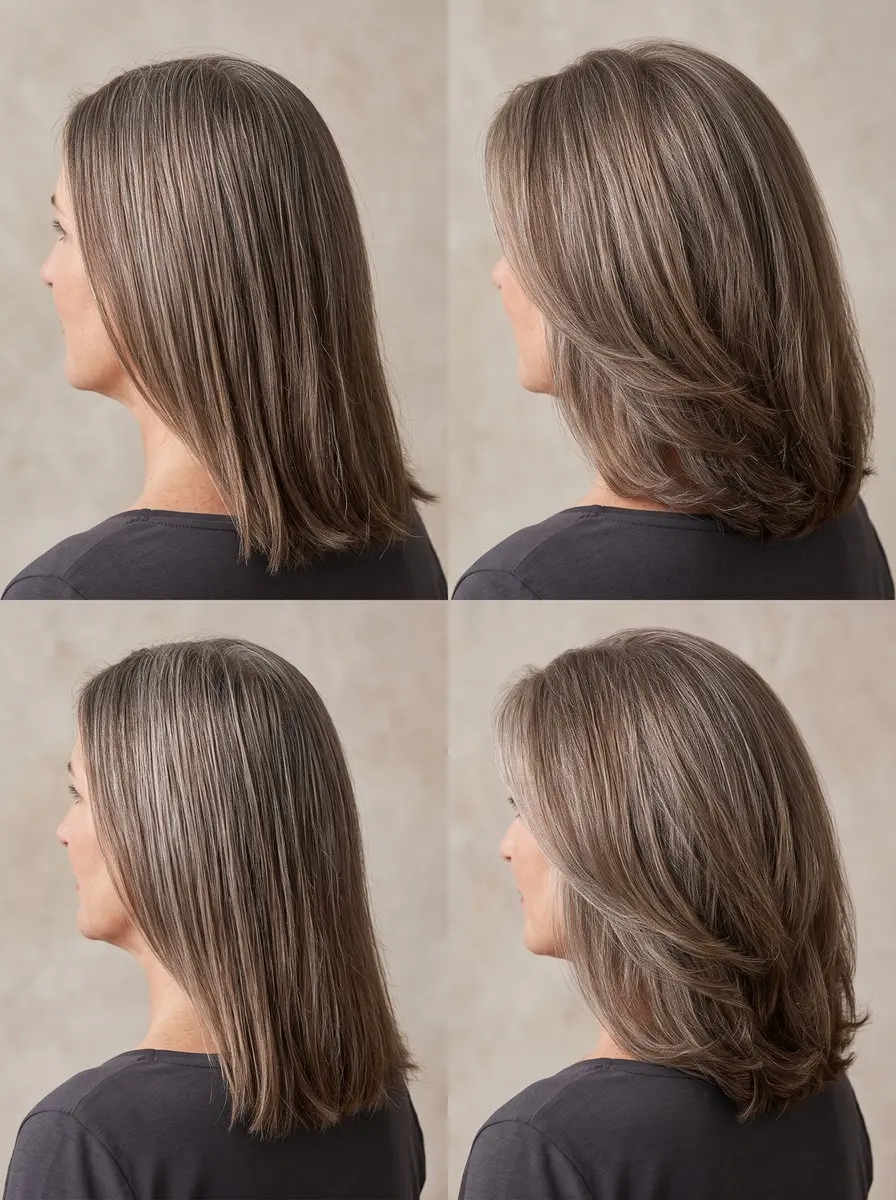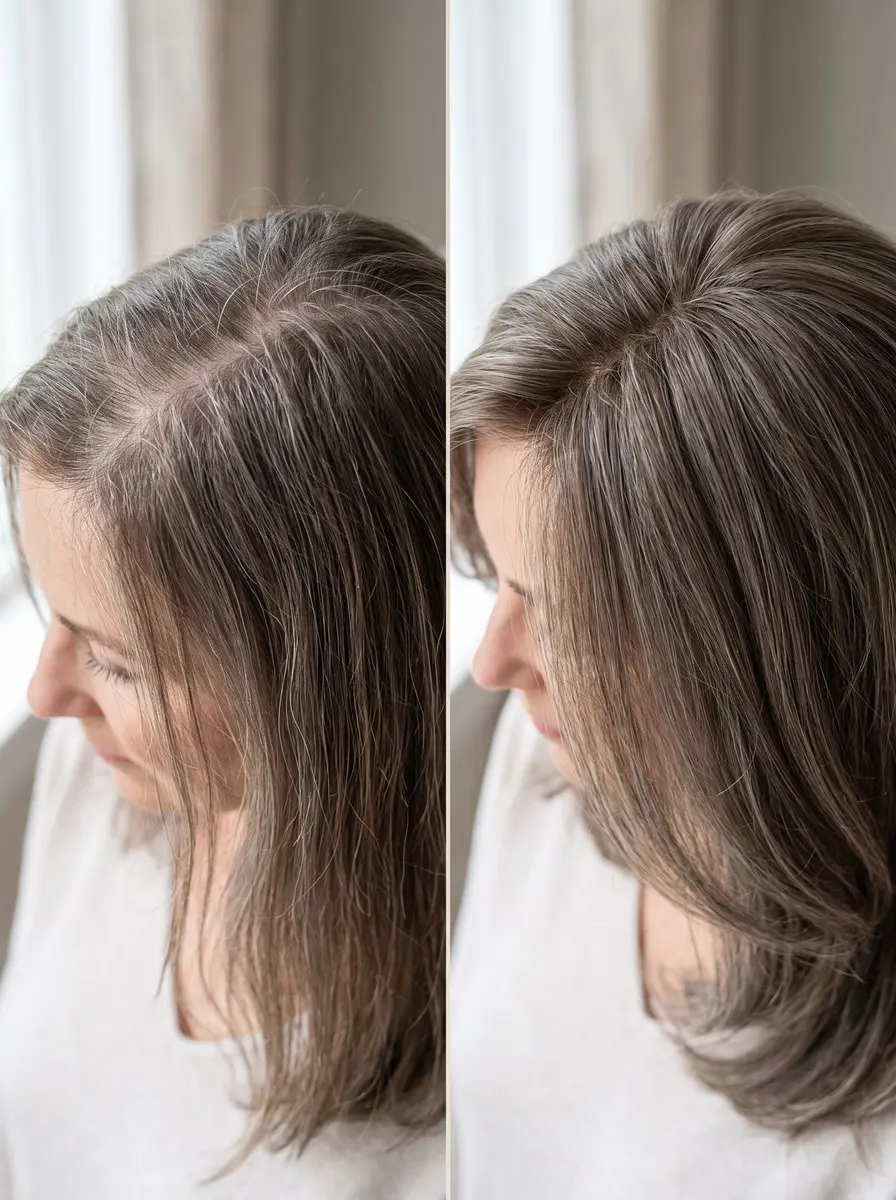
To use a clip-in hair topper, measure the thin area and add 0.5-1 inch, tease the anchor hair, and set the topper at your hairline or about 2 inches back. Press the base flat, close the clips front, sides, then back, and blend your own hair over the edges.
A wider part or a flat crown can make every hairstyle feel like a cover-up job. A clip-in hair topper fixes the look in minutes. It’s a small hairpiece on a lace, silk or monofilament base that clips onto your own hair at the crown, adds density exactly where it’s missing, and comes off at night.
A topper only looks invisible when it’s sized, shaded, placed and blended properly. When one looks obvious, the cause is usually the fit, not the product. This guide walks through each of those choices and the clip order that stops slipping, then answers the questions that come up once you’re wearing one, from clip bumps to a pinching clip. One honest limit: clips need healthy hair to grip. If the hair around your thin area is very sparse, talk to a stylist first.
What You’ll Need
- Human-hair clip-in hair topper (150% density, mono or silk base) — This is the topper itself: human hair blends with your own and takes heat styling, and 150% density suits most people.
- Fine-tooth teasing comb (rat-tail comb) — It teases a small cushion at each anchor spot so the clips have something to grip, and the tail makes clean sections.
- Dry texture spray — It adds grit to the teased anchor patches so the topper doesn’t slide during the day.
- Large velcro rollers — They lift the topper and your own hair together at the crown without heat, which hides the join.
- Wig stand or canvas block head — It holds the topper’s shape overnight and while it air dries after washing.
As an Amazon Associate, HairAide earns from qualifying purchases. Some links above are affiliate links — they cost you nothing extra and help support free tutorials.
Step-by-Step
-
Choose the right topper first, because most toppers that look obvious are simply the wrong size or density. Measure the thin area with a soft tape measure, front to back along your part and side to side across the widest sparse spot, then add 0.5-1 inch to each number so the base overlaps onto fuller hair, where the clips can grip and the edge stays hidden; if you land between two sizes, size up, since a slightly bigger base still disappears under your own hair while one that’s too small leaves gaps and pushes the clips onto your weakest strands. For the base, lace is the lightest and most breathable but also the most delicate, silk hides the knots so the part looks most like real scalp (though it wears a little warmer), and monofilament is the durable middle ground that lets you part the hair in different directions. For density, 150% suits most people because it adds fullness without looking heavier than the hair around it; 130% keeps very fine hair from looking obviously topped, and 180% is for naturally thick hair that needs a match. You’ve chosen well when the base reaches past the thin area on every side and the density reads as your own hair, only fuller.
-
Match the shade to your mid-lengths and ends, not your roots, and do it in natural daylight, because those lengths are what the topper’s hair will sit against once it’s blended. If your roots are darker than your lengths or you’re growing out gray, choose a rooted topper with a deeper shade at the base that melts into the lengths. That way the part looks like it grows from your scalp instead of sitting on top of it. Hold the topper’s ends against the side of your head where the two will meet: if you can’t spot the boundary from arm’s length, the shade is right. If you can’t decide between two, pick the one with more dimension, since flat single-tone hair looks artificial next to natural strands.
-
Start on clean, dry hair styled the way you normally wear it, parted where the topper will sit. At each spot where a clip will land, tease a small patch with a few short strokes of a fine-tooth comb toward the root. This builds a cushion for the clip’s teeth to bite into and stops the topper sliding. Keep every anchor spot on your stronger, fuller hair just outside the thin area, and off the very thinnest strands at the part: those can’t carry the weight, and they’re the hair you most want to protect. A light mist of texture spray on the teased patches adds grip, and you’re ready when each anchor spot feels springy rather than slippery.
-
Open every clip before the topper touches your head, so nothing snags while you position it. Set the front edge right at your hairline when you need full coverage at the front. If your hairline is reasonably full and you’d rather let your own hair fall over the edge for a softer blend, set it up to about 2 inches back. Line the topper’s part up with your natural part and check from the front and both sides in the mirror: it should sit centered and flat over the sparse area with margin to spare. Getting placement right before any clip closes saves re-clipping, which tugs on the anchor hair you just prepped.
-
Close the front clip first, pressing the base flat against your head with your palm just before you snap it, because the front sets the position everything else hangs from. Then close the side clips, pressing flat again before each one, and finish with the back. Each clip’s teeth should slide into a teased patch and grip hair, not skin, so it holds without pinching. Most toppers have 3 to 6 clips, and once you’ve practiced, the whole application takes 2-5 minutes. Give your head a gentle shake when you’re done: a well-clipped topper moves with you without shifting, lifting at the edges or pulling at any one point.
-
Pull a little of your own hair over the edges of the base, especially at the front and sides, so your own strands cover the join. Then book a blend cut: a stylist cuts the topper and your own hair together while it’s clipped on, so the lengths and layers fall as one shape instead of two. For lift at the crown, set the topper and your own hair together on a large velcro roller while you do your makeup, or lift lightly misted roots with a round brush and a blow-dryer; matching lift hides the transition and keeps your own hair from looking flat next to a fuller top. If the textures don’t match, say a sleek topper on wavy hair, style one to match the other by waving a human-hair topper with a curling wand or smoothing your own hair, so the two read as one. The blend is finished when someone standing beside you can’t tell where the topper ends.
Common Mistakes to Avoid
- Buying a base that only just covers the thin spot. Without a 0.5-1 inch margin, the clips land on the weakest hair and the edge of the base shows.
- Clipping onto the very thinnest strands at the part, which can’t hold the weight and are the hair you most want to protect.
- Choosing 180% density for ‘maximum coverage’ when your own hair is fine, so the topper ends up visibly thicker than everything around it.
- Matching the shade to your roots under bathroom light instead of to your mid-lengths in daylight.
- Sleeping in the topper or washing it on your head, which tangles the hair and keeps tension on the same anchor strands.
- Wearing a clip that pinches or aches through the day instead of repositioning it right away.
Pro Tip
Ask your stylist to cut the topper while it’s clipped on your head, point-cutting its ends into your own layers, and to leave a few face-framing pieces of your own hair long enough to pull over the front edge. Those few strands of your own hair over the edge hide the topper better than any amount of styling.
Frequently Asked Questions
Why does my clip-in hair topper keep slipping or showing clip bumps?
Slipping means the clips don't have enough to grip: tease the anchor spots a little more, mist them with dry texture spray, or move a clip slightly outward onto fuller hair. Visible bumps mean the base wasn't pressed flat or a clip sits on too-thin hair, so reopen that clip, flatten the base with your palm and reclip into a denser patch.
What should I do if a hair topper clip pinches or my scalp feels sore?
Take that clip out and reposition it straight away rather than putting up with it. Soreness usually means the clip is holding too few strands or sits too close to the thin area, so move it slightly outward onto a fuller patch and tease it again. If every placement aches, or a clip leaves a tender or thinning spot, see a stylist who fits toppers.
Is it safe to wear a clip-in hair topper every day?
Most people can, as long as the hair around the thin area is healthy and dense enough for the clips to grip; very thin anchor hair may not hold. Take the topper off every night rather than sleeping in it, so your scalp gets a break, and shift the clips slightly from day to day so the same strands aren't always under tension.
What's the difference between a clip-in and a sew-in hair topper?
A clip-in topper goes on and comes off daily in a few minutes, and it needs enough of your own hair to clip onto. A stylist attaches a sew-in (integrated) topper in 45-90 minutes, and it stays in for 4-8 weeks before maintenance. That suits people who don't want a daily routine, but the scalp gets no nightly break.
Can I curl or straighten a clip-in hair topper?
A human-hair topper takes heat like your own hair. Use a heat protectant, blow-dry it while damp, and use irons on completely dry hair only. Keep flat irons and curling wands to about 150°C/300°F, because topper hair has usually been color-processed; coarse, unprocessed hair can take 180-200°C/355-390°F. Synthetic toppers melt or frizz under heat unless labeled heat-friendly.
You Might Also Like
- 20 low-effort lob ideas for women over 60 to inspire your next look
- 20 fullness-building bixie ideas for fine hair to inspire your next look
- make your blowout and crown lift last longer
- a silver hair care routine for bright, soft gray
- how to soften coarse gray hair
- protect your hair overnight
Done well, a clip-in topper gives you a fuller crown and a natural-looking part in minutes. Take it off every night, back clips first, and rest it on a wig stand so it keeps its shape and your scalp gets a break. Wash it off your head in lukewarm water with sulfate-free shampoo, pressing rather than rubbing, and air-dry it on the stand. Book a blend-cut refresh when your own hair grows out visually and the join starts to show.
See a stylist who works with toppers if your anchor hair is too sparse to hold a clip, or if a clip leaves a sore or thinning patch. If shedding is sudden or patchy, see a dermatologist: a topper hides thin hair, but it can’t tell you why it’s happening.
Sources
- Clip-in toppers typically have 3 to 6 clips. Density options are 130%, 150% and 180%, and 150% works for most people. Measure the area and add a 0.5-1 inch margin. Application takes 2-5 minutes once practiced. kmxtend.com
- Placement: at the hairline for full coverage, or up to 2 inches behind it for a blended look. Start with the front clip, then the sides, then the back. Teasing the anchor area gives the clips more grip. This was seen in search snippets (the page returned 403 when fetched). newtimeshair.com