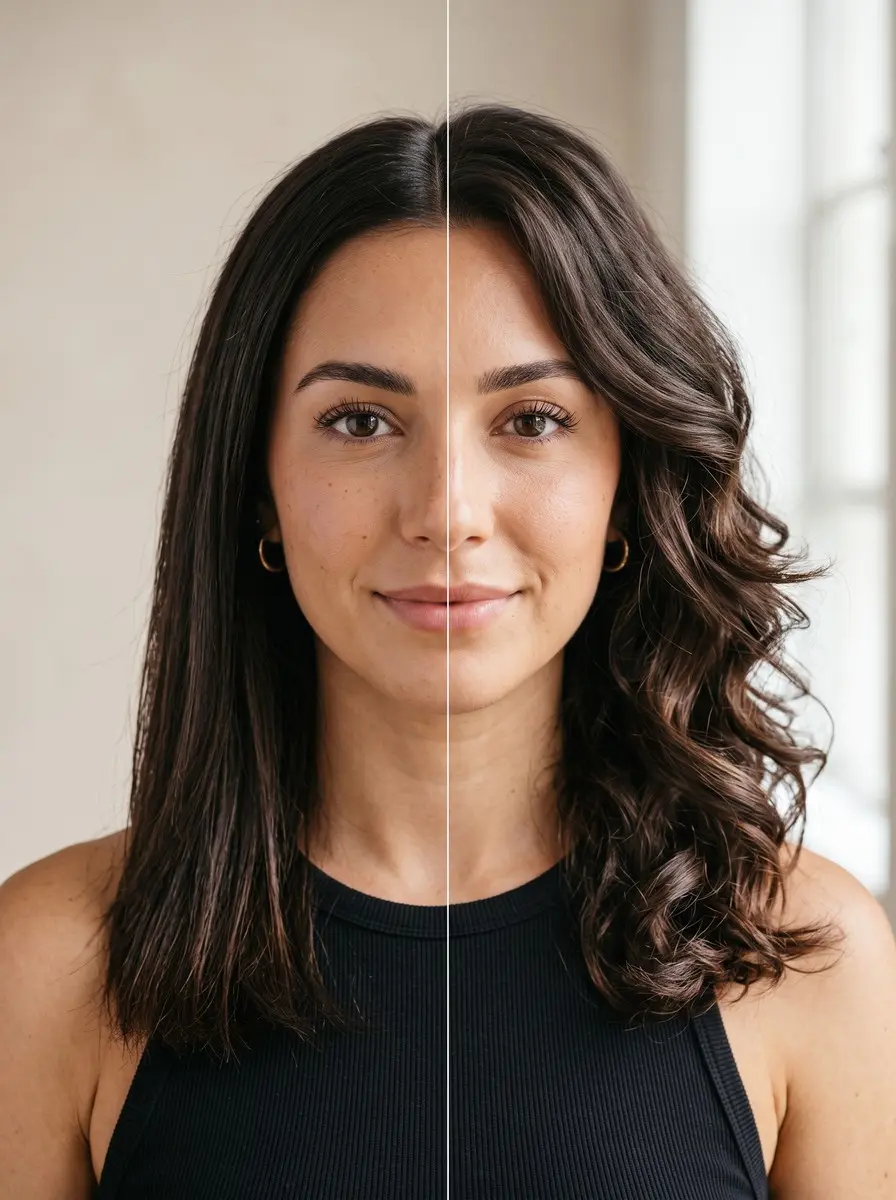
To use a curling wand, start on completely dry, heat-protected hair. Put on the glove and wrap a 1-2 inch section flat around the barrel, away from your face. Hold it for 8-12 seconds, slide the wand out, and let the curl cool fully before you break it up.
A curling wand promises loose, glossy curls with no crease at the ends. Yet the first time you use a curling wand, you often end up with a singed fingertip, a crunchy ringlet and waves that fall flat before lunch. The tool isn’t the problem. A wand has no clamp, so the result depends almost entirely on technique: the barrel you pick, the size of each section, which way you wrap and how long you hold.
This guide takes you through each step in order and explains why it works. When a curl doesn’t land, you’ll know which part to fix instead of guessing. Plan on 30 to 45 minutes for your first full head; it gets faster once the wrap becomes muscle memory. All you need is a wand, a glove, a few clips and a couple of styling products, and the final step adapts the method for fine, thick and short hair.
What You’ll Need
- Curling wand with adjustable temperature, 1-inch barrel (curling wand) — An adjustable dial lets you stay at the lowest setting your hair needs, and 1 inch is the most versatile barrel for a first wand.
- Heat-resistant styling glove (heat glove) — Wands have no clamp, so the glove protects the fingers that hold your ends against the hot barrel.
- Heat protectant spray (heat protectant) — Goes on dry hair before the wand to reduce the damage from repeated passes of heat.
- Duckbill and sectioning clips (hair clips) — Hold uncurled layers out of the way and pin each warm curl in its coil while it cools and sets.
- Flexible-hold hairspray (hairspray) — Holds the curl shape once it has cooled but stays brushable, so you can break curls up without crunch.
As an Amazon Associate, HairAide earns from qualifying purchases. Some links above are affiliate links — they cost you nothing extra and help support free tutorials.
Step-by-Step
-
Choose the curl you want first, then the barrel, because barrel width decides curl size more than anything you do with your hands. As a guide: 3/8 to 1/2 inch (10-13 mm) makes tight ringlets; 3/4 inch (19 mm) gives springy, defined curls; 1 inch (25 mm) gives classic bouncy curls and is the most versatile size; 1.25 inches (32 mm) gives loose, polished curls; and 1.5 to 2 inches (38-50 mm) mostly adds soft waves and body. A straight barrel makes the same size of curl from root to end. A conical wand is wide at the handle and narrow at the tip, so it makes a bigger curl at the top of the hair and a tighter curl at the ends, which gives a more natural, lived-in shape. Match the barrel to your length as well: a section that wraps only once around a wide barrel comes out as a bend, not a curl.
-
Start with completely dry, detangled hair. A curling wand, like any iron, must never touch damp or wet hair: the water inside the strand turns to steam and blisters it from the inside, and that is the one genuinely damaging mistake in this whole routine. Mist a heat protectant through the lengths, comb it through so every strand is coated, and let it dry before you begin. Then set the temperature by texture. Fine or bleached hair is more fragile and damages more easily, so keep it at no more than about 300°F (150°C), which is often your wand’s lowest setting. Medium hair sits in between, and thick, coarse hair needs more heat for a longer-lasting curl, up to a ceiling of 355-390°F (180-200°C). Start low and raise the heat only if your curls drop; that is safer than starting hot and working down.
-
Clip the top half of your hair up and out of the way, then work from the nape upward in sections about 1 to 2 inches wide: closer to 1 inch if your hair is thick, up to 2 inches if it’s fine. Small sections matter because the barrel heats the hair touching it fastest. In an overstuffed section, the outer strands never get hot enough to set, and the curl drops within hours. Working from the bottom up keeps finished curls out of your way and stops you reheating hair you’ve already curled, so let down one new layer at a time and keep the rest clipped.
-
Put the heat-resistant glove on the hand that will guide the hair, usually your non-dominant hand, before the wand touches a strand. Because a wand has no clamp, you hold the ends against the barrel yourself, which puts your fingertips right next to the hot surface, and burn risk is highest while you’re still learning the motion. Hold the wand vertically with the tip pointing down, keep the barrel at least an inch away from your scalp, and rest it on a heat mat between sections rather than on the bare counter. With the glove on, you can steady the ends (and the cool tip, if your wand has one) without flinching, and a steady hand keeps the wrap neat.
-
Starting an inch or two from the root, wrap the section around the barrel flat like a ribbon, with each turn sitting beside the last rather than on top of it, and finish with the ends held toward the tip. Stacked turns insulate the hair underneath them, which leaves a kinked, uneven curl. Wrap the face-framing sections away from your face, which means mirror-image directions on the left and right sides. This opens up the face and keeps curls from falling forward into your eyes. Through the sides and back, alternate the direction section by section. Neighboring curls that turn the same way merge into one uniform sheet, while alternating keeps each curl separate, and that variety is what reads as natural movement.
-
Hold each wrapped section for roughly 8 to 12 seconds: nearer 8 for fine or bleached hair, the full 12 for thick, coarse hair. That is long enough for the whole section to heat through and take the shape of the barrel. Holding longer adds very little hold, because the curl doesn’t set until it cools anyway. What it does add is heat exposure that dries the hair and roughens its surface over repeated sessions. When the time is up, let go of the ends and slide the wand straight down and out of the coil instead of unwinding it, so the curl drops off intact.
-
Leave every curl alone until it has cooled completely, which takes a few minutes per section. Heat makes hair pliable by temporarily breaking the hydrogen bonds that hold its shape, and those bonds only re-form as the hair cools. A curl you touch, brush or leave hanging heavily while it’s warm will loosen. If your hair is fine or slippery, coil each curl back into its ring as it comes off the wand, pin it flat to your head with a duckbill clip, and leave the pins in until your whole head is cool; you’ll know a curl is ready when it feels room temperature and springs back when you tug it gently.
-
Once everything is cool, take out the pins and decide how much definition you want. For defined curls, split each one into two or three pieces with your fingers. For soft, undone waves, rake your fingers or a wide-tooth comb through from mid-length down, and for glam waves, brush the curls out with a natural-bristle brush. Breaking curls up after they’ve set loosens them without undoing the shape, so you get movement instead of frizz. Finish with a light mist of flexible-hold hairspray held at arm’s length, plus a texture spray at the roots if you want more grip and volume.
-
Adjust the method to your hair instead of forcing one routine on every head. Fine hair: stay on the lowest setting, hold nearer 8 seconds, work a light mousse through damp hair before you blow-dry for grip, pin your curls to cool, and skip heavy oils before curling because they weigh curls down. Thick or coarse hair: take 1-inch sections, use the upper end of your heat range and the full 12 seconds, and expect to work through more layers. Short hair from chin to shoulder: use a 3/4- or 1-inch barrel, wrap only the mid-lengths and leave the last inch of the ends out for a modern bent wave, and keep the barrel well clear of your neck; on a pixie, curl just the longer top pieces for texture.
Common Mistakes to Avoid
- Taking sections wider than about 2 inches: the outside of the section curls, the middle stays straight, and the curl drops within hours.
- Running your fingers through or brushing the curls while they’re still warm, which pulls them loose before they’ve set.
- Wrapping every curl in the same direction, so neighboring curls merge into one uniform sheet instead of separate, natural-looking movement.
- Overlapping the hair on the barrel instead of wrapping it flat, which leaves the inner layers cooler and the curl kinked or uneven.
- Turning the wand to its highest setting or holding a section for 20 seconds ‘to make it last’ on fine hair; it adds heat exposure without adding much hold.
- Choosing a barrel that’s too wide for your length, so each section wraps only once and gives a bend instead of a curl.
Pro Tip
Curl second-day hair, or mist a dry texture spray through clean hair before you start. Freshly washed, well-conditioned hair is smooth and slippery, and a little grip on the strand is often the difference between curls that drop within an hour and curls that last into the evening.
Frequently Asked Questions
Is a curling wand harder to use than a curling iron?
Usually, at first. A wand has no clamp, so you wrap the hair around the barrel yourself and hold the ends in place. That puts your fingers close to the hot surface and makes the glove essential while you learn. The payoff is curls with no clamp crease at the ends, and the wrap usually feels natural after a few practice sessions.
What size curling wand should I buy?
Pick the look first, then the barrel. A 1-inch wand is the most versatile for classic, bouncy curls on shoulder-length to long hair. A 1.25-inch barrel gives looser curls, 1.5 inches and up mostly adds waves and body, and 3/4 inch or smaller makes tight, springy curls. For hair at or above the chin, stay at 1 inch or smaller so each section wraps fully.
How do I make curls from a curling wand last longer?
Work in small sections, let every curl cool completely before you touch it, and pin curls in their coils while they cool if your hair is fine or slippery. Finish with a flexible-hold hairspray once they're cool. Overnight, gather your hair into a loose, high scrunchie and sleep on a silk or satin pillowcase. In the morning, re-curl only the front pieces and any curls that dropped.
Will using a curling wand every day damage my hair?
Heat damage builds up over repeated sessions, so daily curling on a high setting is what wears hair down. Dryness, a rough feel and split ends are the early signs. Curling a few times a week is a sensible rhythm for most people. Make each set last two or three days, and see a stylist if your hair starts snapping.
You Might Also Like
- 20 whisper-soft hush cut ideas to inspire your next wand-waved look
- 20 short-hair balayage ideas that soft waves show off
- how to choose a flat iron for your hair type
- add volume at the crown before you curl
- style a shag haircut at home
- sleep with long hair without damage
Once the routine clicks (right barrel, small sections, flat wrap, short hold, full cool-down), a wand gives you smooth curls with no clamp crease at the ends, and it gets faster every time. Most of a curl’s staying power comes from the unglamorous parts: section size and leaving each curl alone until it’s cool.
To keep the look going, refresh just the front pieces and any curls that dropped on day two instead of re-curling your whole head, and give your hair heat-free days between sets. See a stylist if your ends split or snap however gently you curl, or if your cut fights the curl. On heavy, one-length hair, a few long layers can take out enough weight for curls to hold.
Sources
- Wands have no clamp. You wrap the hair around the barrel and hold the end, so a safety glove is recommended and burn risk is higher while learning. Wands leave no crease at the ends. lookfantastic.com