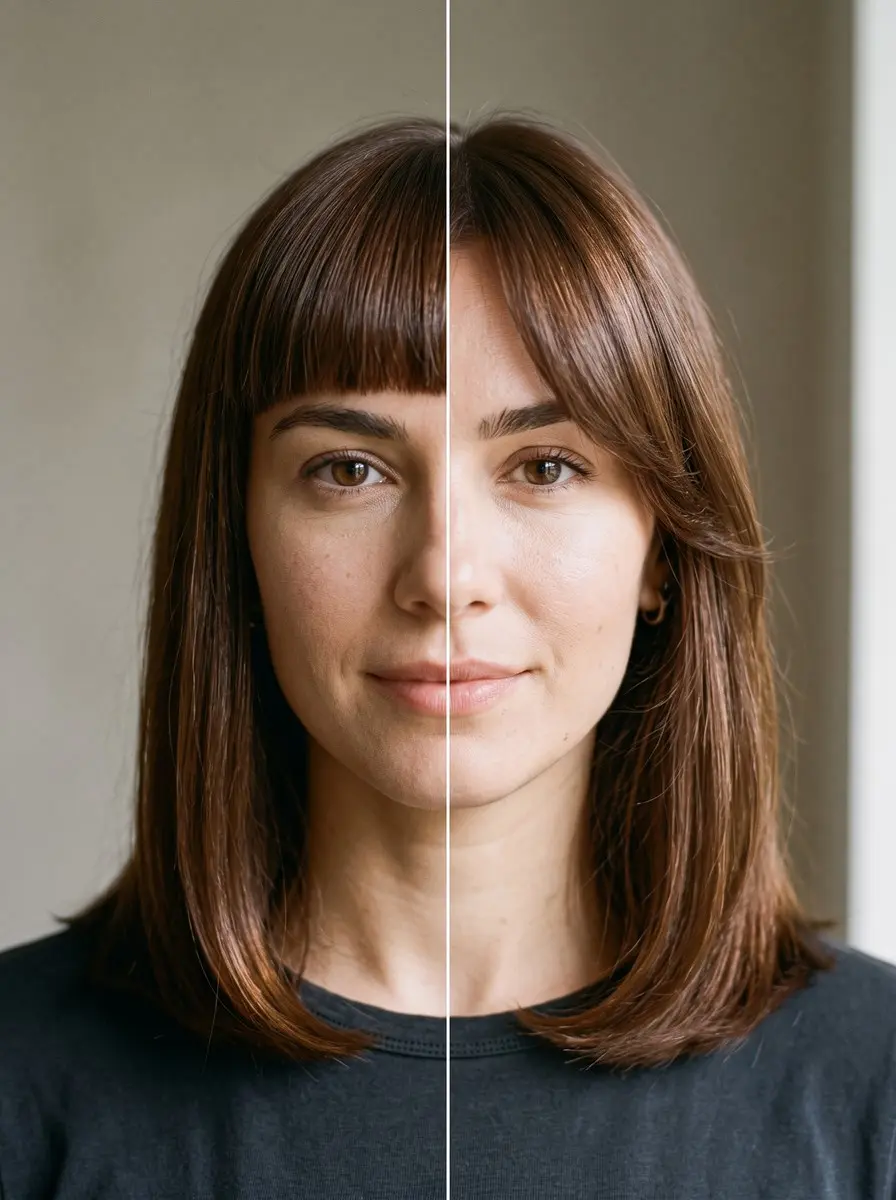
To grow out bangs, first have a stylist soften the blunt edge. As they get longer, side-sweep, pin or round-brush them away from your face. Dust only the split ends every 2-3 weeks, and add face-framing layers so they blend in within 3-6 months.
Most people don’t realize how much bangs tie them down until they want to grow them out. Somewhere around four to six weeks in, the fringe that looked so deliberate starts falling into your eyes. It’s too short to tuck behind your ears and too long to sit neatly, and every hairstyle starts to feel like a compromise. That in-between phase is why so many grow-outs end with an impulsive snip at the bathroom mirror.
The good news is that growing out bangs takes a plan, not luck. Hair grows about half an inch a month, so the full transition usually takes three to six months. What you do at each stage decides whether that time looks awkward or intentional. This guide sets out exactly what to do at two weeks, six weeks and three months, plus the trims, care and layers that hold it together. Apart from the salon trims, all of it happens at home in a few minutes a day.
What You’ll Need
- Small round brush (1-1.25 in / 25-32 mm barrel) — A barrel this size fits short bangs, so you can bend them off your eyes early on and blow them away from your face into a curtain shape later.
- Deep-conditioning hair mask — A weekly mask keeps the most-styled ends of your fringe from drying out and splitting, so you keep the length you grow.
- Heat protectant spray — Misting it on the damp fringe before each blow-dry reduces heat damage to the section you style most often.
- Flat snap clips and bobby pins — They anchor a side-swept fringe at the temple through the awkward stage without creasing it the way a tight elastic would.
- Dry shampoo — A fringe rests on your forehead and picks up oil quickly, and a little dry shampoo at the roots keeps it lifted so side-sweeps and pins hold.
As an Amazon Associate, HairAide earns from qualifying purchases. Some links above are affiliate links — they cost you nothing extra and help support free tutorials.
Step-by-Step
-
Before you start growing, book one last fringe appointment and ask your stylist to soften the bangs, not shorten them. That means point-cutting or slide-cutting into the blunt edge so the ends turn wispy, with the outer corners left slightly longer than the center. A blunt line turns every bit of new growth into a hard shelf across your face, while broken-up ends blend into the hair around them, so the same extra length looks planned instead of overgrown. Tell the stylist plainly that you’re growing them out so no length comes off the middle. You’re done when the edge looks feathered rather than ruler-straight and the sides curve gently toward your temples.
-
Start a weekly deep-conditioning mask now. Work it through the ends of your fringe and the lengths of your hair, keep it off your roots so the bangs don’t fall flat and greasy, and leave it on for the time the label gives. Nothing changes the roughly half an inch a month your hair grows. What you can control is how much of that length you keep. Your fringe is the section you style most, so its ends are the first to dry out and split, and split ends that travel up the strand eventually have to be cut off. Let the rest of your hair air-dry when you can so the fringe is the only part that sees the dryer. You’re done when the ends feel supple rather than straw-like and split ends are hard to find.
-
Around week two, when the fringe starts grazing your lashes, blow-dry it as soon as you’re out of the shower, before it air-dries in the direction of its cowlick. Dry the roots first by directing them left, then right, across your forehead. Finish with a small round brush that rolls the ends under and slightly toward the side you’ll eventually sweep them to. Drying the root in both directions relaxes a stubborn cowlick, and hair holds the shape it dries in until it gets wet again, so the curve lifts the ends off your eyes. You’re done when the fringe sits in a soft arc just above your lashes instead of poking into them.
-
Book a quick fringe touch-up every two to three weeks, and every time, tell your stylist to dust the ends and tidy the corners without taking any length. Bangs grow out unevenly to the eye: a cowlick pushes one side up and the corners start to droop, so the fringe loses its shape long before it reaches the length you want. A small reshape removes only split or thinned-out ends and keeps the edge soft, which is why these trims make the grow-out look intentional without costing you progress. You’re done when the fringe has a clean, soft edge but is at least as long as it was at your last visit.
-
Somewhere between weeks four and six, the fringe passes your eyes. This is the awkward stage, and it’s when you switch from styling your bangs to hiding them. Move your part an inch or two to one side and sweep the whole fringe across to the other, then secure it above the temple with two crossed bobby pins or a flat snap clip. On off days, a soft headband or a skinny braid along the hairline does the same job. Sweeping works now because the extra length reaches your temple, where it can be anchored, and a deeper side part puts more hair on top to hide the pins. You’re done when your eyes are completely clear and the fringe stays put when you shake your head.
-
Around the same time, ask your stylist for long face-framing layers so the grown-out fringe has somewhere to go. Use these words: ‘Start the shortest face-framing piece at my cheekbone or jaw, connect it to the outer ends of my bangs, and leave the fringe itself alone.’ Once the sides of the fringe flow into layers, the eye reads one continuous shape instead of a leftover section, which hides the in-between length. If you already wear a shag or a layered lob, you may only need the front pieces reshaped. You’re done when you can sweep the fringe to either side and it merges into the layers without a visible step.
-
By about three months, bangs that started at your brows usually reach your nose or cheekbones. That’s long enough for a round-brush blowout that sends them away from your face. Part your hair in the center or just off it, blow-dry each half of the damp fringe over a medium round brush, rolling up and back toward your temples, then tuck one side behind your ear if you like. Directing the roots away from your face is what turns grown-out bangs into curtain bangs: the lift at the root stops them collapsing forward, and the outward bend links them to your layers. You’re done when the fringe parts into two soft swoops that open around your eyes and brush your cheekbones.
-
Between three and six months, once the longest pieces reach your chin or tuck behind your ears without springing loose, book a proper blending cut. Ask your stylist to blend the old fringe into your face-framing layers and remove any uneven ends. If you’ve come to love the look, ask them to shape it into permanent curtain bangs instead. This last cut matters because the fringe and your layers grew from different starting lengths, and a few minutes of point-cutting joins them into one shape. You’re done when you can wear your part anywhere and no one could tell you ever had bangs.
Common Mistakes to Avoid
- Grabbing the scissors yourself in the awkward stage. One impatient snip at eye level usually takes off the four to six weeks of length you just grew and restarts the clock.
- Letting a blunt fringe grow out untouched, so the hard line becomes a visible shelf at your eyes and then your cheekbones instead of blending in.
- Forgetting to tell your stylist you’re growing your bangs out. A routine bang trim takes length off the middle and undoes weeks of progress.
- Pinning the fringe in the same spot with the same tight clip every day, which creases the hair and keeps constant tension on the fine hairs at your hairline. Change where you pin it.
- Letting the fringe air-dry on busy mornings, so a cowlick sets it straight into your eyes and makes the awkward stage feel worse than it is.
Pro Tip
Decide what your bangs are growing into before you start (curtain bangs, cheekbone-length layers or one-length hair) and tell your stylist at the first appointment. Every touch-up then cuts toward that finished shape instead of just away from a fringe, and that’s how a grow-out looks planned at every stage.
Frequently Asked Questions
How long does it take to grow out bangs?
Most bangs take three to six months to blend back in, depending on how short they started and how long you want them. Hair grows about half an inch a month, so eyebrow-length bangs usually reach the nose or cheekbones in about three months. The awkward stage, when they fall into your eyes, usually starts four to six weeks in.
Can any product or trim shorten the time it takes to grow out bangs?
No. Hair grows at a steady rate of about half an inch a month, and no product, trim or cutting technique changes it. What you can influence is how much length you keep: a weekly deep-conditioning mask, less heat on the fringe and dusting-only trims keep split ends from forcing a bigger cut.
Should I still trim my bangs while growing them out?
Yes, every two to three weeks, but only a light dusting. Ask your stylist to remove split ends and tidy the corners without taking length from the center. Bangs grow out unevenly to the eye, so these small reshapes keep the fringe soft and deliberate-looking at every stage instead of shaggy and overgrown.
How do I hide my bangs during the awkward stage?
Once the fringe passes your eyes, switch to a deep side part and sweep it across, securing it at the temple with two crossed bobby pins or a flat snap clip. A soft headband, a thin braid along the hairline or a twisted-back front section also works. Change where you pin it so the same strands aren't under tension every day.
Should I turn my grown-out bangs into curtain bangs?
It's one of the easiest ways through the transition, because curtain bangs are just a fringe that parts in the middle and sweeps away from the face. Once your bangs reach your nose or cheekbones, a stylist can shape them into curtain bangs to keep for a while or blend them straight into face-framing layers.
You Might Also Like
- 20 shaggy lob ideas to inspire your next look
- 15 textured fringe ideas to inspire your next look
- soft shag haircuts with built-in face-framing layers
- bang styles that work with glasses
- cozy fall hair refresh ideas
- how to do a root touch-up at home
Growing out bangs mostly takes patience and a plan. Soften the edge first, keep the ends healthy, style for the stage you’re in, and let face-framing layers carry the fringe back into the rest of your hair. Within three to six months, the fringe that kept falling into your eyes becomes a soft, face-framing shape you can part anywhere.
Keep dusting the ends every few weeks until the blend is finished. Whenever you blow-dry the fringe, mist it with a heat protectant while it’s still damp and use medium heat. See a stylist instead of reaching for scissors if a cowlick won’t let the fringe lie flat, if a home trim left it uneven, or when you’re ready for the final blending cut.
Sources
- The awkward growing-out phase typically starts around 4-6 weeks in, with the full grow-out taking 3-6 months. margauxsalon.co.uk
- Weekly deep-conditioning masks and trims every 2-3 weeks (removing only damage, not length) are recommended during grow-out. us.davines.com
- Styling techniques for the in-between stage include side-sweeping once bangs pass the eyes and using a round brush to blow-dry bangs away from the face. luxyhair.com