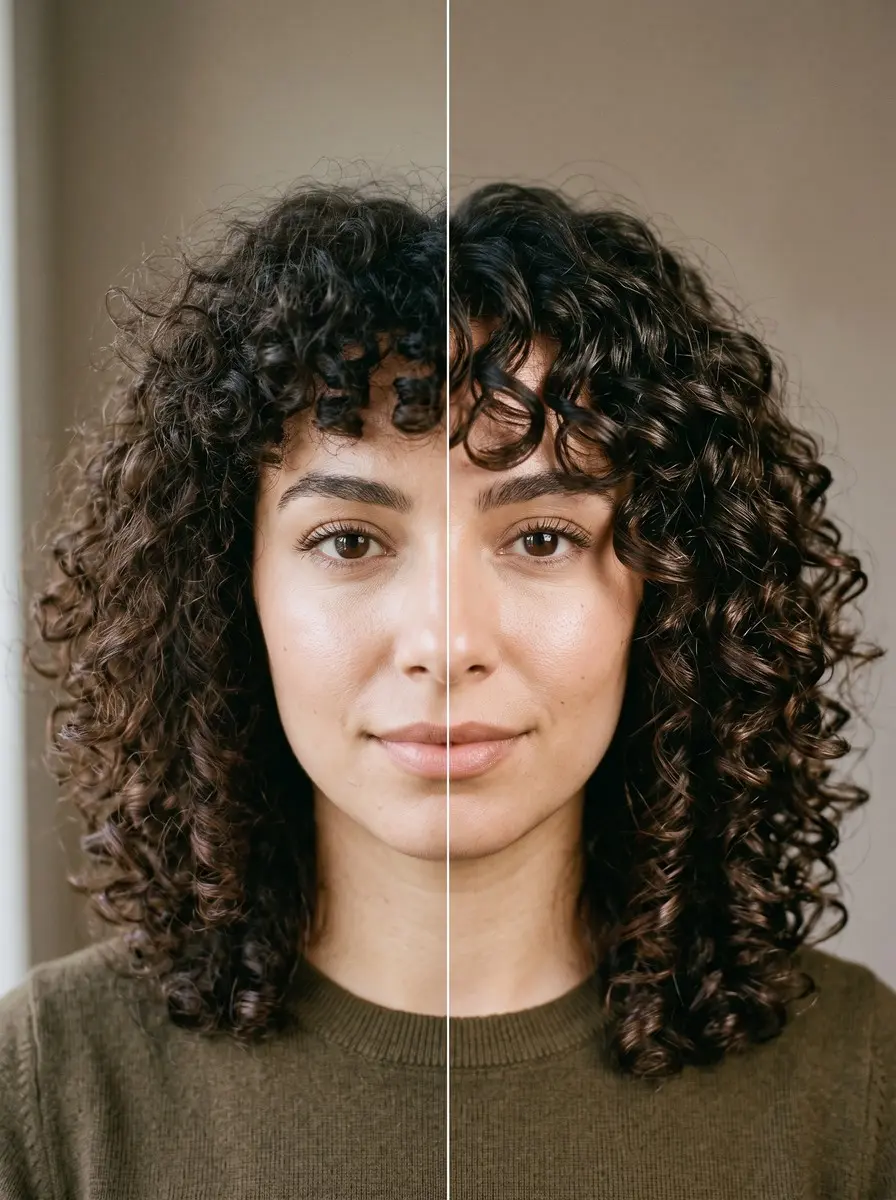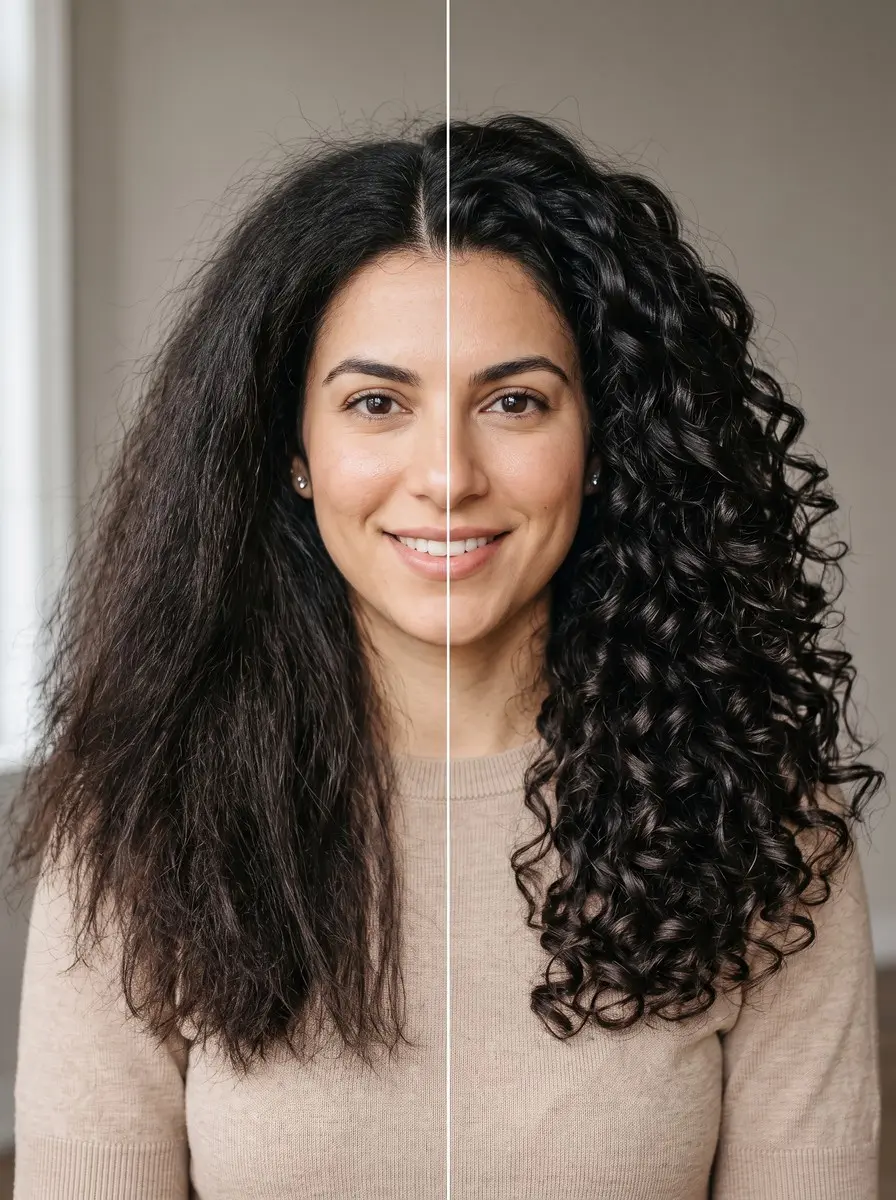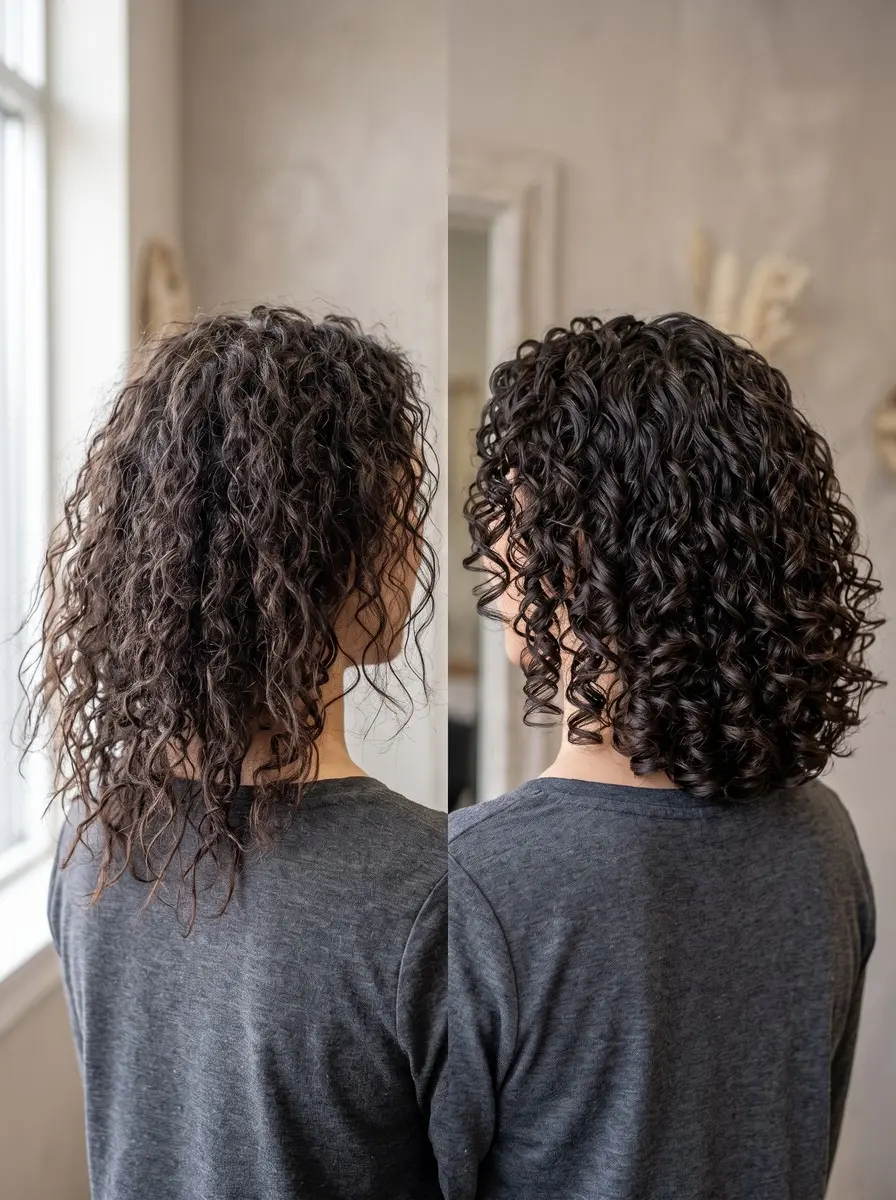
Quick answer To trim your own curly hair ends, wait two to three days after washing, style your curls as you normally wear them, and cut dry. Work curl by curl in small sections with sharp hair shears, and take no more than about half an inch at a time without pulling the curl straight.
Curly ends have a way of telling on themselves. The last inch starts looking thin and stringy, curls stop clumping together, and the shape that looked so bouncy a few months ago now hangs flat or lopsided. Booking a curl specialist isn’t always an option, and a regular straight-across trim can leave you with a shelf or with far less length than you asked for.
The good news is that a careful maintenance trim is very doable at home, as long as you drop the straight-hair method entirely. Curly hair is cut dry, in the shape you actually wear it, one curl at a time, and in small snips.
This guide walks you through timing, tools, sectioning and the curl-by-curl technique, then explains how to judge the result and when to hand the job to a pro. It’s for tidying ends and keeping your shape, not for a dramatic restyle.
Time 45-90 minutesDifficulty IntermediateSteps 7
What You’ll Need
As an Amazon Associate, HairAide earns from qualifying purchases. Product links in this guide are affiliate links: they cost you nothing extra and help keep these tutorials free.
- Stainless steel hair-cutting shears A sharp, dedicated hair blade slices each curl cleanly instead of crushing it, so the ends don’t fray again right away.
- Handheld mirror Used with your bathroom mirror, it lets you see the back and sides so you can check each curl and compare both sides.
- Duckbill sectioning clips They hold finished and untouched curls out of the way so you cut small sections one curl at a time and never trim the same curl twice.
- Curl-defining cream Styling with your usual curl cream before trimming helps curls clump the way you normally wear them, so you can see where each one really ends.
Step-by-Step
Step 1 Time your trim after a wash
Plan your trim for two to three days after a wash, not the day you wash. By then your curls have settled into their natural pattern, any extra product stiffness has softened, and you can see which curls clump together and which ones fray apart.
Freshly washed curls can sit tighter or looser than they will for most of the week, so cutting them then means trimming a version of your hair you don’t usually wear. You’ll know you’re ready when your curls look like a normal day, not a wash day.
Step 2 Dry and style your hair as usual
Make sure your hair is completely dry and styled exactly the way you normally wear it, with your usual part and without brushing or stretching it out. Curly hair is cut dry because each curl springs up by a different amount, and you can only see where a curl really ends once it’s in its natural shape.
Wet or stretched hair hides that shrinkage, so a cut that looks modest while the hair is stretched can look much shorter once it bounces back. Fluff gently at the roots if you like, but leave the curl pattern alone.
Step 3 Set up your trimming station
Set up your station before you touch a single curl: sharp hair-cutting shears, two mirrors, sectioning clips and bright, even light. Proper hair shears slice cleanly, while craft, kitchen, fabric or paper scissors crush the strand and can leave a ragged end that frays again quickly.
Two mirrors let you see the back and sides, where most home trims go wrong. Daylight from a window or a bright bathroom light shows you where the ends thin out. Your setup is right when you can see the back of your head clearly without twisting your neck.
Step 4 Section your hair into small parts
Divide your hair into small, manageable sections and clip away everything you’re not working on. Start with the pieces you can see easily, such as the front and sides, and move toward the back once you’ve found your rhythm.
Small sections stop you from grabbing a big handful and cutting it straight across, which is what creates a hard line or shelf in curly hair. Each section should hold only a few curls, few enough that you can see where every single curl ends.
Step 5 Assess each curl before cutting
Before cutting, study each curl in the loose section and decide whether it actually needs a trim. Look for the point where a curl turns thin, see-through, frizzy or stops curling, and for stray curls that hang noticeably longer than their neighbours and spoil the shape.
Healthy, springy ends that sit in line with the rest can be left alone. This assessment is what separates a trim from over-cutting: you’re removing damage and tidying the outline, not taking a set amount off every strand.
Step 6 Cut curl by curl, no tension
Cut curl by curl, snipping each one where it naturally sits, with no tension or pulling. Take about half an inch at most, cutting just above where the curl turns frayed. Pulling a curl straight to cut it is the classic mistake, because the moment you let go it springs back up and a small snip can look like a much bigger one.
If you’re unsure, cut less. You can always take more off next time, but over-cutting can’t be undone. Clip each finished curl out of the way so you don’t cut it twice.
Step 7 Check the shape and wait
Once every section is done, let your hair down, shake it gently at the roots and check the overall shape in both mirrors. Compare left and right at the front, sides and back, and fix only clear outliers, again half an inch or less.
Then stop, even if you’re tempted to keep going, and wait two to three days before you judge the result. Curls move differently after they’ve had time to settle, and a wash-and-style cycle shows the true shape, so what looks slightly uneven today often evens out by itself.
Common Mistakes to Avoid
- Cutting wet or freshly washed hair, which hides how much each curl springs up and leads to taking off far more length than you meant to.
- Pulling a curl straight to snip it. The tension stretches it, and once you let go it bounces back noticeably shorter than you expected.
- Gathering big sections and cutting straight across, which leaves a blunt shelf because neighbouring curls shrink by different amounts.
- Using kitchen, craft or fabric scissors, which crush the strand and leave ragged ends that split again quickly.
- Judging the result the same day and cutting more to fix something that would have settled after a few days and a normal wash.
Pro tip Cut each curl on its natural curve, snipping from the outer edge of the spiral just above where it turns thin. That keeps the curl’s end rounded and full instead of blunt, so it clumps neatly with its neighbours rather than sticking out.
The Bottom Line
A good home trim leaves your curls looking fuller at the ends, clumping together again and sitting in a balanced shape, and you keep almost all your length.
The method that gets you there is simple, if not quick: wait until day two or three, cut dry and styled, work curl by curl, never pull, and take half an inch or less. Then wait a few days and a wash cycle before you judge.
Plan your next trim when your ends start looking stringy or your shape loses definition, usually somewhere between six weeks and three months. For anything beyond maintenance, such as new layers, a fringe or fixing an uneven cut, see a stylist who specialises in curly hair.
Frequently Asked Questions
How often should you trim curly hair?
Advice varies. Prose recommends a trim every 6-8 weeks, while Luxy Hair suggests maintenance trims about every three months. Hair grows around half an inch a month either way, so treat the range as a guide and trim when your ends look thin and stringy or your shape starts looking undefined. That point comes sooner for shorter, shape-dependent cuts.
Should curly hair be cut wet or dry?
Curly hair is best trimmed dry and styled the way you normally wear it. Dry cutting shows how far each curl springs up, so you can see where it really ends. Wet or stretched hair hides that shrinkage, which is why a trim that looks small when wet can look much shorter once it dries.
How much should I cut off when trimming my own curly hair?
Take about half an inch at a time, and only from curls whose ends look thin, frayed or noticeably longer than the rest. You can always go back for more, but over-cutting can't be reversed. Stop once the damage is gone and wait two to three days before deciding whether anything else needs a snip.
Can I trim curly hair with regular scissors?
Avoid kitchen, craft, fabric and paper scissors. Their blades aren't sharp enough for hair and tend to crush the strand, leaving ragged ends that split again quickly. A pair of dedicated hair-cutting shears is inexpensive and gives a clean cut. Keep them for hair only so they stay sharp.
When should I see a curl specialist instead of trimming at home?
Book a stylist who specialises in curly hair if you want to change your shape, add or rework layers, cut in a fringe or remove more than an inch or two. Also go to a pro if a home trim has left you with a noticeable shelf or lopsided outline. A curl specialist can reshape the cut without sacrificing extra length.
Keep Reading
Sources
- How to trim and cut curly hair from home luxyhair.com
- How to cut curly hair 5 rules prose.com