Quick answer To use a hair mask, shampoo, squeeze hair to towel-dried damp, and work the mask through mid-lengths to ends with a wide-tooth comb. Leave it on 5-10 minutes (up to 20 if the label says), rinse thoroughly, and repeat about once a week.
Knowing how to use a hair mask is the closest thing to a salon treatment you can do in your own shower, but only if you do it the right way.
Slap a rich cream onto soaking-wet roots and rinse after a minute, and you’ll get either nothing or flat, greasy hair by lunchtime. Whether a mask revives dry ends or just weighs your hair down comes down to three choices: which formula, where it goes and how long it stays.
This guide is a decision tool, not a one-size routine. You’ll match the mask to your hair’s real problem (dryness, damage, fading color, flat fine strands or thirsty curls), learn when it goes on damp versus dry hair, and set a frequency that fixes the problem without leaving buildup. All you need is a towel, a wide-tooth comb and 15 to 30 minutes, most of it hands-free.
Time 15-30 minutesDifficulty BeginnerSteps 9
Which Hair Mask to Use and How Often, by Hair Type
| Hair type | Mask to choose | How often |
|---|---|---|
| Dry or coarse | Moisture (butters, oils) | 1-3 times a week |
| Bleached or damaged | Repair or protein | 1-3 times a week |
| Color-treated | Color-protect | 1-3 times a week |
| Fine or oily | Lightweight or volumizing | Weekly or every other week |
| Curly or coily | Curl-specific | Weekly; up to 3 times if dry |
What You’ll Need
As an Amazon Associate, HairAide earns from qualifying purchases. Product links in this guide are affiliate links: they cost you nothing extra and help keep these tutorials free.
- Hydrating hair mask This is the everyday workhorse for dry, coarse or frizzy hair, and the one to buy if you only buy one.
- Color-protect hair mask It conditions color-treated lengths gently so tone looks fresher for longer between appointments.
- Wide-tooth comb It spreads the mask evenly through each section and detangles while hair has slip, with less breakage than a brush.
- Reusable shower cap It traps body heat and keeps rich masks from drying out on the hair during the wait.
- Microfiber hair towel It presses hair to the right damp stage without the friction and frizz of a rough bath towel.
Step-by-Step
Step 1 Pick a mask for your goal
Before you open a jar, name the one problem you most want to fix, because a mask aimed at the wrong problem either does nothing or leaves buildup. Choose a moisture mask (shea butter, oils, glycerin) for dry, coarse or frizzy hair.
Choose a repair or protein mask for bleached, heat-worn or overprocessed hair that feels mushy or overly stretchy when wet, a color-protect mask for dyed hair, a lightweight or volumizing mask for fine or oily hair, and a curl-specific mask with plenty of slip for curly and coily textures.
If you can’t tell whether your hair wants protein or moisture, the stretch test in our protein treatment guide settles it, and you’re ready when you can name the goal in one word: soften, strengthen, protect, lighten or define.
Step 2 Check the label for damp or dry
Most hair masks are designed for towel-dried, damp hair, but there are a few exceptions worth catching before you step into the shower.
Oil-based masks and pre-shampoo (pre-poo) treatments get better results on dry hair, because oil spreads and clings best to strands that aren’t already full of water, and a coating applied before washing cushions the lengths from shampoo’s drying effect. These go on before you wash, and then you shampoo them out.
Overnight masks are labeled for long wear and are meant to stay on for hours, applied as the package directs and covered with a silk scarf or cap. If the label says nothing, treat it as a damp-hair mask and follow the steps below.
Step 3 Shampoo, then squeeze hair to damp
Wash as usual so the mask lands on clean hair instead of yesterday’s oil and styling product, which would sit between the formula and the strand. Then press out excess water by squeezing sections in a microfiber towel or cotton T-shirt. Press, don’t rub, because rubbing roughs up wet hair and creates frizz.
Aim for towel-dried damp: soaking-wet hair dilutes the formula and lets it slide off, while fully dry hair takes a water-based cream unevenly, and on mask days the mask usually replaces your regular conditioner. You’re there when a squeezed section no longer drips.
Step 4 Apply from mid-lengths to ends
Split hair into two to four sections with clips so every strand gets covered, not just the top layer. Start with about a tablespoon for shoulder-length hair (more for long, thick or coily hair) and smooth it from mid-lengths down to the ends, where hair is oldest and most weathered.
If your hair is fine or gets oily fast, keep the mask off your scalp: roots already get natural oil, and a rich mask there is the fastest route to flat, greasy hair by the next day.
Thick, dry or coily hair can take it closer to the root, but leave the scalp itself to products labeled for it. Each section is done when it feels slippery and evenly coated, with no dry patches and no globs.
Step 5 Comb it through evenly
Run a wide-tooth comb through each section, starting at the ends and working up, to spread the mask into every strand and break up any clumps your fingers left behind. Even coverage matters more than quantity: a thin, uniform layer does more than a thick coat on the outside with nothing underneath.
The mask’s slip also makes this the gentlest moment to detangle, so knots release with less breakage than they would on bare wet hair. You’re done when the comb glides from mid-length to tip without snagging and you can’t see white streaks.
Step 6 Add warmth for rich formulas
Twist hair loosely on top of your head and cover it with a plastic shower cap. For extra warmth, wrap a towel over the cap that you’ve run under hot tap water and wrung out until it’s warm, not scalding.
The cap traps your own body heat and stops the mask drying out on the hair, and mild warmth keeps rich butters and oils soft so they stay spread through the lengths.
This helps most with thick, dry or coily hair and with deep conditioners whose labels call for heat, while lightweight masks on fine hair rarely need it, so skip this step there. The setup is right when your head feels pleasantly warm, never hot.
Step 7 Time it by the label
Set a timer instead of guessing. Most masks are made to work in about 5 to 10 minutes, some richer formulas call for up to 20, and overnight masks are the only ones designed to stay on for hours.
Leaving a standard rinse-out mask on far past its time doesn’t make it work harder: hair can only take on so much, and the excess mostly stays behind as residue that weighs it down, so stick to what the label says.
Use the wait to cleanse your face or shave, keeping your hair out of the shower stream so the mask isn’t rinsed off early. Your cue is the timer, not how your hair feels.
Step 8 Rinse until clean, not coated
Rinse with lukewarm water for longer than feels necessary, at least a full minute, lifting sections so water reaches the underneath layers. Run your fingers through as you go: hair should feel soft and smooth, but not slick or filmy.
Leftover mask is the most common reason a good formula leaves hair limp or greasy, and it hides at the nape, behind the ears and in the underneath layers at the back of the head. Squeeze out the water and style as usual, with no conditioner needed on top unless your mask’s label says otherwise.
Step 9 Set your frequency and watch for overload
Start at once a week, the common baseline, and adjust by hair type. Dry, damaged or color-treated hair, including thirsty curls and coils, can take a mask 1 to 3 times a week, while fine or oily hair does better with once a week or every other week.
Judge the results over the days after washing, not in the shower, and give a new rhythm two or three sessions before changing it.
If hair turns limp, greasy or heavy, or won’t hold a style, you’re overdoing it or leaving residue, so drop a session and wash once with a clarifying shampoo to reset; if it feels stiff, rough or straw-like after repair masks, that’s too much protein, so switch to a moisture mask for a few weeks. The right rhythm leaves hair soft and bouncy for days, not flat by day two.
Common Mistakes to Avoid
- Applying a mask to soaking-wet hair, which dilutes the formula so it slides off before it can work.
- Massaging a rich mask into the roots of fine or oily hair, which leaves it flat and greasy by the next day.
- Leaving a standard rinse-out mask on for an hour, or overnight, because longer seems better. It only adds residue.
- Rinsing too quickly and leaving film at the nape and underneath layers, which makes hair limp and heavy.
- Using a protein or repair mask every wash, which can leave hair stiff, rough and straw-like.
Pro tip If a mask you loved suddenly stops working, the culprit is usually buildup, not the formula. Wash once with a clarifying shampoo and apply the mask straight after on clean, damp lengths; it will feel like a new product.
The Bottom Line
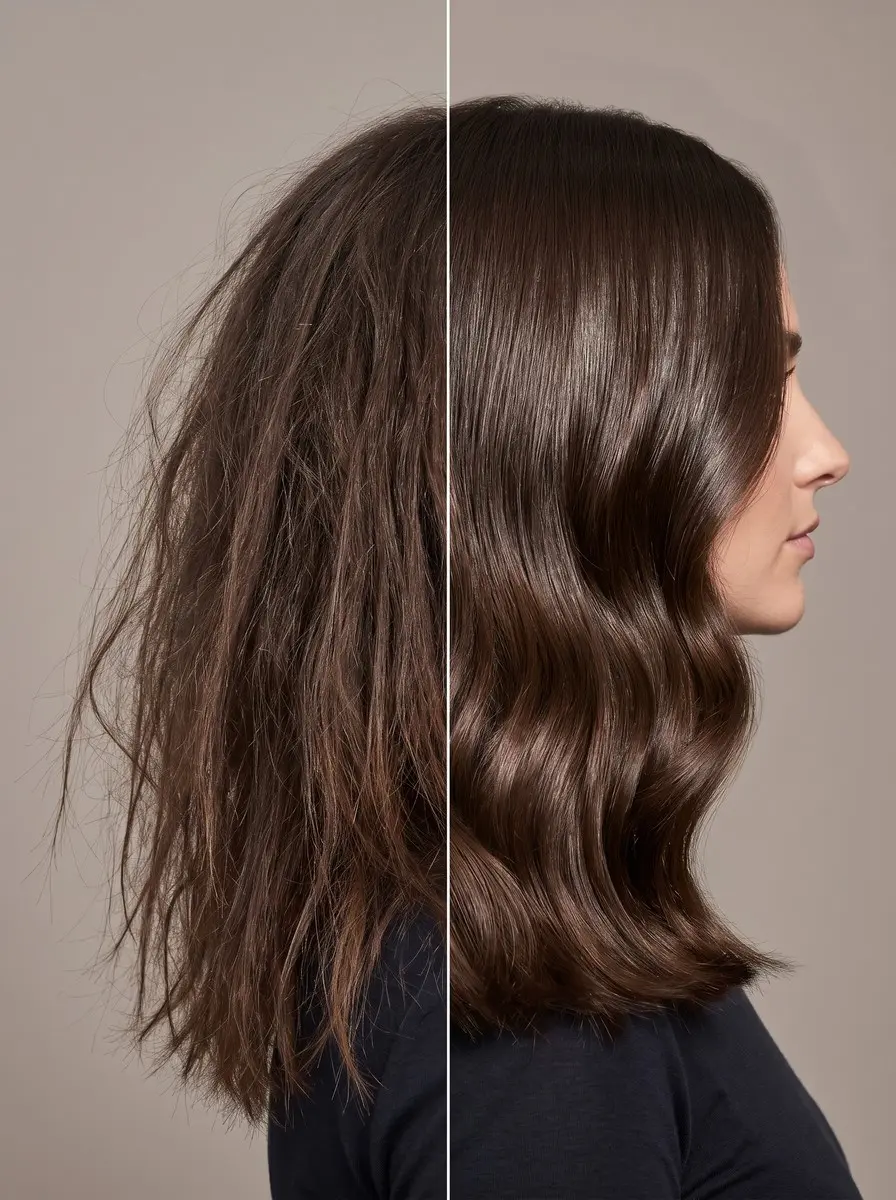
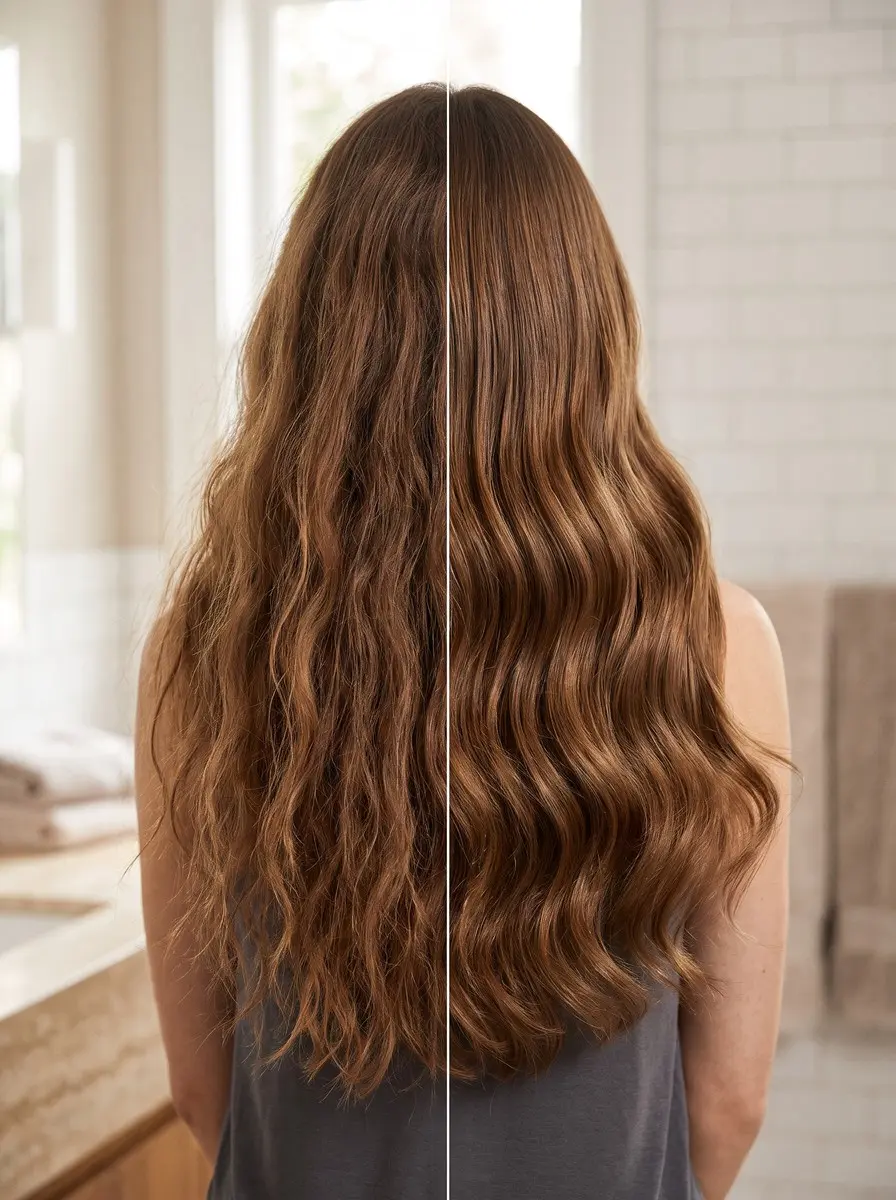
Used the right way, a hair mask is a short habit that pays off for days: softer ends, less frizz, fresher-looking color and curls that clump instead of fuzz. Match the formula to your goal, keep it on damp mid-lengths and ends, and stick to the label’s timing. If you blow-dry afterward, mist a heat protectant through your damp lengths first, because a mask doesn’t replace one.
Recheck your rhythm every few weeks. Once a week is the baseline, up to 3 times a week for dry or damaged hair, and as little as every other week for fine or oily hair. If your hair still snaps when you brush it or feels gummy when wet despite regular masking, see a stylist. That damage needs a trim and a professional plan, not another jar.
Frequently Asked Questions
Do you put a hair mask on wet or dry hair?
Most hair masks go on towel-dried, damp hair, which lets the formula spread evenly without being diluted. Oil-based masks and pre-shampoo treatments are the exception: they get better results on dry hair before you wash. Overnight masks are labeled for long wear, so follow the package. If the label doesn't say, use it on damp hair after shampooing.
How long should you leave a hair mask on?
Most hair masks work in about 5 to 10 minutes, and some richer formulas call for up to 20. Only masks labeled as overnight treatments are designed to stay on for hours. Leaving a standard rinse-out mask on longer than directed adds no benefit and can leave residue that makes hair heavy, so follow the time on the label.
How often should you use a hair mask?
Once a week is a good starting point for most hair. Dry, damaged, color-treated or very thirsty curly hair can use a mask 1 to 3 times a week, while fine or oily hair usually does best once a week or every other week. Cut back if your hair starts to feel limp, greasy or heavy.
Do you use conditioner after a hair mask?
Usually not. On mask days, a rinse-out mask typically takes the place of your regular conditioner, because it does the same job more intensively. A few brands design their masks to be followed by conditioner, so check the label. You can still use a leave-in or styling product afterward as normal.
Can a hair mask repair split ends?
No. Once an end has split, no mask can permanently fuse it back together; only a trim removes it. A good mask can soften and smooth the lengths so frayed ends look neater and snag less, which helps keep new splits from forming. Regular masking is prevention, not repair.
Keep Reading
Sources
- Hair masks what are they all about garnierusa.com
- How to use a hair mask lorealparisusa.com
- How often should i use a hair mask us.davines.com