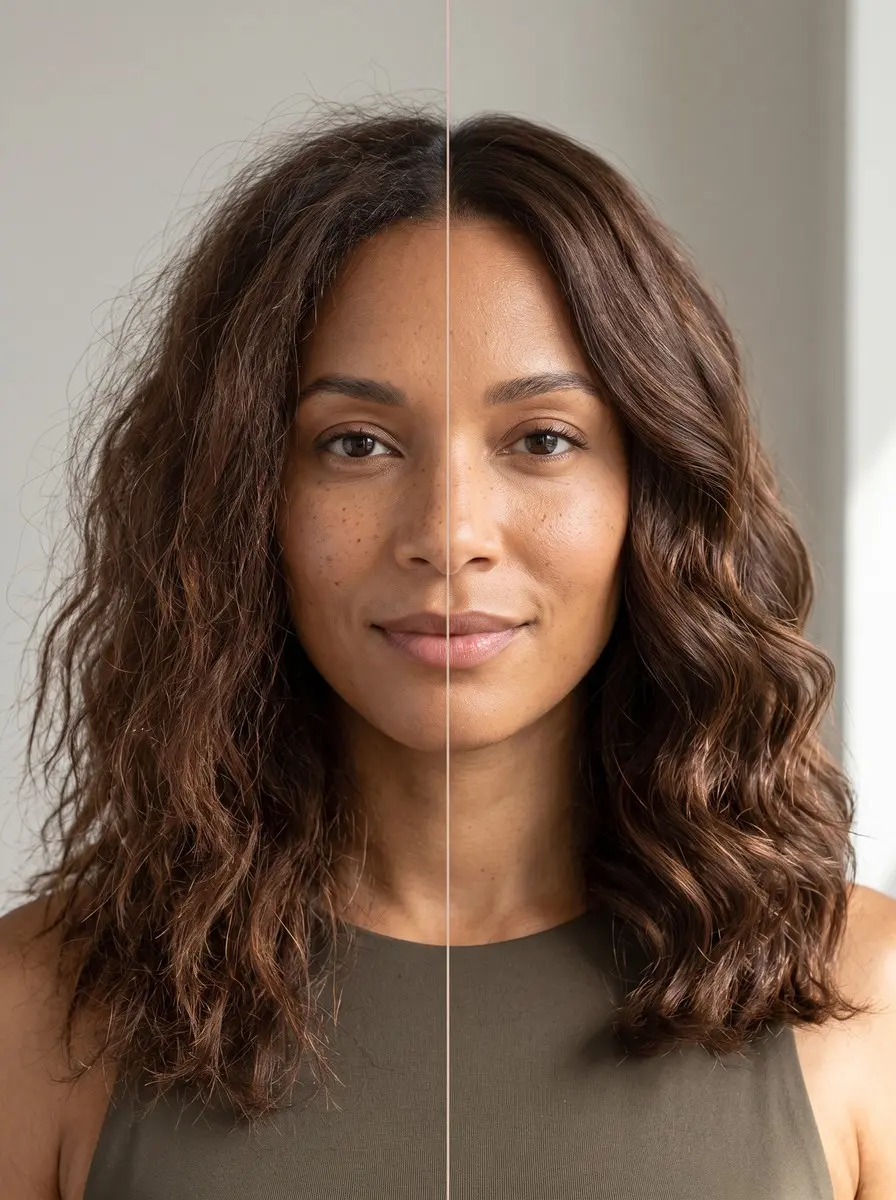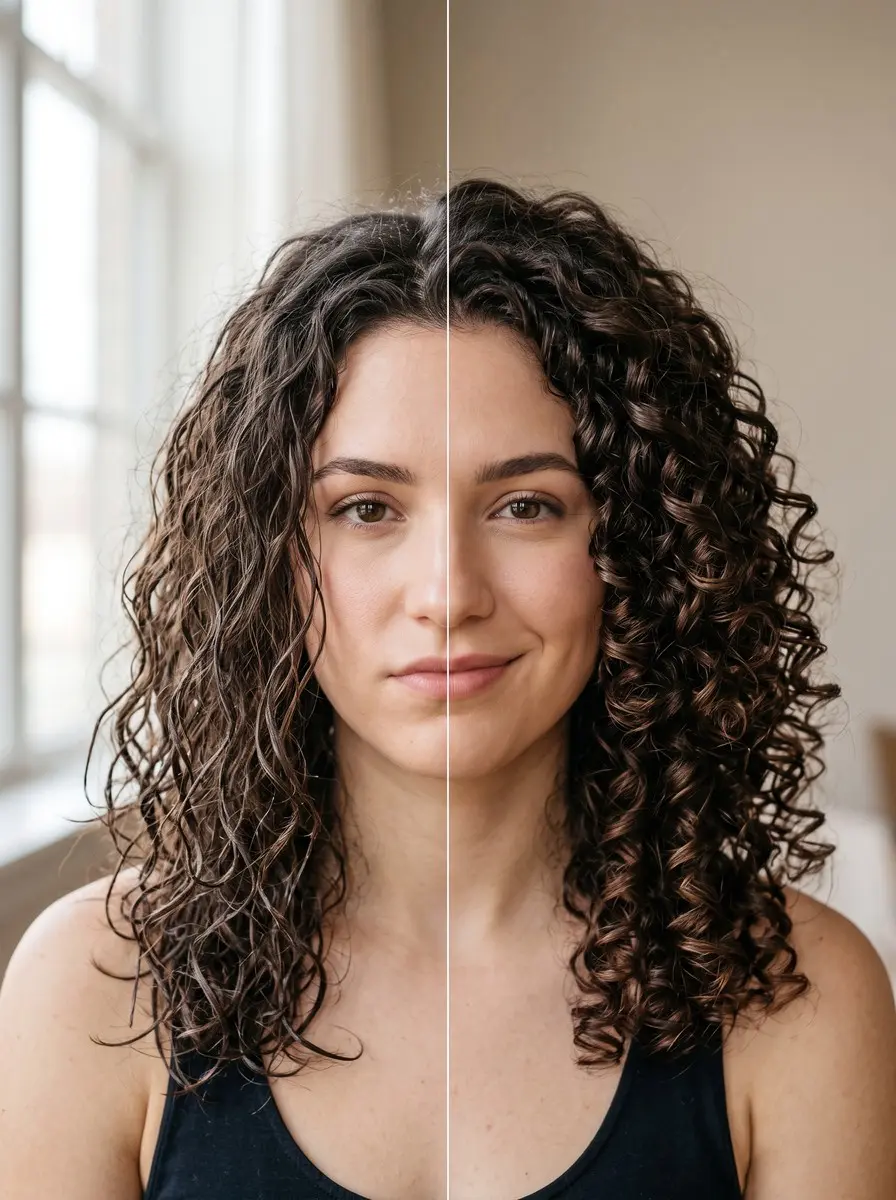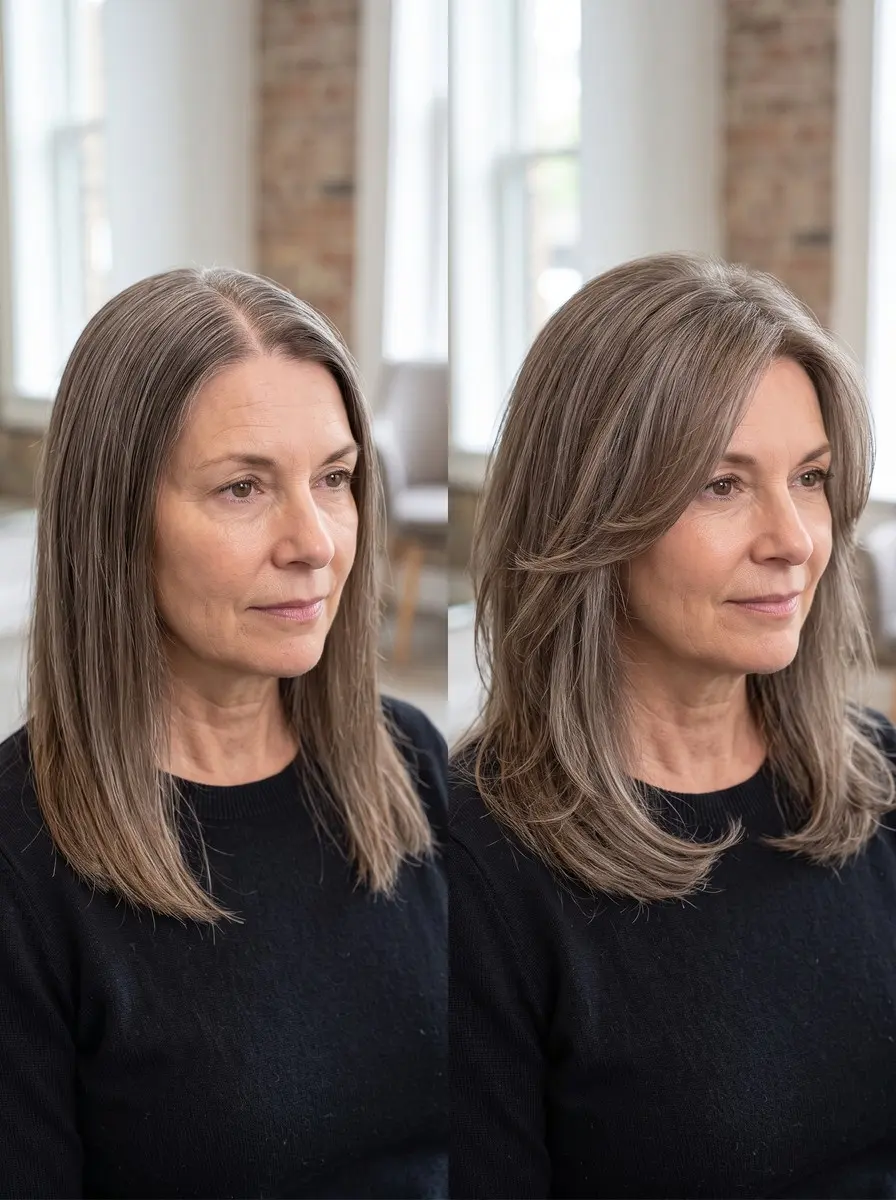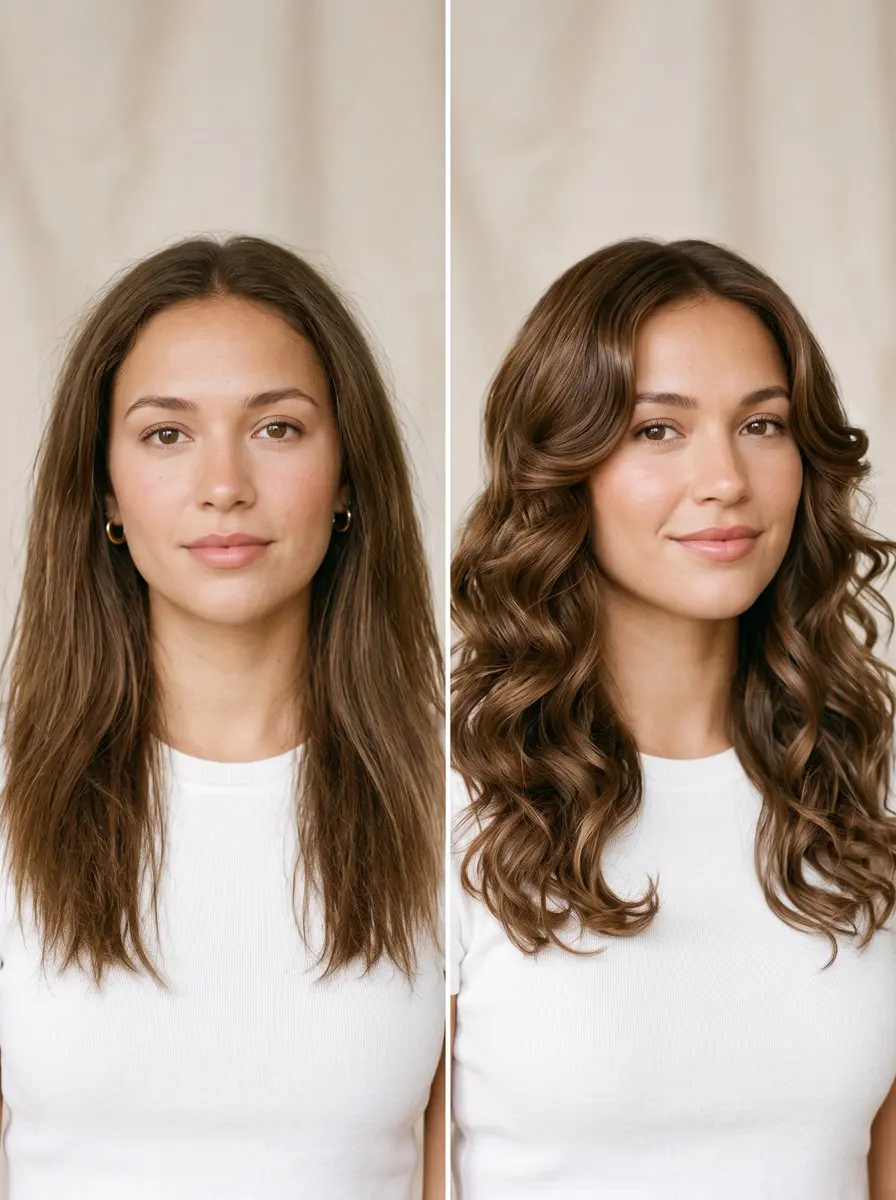
Choose a curling iron if you're a beginner or want uniform, polished curls that tend to last longer: its clamp grips the ends and guides the wrap. Choose a curling wand for looser, varied, natural-looking waves with no crease at the ends, once you're comfortable wrapping hair by hand.
Curling wand vs iron looks like a small choice, since both set a curl with a heated barrel, but the two tools behave very differently in your hands and in the mirror. The iron’s spring clamp grips your ends and guides the wrap, which gives uniform, polished curls. The wand has no clamp, so you wrap the hair yourself and get looser, more varied waves with no mark at the ends. Buy the wrong one and you either fight a tool you can’t control or get a finish you didn’t want.
This guide doesn’t rank products or teach the wrap itself. It walks through the decisions that actually separate the two tools, in order: finish, hold, barrel size, hair type, length and your own skill. It ends with a clear ‘if you only buy one’ call for each situation, so you can choose with confidence in a few minutes.
What You’ll Need
- 1-inch clamp curling iron (ceramic or tourmaline barrel) — The most versatile, forgiving first hot tool for uniform, polished curls that hold, at every hair length.
- 1 1/4-inch clampless curling wand (straight or tapered barrel) — Gives loose, varied, crease-free waves on shoulder-length and longer hair once you’re comfortable wrapping by hand.
- Heat-resistant styling glove — Protects the fingertips that hold each section against a wand’s exposed barrel, or around a closed iron.
- Heat protectant spray — Coats the lengths before either tool touches them, as covered in the temperature FAQ below.
- Flexible-hold hairspray — Helps either tool’s curls keep their shape once they’ve cooled, without making them stiff.
As an Amazon Associate, HairAide earns from qualifying purchases. Some links above are affiliate links — they cost you nothing extra and help support free tutorials.
Step-by-Step
-
Start with the one mechanical difference, because everything else follows from it: a curling iron has a spring-loaded clamp, and a wand doesn’t. The clamp pinches the ends against the barrel and keeps even tension as you roll, so each section wraps the same way every time without you holding it in place. A wand leaves the wrap, the tension and where the ends sit to your hand, which gives you more control over each curl’s shape but more room for error. If you want the tool to do the guiding, lean toward an iron; if you want to do the shaping yourself, lean toward a wand.
-
Next, picture the finish you actually want to wear, because the two tools are built for different looks. An iron’s clamp and even tension produce uniform, classic curls that match from section to section, which suits polished, formal and retro styles and anything meant to look deliberately done. A wand produces looser waves, natural-looking curls or ringlets that vary slightly from piece to piece, because each wrap is placed by hand, and that variation is what makes beachy, lived-in texture look effortless. If the photos you’ve saved are mostly symmetrical and glossy, you want an iron; if they’re tousled and piecey, you want a wand.
-
Decide which matters more to you: curls that last all day, or ends with no mark. An iron is the usual pick for longevity, because the clamp holds each section under firm, even tension, so the curl sets tight and uniform and still looks curled after it relaxes through the day. The trade-off is the clamp itself: squeeze it shut on the ends and it can press a small flat crease into them, which shows most on blunt ends and straight, fine hair. A wand touches the hair with nothing but its round barrel, so the ends come out smooth and unmarked, which is why it suits looks where the ends stay soft or slightly straighter. Hold also depends on your texture, your products and letting each curl cool, so neither tool guarantees it alone.
-
Choose the barrel diameter next, because it sets the size of the curl more than the tool type does, and the sizing logic is the same for both. As a guide, 3/4 inch (19 mm) gives springy, defined curls, 1 inch (25 mm) is the most versatile size for classic curls, 1 1/4 inches (32 mm) gives softer, looser curls, and 1 1/2 inches (38 mm) and up mostly adds waves and body on longer hair. Clamp irons come in fixed sizes that each make a specific curl; ghd, for example, describes its 26 mm iron as ideal for medium curls and its 32 mm for soft curls. Common wand sizes include 32 mm and 38 mm, and many wands are tapered, wider at the handle and narrower at the tip, so one wand gives a curl that’s looser at the top and tighter toward the ends. At the same diameter a wand curl usually looks a little looser and less uniform than an iron curl, so size a wand down if you want definition.
-
Factor in your texture, because fine and thick hair fail in opposite ways. Fine, slippery or very straight hair tends to let curls drop quickly, so an iron’s firm tension and uniform curl is often the safer choice, ideally in a barrel one size smaller than the finished look you want; a wand still works on fine hair if a soft wave is the goal rather than a defined curl. Thick, dense or coarse hair holds a curl well but is easy to overload, and a clamp can’t close evenly over an overstuffed section, so the strands furthest from the barrel never set and the curl drops. If your hair is thick, either take smaller sections with an iron or choose a long-barrel wand, which lets you spread a section flat along the barrel instead of stuffing it into a clamp.
-
Then look at your length and cut, because a wand needs enough hair to wrap and short hair needs something to grip. On a pixie, bob or anything above the chin, a small clamp iron, around 3/4 inch to 1 inch, is usually easier: the clamp catches short ends that would slide off a wand, and your fingers stay further from your scalp and neck. From shoulder length down, both tools work, and a wand comes into its own for loose waves because there’s enough length for several full wraps. Layered cuts such as shags, butterfly cuts and long layers suit a wand’s varied, piecey finish and crease-free ends, since every layer’s ends are on show, though a small iron can be easier on the very shortest face-framing pieces.
-
Be honest about your experience, because the learning curve is the biggest practical difference between the two. Stylists generally suggest starting with a clamp iron as the more forgiving tool: the clamp holds the hair for you, and your hands stay on the handle, the clamp lever and the cool tip rather than beside the hot barrel. A wand’s barrel is exposed along its whole length and you hold the ends against it yourself, so the risk of a fingertip or forehead burn is highest while you’re learning, which is why many wands come with a heat-resistant glove that belongs on your guiding hand every time. Once curling with an iron feels automatic, moving to a wand is the natural next step for a softer, more natural result, and our curling wand guide walks through the wrap itself.
-
Finally, make the call using the situation that sounds most like you. If you’re a beginner, have short or fine hair, or want polished curls that last, buy a 1-inch clamp iron, the most versatile size at every length. If your hair is shoulder length or longer, you want loose, undone waves with no crease and you’re comfortable wrapping by hand, buy a 1 1/4-inch (32 mm) wand, or a tapered one if you like curls that tighten toward the ends. If your hair is long and thick and you mostly want body and soft waves, a 1 1/4- to 1 1/2-inch wand needs fewer wraps to cover the length. If you genuinely can’t decide, the clamp iron is the safer single buy, because it can imitate a wand’s look while a wand can never add a clamp.
Common Mistakes to Avoid
- Buying a wand as your very first hot tool because the waves look effortless, then learning the wrap without a glove; if you’ve never curled your own hair, start with a clamp iron.
- Choosing a barrel from the curl in a photo without allowing for length: long, heavy hair relaxes curls, so a 1 1/2-inch barrel on long hair often gives body rather than a visible curl.
- Squeezing the clamp shut on the very ends, which presses a crease into them; roll the ends in smoothly, or switch to a wand if creases keep showing on blunt ends.
- Overstuffing the clamp on thick hair, so the strands furthest from the barrel never set and the curls fall out within hours.
- Expecting a wand to work on very short hair: if a section can’t wrap around the barrel at least once, the ends slip off and your fingers end up too close to your scalp.
Pro Tip
A clamp iron can double as a wand: close the clamp, wrap the section around the outside of the barrel and hold the ends yourself with a gloved hand. You get wand-style, crease-free waves from the same tool, which is why the iron is the safer single buy if you want both looks.
Frequently Asked Questions
Is a curling wand or a curling iron better for beginners?
A clamp curling iron is usually easier for beginners. The clamp holds your ends and keeps the tension even, and your hands stay on the handle and lever instead of beside the hot barrel. Stylists generally suggest learning on an iron, then moving to a wand once the wrap feels natural, for a softer, more varied finish.
Do curling wand curls last as long as curling iron curls?
Iron curls usually last longer, because the clamp sets each section under firm, even tension, giving a tighter, more uniform curl that still looks curled after it relaxes. Wand curls start looser and can drop sooner in fine hair. Letting every curl cool fully, curling second-day hair and finishing with a flexible hairspray help curls from either tool last.
Does a curling iron leave a crease in your hair?
It can. Squeezing the clamp shut on the very ends presses a small, flat crimp into them, most visible on blunt ends and straight, fine hair. Rolling the ends in smoothly without clamping hard, or wrapping hair around the outside of the closed clamp, avoids it. A wand has no clamp, so it never leaves a mark on the ends.
What temperature should I use on a curling wand or curling iron?
A wand and an iron both go on completely dry hair only: an iron on wet or damp hair turns the water in the strand to steam, which is a common cause of damage. Coat your lengths with a heat protectant first, keep fine or bleached hair around 150°C/300°F and coarse hair at 180-200°C/355-390°F, and start low.
Can I get beach waves with a curling iron instead of a wand?
Yes. Use a 1 1/4-inch or larger barrel and either leave the last inch of each section out of the clamp or wrap the hair around the closed clamp like a wand, then rake the curls apart with your fingers once they've cooled. The result is close to wand waves, though a wand gives the most varied, undone movement.
You Might Also Like
- waterfall waves ideas to inspire your next look
- layered bob ideas to inspire your next curled look
- how to use a curling wand
- curling iron barrel size guide
- flat iron temperature guide
- how to use heat protectant so it actually works
- how to style a shag haircut at home
The short version: a clamp iron is the forgiving, polished, longer-lasting choice and the best first hot tool, while a wand is the tool for loose, varied, crease-free waves once you’re comfortable wrapping hair by hand. Match the barrel to the curl you want, adjust for your texture and length, and you’ll rarely choose wrong.
Revisit the decision when your cut changes: going shorter often points back to a small iron, and growing out long layers opens the door to a wand. If your hair is breaking, feels rough after styling or won’t hold any curl, see a stylist before buying another tool, since the cause may be your hair’s condition rather than the barrel in your hand.
Sources
- Irons have a clamp and make uniform, classic curls. Wands have no clamp and produce waves, natural curls and ringlets, with no mark at the bottom of the curl. lookfantastic.com
- Stylists generally suggest starting with a clamp iron as the more forgiving tool, and moving to a wand for a more natural result once technique is established. thezoereport.com