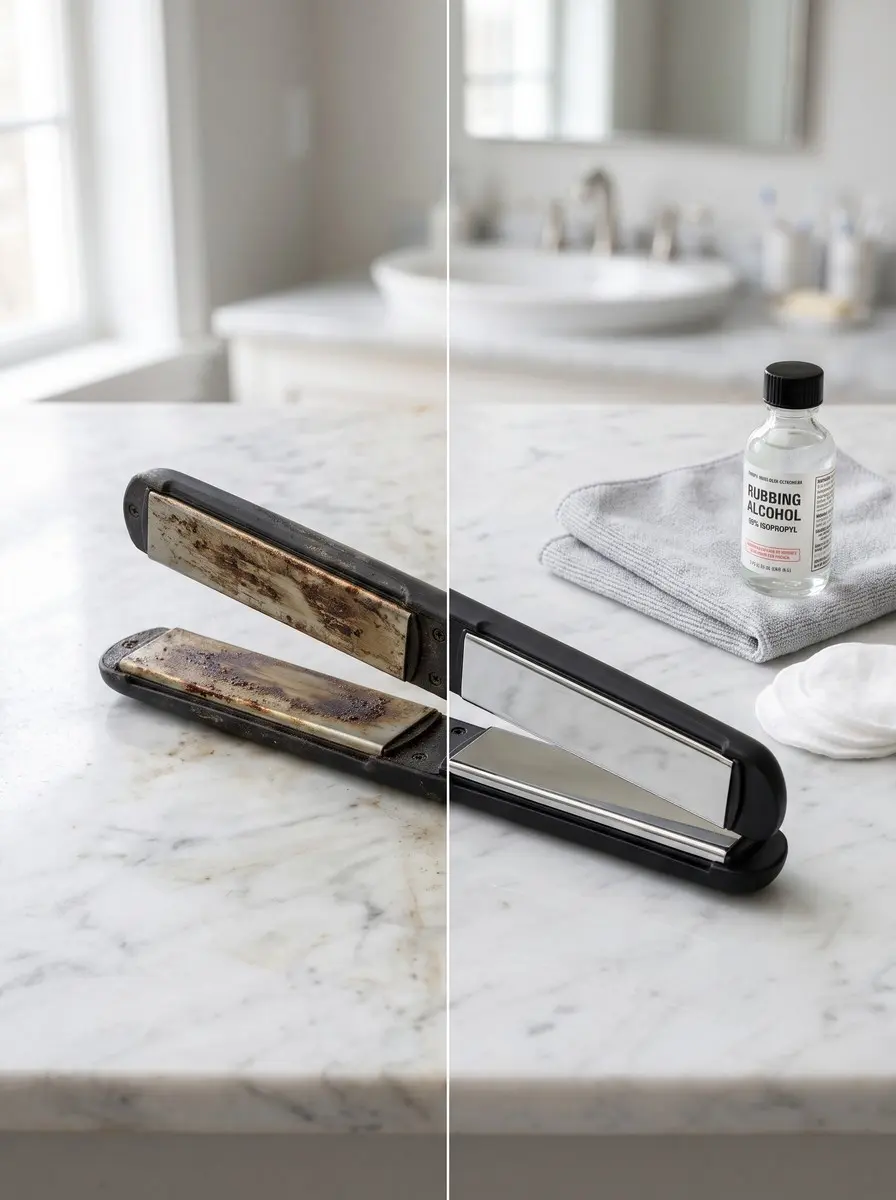
Quick answer To clean a flat iron, unplug it and let it cool completely. Then swab the plates with a cotton pad lightly dampened with rubbing alcohol and wipe the whole tool with a warm damp cloth. Loosen stubborn residue with a soft toothbrush, never steel wool, and repeat weekly.
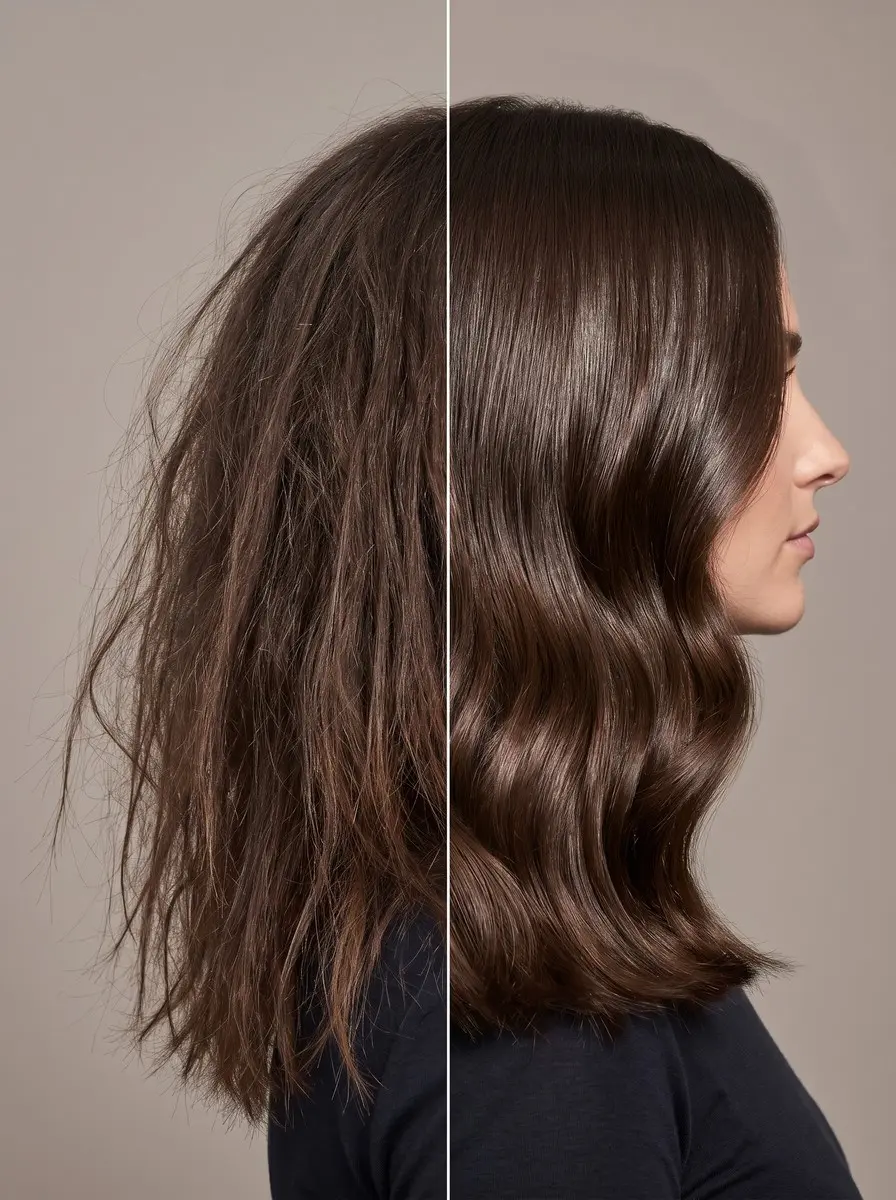
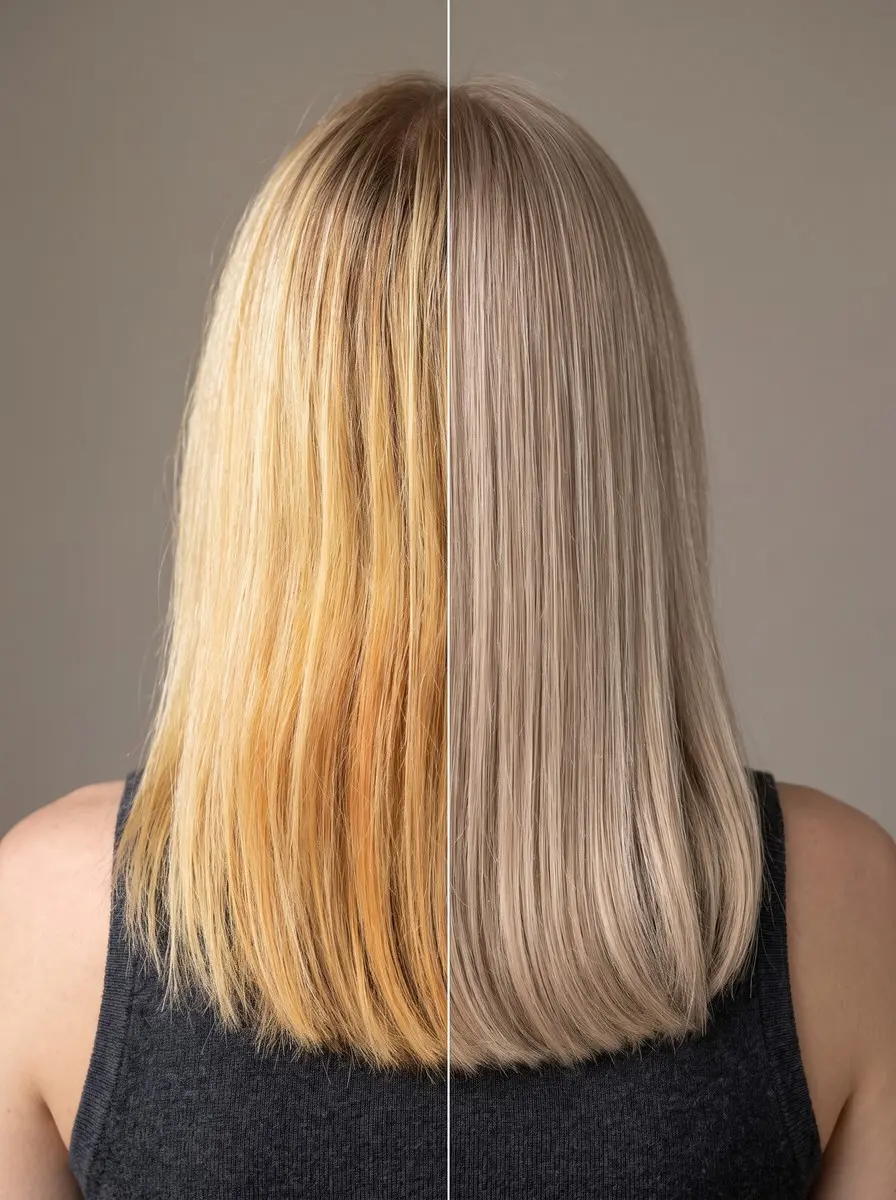
If your flat iron has started tugging instead of gliding, smells faintly burnt as it heats up, or leaves some sections sleek and others still frizzy, the plates are probably coated in old product.
Every pass leaves a trace of hairspray, serum and heat protectant behind, and heat bakes it into a sticky layer that later scorches, snags hair and stops the plates heating evenly. Learning how to clean a flat iron properly usually solves all three.
The good news is that it takes only about 15 minutes of hands-on time to clean a flat iron, using things you probably already own: rubbing alcohol, cotton pads, a soft toothbrush and a cloth. This guide covers the safe plate-by-plate method and how to adjust it for ceramic, tourmaline, titanium and non-stick coatings. It also covers burnt-on gunk, how to stop buildup coming back, and the signs that an iron is worn out.
Time 15-20 minutes, plus cooling timeDifficulty BeginnerSteps 8
Flat Iron Cleaning by Plate Type
| Plate type | For stubborn residue | Never use |
|---|---|---|
| Ceramic or tourmaline | Soft toothbrush, baking-soda paste, edge-only melamine | Steel wool, scouring pads, knives |
| Solid titanium | Soft toothbrush, baking-soda paste, light melamine | Steel wool, metal scrapers |
| Non-stick, titanium-coated or unknown | Repeat alcohol passes, soft toothbrush | Baking soda, melamine, any scouring pad |
What You’ll Need
As an Amazon Associate, HairAide earns from qualifying purchases. Product links in this guide are affiliate links: they cost you nothing extra and help keep these tutorials free.
- 70% isopropyl rubbing alcohol Breaks down the sticky hairspray and product film on the plates and evaporates quickly without soaking into the tool.
- Cotton pads and cotton swabs Pads cover the flat plate faces, while swabs reach the edge where the plate meets the housing without dripping into the seams.
- Melamine sponge A fine abrasive that lifts stubborn edge buildup with light pressure on plates that can take it.
- Microfiber cleaning cloths A well-wrung warm damp cloth removes leftover alcohol and residue, and a dry one gives the plates a quick swipe after each use.
- Heat-resistant flat iron pouch Gives the iron a clean, heat-safe place to cool and be stored, so the plates don’t pick up dust and product from the counter.
Step-by-Step
Step 1 Unplug and let it cool completely
Switch the iron off, pull the plug from the wall and leave it open on a heat-safe surface until the plates feel cool to a light fingertip touch, which usually takes around 30 minutes.
Never put liquid on a plate that is hot or still plugged in: liquid near live electrics is a shock risk, and rubbing alcohol is flammable. Don’t warm the iron back up to soften residue either, because every step below is done on a cold tool. Start once the plates are cool and the cord is unplugged.
Step 2 Check what your plates are made of
Check the box, the manual or the model’s product page to see whether your plates are ceramic, tourmaline (crystals infused into a ceramic coating), solid titanium, or have a non-stick or titanium-coated finish. This matters because coatings are thin.
A scrub that solid titanium shrugs off can wear through a ceramic or non-stick finish and leave a rough patch that snags hair from then on.
Rubbing alcohol on a cotton pad is safe on every type, so the everyday clean never changes; only the tools for stubborn residue do, as the table shows. If you can’t confirm the material, treat the iron as the gentlest row (non-stick, titanium-coated or unknown) until you know.
Step 3 Swab the plates with rubbing alcohol
Dampen a cotton pad with rubbing alcohol (70% isopropyl is fine) and squeeze it so it is moist, not dripping. Wipe each plate from the hinge end out to the tip in firm, overlapping strokes, which pushes loosened gunk toward the open end rather than into the hinge.
Switch to a fresh pad as soon as one turns brown, then run an alcohol-dampened cotton swab along the edges where the plate meets the housing.
Alcohol works because it breaks down the sticky film left by hairspray, serums and heat protectants, and it evaporates quickly instead of soaking into the tool. You’re done when a fresh pad comes away clean from both plates.
Step 4 Loosen stubborn burnt-on residue
Dark, crusty spots that survive the alcohol are product baked on over many uses, and they need gentle friction rather than force. On every plate type, start by working the spot in small circles with a soft toothbrush dipped in rubbing alcohol.
On ceramic, tourmaline or solid titanium you can follow with a paste of baking soda and a few drops of water, then wipe it away with a damp pad.
A melamine sponge such as a Magic Eraser is a fine abrasive, so use only light pressure on solid titanium, and on ceramic and tourmaline keep it to the edge where the plate meets the plastic. Skip both the paste and the sponge on non-stick, titanium-coated or unknown plates and simply repeat the alcohol passes.
Never use steel wool, scouring pads, knives or metal scrapers, which scratch coatings and leave rough spots that catch hair. Stop when the plate feels evenly smooth under a clean pad; faint, flat discoloration that won’t lift is usually cosmetic.
Step 5 Finish with a warm damp cloth
Wet a soft microfiber cloth with warm water and wring it out until it no longer drips. Wipe both plates to lift any leftover alcohol, loosened residue and baking-soda grit, then go over the outer housing and handles, where product mist and fingerprints collect too. Keep liquid out of the seams, the hinge and the controls.
Never spray anything onto the iron or rinse it under the tap, because water that seeps inside can reach the heating element and electronics. Dry everything with a clean, dry cloth and leave the iron open for 10-15 minutes so any remaining moisture evaporates before you plug it back in.
Step 6 Clean the cord, hinge and case
With the iron still unplugged, run a barely damp cloth along the cord from plug to housing, feeling for kinks, cracks or exposed wire, especially at the base where the cord swivels.
Brush hair, dust and dried product out of the hinge, the swivel joint and any vents with a dry, soft toothbrush, since debris there can trap heat and stop the plates closing flush. Wipe out the heat-resistant pouch or mat, or wash it if the label allows, because residue on the case transfers straight back onto clean plates.
Store the iron only when fully cool, with the cord looped loosely beside it rather than wrapped tightly around the iron, which strains the wires where they enter the handle.
Step 7 Stop buildup before it starts
Most residue comes from product that is applied heavily or is still wet when the plates clamp down. Use a light mist of heat protectant and a pea-sized amount of serum rather than a soaking.
Let products dry or absorb before the iron touches them: sections still slick with serum or protectant sizzle on the plates and leave exactly the film you just cleaned off. Save finishing hairspray and shine spray for after you’ve finished ironing instead of spraying sections before you press them.
Once the plates cool after each use, give them a quick swipe with a dry microfiber cloth. Do the full alcohol clean at least once a week if you style several times a week, or sooner if you notice tugging or a burnt smell.
Step 8 Know when cleaning won’t fix it
Some problems are wear, not dirt, and no amount of alcohol will reverse them. Replace the iron if the plates are chipped, flaking or deeply scratched, or no longer close flush. Replace it too if it still snags, or straightens some sections but not others, after a thorough clean; these are signs of a worn coating or uneven heating.
Stop using it immediately if the cord is frayed, cracked or shows bare wire, if it sparks, or if the temperature display behaves erratically, because those are electrical faults rather than cosmetic ones. A burnt smell that persists after a full clean is another sign to retire it.
Common Mistakes to Avoid
- Wiping or spraying the plates while the iron is still hot or plugged in. Rubbing alcohol is flammable, and liquid near live electrics is a shock risk.
- Attacking burnt-on residue with steel wool, a scouring pad or a knife, which scratches the coating and leaves rough spots that snag hair for good.
- Using a dripping-wet pad or cloth, which lets liquid seep into the hinge, seams and controls.
- Plugging the iron back in before the plates and housing are completely dry.
- Pressing sections still slick with serum or protectant, which bakes a fresh layer of residue straight back onto clean plates.
Pro tip Keep a folded microfiber cloth in your styling pouch and give the plates a dry swipe as soon as they’ve cooled after each use. Fresh product lifts off in seconds, but once it has been reheated a few times it bakes into the crusty layer that needs a scrub.
The Bottom Line
A clean flat iron glides instead of tugging, heats every section evenly and stops smelling of scorched hairspray, and getting it there takes only a few minutes once the plates are cool. Keep the routine simple: a dry swipe after each use, a full rubbing-alcohol clean at least weekly if you style often, and the toothbrush or paste only when burnt-on spots appear.
Cleaning can’t fix wear, though. If the plates are chipped or flaking, the cord is damaged, or the iron still heats unevenly after a thorough clean, stop using it. Check whether it’s still under the manufacturer’s warranty, and replace it if not. With your next iron, go lighter on product so the plates stay as smooth as the day you bought it.
Frequently Asked Questions
How often should you clean a flat iron?
Give the plates a quick dry wipe after each use once they've cooled. If you style several times a week, do a full clean with rubbing alcohol at least once a week. Clean it sooner if the iron starts tugging, smells burnt or leaves sections unevenly straightened, since those are all signs of product buildup on the plates.
Can you use rubbing alcohol on a ceramic flat iron?
Yes. Rubbing alcohol on a lightly damp cotton pad is safe on ceramic, tourmaline, titanium and non-stick plates, and it's the standard way to break down hairspray and product film. Use it only when the iron is unplugged and completely cool, because alcohol is flammable. Afterwards, wipe the plates with a warm damp cloth and let the iron dry fully before plugging it in.
How do you get burnt-on gunk off flat iron plates?
Start by working the spot with a soft toothbrush dipped in rubbing alcohol. On ceramic, tourmaline or solid titanium you can follow with a baking-soda-and-water paste. Use a melamine sponge lightly, and only on the edges of ceramic and tourmaline plates. On non-stick or coated plates, just repeat the alcohol passes. Never use steel wool, scouring pads or knives.
What heat setting keeps product from burning onto the plates?
Use the lowest setting that smooths your hair in a pass or two, since extra heat scorches product onto the plates faster. Go up to about 150°C/300°F for fine or bleached hair and no more than 180-200°C/355-390°F for coarse hair. Use a heat protectant, and only clamp completely dry hair, since steaming wet hair between the plates damages it.
When should you replace a flat iron instead of cleaning it?
Replace it when the plates are chipped, flaking or deeply scratched, no longer close flush, or still snag and heat unevenly after a thorough clean. Stop using it straight away if the cord is frayed or shows bare wire, if it sparks, or if the temperature display acts erratically. Those are electrical faults, not dirt.
Keep Reading
Sources
- How to clean flat irons and curling irons purewow.com