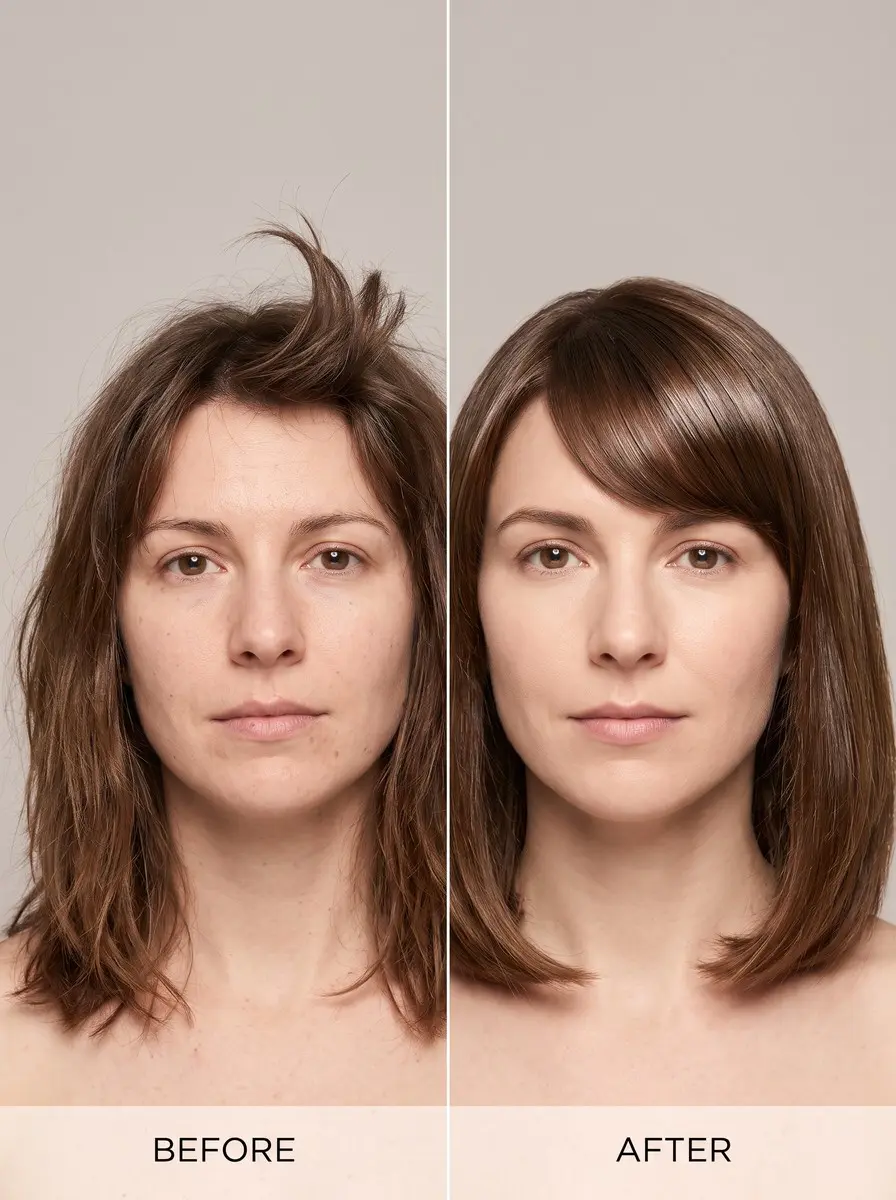
Quick answer To style a cowlick, dampen just that patch and blow-dry it against its growth direction. Alternate left and right with a brush, finish with a cool blast, then clip it flat until it cools. A flexible-hold spray keeps it down, and longer, heavier cuts help most.
A cowlick is the patch of hair that won’t go where the rest of your hair goes. It’s the bangs that split, the crown that sticks up in every selfie, or the nape flip that spoils a fresh bob. It happens because hair in that spot grows out at a different angle from its neighbors, often in a swirl, and no amount of brushing changes that angle.
The good news is that it’s purely cosmetic: a growth pattern, not a sign anything is wrong with your hair or scalp. You can’t change the root, but you can set the hair above it.
This guide shows you how to style a cowlick: find which way yours grows, then flatten it with a wet-set and blow-dry in about ten minutes. It also covers the cuts that hide a cowlick at the hairline, crown or nape and the ones that expose it, plus curly hair and men’s short cuts.
Time 10-15 minutesDifficulty BeginnerSteps 9
Cowlick Fixes by Location
| Cowlick spot | Styling fix | Works with it | Fights it |
|---|---|---|---|
| Front hairline | Wet-set; part the way it pushes | Brow-length curtain or side-swept bangs | Short blunt or micro bangs |
| Crown | Wet-set; clip flat to cool | Longer crown layers, longer-top pixie | Choppy crown layers, cropped pixie |
| Double crown | Part between the swirls | Enough top length to cover both | Very short crown |
| Nape | Wet-set; clip flat to cool | Bob ending below it, or tapered nape | Bob ending right at it |
| Curly or coily | Root-clip and diffuse | Cut shaped to the curl pattern | Brushing it flat |
| Short men’s cuts | Blow-dry against growth; matte clay | Scissor-cut crown over a fade, or a buzz | The in-between length |
What You’ll Need
As an Amazon Associate, HairAide earns from qualifying purchases. Product links in this guide are affiliate links: they cost you nothing extra and help keep these tutorials free.
- Hair dryer with a concentrator nozzle and cool-shot button The nozzle aims airflow down the root so you can dry it against the growth, and the cool shot sets the new direction.
- Small round brush It lets you pull the root left and right across its natural angle while it dries.
- Flat duckbill sectioning clips They hold the cowlick flat while it cools, and they work as root clips when diffusing curls.
- Lightweight root mousse It gives the damp root light hold without weighing the surrounding hair down.
- Flexible-hold hairspray It keeps the set cowlick in place all day while the hair still moves naturally.
Step-by-Step
Step 1 Find the growth direction
Wet your hair, or start straight out of the shower. Comb the area straight back with a wide-tooth comb, let go and watch: hair over a cowlick springs up, splits apart or swirls in a circle instead of lying flat with the hair around it.
Hold a hand mirror facing the bathroom mirror to check the crown and nape, and note which way the hair wants to fall, because every later step either works against that direction or with it.
A single swirl at the crown, or one patch that lifts at the hairline or nape, is a cowlick. Two separate spirals side by side near the top of the head are a double crown, which needs a part or a cut that sits between them rather than a fight with each.
Step 2 Dampen only the cowlick
Mist the cowlick and the inch or so of hair around it with a spray bottle until it’s wet at the root, and leave the rest of your head dry.
Hair only takes a new shape after water loosens the hydrogen bonds holding its current shape, and a cowlick that dried overnight in its own direction will spring back unless the root is properly damp. With your fingertips, work a walnut-size puff of lightweight mousse or a pea-size amount of root cream through the damp roots.
Follow with a light mist of heat protectant over the patch, since the next step aims the dryer straight at it. Skip heavy waxes and pomades at this stage. They weigh the surrounding hair down without changing the root, and the patch looks greasy by midday.
Step 3 Blow-dry against the growth
Fit the dryer’s concentrator nozzle, set it to medium heat and point the airflow down the hair shaft. Dry the root in the opposite direction to the way it grows, using a small round brush on longer hair or a paddle brush, comb or your fingers on short hair.
Then switch and dry it the other way, alternating left and right every few seconds so the root is pulled back and forth across its natural angle.
This works because the root never sets in any single direction and dries flat and neutral in the middle, which is where you want it. Keep going until the root is completely dry, because a slightly damp root will drift back to its old angle as it finishes drying.
Step 4 Cool it and clip it flat
Press the dryer’s cool-shot button and blast the section for 10 to 15 seconds. Smooth the hair in the direction you want it to sit, and hold it flat with a duckbill or flat sectioning clip while it’s still warm.
Hair keeps the shape it has as it finishes cooling, so training the cowlick while it cools makes the result last much longer than letting it spring free straight off the dryer. Leave the clip in for a few minutes, until the hair feels completely cool to the touch, then slide it out sideways so it doesn’t leave a dent.
Step 5 Finish with flexible hold
Once the clip is out, mist a flexible-hold hairspray over the section from about 10 to 12 inches away, then smooth it once with your palm. Flexible hold keeps the hair in place while still letting it move. A strong, crunchy spray makes the patch look stiff, and it can crack apart into a visible gap as you move.
On short hair that needs grip rather than shine, press a pea-size amount of matte paste or light cream onto the surface instead. If the cowlick starts to lift during the day, re-spray and press it down with your fingers rather than wetting it.
Step 6 Tame a front-hairline cowlick
A cowlick at the front hairline usually lifts bangs or splits them down the middle. Part your hair on the side the cowlick already pushes toward, and let it carry the hair across your forehead instead of fighting it.
For bangs, choose curtain or side-swept bangs that fall at the brow or longer, because the extra length adds weight that holds the root down, while short blunt or micro bangs spring up and separate. When you book the cut, tell your stylist exactly where the cowlick sits.
Ask them to cut the bangs dry after styling them the way you’ll wear them, and to leave them a little long, because bangs cut wet over a cowlick lift higher once they dry.
Step 7 Weigh down crown and nape cowlicks
Longer or layered hair has more weight, so it lies over a crown or nape cowlick instead of standing up. Very short cuts expose the cowlick because there isn’t enough length to bend over the root.
At the crown, ask your stylist to keep the hair over the cowlick long enough to lie flat and to avoid short, choppy layers cut right at the swirl. In a pixie, that means a longer top rather than a cropped one, and with a double crown it means enough length on top to cover both swirls.
At the nape, a bob that ends right at the cowlick kicks outward at the neck. End it a little below the cowlick so the weight holds it down, or ask for a close tapered nape that leaves too little hair there to flip.
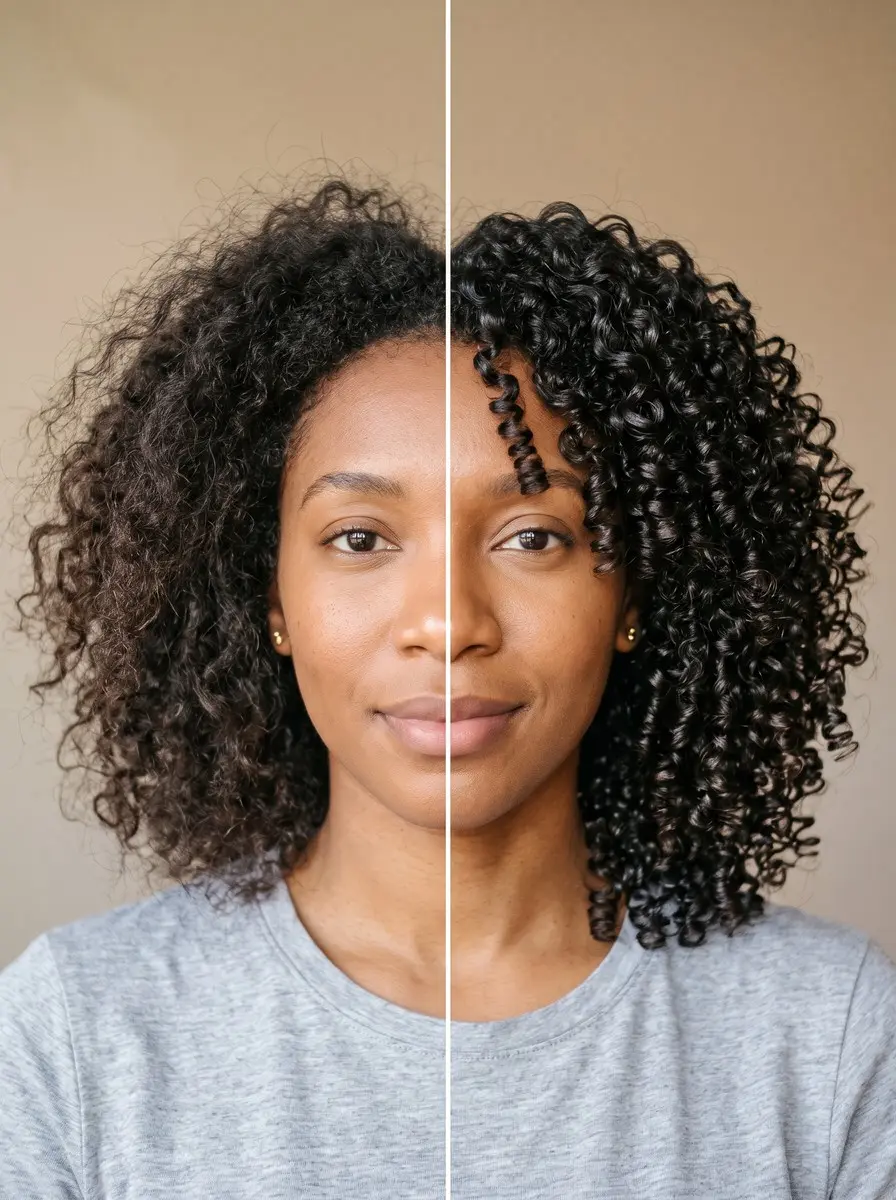
Step 8 Diffuse curly and coily cowlicks
On curly and coily hair, brushing a cowlick flat against its growth breaks up the curl pattern and leaves a frizzy, stretched-out patch, so work with the pattern instead. Apply your usual leave-in and gel to soaking-wet hair.
Then place a couple of duckbill clips at the root to hold the cowlick section in the direction you want while it dries. Diffuse on low heat and low speed, cupping the curls up toward the scalp without disturbing the clipped roots, and switch to the cool setting before removing the clips once the hair is fully dry.
Curls and coils have enough volume and texture that a cowlick set this way usually blends into the overall shape, and a cut shaped around your curl pattern hides it better than any amount of styling.
Step 9 Pick short cuts that work with it
Short cuts show cowlicks most, especially at the awkward in-between length where hair is long enough to lift but too short to have weight. If you wear a fade or crop, tell your barber where the cowlick is.
They can leave scissor length over the crown that lies flat and blend it into the fade, or take the area short enough that nothing is left to stand up, as in a buzz cut. A front cowlick suits styles that follow its direction, such as a textured crop pushed forward, a quiff lifted the way it already rises or a fringe swept toward the side it falls, rather than a flat, straight-across fringe.
Blow-dry the cowlick against its growth first, then work a pea-size amount of matte clay or paste through the dry hair for grip without the shine that makes a separated patch stand out.
Common Mistakes to Avoid
- Re-wetting the cowlick during the day to flatten it. Water resets it, and it springs back to its natural direction as it dries, so re-spray and press it down instead.
- Over-brushing the section once it’s set. This breaks up the hold and separates the hair over the root so the gap shows again; smooth it with your palm instead.
- Drying it in only one direction against the growth, which can push the cowlick into a new lift on the other side instead of letting it sit flat.
- Cutting bangs short, or cutting them wet, over a front cowlick, so they spring up higher than planned once dry.
- Using heavy wax or gel to glue the cowlick down. It weighs the rest of the hair and looks greasy without changing the root.
Pro tip On wash day, blow-dry the cowlick before anything else, while the root is still fully wet. If it air-dries for even a few minutes while you work on the rest of your hair, it sets in its own direction and you’ll be fighting it all day.
The Bottom Line
A cowlick won’t change, but the hair over it will behave once you know which way it grows. Dampen the patch, dry it back and forth across the growth, cool it, clip it and finish with flexible hold. Repeat the wet-set any morning it lifts; on most hair it takes about ten minutes.
If the cowlick keeps winning, the fix is usually the cut, not the styling. See a stylist or barber, show them exactly where the cowlick sits and ask for length and weight over it. Go back for a trim when the cut grows out, loses its shape and the spot starts to show again.
Frequently Asked Questions
Can you get rid of a cowlick permanently?
No. A cowlick comes from the angle at which hair grows out of the scalp, so styling changes how the hair above it lies, not the root itself. It's a cosmetic growth pattern, not a medical problem, so there's nothing to treat. A longer or layered cut and a quick daily wet-set make it much less noticeable.
What is the difference between a cowlick and a double crown?
A cowlick is a patch of hair that grows in a different direction from the hair around it, often a single swirl at the crown or an upsweep at the hairline or nape. A double crown is two separate swirls near the top of the head, each turning on its own. Both respond to the same wet-set, but a double crown needs enough length on top to cover both.
How long does a styled cowlick stay down?
Usually until your hair gets wet again. Hair holds the shape it dried and cooled in, so a properly set cowlick stays down all day, especially under a flexible-hold spray. Rain, sweat, a workout or a shower resets it to its natural direction. Re-spraying and pressing it flat works better than re-wetting it mid-day.
Do I need a heat protectant when I blow-dry a cowlick?
Yes. Mist a heat protectant over the damp section before you blow-dry or diffuse, because you're aiming concentrated air at the same root most mornings. Blow-dryers and diffusers are made for damp hair, so you don't need to wait for it to dry first. Medium heat plus the cool shot is plenty for one small section.
Which haircuts hide a cowlick?
Cuts that leave weight over the cowlick tend to hide it. For a front cowlick, that means brow-length or longer curtain or side-swept bangs. At the crown it means longer layers or a longer-top pixie, and at the nape a bob that ends below the cowlick. Very short crops, choppy crown layers and short blunt bangs usually expose it, so point it out to your stylist before the cut.
Keep Reading
Sources
- today.com today.com
- What is a cowlick lorealparisusa.com
- Beauty skin care healthline.com