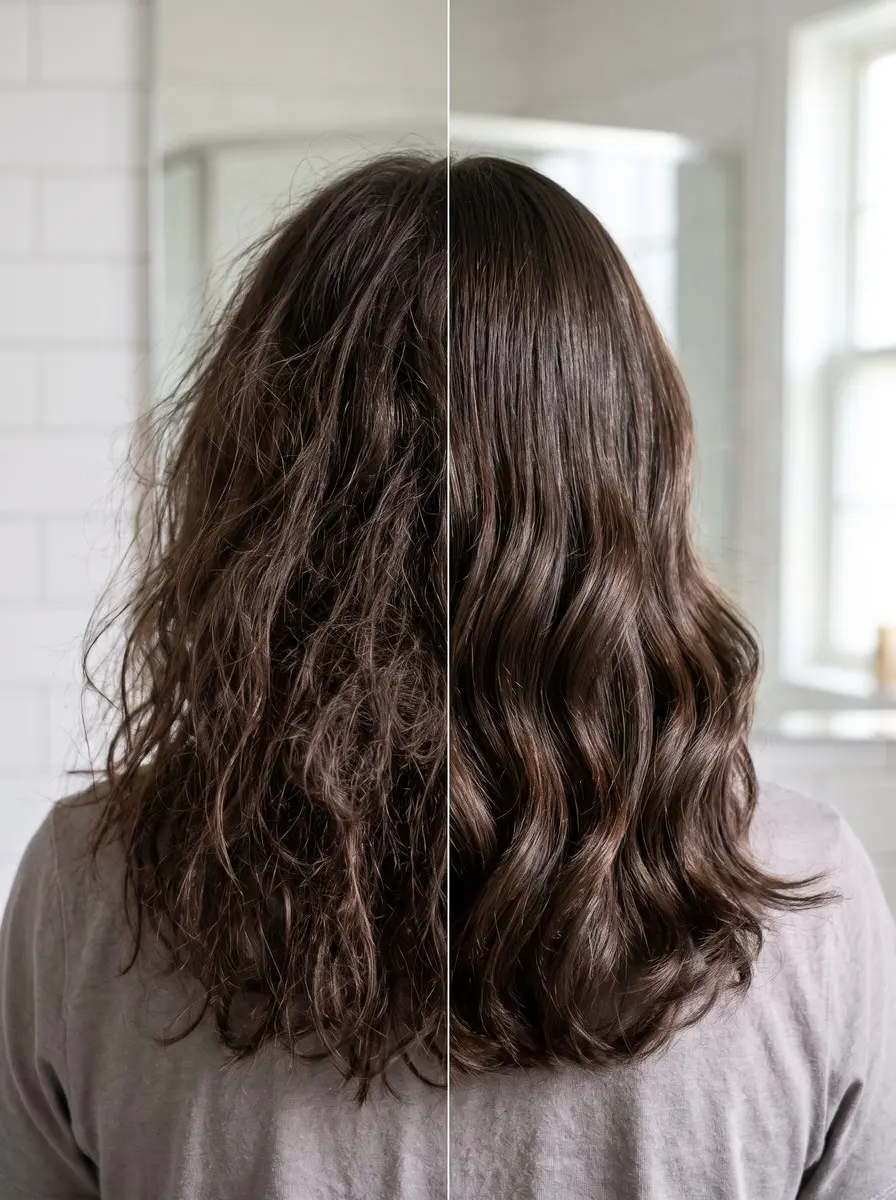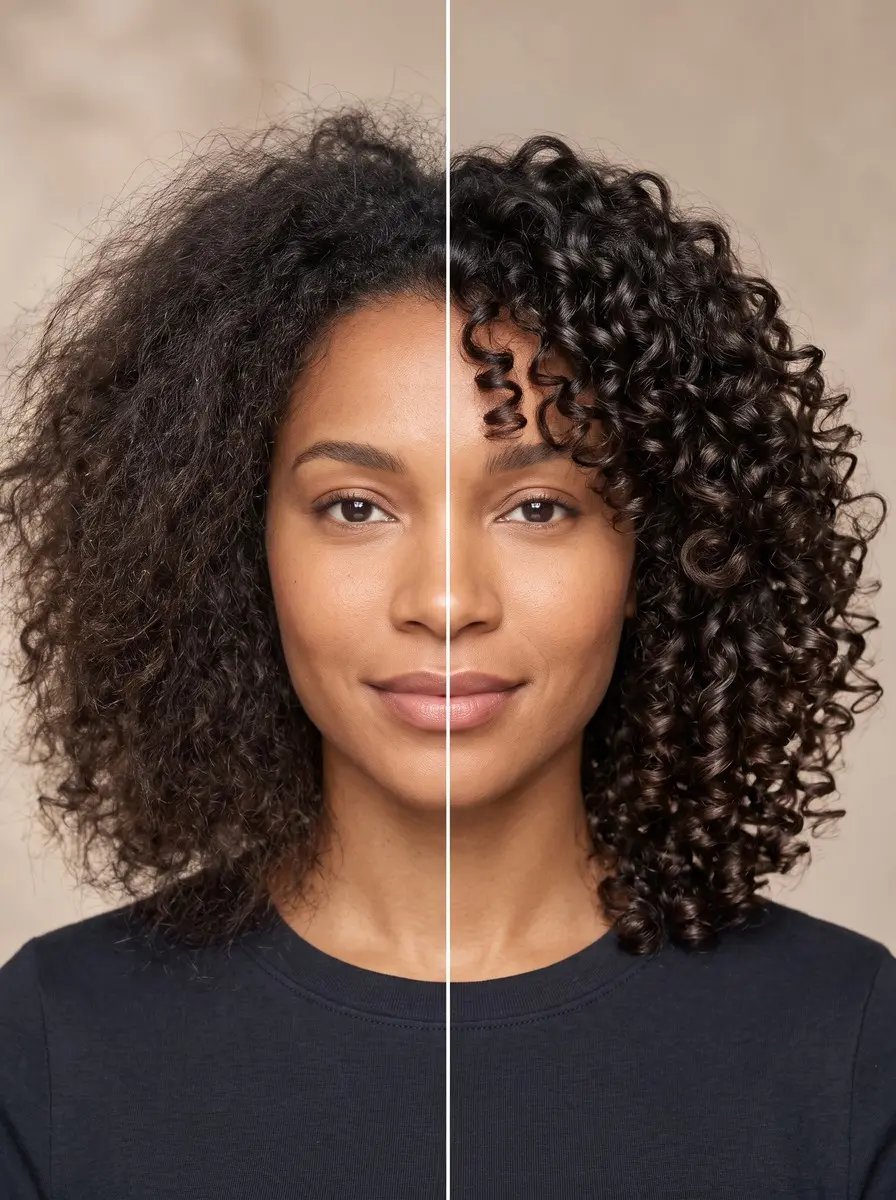
Quick answer To apply gel to curly hair, work it into soaking-wet hair section by section. Smooth it on with flat 'praying hands', then scrunch or shingle to form clumps. Blot with a T-shirt, air dry or diffuse on low without touching, and scrunch out the crunch once fully dry.
Gel is the product that turns a frizzy wash day into defined, touchable curls. It is also the one most curly-haired people apply wrong. If you put it on half-dry hair, rake it through too hard or touch it while it sets, you get crunch, white flakes or flat curls, and then you blame the gel.
The fix is mostly technique: when you apply gel to curly hair, how much you use and how you work it in. This guide goes step by step, from soaking-wet sections to scrunching out the crunch, and compares praying hands, rake-and-shake, scrunching and shingling so you can match the method to your curl type.
It ends with how to adjust when you get flakes, crunch or limp curls. Plan on 20 minutes to an hour before drying, depending on your density and method. You need little more than a gel, a spray bottle and an old T-shirt.
Time 20-60 minutes, plus drying timeDifficulty BeginnerSteps 9
Gel Application Methods by Curl Type
| Method | Best for | What you get |
|---|---|---|
| Praying hands | Thick, coily or frizz-prone hair | Smooth, even coat with less frizz |
| Rake-and-shake | Loose to medium curls | Even coverage; finish with a smoothing glide |
| Scrunch | Waves and loose curls | More volume and a boosted wave |
| Shingling | Tight curls and coils | Most defined clumps, but slowest |
What You’ll Need
As an Amazon Associate, HairAide earns from qualifying purchases. Product links in this guide are affiliate links: they cost you nothing extra and help keep these tutorials free.
- Curl-defining gel Forms the cast that holds each curl’s shape and keeps frizz down as it dries.
- Lightweight curl leave-in conditioner Adds slip and moisture under the gel so it glides on evenly, as long as it passes the palm mix test.
- Continuous-mist spray bottle Re-wets any section that starts to dry, so every section gets its gel while soaking wet.
- Microfiber hair towel or curl T-shirt wrap Blots out water and excess gel in 10-15 minutes without roughing up curls the way terry cloth can.
- Diffuser attachment for a hair dryer Speeds drying on a low setting without blowing clumps apart, then doubles as a tool for scrunching out the cast.
Step-by-Step
Step 1 Choose a gel and test the mix
Match the hold to your hair: fine hair and loose waves usually do best with a lightweight light-to-medium hold that won’t drag them flat, while thick, dense curls and coils often need a strong hold to keep their shape as they dry.
Go up a hold level in humid weather, because moisture in the air swells curls and loosens a soft cast, and humectants such as glycerin can add to that swelling, so on muggy days pick a gel that lists them lower down.
Check the first few ingredients for drying short-chain alcohols such as alcohol denat., SD alcohol or isopropyl alcohol (fatty alcohols like cetyl and cetearyl alcohol condition the hair and are fine), and if you rarely clarify, skip gels loaded with heavy oils or non-water-soluble silicones, which build up over a few weeks and leave curls limp and dull.
Then, before any product touches your hair, rub a pea-sized amount of the gel and your leave-in together in a wet palm. If the mix stays smooth and glossy they are compatible; if it balls up, turns grainy or leaves white specks, the formulas clash and will likely flake in your hair, so swap one or use the gel alone.
Step 2 Rinse, then section while dripping
Rinse out your conditioner and skip the towel, so your hair stays soaking wet and dripping, ideally while you are still in the shower. Water thins your leave-in and gel so they glide over every strand, and as gel and water dry together they form a cast around each curl that keeps it defined and holds frizz down.
Clip your hair into four sections if it is fine or medium density, or six to eight if it is thick or coily, so each one gets coated all the way through rather than just on the outer layer.
Keep a spray bottle within reach and mist any section that starts to dry until it drips again. You are ready for product when every section is clipped and water still runs from the ends when you squeeze them.
Step 3 Smooth in your leave-in
Work through your sections one at a time, smoothing the leave-in from root to tip while the hair is still dripping; it adds slip and moisture that gel alone does not, so the gel spreads evenly later instead of catching on rough, dry patches.
Use only the leave-in that passed your palm test, because a pair that clashes is the most common cause of white flakes once the gel dries. Fine hair that goes limp easily can use a very light leave-in or skip this layer altogether.
The layer is done when every section feels slippery from root to tip with no dry or rough patches and water still drips from the ends; if it has stopped dripping, re-mist before you move on.
Step 4 Measure your gel per section
Unclip one section at a time and start with about a quarter-sized dollop of gel for it; short or fine hair may need half that, while long, dense hair can take a full palmful per section. Starting small and building up is easier than undoing too much, because excess gel is what later shows up as flakes, stickiness and slow drying.
Rub the dollop between wet palms until it spreads into a thin, even layer across both hands, which thins it so it coats the section instead of landing in globs. You are ready to apply when your palms look evenly glossy with no thick blobs left.
Step 5 Glaze each section with praying hands
Press your flat palms together around the section near the root and glide down to the ends, smoothing it between your hands as if in prayer.
This coats the outside of the section evenly without pulling clumps apart and presses down flyaways, which is why it is the go-to for smoothing frizz on thick or coily hair. Repeat the glide two or three times, adding a splash of water if the gel starts to drag and a little more gel only if the section still feels bare.
You are done when the section feels slick from root to tip with no globs sitting on top, looks glossy and smooth, and the curls are starting to spring into place.
Step 6 Define clumps to suit your curls
Next, bring out your curl pattern with the method that suits your texture. For waves and loose curls, scrunch: cup the ends in your palm and push them gently toward your scalp a few times to boost the wave and add volume.
Rake-and-shake suits loose to medium curls that need more even coverage: rake the gel through with your fingers, then shake the section so the curls fall back into clumps, but raking can split clumps and roughen the surface, so finish with one more praying-hands glide.
Shingling suits tight curls and coils: work the gel through small sections curl by curl, smoothing each one between finger and thumb, for the most defined clumps at the cost of a much longer styling session. Move on to the next section when this one has settled into glossy, rope-like clumps that keep their shape when you let go, with no fuzzy strands bridging between them.
Step 7 Blot, then dry hands-off
Wrap your hair in a cotton T-shirt or microfiber towel for 10 to 15 minutes to soak up drips and excess gel; the smooth fabric absorbs water without roughing up your curls the way a looped terry towel can. Then let your hair air dry, which often gives the best definition, or diffuse on a low setting if you are short on time.
Either way, keep your hands out of it until it is completely dry, because touching a half-set cast pulls curls apart and creates frizz. Hair is ready for the next step only when the roots and the inside of the thickest clumps feel dry.
Step 8 Scrunch out the crunch once dry
Before you touch your hair, press a fingertip against the roots and into the middle of the thickest clump at your nape; if either still feels cool or damp, keep air drying or diffuse on low a little longer, because a cast broken while it is still setting turns to frizz.
Once everything is dry, your hair will feel stiff or crunchy, and that cast is expected: it is what kept your curls defined and frizz-free while they set.
Break it by scrunching gently upward with bare hands, a thin T-shirt, a microfiber towel or the diffuser bowl, section by section, until your curls move freely and feel soft with no stiff patches left. For extra bounce, rub one or two drops of a light oil or serum between your palms and scrunch again.
Step 9 Check your result and adjust
Once your curls are dry and scrunched, check them in daylight and match what you see to one cause, because each common problem points to a single fix. White flakes usually mean too much gel, a gel and leave-in that don’t mix (redo the palm test) or hands in your hair before it dried; hair that stays crunchy after scrunching means too much gel, and sticky hair means it wasn’t fully dry.
Limp or flat curls point to a leave-in that’s too heavy, a hold that’s too soft or product buildup, which a clarifying wash usually clears.
If your curls took most of the day to dry, blot for the full 15 minutes next time, use a little less gel and diffuse on low for the first 10 to 15 minutes before letting them finish in the air. You’re done when you’ve picked one change for your next wash day; change only one thing at a time so you can tell what made the difference.
Common Mistakes to Avoid
- Applying gel to towel-dried or half-dry hair, which leaves patchy coverage and frizz instead of a smooth, even cast.
- Skipping the palm test and layering gel over a cream it doesn’t mix with, the most common cause of white flakes.
- Touching, raking or fluffing curls while they dry, which pulls clumps apart before the cast has set.
- Breaking the cast before your hair is completely dry, especially at the roots and inside thick clumps.
- Piling on more gel to fix limp curls when the real problem is a heavy leave-in or buildup that needs a clarifying wash.
Pro tip Run a split-head test: style one side with your usual amount of gel and the other with about 50% more, then compare once dry. Whichever side keeps its clumps into day two without feeling stiffer shows you the right amount far faster than tweaking a little each wash.
The Bottom Line
Done right, gel gives you curls that are defined on day one and still hold their clumps on day two or three. Repeat the routine every wash day.
Between washes, a mist of water with a little gel, or a quick diffuse, can revive flattened sections without starting from scratch. If your curls start to feel limp, coated or dull after a few weeks, a clarifying wash will usually reset them.
If your curls still won’t clump after a few wash days of adjusting the amount and method, the problem may be the cut rather than the product. A stylist trained in curly cutting can shape your hair dry, curl by curl, so the pattern falls where you want it, and can show you which application method suits your texture.
Frequently Asked Questions
Should I put gel on wet or damp curly hair?
Soaking wet works best, ideally straight out of the shower before you towel off. The water helps the gel spread evenly and forms a cast around each curl that keeps it defined and reduces frizz as it dries. Damp hair tends to give patchy coverage and more frizz, so re-wet any section that has started to dry with a spray bottle before you apply gel.
How much gel should I use on curly hair?
Start with about a quarter-sized dollop per section, using four sections for fine or medium hair and six to eight for thick or coily hair. Short or fine hair may need half that, while long, dense hair can take a palmful per section. Too much gel shows up as flakes, stickiness or slow drying; too little shows up as frizz and curls that don't clump.
Why does my gel leave white flakes in my hair?
Flakes usually come from using too much gel, layering it over a leave-in or cream it doesn't mix with, or touching your hair before it is fully dry. To test compatibility, rub both products together in a wet palm; if they ball up or turn grainy, swap one. Flakes already in your hair rinse out on your next wash day.
How long does gel take to dry, and can I diffuse it?
Air drying can take several hours on long or thick hair, so blot with a T-shirt for 10 to 15 minutes first. Yes, you can diffuse, since diffusers are made for wet or damp hair. Smooth on a heat protectant before your gel, or use a leave-in labelled as one, keep the diffuser on a low setting and don't touch your curls until they are completely dry.
Is it normal for curly hair to feel crunchy after gel?
Yes. Gel dries into a firm cast around each curl, and that cast is what keeps curls defined and frizz under control while they set. Once your hair is completely dry, roots included, scrunch it gently with your hands, a thin T-shirt or a microfiber towel to break the cast and reveal soft curls. If it stays stiff after scrunching, you probably used more gel than your hair needs.
Keep Reading
Sources
- How to use hair gel curly hair prose.com