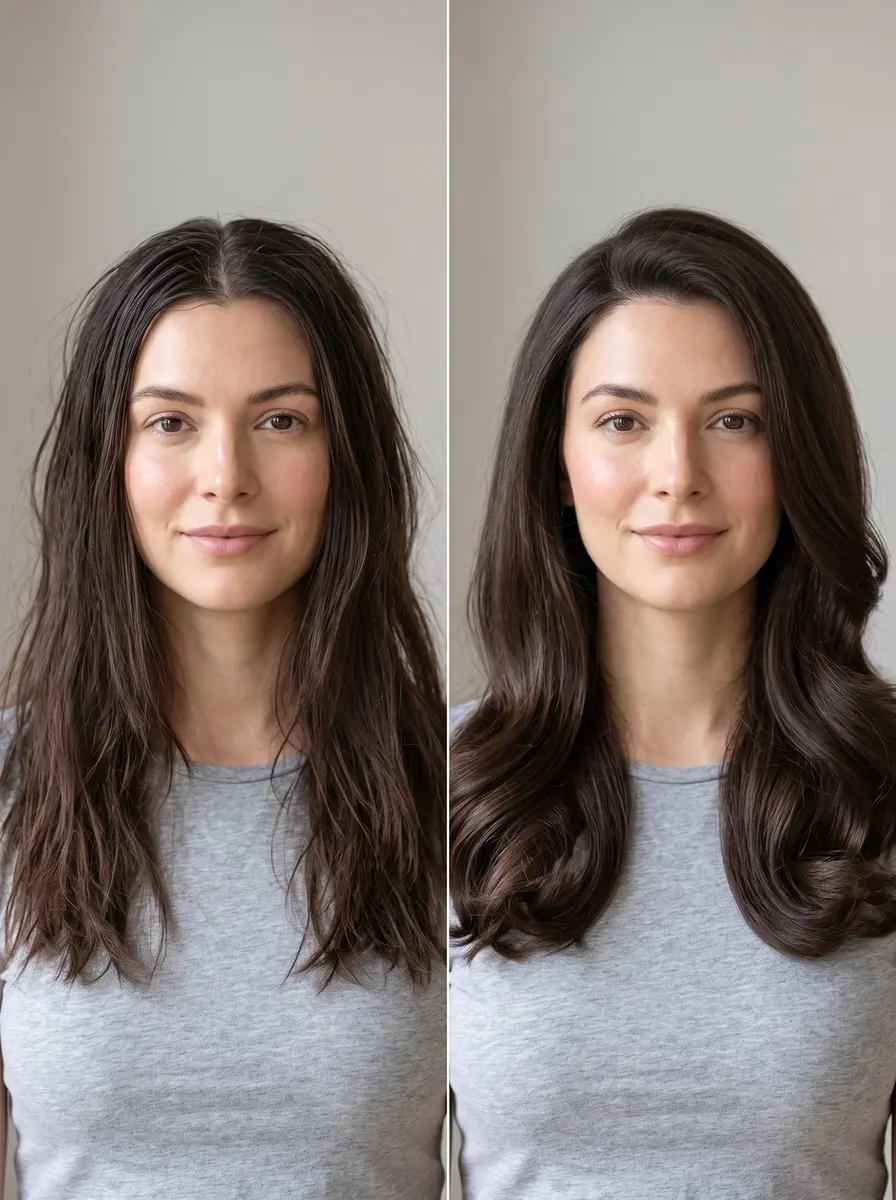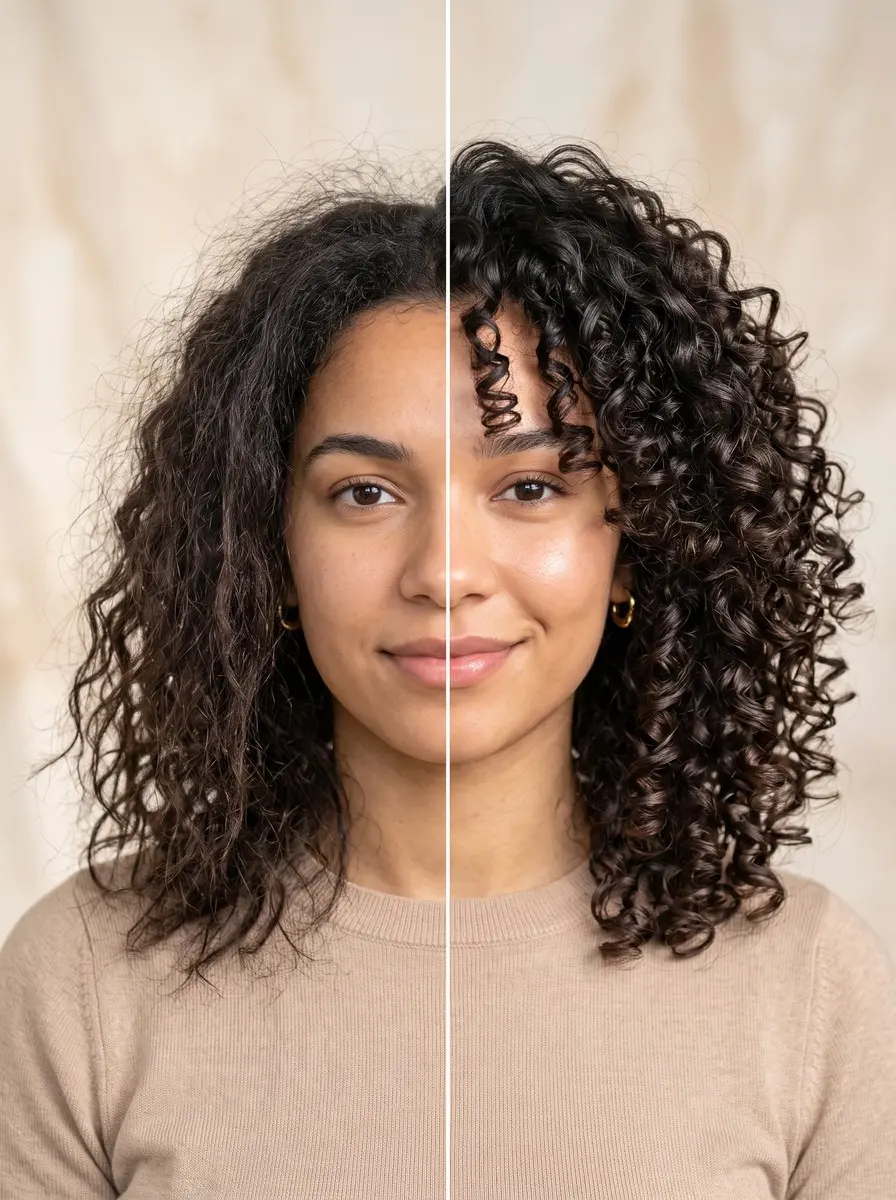
To diffuse curly hair, apply a leave-in, styler and heat protectant to wet hair, then dry on the lowest heat and speed, cupping small sections from the ends up toward the scalp. Finish the roots upside down with cool air, and scrunch out the cast only when fully dry.
If you are learning how to diffuse curly hair, the step that should be the easy part of wash day is often where curls go wrong: a halo of frizz, roots that dry flat against the scalp, or a crunchy finish that never softens. The cause is nearly always the same handful of habits. Too much heat and airflow too early, and hands in the hair before it has set.
This walkthrough takes you from soaking wet to fully dry, with the reason behind every step so you can adjust it to your own hair. You will find tweaks for waves, curls and coils, and for fine and thick hair, plus fixes for the most common problems. All you need is a dryer with a diffuser attachment and a little patience.
What You’ll Need
- Hair dryer with a deep bowl diffuser attachment (diffuser dryer) — The bowl spreads the airflow and cradles curls so they dry in shape instead of being blown apart.
- Heat protectant spray (lightweight, curl-friendly) — It goes on before any heat styling to put a buffer between your curls and the warm air.
- Curl gel or mousse (medium-hold styler) — It forms the cast that holds curl clumps together while they dry and keeps frizz from forming.
- Leave-in conditioner (curl leave-in) — It adds slip and moisture under the styler so curls clump evenly and feel soft once the cast is broken.
- Microfiber hair towel (or a plain cotton t-shirt) — It removes excess water without the rough loops of a terry towel, and doubles as the no-diffuser drying method.
As an Amazon Associate, HairAide earns from qualifying purchases. Some links above are affiliate links — they cost you nothing extra and help support free tutorials.
Step-by-Step
-
Start with products, on hair that is still soaking wet. Work a leave-in conditioner through the lengths, follow with your styler (a gel, mousse or curl cream), then mist a heat protectant over the top. Applying to very wet hair spreads product evenly and keeps curls grouped in clumps, and the styler dries into a light film, called a cast, that holds those clumps together while air moves around them. You are done when every section feels slippery and coated, with no dry or fluffy patches.
-
Take out the excess water before any heat goes on. Gently squeeze upward with a microfiber towel or a cotton t-shirt, never a looped terry towel, which roughs up the surface and pulls clumps apart. Then let hair air-dry for ten to fifteen minutes if you have the time. This shortens how long the dryer is on and lets the cast begin to form before air disturbs it. Hair should be clearly wet but no longer dripping onto your shoulders.
-
Set the dryer to its lowest heat and lowest speed. Wet curls are at their most fragile and most easily blown out of shape, and strong airflow is what scatters a neat clump into frizz. Stay on low until the hair has lost some of its moisture and the surface starts to feel slightly firm, then raise one setting at a time if you need to speed things up. If curls are visibly moving in the airflow, the speed is still too high.
-
Dry the lengths first, working in small sections. Lower a handful of curls into the diffuser bowl from the ends, lift it up toward the scalp so the curls sit coiled inside, hold for twenty to thirty seconds, then lower and move on. Scrunching upward supports each curl so it dries compressed and springy instead of stretched by its own wet weight. Simply hovering the dryer near the hair dries it but does nothing to encourage the curl to spring up. Work around the whole head until the ends feel set.
-
If frizz is your main complaint, switch to ‘pixie-ing’ for the same sections. Turn the dryer off, load the curls into the bowl, lift to the scalp, turn the dryer on and hold, then turn it off again before you lower and move. Air only reaches the hair while it is cradled, so nothing gets blown loose in transit between sections. It takes longer than continuous scrunching, but it gives the tightest definition and is especially useful on waves that drop easily.
-
Move to the roots only after the ends have lost some moisture and started to set. Flip your head upside down, or tilt it to each side, and rest the diffuser prongs lightly against the scalp so the roots dry lifted away from the head. Flipping too early lets wet ends swing and tangle, which undoes the definition you just built. Finish each root area with the cool setting. Hair keeps the shape it cools in, so this firms up the lift without adding more heat.
-
Keep your hands out of your hair until it is completely dry. Touching damp curls separates the clumps and breaks the cast before it has done its job, and both show up as frizz an hour later. Check the nape and the dense inner layers, which dry last. If they feel cool, they are still damp. Once everything is dry and slightly stiff, scrunch upward with clean hands, or a drop of lightweight oil, until the crunch gives way to soft curls, then shake out the roots with your fingertips.
-
Adjust the routine to your texture and density. Waves usually do better with lighter stylers such as mousse or foam, more pixie-ing and less product near the roots, because weight pulls them straight. Tight curls and coils generally need more leave-in and a firmer gel, and they will shrink more when diffused, so dry the roots with less scrunching if you want to keep length. Fine hair can stay on low heat the whole way and needs less product. Thick, dense hair needs smaller sections, a longer air-dry first, and often medium heat once it is half dry.
-
If the result is off, trace the problem back to its cause. Frizz usually means the airflow was too strong, the hair was touched while damp, or there was too little styler to form a cast. Flat roots mean the roots dried lying against the scalp or were weighed down by product, so diffuse them lifted next time and apply stylers from mid-length down. A cast that stays stiff has not been fully scrunched out, or there was too much gel. Hair that feels rough and dry afterward needs lower heat and shorter holds.
Common Mistakes to Avoid
- Starting on high heat and high speed, which blows curl clumps apart before the cast has formed and leaves a frizzy halo.
- Flipping upside down while the ends are still soaking wet, so they swing, tangle and lose their definition.
- Scrunching out the gel cast while the inner layers are still damp, which turns into frizz as the hair finishes drying.
- Running fingers through curls or shaking the dryer around mid-dry instead of holding each section still in the bowl.
- Loading stylers onto the roots, which weighs them down so they dry flat no matter how long you diffuse upside down.
Pro Tip
Judge dryness by the nape and the inner layers, not the surface. The top layer dries first and fools you into stopping early. For extra crown lift, slide a few small clips under the roots at the top of the head before you diffuse and take them out once the hair has cooled.
Frequently Asked Questions
Does diffusing damage curly hair?
Diffusing is one of the gentler ways to dry curls with heat, because the attachment spreads the airflow instead of concentrating it. Always apply a heat protectant first and keep the dryer on low to medium heat. If hair feels rough or straw-like afterward, lower the heat and shorten how long you hold each section.
How long does it take to diffuse curly hair?
It depends on length and density. Short or fine waves can be dry in roughly fifteen to twenty minutes, while long, thick curls or coils can take forty-five minutes or more on low settings. Removing excess water with a microfiber towel and air-drying for ten to fifteen minutes first cuts the dryer time noticeably.
Should my hair be soaking wet or damp when I start diffusing?
Apply your leave-in, styler and heat protectant while hair is soaking wet, because that is when curls clump best. Then squeeze out the excess so hair is wet but not dripping before you turn the dryer on. Starting on dripping hair only adds drying time, and starting on half-dry hair gives frizz less product to hold it down.
What can I do if I don't have a diffuser?
Skip the bare dryer, since a regular dryer without a diffuser can disrupt your natural curl pattern and increase frizz. Instead, wrap freshly styled curls in a microfiber towel or a cotton t-shirt to absorb water, then let them air-dry without touching them. Scrunch out the cast once the hair is fully dry, exactly as you would after diffusing.
Is diffusing better than air-drying curly hair?
Neither is better for everyone. Diffusing is faster and usually gives more root volume and tighter definition, because curls dry lifted instead of being stretched by the weight of the water. Air-drying uses no heat but takes much longer and tends to dry flatter. Many people combine them, air-drying partway and then diffusing to finish.
You Might Also Like
- curly hairstyle ideas to inspire your next look
- layered bob ideas, including rounded curly shapes
- layered haircut ideas for thick hair, from internal layers to curly shags
- how to style curtain bangs for curly hair
- how to trim your own curly ends at home
- how to get rid of frizz in thick hair
- how to get heatless curls on thick hair
- how to get beachy waves without heat on fine hair
Diffusing well comes down to a short list of habits: product on wet hair, low heat and low speed to start, curls lifted from the ends in small sections, roots dried last and finished cool, and hands off until everything is dry. Get those right and you should see defined curls, lift at the crown and a cast that scrunches out soft.
Repeat the routine each wash day, and refresh in between with a light mist of water and a quick low-heat pass on any sections that have dropped. If your curls stay limp, rough or undefined after several careful attempts, book a visit with a curl-specialist stylist. The shape of the cut or a build-up of product is often the real cause, and both are easier to fix in the chair.
Sources
- Start with the lowest heat and speed settings and increase them only as the hair dries. livingproof.com
- A heat protectant should be applied before any heat styling, and a leave-in styler goes on before drying. This is an independent source and needs a stylist-sourced source added during drafting. cosmeticworld.ca