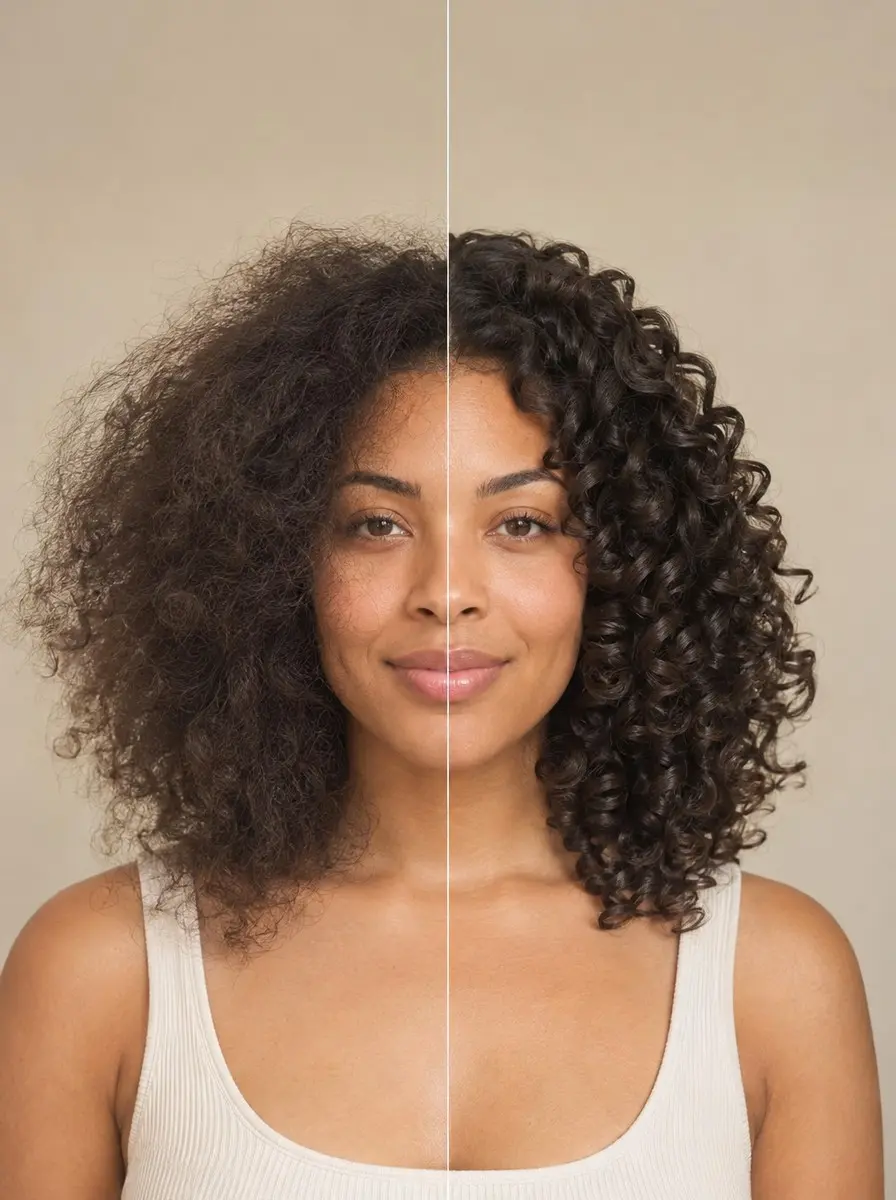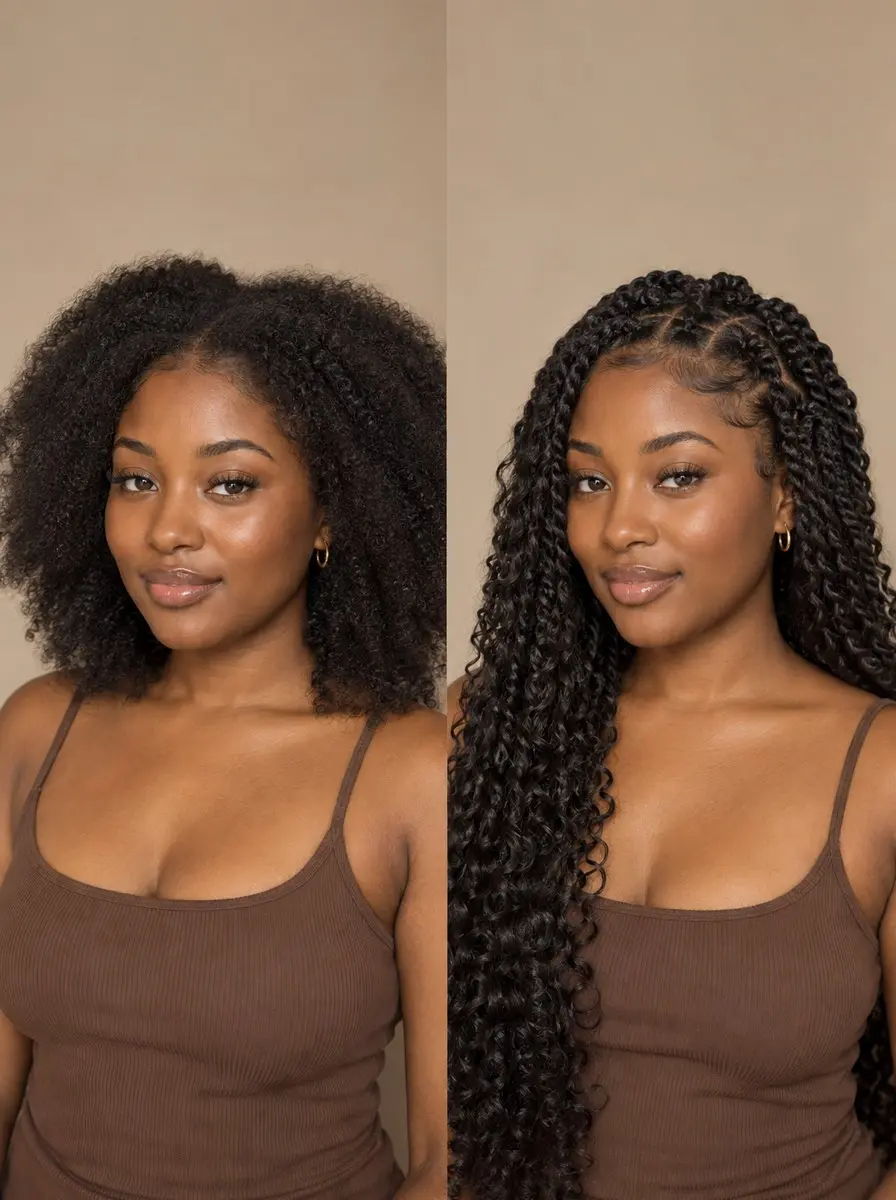
Quick answer To do passion twists, wash and stretch your natural hair, part it into even squares, then fold water-wave hair around each section, twist both strands the same way and wrap them together in the opposite direction. Seal the ends with gel and keep them in four to six weeks.
Passion twists are the protective style that looks effortless but takes real patience: springy, bohemian rope twists made by wrapping curly water-wave hair around your own. Done well, they give you weeks off daily styling. Rushed, they unravel at the ends, frizz at the roots by week two, or pull so hard at the hairline that the style costs you your edges.
The good news is that a salon-neat result at home comes down to a few things you control. You need the right hair in the right amount, a clean and stretched base, even parts, and a twist that locks itself because its two strands go in opposite directions.
This guide covers every stage, from the packs to buy to the day you take them down, with tension checks for your hairline built into each step. Set aside a full day and a good playlist.
Time 4-8 hours for medium twists, plus a wash dayDifficulty IntermediateSteps 9
Passion Twist Size: What Changes
| Twist size | Part size | Install time | How it wears |
|---|---|---|---|
| Small | About 1/2-inch squares | Longest | Holds up longest |
| Medium | About 1-inch squares | In between | The classic look |
| Large | 1.5- to 2-inch squares | Fastest | Unravels and frizzes soonest |
What You’ll Need
As an Amazon Associate, HairAide earns from qualifying purchases. Product links in this guide are affiliate links: they cost you nothing extra and help keep these tutorials free.
- Water-wave passion twist hair Its loose, springy curl gives passion twists their fluffy, bohemian texture, and a full head takes several packs.
- Moisturizing shampoo and deep conditioner These clear buildup and soften your hair before it’s hidden for weeks, and the shampoo also handles the occasional scalp wash during wear.
- Wide-tooth comb, rat-tail comb, sectioning clips and small scissors The wide-tooth comb detangles, the rat-tail comb parts clean squares, the clips hold the rest back, and the scissors snip the twists at takedown.
- Blow-dryer with a comb attachment, plus a heat protectant Optional: stretches damp hair quickly on a low setting if you’d rather not air-dry it in braids overnight, with the protectant applied first.
- Leave-in conditioner and a light oil These moisturize and seal your ends before they’re tucked away, and the oil doubles as scalp oil and takedown slip.
- Braiding gel and edge control with a soft edge brush A dab of gel gives the root grip and seals the twist ends, while edge control and a soft brush lay the hairline without tugging.
- Kettle, heatproof mug and an old towel Optional: for a hot-water seal on fiber the packet says can be hot-water set; gel alone works if you skip this.
- Satin bonnet or satin pillowcase Cuts the overnight friction that frizzes passion twists, which keeps them fresh through the full four to six weeks.
Step-by-Step
Step 1 Pick the hair and count your packs
Buy water-wave hair, sold as passion twist or water-wave bulk braiding hair, rather than straight braiding hair: its loose, springy curl gives the twists their fluffy, bohemian texture. Pack weights differ by brand, so read the suggested count on the packet.
As a rough guide, a full head of medium twists takes about six to eight packs, and small or extra-long twists need more.
The length on the label is measured stretched, the curl shrinks, and folding a piece at the root halves it, so finished twists come out shorter than the number on the pack. Buy one more pack than you think you need, because running out halfway leaves you trying to match a different batch.
Step 2 Wash, detangle and stretch your hair
Start the day before with a thorough shampoo to clear oil and product buildup, because whatever is on your scalp now stays trapped under the twists for weeks. Follow with a moisturizing deep conditioner, then detangle one section at a time with a wide-tooth comb, working from the ends up while the conditioner gives slip.
Stretch the hair before it dries, either with a blow-dryer on a low setting with a comb attachment or, heat-free, by plaiting it into eight to ten large braids and letting them air-dry overnight.
Stretched hair parts cleanly, grips the extension evenly and gives a smoother finish at the root. It’s ready when it is completely dry right down to the scalp, since hair twisted damp stays wet inside the twists and can smell musty.
Step 3 Moisturize and seal your own ends
Work a leave-in conditioner through each section, then smooth a few drops of a light oil such as jojoba over the last couple of inches. Your ends are the oldest, most fragile part of every strand, and once they’re hidden inside a twist you can’t reach them for weeks, so this is your one chance to soften them.
Keep the amounts small, because heavy product makes the extension slip and leaves a residue that attracts lint. You’re done when the hair feels soft and supple with no greasy patches and the ends look smooth rather than frayed.
Step 4 Part clean sections by twist size
Decide your size before the first part, because it sets the look, the install time and how long the style holds up. Small twists use roughly 1/2-inch squares; they look the fullest and hold up longest but take the longest to install.
Medium twists use about 1-inch squares and give the classic passion twist. Large twists use 1.5- to 2-inch squares and go in fastest, but big sections unravel and frizz sooner. Part rows from the nape forward with the tail of a rat-tail comb and clip the rest of the hair out of the way with sectioning clips.
Stagger each row like brickwork instead of stacking squares in straight columns, which hides the parts once the twists fall. Whatever size you choose, plan smaller, lighter sections along the hairline.
Step 5 Anchor each root without pulling
Take a piece of water-wave hair about as thick as your section, because a big piece on a small part hangs its whole weight on that patch of roots.
For a flat, light base, fold the piece around the base of the section so equal lengths hang on either side. For more grip on slippery or short hair, smooth a dab of braiding gel over the section and start with two or three stitches of a regular braid using your hair and the extension.
Hold it firmly enough that the base doesn’t slide, but never so tight that the skin lifts or puckers. Check by touch: the root should lie flat and feel comfortable, not sore.
Step 6 Twist each strand, then wrap them together
Divide the section into two strands, each holding half of your natural hair with extension hair around it. Twist each strand firmly in the same direction, say clockwise, so the curly fiber wraps around and covers your hair inside it, then cross the two strands over each other counterclockwise.
The opposite directions are what make passion twists hold: each strand’s tendency to unwind is countered by the wrap, so the rope locks instead of loosening.
Keep repeating all the way down (twist both strands clockwise, cross them counterclockwise) and carry on an inch or two past the end of your own hair so it is completely hidden. A finished twist looks even and rope-like, with no natural hair showing.
Step 7 Seal the ends so they hold
When the twist runs an inch or two past your own hair, rub a small amount of braiding gel over the last inch, coil the end around your finger and slide it off. The gel holds the fibers together so the end doesn’t unravel.
For a firmer seal, and only if the packet says the fiber can be hot-water set, finish all your twists first. Then pour water that has just come off the boil from a kettle into a heatproof mug, dip only the ends for a few seconds and squeeze them dry in an old towel.
Hold the mug well below your scalp, keep it away from your skin, and refill it as it cools. Hot water can soften the wave slightly at the tips, which is why many people seal with gel alone. Either way, the ends are done when they stay coiled after a gentle tug.
Step 8 Finish the hairline with a light hand
Save the front row for last and make those twists smaller and lighter than the rest, with less extension hair, because the fine hairs at your temples and edges break first under weight and tension. Leave any very short or fragile baby hairs out of the twists rather than forcing them in.
Smooth a little edge control over them with a soft edge brush, guiding the hair into place instead of tugging it flat. If a front twist feels tight, throbs, or raises small bumps around the root, take it out and redo it looser straight away rather than waiting for it to settle.
Step 9 Maintain them, then take them down
A couple of times a week, smooth a little of the same light oil onto your scalp between the parts. Sleep in a satin bonnet or on a satin pillowcase to cut the friction that turns fluffy ends into frizz, and wash only when your scalp needs it, since every wash adds frizz.
Plan to take the twists down at four to six weeks. Hair grows about half an inch a month, so by week six the base has loosened over roughly three-quarters of an inch of new growth and shed hair is starting to mat at the root.
For takedown, snip each twist with small scissors well below where your own hair ends and unravel it from the bottom up. Finger-detangle the shed hair at the root with oil or leave-in before any water touches it, because wetting it first turns that loose hair into knots. Then shampoo, deep condition and give your hairline a week or two off before the next install.
Common Mistakes to Avoid
- Installing on hair that is still damp at the roots, which stays wet inside the twists and can smell musty.
- Using a thick piece of extension hair on a small part, which hangs its full weight on a few roots and strains them.
- Twisting the strands and wrapping them in the same direction, which leaves nothing to lock the twist, so it unravels within days.
- Pulling the hairline tight for a sleek look: repeated tension at the edges is how traction hair loss starts.
- Wetting the twists before detangling at takedown, which mats weeks of shed hair into knots at the root.
Pro tip Pre-separate all the hair before you make the first part: pull each pack into pieces of equal thickness and lay them out in rows, with a row of thinner pieces set aside for the hairline. Matching pieces keep every twist the same width and every root carrying the same weight.
The Bottom Line
A good set of passion twists feels light at the root and looks neat at the ends from day one: clean parts, twists that hide your hair completely, and a hairline that never throbs. Keep them fresh with a little scalp oil, a satin bonnet at night and as few washes as you can manage. Take them down by around week six, and detangle before any water touches them.
If your edges are already thin, your scalp is sore or flaky, or you want very small twists done in one sitting, book a braider instead. A pro can also check that your hairline has recovered before the next install. Between sets, give your hair a week or two to rest so the next install starts from a healthy base.
Frequently Asked Questions
How long do passion twists last?
Most installs look good for about four to six weeks, depending on how neatly they were put in and how they're cared for, though sources range from two to ten weeks. Larger twists unravel and frizz sooner than small ones. Taking them down by six weeks is the safer plan, because new growth loosens the base and shed hair starts to mat at the root.
How many packs of hair do I need for passion twists?
Pack weights vary by brand, so start with the count printed on the packet. As a rough guide, a full head of medium twists takes around six to eight packs of water-wave hair, and small or extra-long twists need more. Buy one extra pack, since the curl shrinks the length and a shortfall halfway through is hard to match.
Do I need to blow-dry my hair before passion twists?
No. Stretched hair parts and grips more evenly, but plaiting damp hair into large braids and letting it air-dry overnight stretches it without heat. If you do blow-dry, apply a heat protectant to damp, detangled hair first and use a low setting with a comb attachment. The hair only needs to be stretched, not bone-straight, so there's no reason to go hot.
Can you wash passion twists?
Yes, but sparingly, because every wash adds frizz. Washing once around the halfway mark, or whenever your scalp itches, is usually enough. Work a little shampoo into the scalp between the parts with your fingertips, squeeze the suds down the twists instead of rubbing, rinse well, and let them dry completely before covering them, since the core of each twist holds water for hours.
Can passion twists damage your edges?
They can if the hairline is twisted too tightly or loaded with heavy hair. Repeated tension at the edges can cause traction alopecia, a hair loss that can become permanent if the pulling continues. Soreness that lasts beyond a day or two, small bumps around the roots or visible thinning are signs to loosen those twists. If the thinning persists, see a dermatologist.
Keep Reading
Sources
- hairshepherd.com hairshepherd.com
- How to take care of passion twists the right way thelist.com
- 5 easy steps to perfect diy passion twists ywigs.com