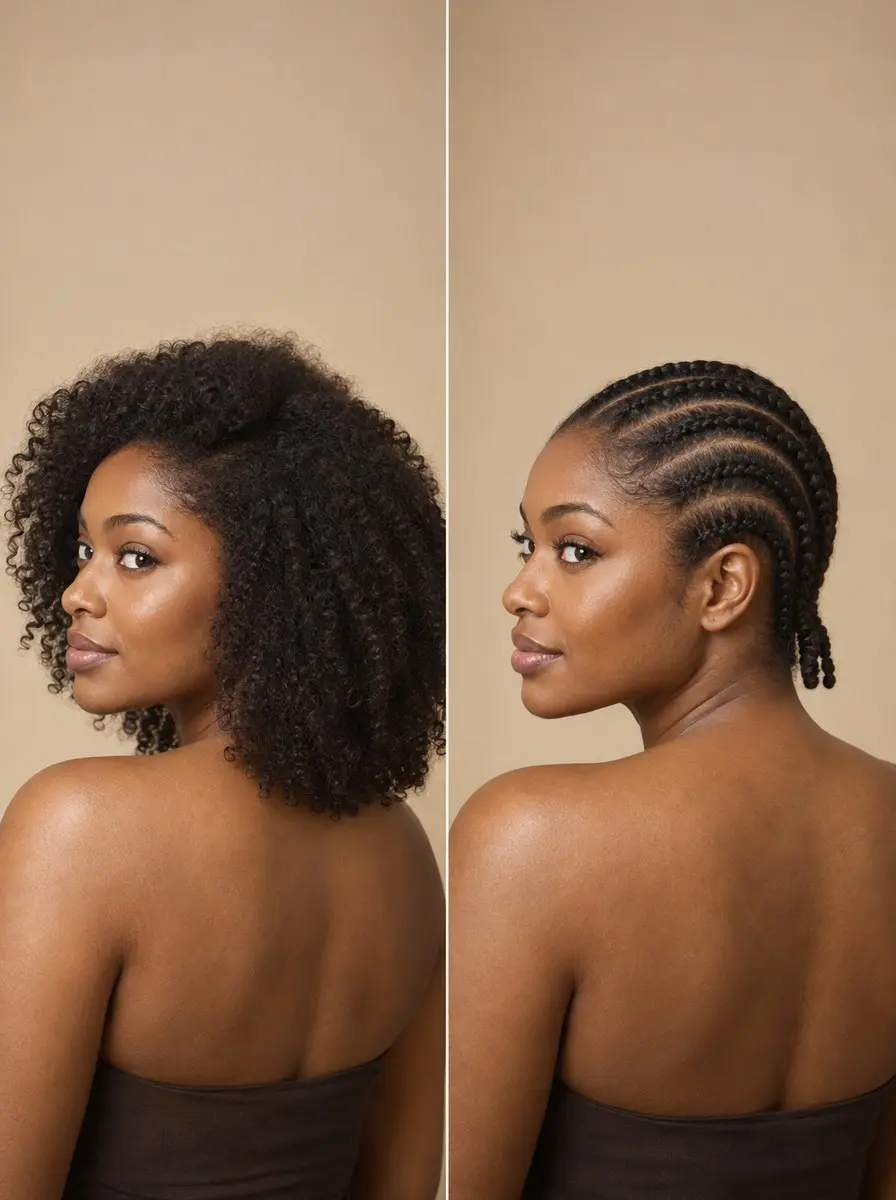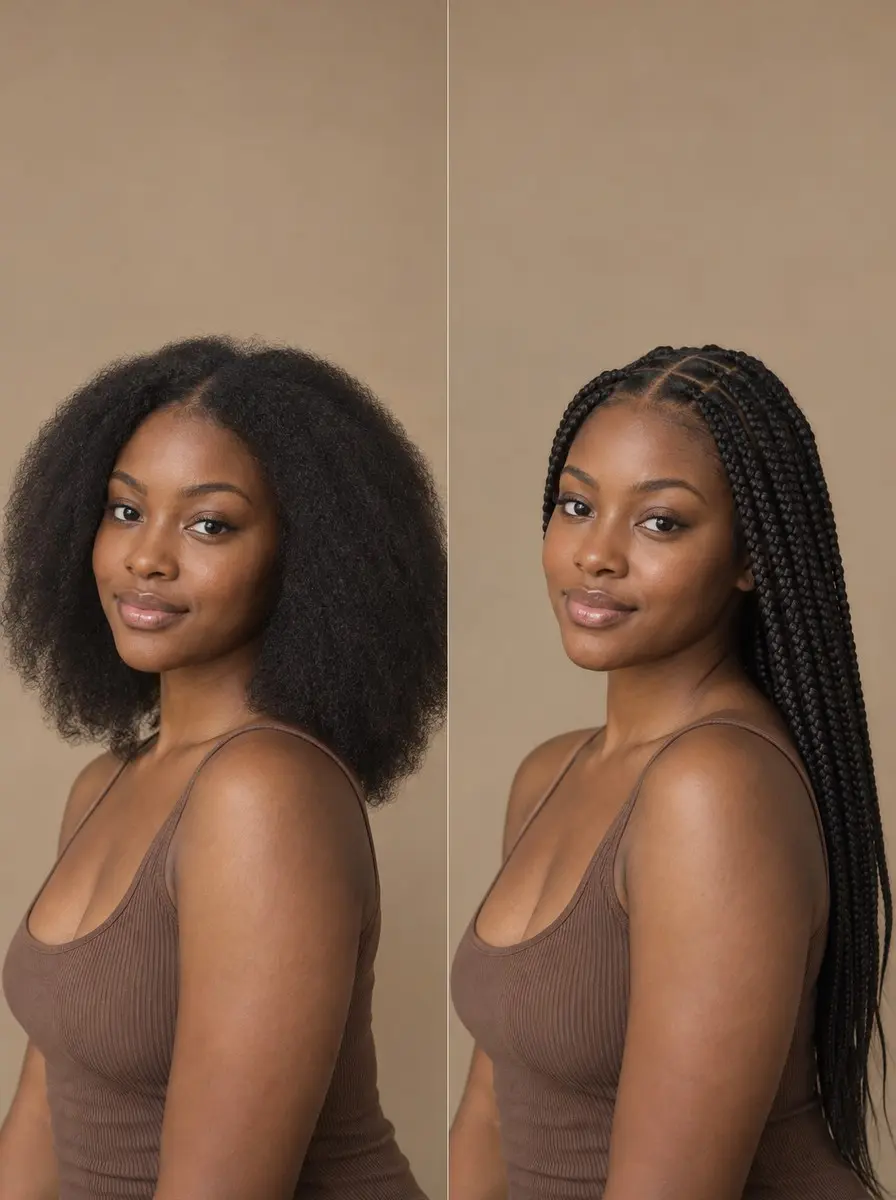
Quick answer To do box braids at home, detangle and stretch clean hair, split it into four sections and part small squares. Start each braid with your own hair, gradually feed in braiding hair, braid with firm but painless tension, then dip hot-water-safe synthetic ends in hot water to seal them.
Booking a full set of box braids can mean a long salon day and a sizeable bill, so learning to do box braids at home pays off every time you rebraid. The catch is that most tutorials are filmed by braiders with years of muscle memory and a second pair of hands.
When you work alone, the hard parts are different: seeing the back of your head, keeping every part the same size, and knowing the difference between a firm braid and one that’s too tight.
This guide is written for that first solo install. You’ll decide your size and length before you touch a comb, use gel so the boxes stay crisp, start each braid with your own hair and feed the extension in for a flat, gentle base, and then seal the ends so nothing unravels. If you can do a basic three-strand braid, you can do this. Just budget a full day, not an afternoon.
Time 7+ hours for a first full set, plus breaksDifficulty IntermediateSteps 8
Box Braid Size at a Glance
| Braid size | Part width | Approx. braids | Packs (mid-back) |
|---|---|---|---|
| Small | About 1/2 in or less | 100+ | About 8-10 |
| Medium | About 1 in | About 50-80 | About 5-8 |
| Large / jumbo | 1 1/2 in or more | About 20-40 | About 4-6 |
What You’ll Need
As an Amazon Associate, HairAide earns from qualifying purchases. Product links in this guide are affiliate links: they cost you nothing extra and help keep these tutorials free.
- Clarifying shampoo and moisturizing conditioner They leave your scalp clean and free of buildup and your lengths soft before your hair spends weeks in braids.
- Wide-tooth comb It removes knots from ends to roots without snapping hair, so your hair parts and braids smoothly.
- Pre-stretched Kanekalon braiding hair Pre-stretched hair has tapered ends, which saves you the stretching step, and Kanekalon seals cleanly in hot water.
- Rat-tail comb Its fine tail draws the four main sections and the straight, square parts each braid needs.
- Sectioning clips They hold the other quadrants and unbraided rows out of the way, so you work on one clean section at a time.
- Braiding gel A little along each part line keeps the boxes crisp and stops stray hairs from crossing into the next section.
- Handheld mirror Held up to a wall mirror, it lets you see and check the back parts and braids you can’t otherwise see.
- Kettle, heat-safe mug and an old towel The kettle and mug hold the just-boiled water you dip hot-water-safe braid ends in to seal them, and the towel squeezes them dry.
Step-by-Step
Step 1 Detangle and stretch your hair
Start with hair washed with a clarifying shampoo, conditioned, and detangled with a wide-tooth comb, working from the ends up to the roots in small sections. Our prep guide covers the full wash day.
While your hair is still damp, set it in six to eight large twists or plaits and let it dry completely, which stretches it without heat.
Stretched, knot-free hair parts cleanly and slides into each braid without snagging, so you aren’t ripping through tangles hours into the install, and fully dry hair won’t sit damp and musty under the braids for days. You’re ready when the comb glides from root to tip and every section feels dry at the scalp.
Step 2 Choose your braid size and length
Decide on size and length before you part anything, because together they set how many braids you’ll do, how much braiding hair you need and how long you’ll sit. Small braids use parts of about 1/2 inch or less and make roughly 100 or more braids on a full head, so they’re the slowest and hardest to keep even.
Medium braids use parts of about 1 inch, make roughly 50 to 80 braids and are the most forgiving first install.
Large or jumbo braids use parts of 1 1/2 inches or more and make roughly 20 to 40, so they go fastest, but each heavy braid pulls harder on its root. Exact counts depend on your head size and how big your parts really end up.
Length adds weight and braiding time at every size: mid-back is about 24 inches from the root and a manageable first goal, while waist length is about 30 inches or more. For mid-back braids, plan on roughly 8 to 10 packs of pre-stretched Kanekalon for small, 5 to 8 for medium and 4 to 6 for jumbo, plus one or two more for waist length.
Packs vary by brand in weight and bundle count, so buy them all at once, in one color, plus a spare pack, so you don’t run short halfway and end up with mismatched braids.
Step 3 Portion the braiding hair and set up
Divide the braiding hair into equal bundles, one per braid, and lay them side by side so you can spot any that are thicker than the rest. Then split each bundle into two or three thinner pieces for feeding in.
Size the bundles to your parts: the extension should look about as thick as the natural hair in one box, because a heavy bundle on a small part drags on the root.
Matching bundles are the simplest way to keep every braid the same width, and portioning now saves you stopping mid-braid with tired arms. Finally, sit facing a wall mirror with your handheld mirror, rat-tail comb, sectioning clips and braiding gel within reach.
Step 4 Split your hair into four sections
With the tail of the rat-tail comb, part from ear to ear over the crown, then from the center of your hairline straight back to the nape, which gives you four large sections.
Twist each one loosely and clip it away, leaving out only the section you’re working on. Working one quadrant at a time keeps the rest of your hair stretched and tangle-free and gives you natural stopping points: finish a quadrant, then stand up, eat and rest your arms before starting the next.
Start at the nape. Your first braids will be your least even and the back hides them best, and by the time you reach the hairline your rhythm and tension will be steadier.
Step 5 Part clean box-shaped sections
Unclip one back quadrant, part a single horizontal row across the nape at your chosen part size, and clip the rest back up.
Divide that row into squares with short vertical parts, smoothing a little braiding gel along each line so the edges stay crisp and stray hairs don’t drift into the next box. Offset each new row by half a box, like bricks in a wall, so every braid falls between two braids of the row below and hides their part lines.
Hold the handheld mirror up to the wall mirror and check each row before you braid it. A part is done when it’s straight and square and matches its neighbors.
Step 6 Feed in the braiding hair
Split the natural hair in one box into three equal strands and braid two or three stitches with your own hair alone, so the base starts flat and exactly as wide as the part.
Then work one thin piece of braiding hair into the strands as you braid, adding the next piece a few stitches later until the whole bundle you portioned is worked in.
This gradual feed-in, called the knotless method, keeps the base small and flat and puts less pull on the root than looping the extension around the base in a knot. The base is right when it lies flat, matches its square and shows no bulky lump where the extension begins.
Step 7 Braid down with firm, painless tension
Keep each strand taut enough that the braid is neat and won’t loosen, but never so tight that your scalp stings or the skin at the base puckers or lifts.
Braid to the very end of the braiding hair at that same steady tension, so every braid ends up the same thickness and hangs the same way. Every few braids, run your fingertips over the bases.
Tenderness, a pulling headache or small bumps mean a braid is too tight, so take it out and redo it instead of waiting for it to settle. Be gentlest at the hairline, where hair is finest: make those boxes slightly larger and leave the baby hairs out.
Step 8 Seal the ends and check your work
Once every quadrant is done, use both mirrors to check the back for any braid that’s thicker, looser or shorter than its neighbors, and redo it now. Then check the braiding hair pack, because not every fiber is meant for hot water; if yours isn’t, skip the dip and finish the ends the way the pack directs.
To seal Kanekalon or another fiber made for hot-water setting, boil a kettle, let it stand until the water stops bubbling, and pour it into a heat-safe mug set on a steady surface by the sink. Dip a few braid ends at a time for a few seconds, then squeeze them dry in an old towel.
The heat sets the synthetic fiber so the ends lie smooth and don’t unravel. Bring the braids to the mug rather than leaning over it, keep the water away from your neck and fingers, and stop when every end is smooth and tapered.
Common Mistakes to Avoid
- Braiding over damp or tangled hair: tangles snap under the comb, and damp hair trapped under braids can stay wet for days and smell musty.
- Parting by eye without gel or a back mirror, so the boxes drift bigger or smaller across the head and the braids come out uneven.
- Adding a thick bundle of braiding hair to a small part, which puts extra weight on that root and invites breakage.
- Braiding the hairline as small and tight as the rest, or pushing through stinging and bumps instead of redoing the braid.
- Using too much gel on the parts, which dries into white flakes and buildup you’ll be stuck with for weeks.
Pro tip Before you commit to the whole head, braid two or three at the nape and leave them for an hour while you part the next row. If the bases still feel tender or the skin looks raised, lighten your tension or your bundle size now, while the fix costs you three braids instead of a full redo.
The Bottom Line
Your first set won’t be salon-perfect, and it doesn’t need to be. Even boxes, flat bases, painless tension and sealed ends are what make braids look neat and wear well, and each install gets faster as your hands learn the part size and the feed-in.
From here, care decides how long the set lasts. Follow our wash-and-takedown guide when your scalp needs cleansing, keep your lengths moisturized, and check our guide to how long box braids last so you plan the takedown before new growth mats at the base. If you have thinning edges, a sore scalp or patches of breakage, see a professional braider or a dermatologist before you install another set.
Frequently Asked Questions
How long does it take to do box braids yourself?
Longer than most people expect. One beauty editor's first at-home set took about seven hours, and smaller or longer braids take more. Budget a full day and split the work by quadrant so you can rest your arms between sections. Don't speed up your parting toward the end, because rushed boxes are the ones you'll see every day.
Should beginners do knotless or traditional box braids?
The feed-in (knotless) start is worth learning. You begin with your own hair and add braiding hair gradually, which keeps the base flat and puts less pull on the root than looping the extension into a knot. The trade-off is that it takes a little longer to master and install, so practice a few braids at the nape first.
How tight should box braids be?
Firm enough that the braid stays neat, never so tight that it hurts. Stinging, a pulling headache, tenderness that lingers or small bumps at the base mean too much tension, so take that braid out and redo it. Repeated tight styling can cause traction alopecia, especially along the hairline, so see a dermatologist if your edges look thinner.
How much braiding hair do I need for box braids?
For mid-back braids, about 24 inches long, plan on roughly 8 to 10 packs of pre-stretched braiding hair for small box braids, 5 to 8 for medium and 4 to 6 for jumbo. Add one or two packs for waist length, about 30 inches or more. Packs vary by brand, so buy them all at once in one color, plus a spare.
Do I have to seal box braid ends with hot water?
It's the usual way to finish Kanekalon and other synthetic fibers made for hot-water setting: a few seconds in just-boiled water smooths the ends and stops them unravelling. Check the pack first, since not every fiber is meant for it. Pour the water into a heat-safe mug on a steady surface by the sink, and keep it well away from your skin.
Keep Reading
Sources
- How to get box braids lorealparisusa.com
- How to do box braids luxyhair.com
- Box braids pro tools tips best practices goodmorningamerica.com