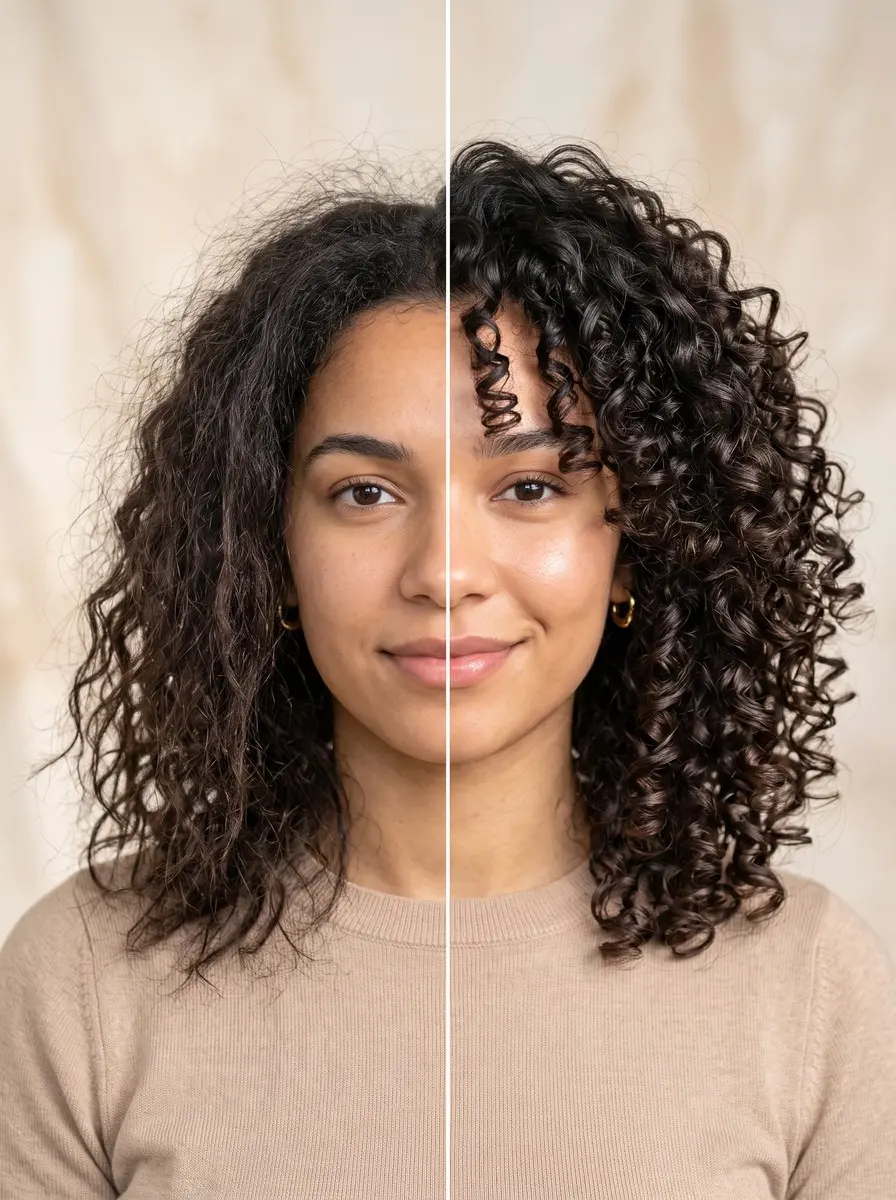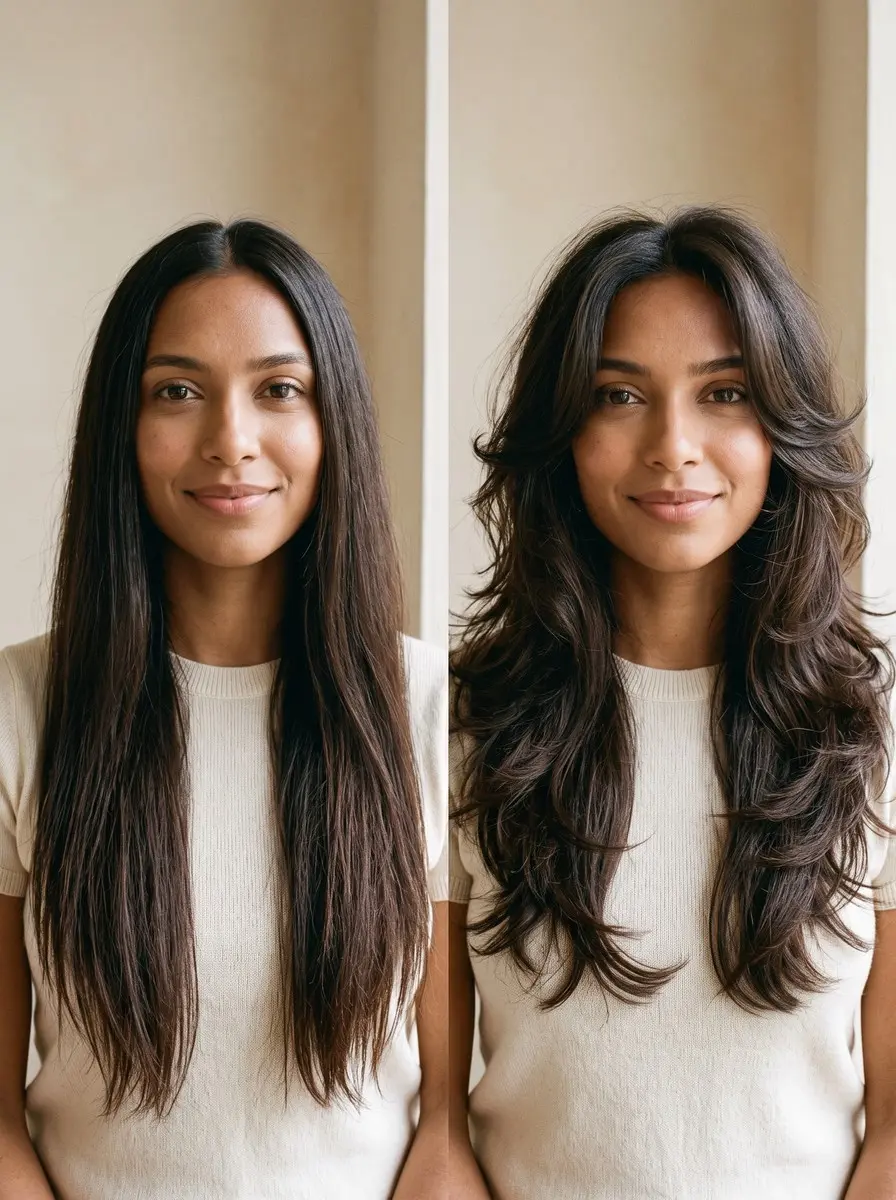
To do a butterfly haircut at home, part clean, dry hair from ear to ear, tie one ponytail at the front hairline and one at the crown, then cut a few inches off each. Take them down, blend the face-framing pieces, and blow-dry with a round brush.
The butterfly haircut looks like a salon-only job, but the viral two-ponytail method lets you do a butterfly haircut at home: short, swooping layers around the face, longer layers underneath, and a bouncy shape that reads as a blowout even on a lazy day. It works because the position of each ponytail does the layering for you. You make only two main cuts and a few small refining snips.
That simplicity is also the risk. Results depend heavily on your hair type and your starting length, and hair you cut off cannot be put back. This guide explains the reason behind every step, so you can judge what to do on your own head instead of copying a video. Go slowly, cut less than you think you need, and you can get soft, wearable layers on straight or wavy hair that falls past your shoulders.
What You’ll Need
- Professional hair-cutting shears (stainless steel, 5.5-6 inch) — Sharp, purpose-made blades cut cleanly through the ponytail instead of pushing the hair and leaving a jagged line.
- Fine-tooth rat-tail comb and sectioning clips set — The comb tail draws a straight ear-to-ear parting and the clips keep the back section out of the first cut.
- Handheld mirror (for checking the back) — Used with your bathroom mirror, it lets you confirm the parting, the crown ponytail and the back hem are level.
- Root-lift volumizing mousse — It gives the roots grip and lift, so the short top layers stand away from the head instead of lying flat.
- Ceramic round brush (large barrel, 1.75-2 inch) — A large barrel shapes the ends into the outward flip that makes the layers read as a butterfly cut.
As an Amazon Associate, HairAide earns from qualifying purchases. Some links above are affiliate links — they cost you nothing extra and help support free tutorials.
Step-by-Step
-
Check that your hair suits this method before you pick up the shears. It is most predictable on straight or wavy hair that falls at least a few inches past the shoulders, because the ponytails need enough length to reach the cutting point. Very curly hair shrinks unevenly once released, very fine hair can lose too much fullness at the ends, and hair above the shoulders has no room for two tiers. If that is you, or you already have bangs, book a stylist instead.
-
Set up with sharp hair-cutting shears, a fine-tooth comb, sectioning clips, two snag-free elastics and a hand mirror to check the back. Start on clean, dry, product-free hair. Product makes strands stick together and sit unevenly in the ponytail, and wet hair stretches, so it springs up shorter than you planned once it dries. Kitchen or craft scissors are too blunt and push the hair as they close, which leaves a chewed, uneven line.
-
Comb out every tangle, then draw a horizontal parting over the top of your head from the top of one ear to the top of the other. Clip the back half out of the way. This parting creates the two tiers that define a butterfly cut: the front half becomes the short, face-framing layer and the back half becomes the longer layer that keeps your overall length. Check in the mirror that the line is straight and sits at the same height on both sides, since a crooked parting gives lopsided layers.
-
Comb the front section straight forward and tie it into a ponytail centred at the front hairline, sitting on the forehead like a unicorn horn. The placement matters because hair near the face travels the shortest distance to the elastic and hair from the crown travels the farthest. When you cut the ponytail straight across, those crown hairs keep more length, so the layers fall shortest at the face and gradually longer toward the back. Keep the tension even and the ponytail dead centre, or one side will come out shorter.
-
Slide a second elastic down the ponytail to mark your cutting line, hold the hair straight out in front of you, and cut just below the elastic. The viral method removes about 4-6 inches, but start with 2-3 inches and check where the shortest pieces land. Somewhere between the lips and the collarbone is a forgiving place to begin. You can always trim again, but you cannot add length back. Finish by snipping vertically into the ends so the line is soft instead of blunt.
-
Release the back section, comb it straight up and tie it into a ponytail on top of the head at the crown. Hold it straight up, slide the marking elastic to your line, and cut the same cautious amount you took from the front. Hair from the nape has the longest journey to the crown, so it stays the longest when it falls. That protects your overall length while the top layers come out shorter and bouncier. Soften the ends with vertical snips again.
-
Take both ponytails down, shake the hair out and comb it into your usual parting, because hair settles differently once it is loose. Pull matching strands from each side forward to your chin or collarbone to see whether they meet at the same point, and use the hand mirror to check that the back hem sits level. Then comb the front strands forward on each side and trim tiny amounts at a downward angle away from the face, so the shortest point sits nearest the parting and the hair lengthens toward the shoulder. If you see a hard step between the short front layer and the longer hair behind it, soften it with shallow vertical snips into the ends of that corner. Stop as soon as the line flows, because over-blending removes the swoop that gives the cut its shape.
-
Style it to bring out the shape. Dampen your hair, work a root-lift mousse into the roots, and rough-dry with your head upside down until it is mostly dry, which lifts the roots away from the scalp. Then use a round brush to dry each section, rolling the ends away from the face so the layers flip outward. Let each curl cool for a few seconds before you release it. Once everything is cool, brush through gently so the layers merge, then set with a light mist of hairspray.
Common Mistakes to Avoid
- Cutting the full 4-6 inches on the first pass instead of starting with 2-3 inches and checking where the shortest pieces land.
- Cutting wet or product-coated hair, which stretches or clumps in the ponytail and dries shorter and less even than expected.
- Tying either ponytail off-centre or with uneven tension, which leaves one side of the face-framing layer visibly shorter than the other.
- Using kitchen or craft scissors, which bend and push the hair as they close and leave a ragged, stepped edge.
- Trying to fix a hard step by cutting more length, when shallow vertical snips into the ends are what soften the line.
Pro Tip
Mark your cutting line with a second elastic and measure it against a comb before you cut, so both ponytails lose the same amount. Then cut slightly below that elastic and use the spare margin for softening the ends.
Frequently Asked Questions
How much hair should I cut for a DIY butterfly haircut?
The viral two-ponytail method takes about 4-6 inches off each ponytail, but that is a lot for a first attempt. Start with 2-3 inches, let the hair down and check where the shortest face-framing pieces land. If you want more contrast between the tiers, put the ponytails back in the same spots and trim another inch.
Can I do a butterfly haircut at home on curly or fine hair?
It is risky on both. Very curly hair shrinks by different amounts along the head, so a straight cut across a ponytail can leave uneven layers once the curls spring back. Very fine hair can look thin at the ends once layers remove weight. In both cases a stylist can place layers more selectively than a ponytail cut can.
Why does the two-ponytail method create layers?
Each strand travels a different distance from its root to the ponytail. Hair growing close to the elastic uses up little length getting there, so it ends up shorter after the cut. Hair from farther away, such as the nape, uses more length and stays longer. A front ponytail gives short face-framing pieces, and a crown ponytail gives longer layers behind them.
How long does my hair need to be for a butterfly cut?
Hair that falls at least a few inches past the shoulders gives the most reliable result, because there is enough length for a short tier and a long tier with a visible difference between them. On shoulder-length or shorter hair, the front ponytail can leave the top layer very short, so it is safer to see a stylist.
What should I tell a stylist if my DIY butterfly cut goes wrong?
Say that you used the two-ponytail method, where each ponytail sat and roughly how much you cut. Then ask the stylist to blend the disconnection between the short front layers and the longer lengths and to even up the perimeter. Bring a photo of the result you wanted, and expect to lose a little length in the fix.
You Might Also Like
- butterfly cut ideas for thin hair to inspire your next look
- layered haircut ideas for thick hair to inspire your next look
- how to fix a bad haircut without making it worse
- how to make a blowout last longer
- how to trim your own curly hair ends at home
- featherlight layers for thin hair
- curtain bangs for thick hair
Done carefully, the two-ponytail method gives you a short, swooping layer around the face, longer layers through the back, and a shape that looks finished with a quick blow-dry. The only heat involved is the blow-dryer and round brush, so mist a heat protectant through your damp hair before you start drying. Refresh the cut every eight to twelve weeks, when the layers lose their definition and the shape starts to look heavy.
See a stylist instead if your hair sits above the shoulders, is very curly or very fine, or already has bangs you want to keep. The same goes if one side has come out noticeably shorter, or a hard step will not soften with small snips. A professional can rebalance the layers with far less loss of length than another round of home cutting.
Sources
- Brad Mondo's method parts hair horizontally from ear to ear, makes two ponytails (front and back), and cuts about 4-6 inches off each before refining the face-framing strands. xmondohair.com
- Grazia reports on TikTokers testing a two-step DIY butterfly cut, with surprising results; the result depends on hair type and length. graziadaily.co.uk