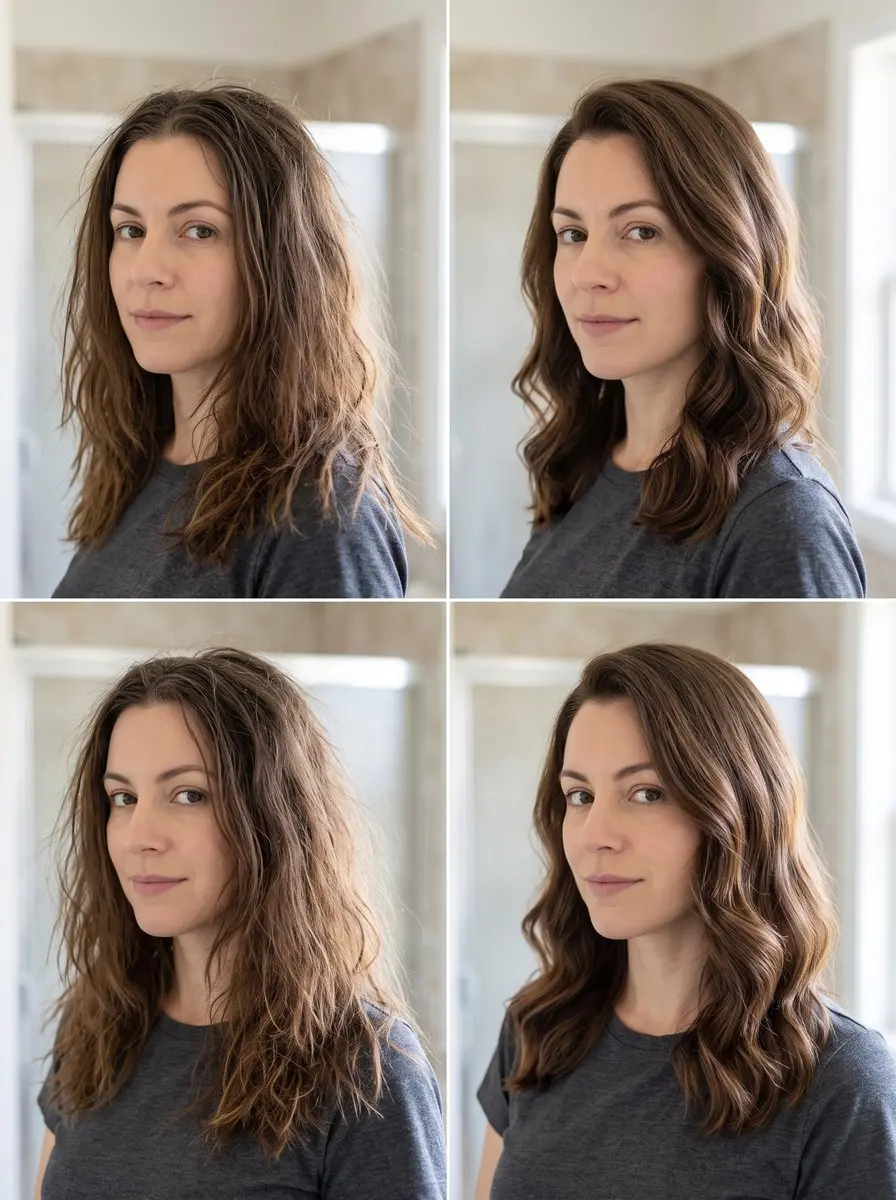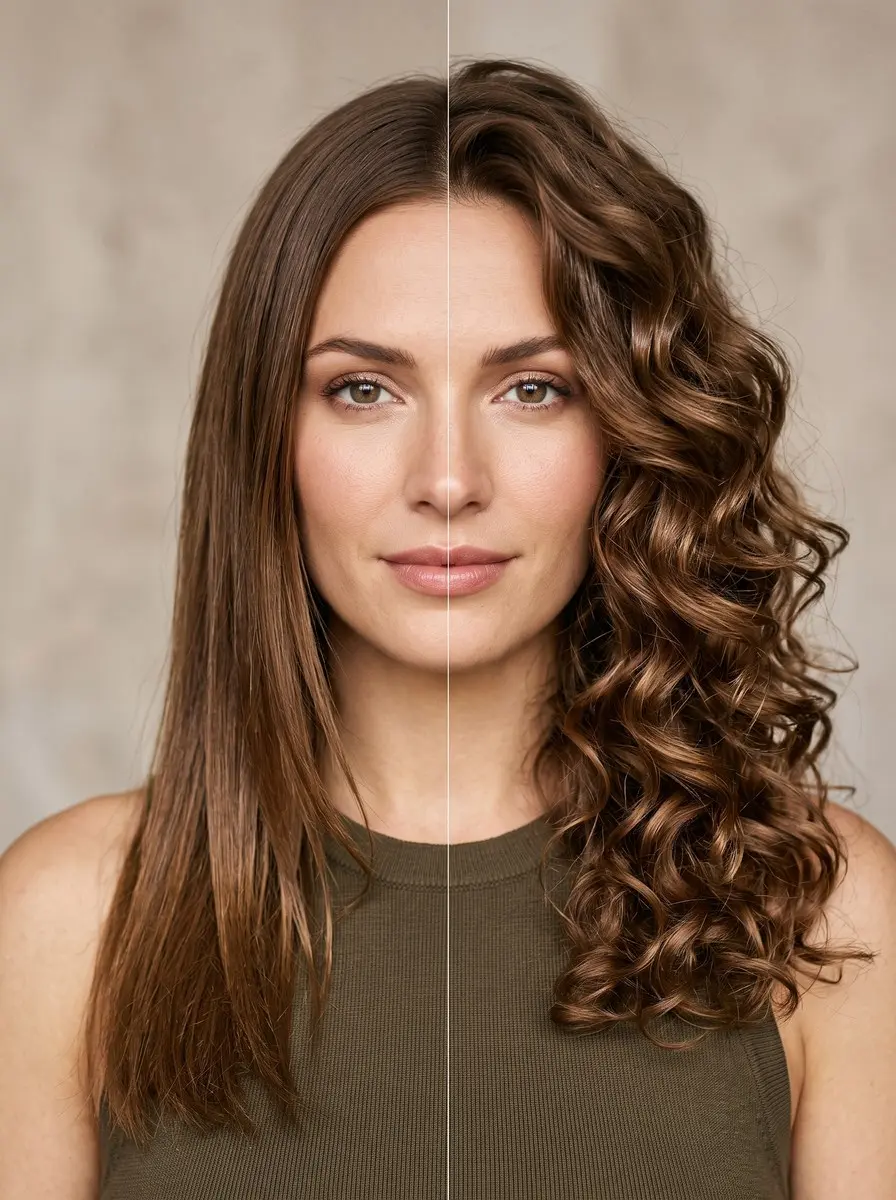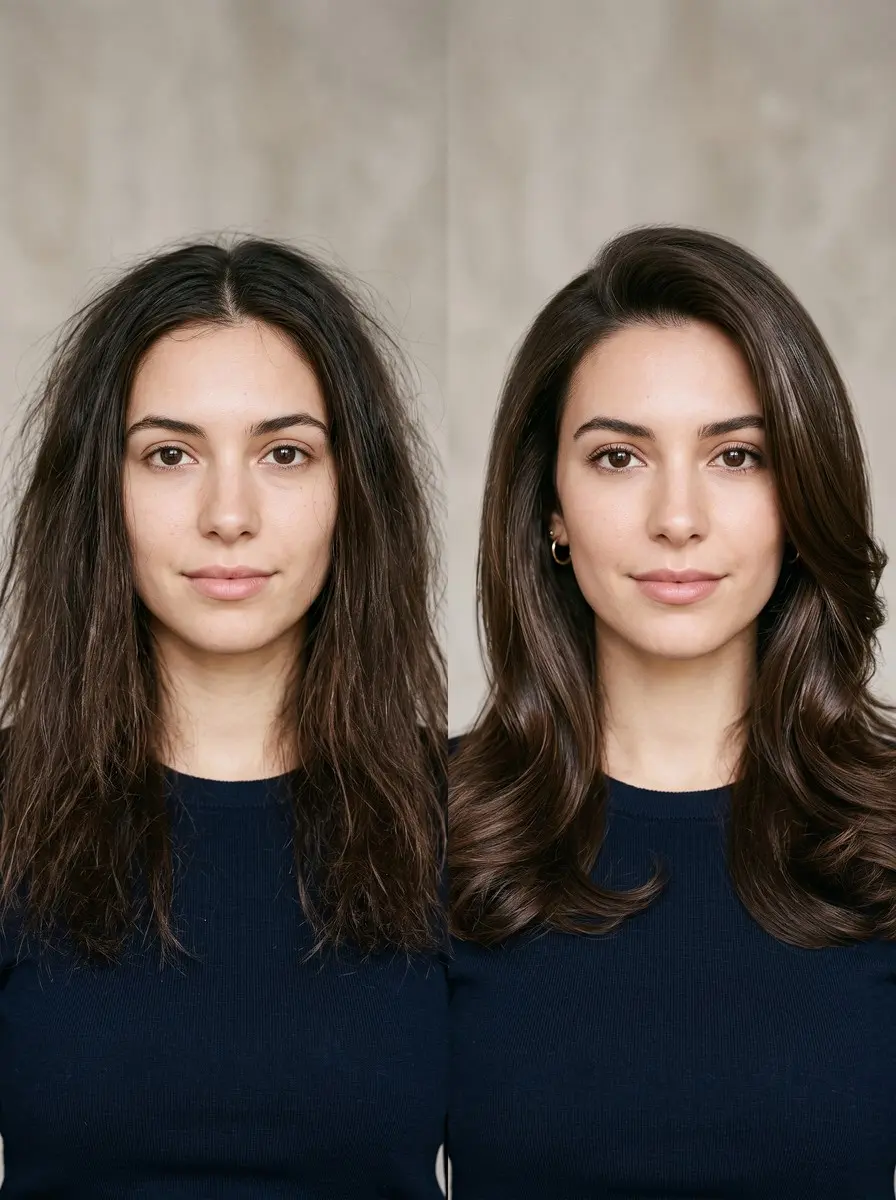
To do a round-brush blowout, rough-dry hair to about 80% with just your dryer, clip it into at least four sections, then dry small sub-sections over a round brush with the nozzle pointed down the strand and finish each with a 5-10 second cool shot.
A salon blowout looks effortless: lifted roots, a glassy surface, ends that swing and bend. At home it often goes the other way. You get forty minutes of aching arms, hair that is still damp underneath, and a puffy, frizzy result that collapses by lunch. Almost every bad DIY blowout comes down to one of three fixable habits: starting with hair that is too wet, working in sections that are too big, or letting each section go while it is still warm.
This guide teaches you how to do a round brush blowout at home: choosing the brush, sectioning, angling the dryer, keeping tension and setting the shape. It doesn’t depend on any particular brand of brush or dryer. You need a decent dryer with a nozzle, a round brush sized for your hair, a few clips and some patience on the first try. It gets faster every time you do it.
What You’ll Need
- Round brush with a ceramic vented barrel (sized to your hair length) — The barrel provides the tension that smooths each section and the curve that bends the ends.
- Blow-dryer with a concentrator nozzle and cool-shot button — The nozzle aims airflow down the strand, and the cool shot sets each section’s shape before you let it go.
- Sectioning clips (duckbill or alligator) — They hold at least four sections out of the way so you can work in small sub-sections that dry all the way through.
- Root-lift volumizing mousse — Applied to damp roots, it gives the lift you create with the brush something to hold onto.
- Lightweight smoothing serum — A drop on finished ends tames flyaways and adds shine without weighing the blowout down.
As an Amazon Associate, HairAide earns from qualifying purchases. Some links above are affiliate links — they cost you nothing extra and help support free tutorials.
Step-by-Step
-
Start with freshly washed, conditioned hair. Blot it with a microfiber towel or a cotton T-shirt instead of rubbing, because rubbing roughs up the surface and starts frizz before you’ve even begun. Detangle from the ends up with a wide-tooth comb while the hair is wet and slippery. Then work a golf-ball amount of volumizing mousse into the roots and a pea-sized amount of light smoothing cream through the mid-lengths and ends. Products added now spread evenly and set as the hair dries. Added afterward, they just sit on top.
-
Before the round brush touches your hair, rough-dry it to about 80% dry using only your fingers and the dryer. Lift the roots with your fingertips, point the airflow downward and keep it moving. Don’t worry about smoothness yet. Wet hair stretches and is weaker, so dragging soaking-wet lengths over a round brush strains the strands and takes twice as long. Starting too wet is one of the top reasons DIY blowouts fail. You’re ready when the roots are fully dry and the lengths feel cool and only slightly damp, with no dripping and no dark wet patches.
-
Pick a barrel that suits your hair length and the finish you want. Chin-length bobs and short layers suit a small 1-1.5 inch barrel, which can reach the root and still bend short ends. Shoulder-length hair is easiest with a medium barrel of around 2 inches. Long hair usually needs 2.5-3 inches to smooth the length without making tight curls. A smaller barrel always gives more bend and bounce, and a larger one gives straighter, sleeker movement. For texture, a ceramic vented barrel warms up and dries fine hair quickly, while boar or mixed bristles grip thick or coarse hair for more tension and a smoother finish.
-
Divide your hair into at least four sections. Part it down the center from forehead to nape, then from ear to ear over the crown, and clip each quadrant out of the way. Let down one back section at a time and work in sub-sections no wider than your brush barrel and about 1-2 inches deep. Start at the nape and move up toward the crown and front. Small sections matter because a dryer can only get through so much hair at once. With oversized sections the outer layer looks dry while the hair underneath stays damp, and that damp core frizzes and flattens the style within hours.
-
Fit the concentrator nozzle onto your dryer, set it to medium heat and high speed, and always point the airflow down the strand from root toward tip. Angle the nozzle along the hair, not straight into the scalp. The cuticle’s scales overlap like roof shingles pointing toward the ends. Air moving the same way presses them flat so the surface reflects light, while air blown upward from underneath lifts them and causes frizz and dullness. Keep the nozzle a couple of inches from the brush and let it follow the brush instead of hovering in one place.
-
Set the round brush under a sub-section right at the root, lift the hair up and slightly forward off the scalp for volume, and aim the nozzle along the top of the section. Pull the brush slowly down through the length, keeping the hair taut against the bristles, with the dryer following the brush the whole way. When you reach the ends, rotate the brush so they wrap around the barrel and form the bend. Tension is what actually smooths the hair. Slack hair just gets hot. Make two or three passes until the section is 100% dry and feels smooth from root to tip.
-
Once a section is fully dry, roll it back up around the brush. Go all the way to the root for crown lift, or roll just the ends for a bend. Give it a few seconds of warm air, then press the cool-shot button for 5-10 seconds while the hair is still wrapped. Hair takes its shape while warm and holds that shape as it cools, so a section let go while warm drops its bend and lift. Only unwind the brush once the hair feels cool to the touch. For maximum crown volume, clip each rolled section or set it on a Velcro roller while you finish the rest.
-
When every section is done, let your whole head cool for a minute or two before touching it. Then take out any rollers and gently shake the roots with your fingers to soften the freshly brushed look. Smooth a drop of lightweight serum over the ends and any flyaways, and finish with a light mist of flexible hairspray held at arm’s length. Letting the hair cool first keeps the shape you just built, and brushing through warm hair flattens it. To make the blowout last, sleep with it loosely twisted on top of your head and use dry shampoo at the roots from day two.
Common Mistakes to Avoid
- Starting with hair too wet: if the blowout takes forever, your arms burn and it frizzes within hours, rough-dry to about 80% with no brush before you section.
- Working in oversized sections: if the top looks smooth but the underneath feels damp or puffy, switch to sub-sections no wider than the brush barrel and 1-2 inches deep.
- Skipping the cool shot: if the lift and bend fall flat within an hour, hold 5-10 seconds of cool air on every section while it’s still wrapped around the brush.
- Blowing air up the hair shaft: if the surface looks fuzzy and dull even though it’s dry, angle the nozzle so the air travels from root to tip.
- Using the wrong brush size: a barrel too big for short hair can’t grip the ends, and one too small for long hair tangles and leaves a tight, crimped bend.
Pro Tip
Over-direct every crown section by lifting it straight up, or even slightly forward past where it naturally falls, before you dry it. The roots dry standing up, and that lift lasts far longer than anything a volumizing product can give you.
Frequently Asked Questions
Should I use a round brush on wet or damp hair?
Damp, not wet. Rough-dry your hair to about 80% with just your fingers and the dryer, then pick up the round brush. Wet hair stretches and is more fragile under tension. Brushing it from soaking wet also doubles the drying time and makes the style more likely to frizz and drop as the leftover moisture escapes.
What size round brush should I use for a blowout?
Match the barrel to your length: about 1-1.5 inches for short hair and bobs, around 2 inches for shoulder-length hair, and 2.5-3 inches for long hair. Go smaller for more bend and bounce, larger for a straighter, sleeker finish. Boar or mixed bristles grip thick hair better, while a ceramic vented barrel dries fine hair faster.
How long does a round-brush blowout last?
Most blowouts last two to four days, depending on your hair's texture and the weather. Moisture is what undoes them: humidity, sweat and shower steam let hair relax back toward its natural shape. To stretch yours, sleep with it loosely twisted on top of your head, use dry shampoo at the roots from day two, and wear a shower cap.
Why does my blowout go frizzy or flat so quickly?
It's usually one of three things. Your hair was too wet when you started brushing, your sections were too big so the underneath stayed damp, or you let each section go while it was still warm instead of setting it with a 5-10 second cool shot. A puffy, damp underside points to sections. A style that drops fast points to the cool shot.
You Might Also Like
- 15 blowout hairstyles to inspire your next look
- retro 90s blowout ideas to try with your new technique
- a wash-to-finish volume routine for thin hair
- how to repair heat-damaged hair
- keep roots fresh between washes
- find your hair porosity
- stop hair breakage at home
Once the order clicks (rough-dry, section, air down, tension, cool-set), a round-brush blowout becomes a routine instead of a workout, and on a bad day you can tell which step went wrong. Speed comes with practice, not with a new brush.
One heat note for the whole routine: mist a heat protectant through damp hair before you rough-dry, and keep the dryer moving. If you touch up the ends with a flat iron or curling wand afterward, use it only on completely dry hair, at no more than about 150C/300F for fine or bleached hair or 180-200C/355-390F for coarse hair. An iron on damp hair is the truly damaging mistake. Redo the blowout after each wash, usually every two to four days, and book a salon blowout when you need an event-ready finish on very thick hair.
Sources
- Hair should be rough-dried to about 80% with just hands and a dryer (no brush) before starting the round-brush section, since starting too wet is a top reason DIY blowouts fail. cassiescroggins.com
- Aiming the dryer's airflow down the strand, not up, is what keeps the hair cuticle flat and smooth during a blowout. bioionic.com
- Finishing each section with 5-10 seconds of cool-shot air while still wrapped around the brush seals the cuticle and locks in the shape. gkhair.com