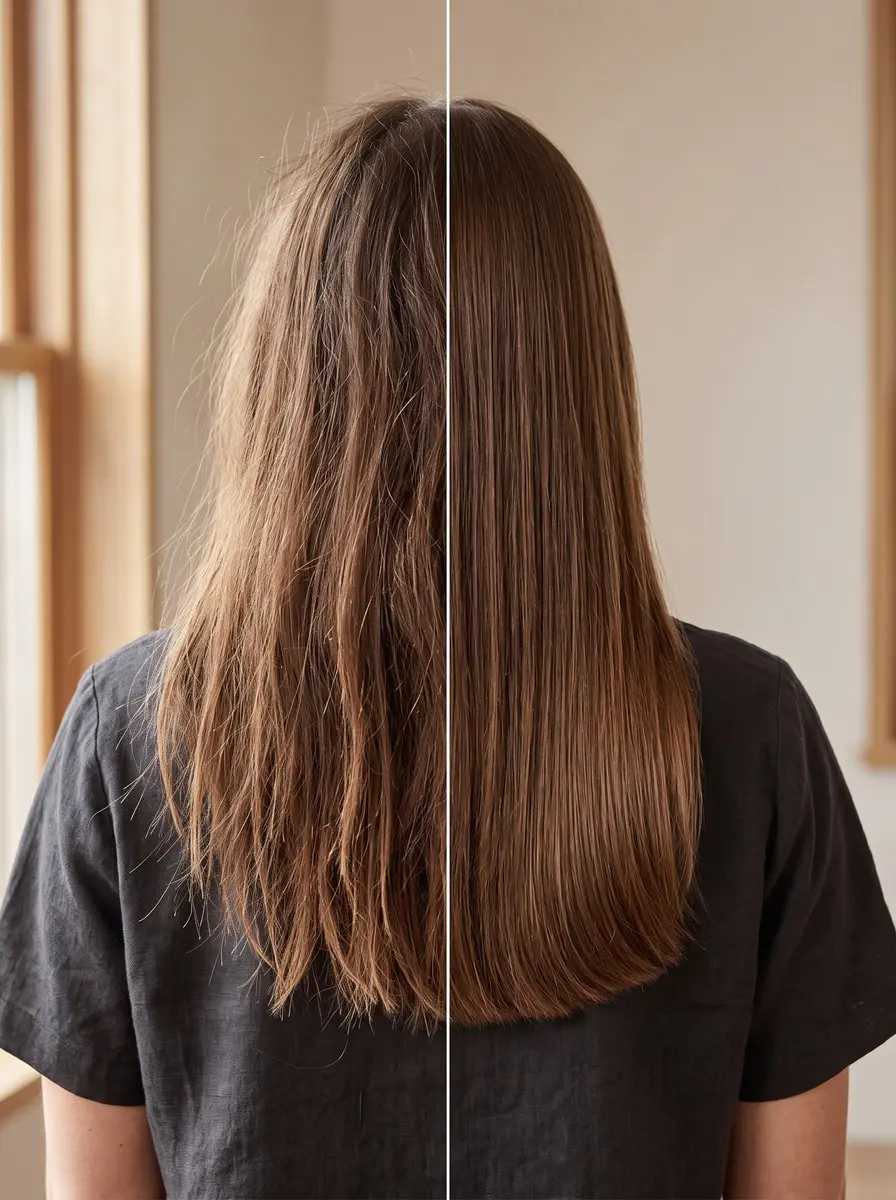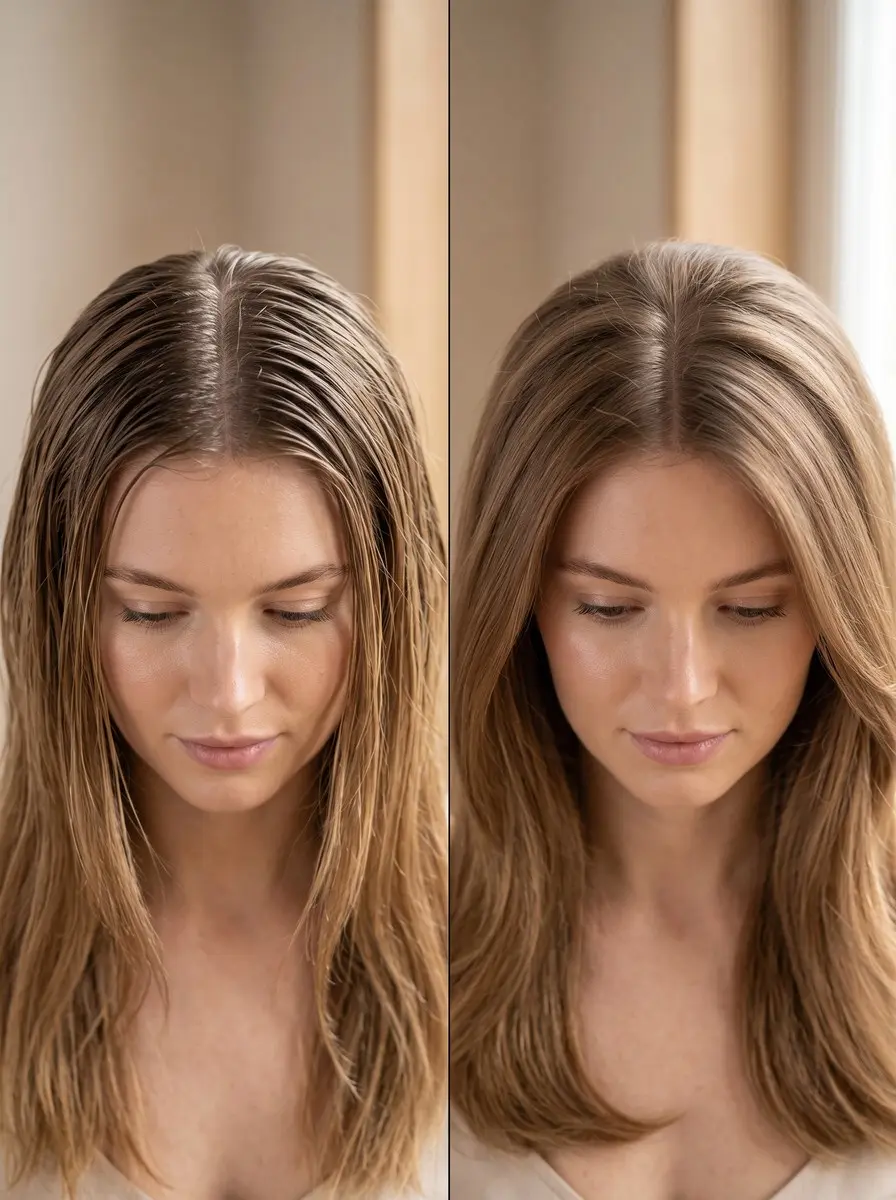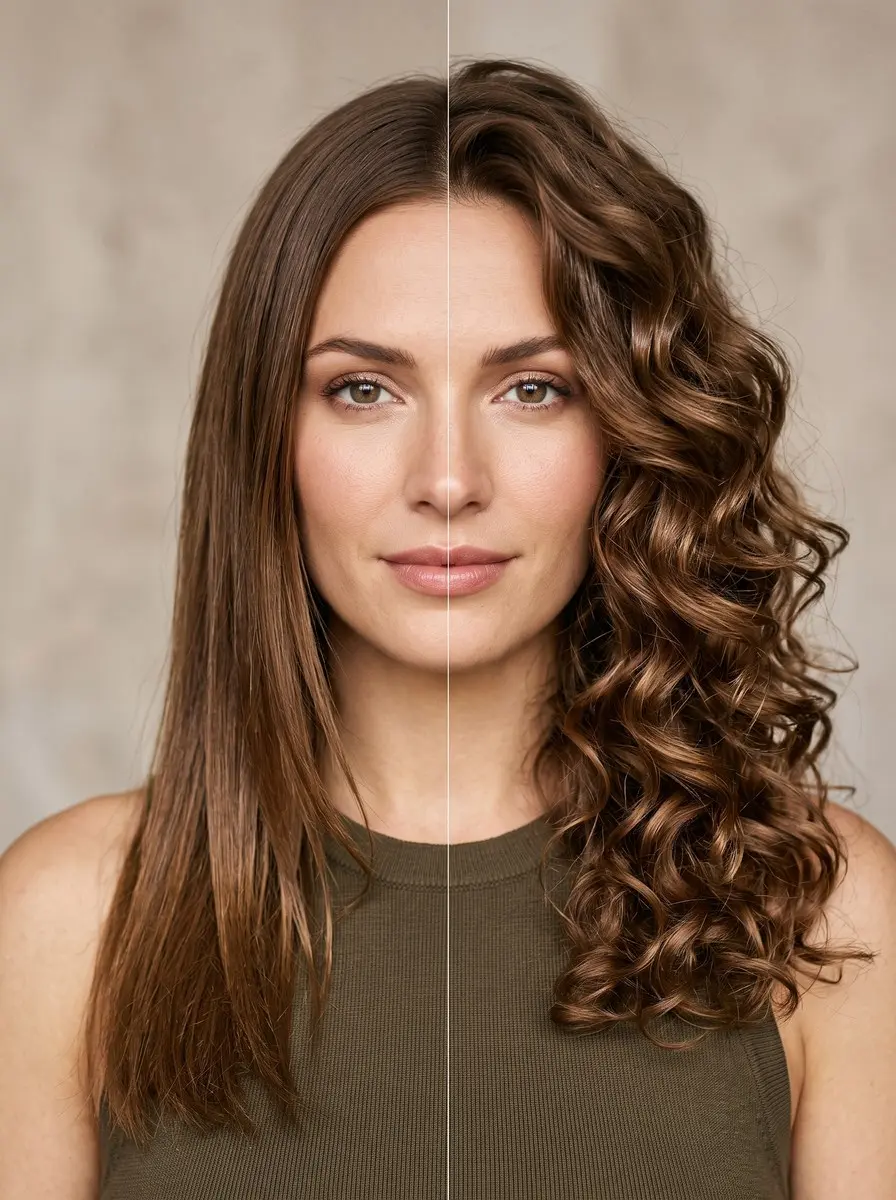
To curl hair with a flat iron, work on completely dry, heat-protected hair in 1-inch sections: clamp just below the root, turn the iron a half-turn away from your face, and glide it to the ends. Go slower for tighter curls and faster for waves. Cup each curl until it cools.
If a flat iron is the only hot tool in your bathroom, you don’t need to buy a curling iron to get curls. Add a half-turn as you glide it down, and the same plates that make hair sleek start producing ribbon curls, loose waves and bouncy spirals, all from one tool you already know how to handle.
The catch is that most tutorials show a single twist and skip the details that decide whether you end up with defined curls or a flat dent: the shape of the iron, the right heat for your hair type, the size of each section and how fast you pull. This guide goes through each of those in order, then covers setting curls, fixing creases and making them last. It takes a few sections to find your rhythm. After that it’s easy to do at home in 20 to 40 minutes, depending on your length.
What You’ll Need
- Slim 1-inch flat iron with rounded edges (ceramic or titanium plates, adjustable heat) — The rounded housing lets hair wrap into a curl without creasing, and adjustable heat lets you match the temperature to your hair type.
- Heat protectant spray — Coats each section before ironing to reduce heat damage from the pass that sets each curl.
- Sectioning clips (duckbill or alligator clips) — They hold the top layers out of the way and pin each warm curl while it cools and sets.
- Flexible-hold hairspray — Locks in the finished shape without stiffness, so curls still move.
- Lightweight volumizing mousse or texturizing spray — Gives fine or slippery hair the grip it needs to hold a curl all day.
As an Amazon Associate, HairAide earns from qualifying purchases. Some links above are affiliate links — they cost you nothing extra and help support free tutorials.
Step-by-Step
-
Start with hair that is completely dry from root to tip, including the dense layer at the nape, which is usually the last to dry. Mist a heat protectant through each section and comb it in so every strand is coated. If your hair tends to drop curls, work a golf-ball-sized amount of lightweight mousse through damp hair before you blow-dry for extra grip. Dry hair matters because an iron turns any trapped moisture into steam inside the strand, leaving it bubbled and brittle, and the protectant cuts the direct heat damage from the plates. You’re ready when your hair feels evenly dry, with no cool, damp patches underneath.
-
Choose a slim iron with 1-inch plates and rounded outer edges. The curved housing works like a barrel, so hair wraps around it without a sharp edge pressing a line in, and a narrow iron is far easier to rotate than a wide 2-inch straightener. Ceramic plates heat evenly and are gentler on fine or color-treated hair, while titanium heats faster and tends to suit thick, coarse hair. Set the temperature for your hair, not the iron’s maximum: about 300°F (150°C) for fine or bleached hair, 320-355°F (160-180°C) for medium hair and 355-390°F (180-200°C) for coarse hair, never above 390°F (200°C). Start at the low end of your range and turn it up only if curls drop within minutes.
-
Clip the top half of your hair up and out of the way, then work from the nape upward in horizontal rows. Take sections about 1 inch wide for defined curls, or up to 2 inches wide for looser waves, and keep them no more than about half an inch thick so the plates heat all the way through. Keeping every section the same size makes the curls look uniform, because each one gets the same heat and the same amount of wrap. An oversized section heats only on the outside and comes out as a limp bend with a straight core. Let each finished row down before you take the next.
-
Clamp the iron gently around a section about 1 to 2 inches below the root, so the hot plates never touch your scalp. Turn the iron a half-turn (180 degrees) away from your face so the hair wraps over the top of the rounded housing. The wrap creates the curl, and the plates supply the heat that sets it in that shape. Rotate away from your face on both sides for an open, face-framing look, or alternate direction section by section for a more lived-in texture. Keep your grip light enough that the iron can slide, because clamping hard is the main cause of dents and snagging.
-
Keep the half-turn in place and glide the iron down the section to the ends in one smooth, continuous motion. Speed controls the result. A slow, steady pass keeps the hair in the heated twist longer and gives tighter, springier curls, while a quicker pass gives looser, relaxed waves. Keep the speed even from top to bottom, because slowing down partway through leaves a tight spot and a loose spot in the same curl. You know it worked when a coil springs free as the ends slip out of the plates.
-
As the curl drops out of the iron, catch it in your palm with the coil intact and hold it against your head for 5 to 10 seconds. You can also pin it flat with a small clip while you work on the next section. Heat temporarily breaks the hydrogen bonds that hold hair in shape, and they re-form in whatever shape the hair is in as it cools. A warm curl that hangs loose or gets touched loses much of its spring. Leave every curl alone until it feels completely cool, since skipping this step is usually why flat iron curls fall flat within the hour.
-
Most crease lines come from pausing. An iron sitting still on closed plates presses a flat dent into the hair, so start moving the moment it closes. Clamping too close to the root with too much tension does the same thing. You can smooth a dent near the top by re-clamping just above it and gliding straight down without a twist. Burn marks show up as a dull, frizzy, fried-looking patch or a scorched smell, which means the heat is too high or the iron stayed in one spot too long. Lower the temperature instead of rushing, and let the ends slide out freely, because clamping the last inch hard bends it into a fishhook kink.
-
Once every curl has cooled, rake your fingers through them to break the coils into softer, connected waves, or leave them intact for defined curls. Skip the brush, which pulls curls straight. Mist a flexible-hold hairspray from arm’s length so it lands as a fine veil instead of wet spots that weigh curls down, and add texturizing spray at the mid-lengths for a piecey finish. To make curls last into day two, sleep with your hair in a loose, high pineapple ponytail on a silk or satin pillowcase. The next morning, refresh with dry shampoo at the roots and touch up only the few pieces around your face that have dropped.
Common Mistakes to Avoid
- Curling hair that is still slightly damp at the nape or roots, which turns trapped moisture into steam inside the strand.
- Pausing at the start of a section or clamping hard, which presses a flat crease into the curl.
- Taking sections too thick for the plates to heat through, so the outside bends and the core stays straight.
- Touching, brushing or letting curls hang while they are still warm, before they have cooled and set.
- Turning the iron to its maximum setting to make up for rushed passes, instead of slowing down at a moderate heat.
Pro Tip
Before you curl your whole head, test on one hidden section underneath: do one slow pass and one fast pass, let both cool, then compare them to see which speed gives the curl you want. For a modern, less ‘done’ finish, let the last inch of the ends slip out of the twist so they fall softly straight.
Frequently Asked Questions
Is curling hair with a flat iron damaging?
Any hot tool causes some wear, but you can keep it modest. Apply a heat protectant first and use the iron on completely dry hair only, because ironing wet hair is the one genuinely damaging mistake. Stay around 300°F (150°C) for fine or bleached hair and 355-390°F (180-200°C) for coarse hair. Heat-free days between sessions also help.
Why won't my flat iron curls hold?
Curls usually drop for three reasons: they were touched before they cooled, the sections were too thick for the heat to reach the center, or the hair was slippery from heavy conditioner. Let each curl cool fully in your palm or a clip, use thinner sections and prep with a lightweight mousse. Finish with flexible hairspray for extra staying power.
Does it matter which way I turn the flat iron?
Direction changes the look, not the hold. Turning the iron away from your face on both sides sends curls back and opens up your features. Turning toward your face gives a more closed, vintage shape. Alternating direction section by section creates a looser, lived-in texture, because neighboring curls don't clump together into one big ringlet.
Can I curl short hair with a flat iron?
Yes, as long as your hair is long enough to wrap once around the iron, which usually means chin length or longer. Use a narrower iron with 1/2-inch or 3/4-inch plates and take smaller sections so you can make a full half-turn. On a bob or lob, a quick pass gives soft, modern bends instead of tight curls.
You Might Also Like
- 20 elegant half-up half-down hairstyles to show off your curls
- 20 camera-ready hairstyles for engagement photos
- 20 candlelit winter wedding hairstyles for brides and guests
- 20 soft shag haircuts to style with your new waves
- how to get heatless curls overnight
- a wash-to-finish volume routine for thin hair
- how to repair bleach-damaged hair at home
- a split-end dusting at home
Once the rhythm clicks (dry, protected hair, even sections, a steady half-turn glide and a patient cool-down), flat iron curls take about as long as any other heated style. With a pineapple ponytail overnight and a quick refresh around your face, most curls carry you through two or three days before a full redo.
If your ends snap, feel like straw or look fried even at a moderate temperature, your hair needs a break from heat and possibly a trim, not a hotter iron. A stylist can assess the damage and show you the twist on your own hair in person. On days you’d rather skip heat entirely, overnight heatless curls are the natural alternative.
Sources
- Curling should start on completely dry hair with heat protectant applied first — curling wet hair with an iron causes real damage. hair.com
- A skinny, round-edged ceramic or titanium flat iron set below 400°F is the right tool choice for curling rather than straightening. 15minutebeauty.com