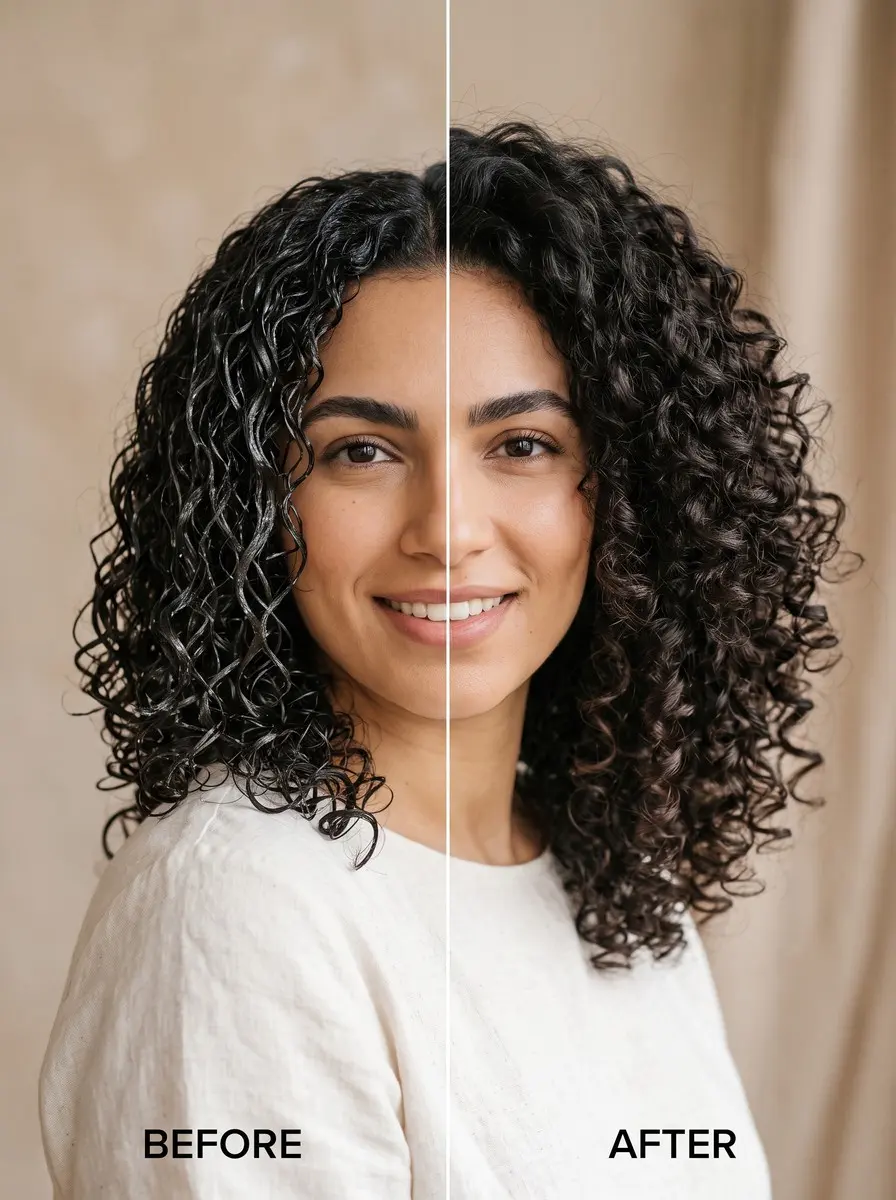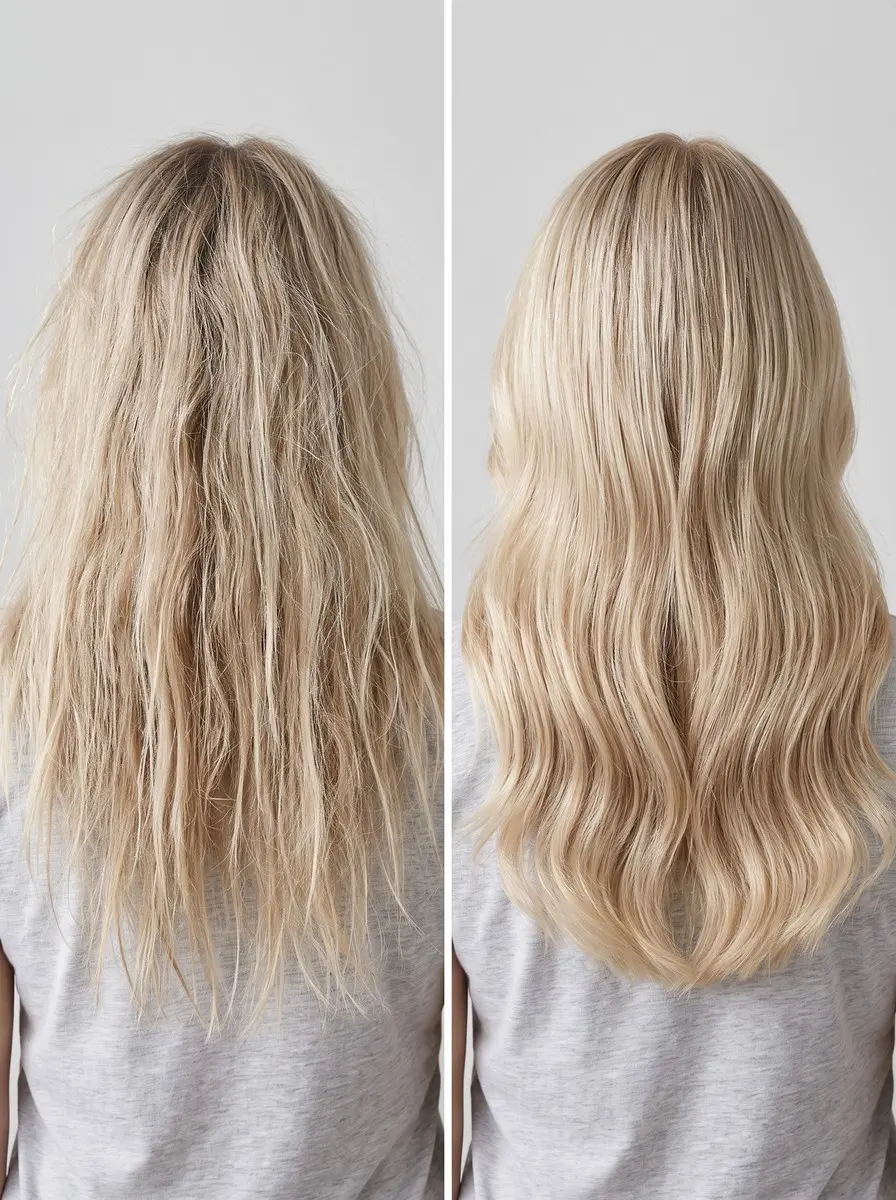
Quick answer To use a pre-shampoo bond building treatment, put about a quarter-size amount on each of four sections of towel-dried hair, mid-lengths and ends first. Comb it through and leave it for the label time (usually 10 minutes), then rinse, shampoo and condition. Repeat weekly, or twice weekly for bleached hair.
Bond builders are some of the most hyped bottles in the shower, and some of the most misused. People put them on dripping-wet hair, use them instead of conditioner, apply them every day, and then decide they don’t work because the split ends are still there a week later.
The products aren’t magic. Used in the right order, on the right hair and at the right frequency, though, they can mean much less snapping on bleached, color-treated or heat-styled lengths.
This guide covers what each type is for, from the salon additive mixed into bleach to at-home pre-shampoo and leave-in formulas. It shows exactly how to apply one, how long to leave it on and how often to repeat it for your level of damage. It’s also honest about what the science says and what a bond builder can’t do, so you’ll know when a trim is the faster fix.
Time 20-30 minutes, including your washDifficulty BeginnerSteps 9
How Often to Use a Bond Builder by Hair Condition
| Hair condition | How often |
|---|---|
| Healthy, uncolored | Optional |
| Colored or lightly damaged | Once a week |
| Bleached or often heat-styled | Twice a week |
| Severely damaged | 2-3 times a week, then cut back |
What You’ll Need
As an Amazon Associate, HairAide earns from qualifying purchases. Product links in this guide are affiliate links: they cost you nothing extra and help keep these tutorials free.
- Pre-shampoo bond-building treatment The at-home format the steps follow: it goes on towel-dried hair for the label time before you wash.
- Leave-in bond-building mask A no-rinse option for anyone who would rather add a step after shampoo than before it.
- Wide-tooth detangling comb Spreads the treatment evenly through each section without snagging fragile, processed lengths.
- Sectioning clips Keep hair in four sections so each gets its quarter-size amount and nothing is skipped.
- Moisturizing deep conditioner or hair mask Gives the softness and slip a bond builder doesn’t, on wash days between treatments.
Step-by-Step
Step 1 Check your hair actually needs one
Bond builders are meant for hair that has been stressed by chemicals or heat: bleached, permanently colored, relaxed or permed lengths, and hair that’s heat-styled most days. Healthy, uncolored hair gets little from them, because a good conditioner already gives it what it needs, so treat a bond builder as optional there.
The quickest check is a strand test. If a wet strand stretches a long way and then snaps, or your brush fills with short broken pieces, you have structural damage worth treating. If your hair is just dry or frizzy and isn’t breaking, start with a moisture routine instead.
Step 2 Pick the type that fits your routine
Bond builders come in four formats, each used at a different point in your routine. Salon additives are mixed into bleach or color by your stylist during the service. Pre-shampoo treatments such as Olaplex No. 3 go on damp hair before you wash.
Leave-ins such as K18 go on after shampoo and stay in, and acid or pH-based lines are low-pH shampoo, conditioner and treatment sets that replace your regular wash products.
A pre-shampoo treatment is the simplest place to start and is the format the steps below follow. A leave-in suits anyone who doesn’t want to add time before the wash; if you use one, follow its own label for timing and skip the rinse below.
Step 3 Start with towel-dried hair
Wet your hair thoroughly, then squeeze and blot it with a towel or an old T-shirt until it’s damp but no longer dripping. Squeeze rather than rub, because friction roughens fragile, processed lengths.
Damp hair lets the product spread easily, while soaking-wet hair dilutes it and lets it run off before it reaches the ends that need it most. Pre-shampoo formulas go on before you wash, so you don’t need to shampoo first. You’re ready when you can squeeze a section and no water drips out.
Step 4 Section into four and apply
Clip your hair into four even sections, two at the front and two at the back, so no area gets skipped. Work on one section at a time with about a quarter-size amount of product. Smooth it onto the mid-lengths and ends first, since those are the oldest and most processed parts of each strand.
Take the product up to the roots only if they’ve been chemically processed too, for example after a fresh bleach retouch or all-over color. A section is done when it feels evenly slick from mid-length to tip, with no dry patches.
Step 5 Comb it through every strand
Run a wide-tooth comb through each section, starting at the ends and working upward, to spread the product evenly and loosen any tangles. Combing matters because fingers leave uneven patches, and a treatment only reaches the hair it actually touches.
Go slowly and hold the section above the comb so knots don’t pull on fragile lengths. Then twist each section loosely and clip it up. You’re done when the comb glides through every section without snagging.
Step 6 Leave it on for the label time
Set a timer for the time on your label, which is 10 minutes for Olaplex No. 3. You can wear a shower cap to keep your hair damp and stop drips landing on your shoulders. Some stylists recommend leaving it on much longer, on the theory that the active ingredient gets more time to work.
No independent testing shows a benefit beyond the label time, but a longer wait is unlikely to hurt either. Rinse when the timer goes off, and don’t expect your hair to look or feel different yet.
Step 7 Rinse, then shampoo and condition
Rinse thoroughly with lukewarm water until your hair no longer feels slippery, then shampoo as normal to remove the remaining residue. Use conditioner every time afterwards, because a pre-shampoo bond builder isn’t meant to replace it.
The bond builder targets strength, while conditioner handles softness, slip and detangling. Skipping conditioner is a common reason hair feels dry or straw-like after a treatment. You’re done when your hair feels clean and soft, not coated or squeaky.
Step 8 Set your frequency and judge results
Use the treatment once a week if your hair is colored or lightly damaged, and twice a week if it’s bleached or heat-styled often. For severe damage, use it 2-3 times a week for a few weeks, then cut back to once or twice a week. Don’t use it daily.
Stylists don’t recommend it, there’s no evidence it speeds up results, and with a pre-shampoo formula it means washing fragile hair every day. Give it 3-6 uses before deciding whether it works, and judge it by breakage, meaning fewer short snapped pieces in your brush, rather than by shine.
Step 9 Pair it with moisture and trims
A bond builder works alongside the rest of your routine, not instead of it. On wash days between treatments, use a moisturizing mask or deep conditioner. Add a protein treatment only if your hair feels mushy or overly stretchy when wet, because too much protein can leave damaged hair stiff and brittle.
No treatment can glue split ends back together, so once your ends look frayed or your cut starts losing its shape, book a trim. Your routine is balanced when your hair feels soft and stretches a little before springing back, without snapping.
Common Mistakes to Avoid
- Applying it to soaking-wet hair, so the product is diluted and runs off before it reaches the ends
- Treating it as a conditioner and skipping the real one, which leaves processed hair dry and tangled
- Using it every day for faster results, when stylists recommend no more than 2-3 times a week even for severe damage
- Expecting it to mend split ends, which only a trim can remove
- Working it into uncolored roots, which don’t need treating, so the product is wasted
Pro tip If you’re booking bleach or a big lightening session, ask your colorist to mix a bond-building additive into the lightener itself. That format is made for the moment your hair takes the most damage, and at-home treatments are the maintenance between appointments.
The Bottom Line
Used in the right order on towel-dried hair, a bond building treatment is a simple weekly habit: four sections, mid-lengths and ends first, the label time, then shampoo and conditioner. Expect gradual change, mainly less breakage and easier detangling over 3-6 uses, rather than a transformation after one.
Once breakage settles, go back to once a week, alongside your moisture mask and regular trims. See a stylist instead of buying another bottle if your hair keeps snapping after a few weeks of consistent use, or if it feels gummy or overly stretchy when wet. That level of damage needs a professional assessment and usually a cut.
Frequently Asked Questions
Do bond builders really repair broken bonds in hair?
Brands say they relink broken bonds inside the hair, but a lab analysis of the published research disputes that. It reports non-specific new bonds rather than true disulfide repair, and notes that Olaplex and K18 may partly work by blocking water from entering the hair. Bleach damage to those bonds is permanent, so expect less breakage, not restored virgin hair.
How long should I leave a bond building treatment on?
Follow the label. Olaplex No. 3 says 10 minutes on towel-dried hair before shampooing, while leave-ins like K18 aren't rinsed out at all. Some stylists suggest leaving pre-shampoo treatments on longer. That's unlikely to hurt, but no independent evidence shows the extra time adds benefit. If you do wait longer, wear a shower cap so your hair stays damp.
How often should I use a bond builder?
Once a week suits most colored or lightly damaged hair, and twice a week suits bleached or often heat-styled hair. Severely damaged hair can have it 2-3 times a week for a few weeks, then cut back. This is a stylist's guideline rather than a label claim. Avoid daily use, and give it 3-6 uses before judging the results.
Can a bond builder fix split ends?
No. Once a strand has split, no shampoo, mask or bond builder can fuse it back together; smoothing serums only hide it until the next wash. A bond builder can help reduce new breakage along processed lengths, but the only fix for existing split ends is a trim, ideally before the split travels further up the strand.
Does a bond builder replace heat protectant?
No. A bond builder helps hair resist breakage, but it doesn't shield it from a hot tool. Mist a heat protectant through damp hair before blow-drying. Use flat irons and curling irons on completely dry hair only, because wet hair under an iron is genuinely damaging. Keep irons at about 150°C/300°F for fine or bleached hair and 180-200°C/355-390°F for coarse hair.
Keep Reading
Sources
- How to use olaplex no3 haiirology.com
- Does olaplex repair disulfide bonds analysing the cosmetics study labmuffin.com