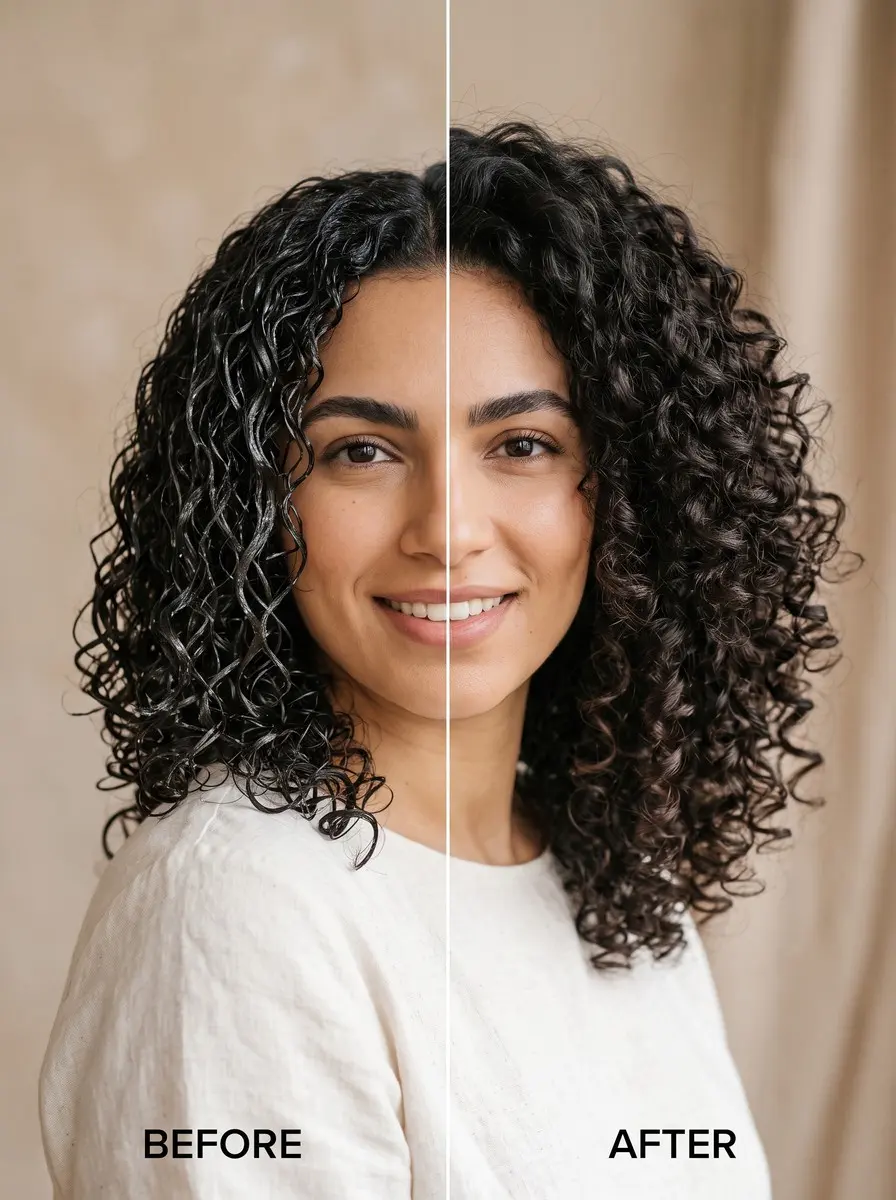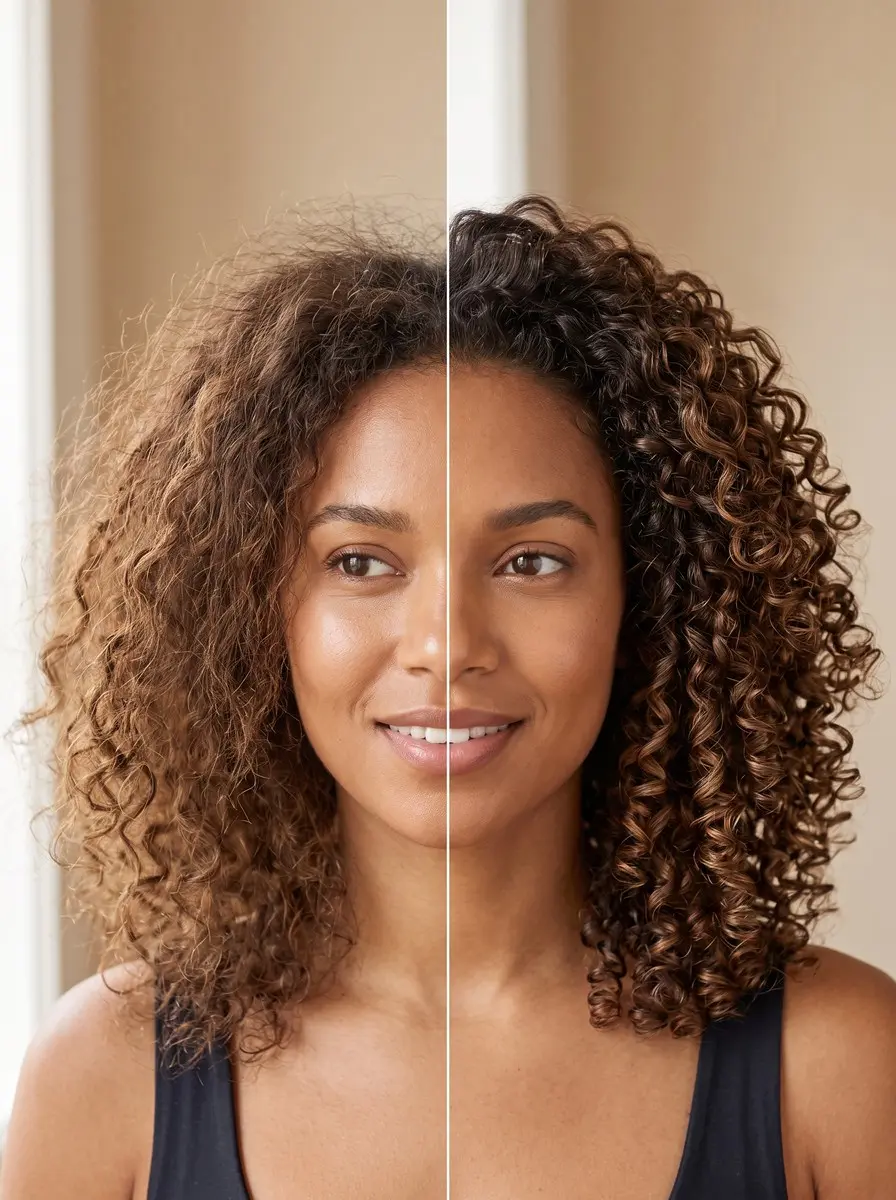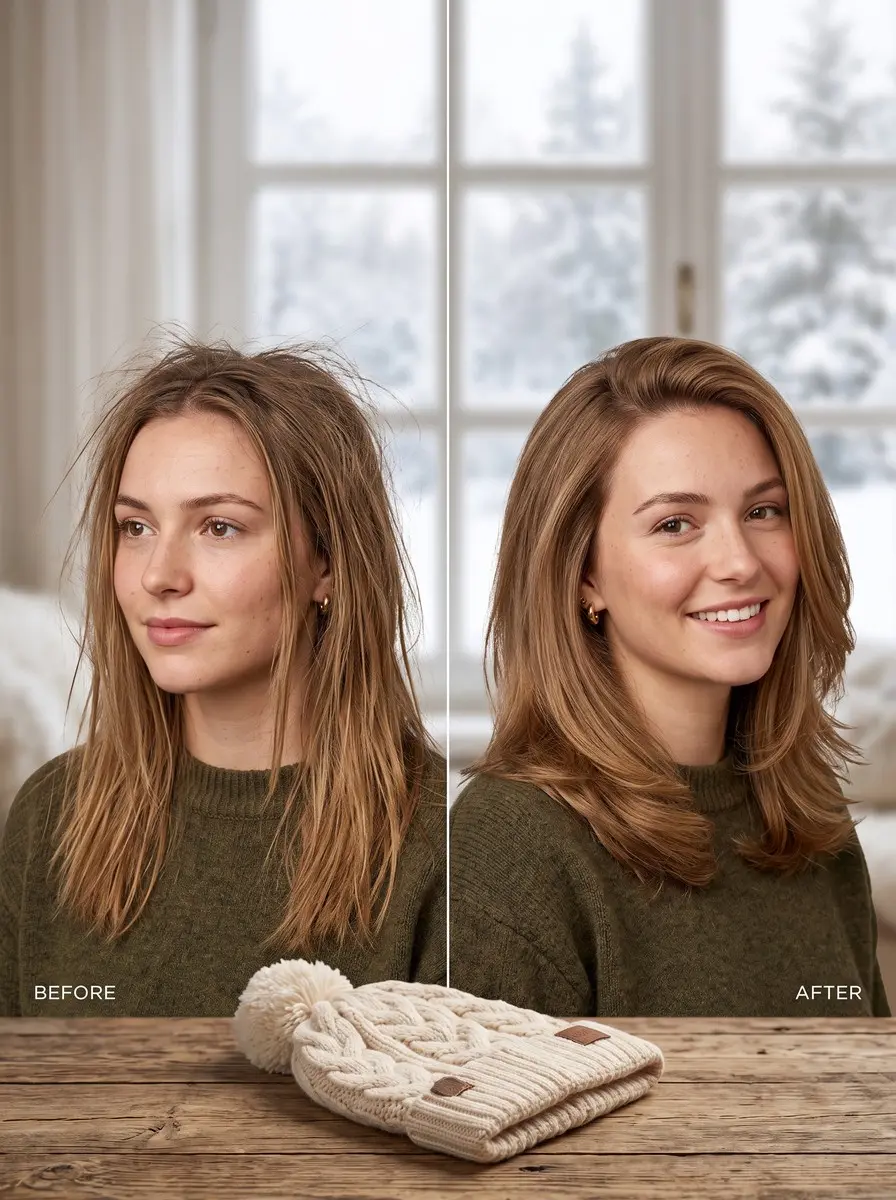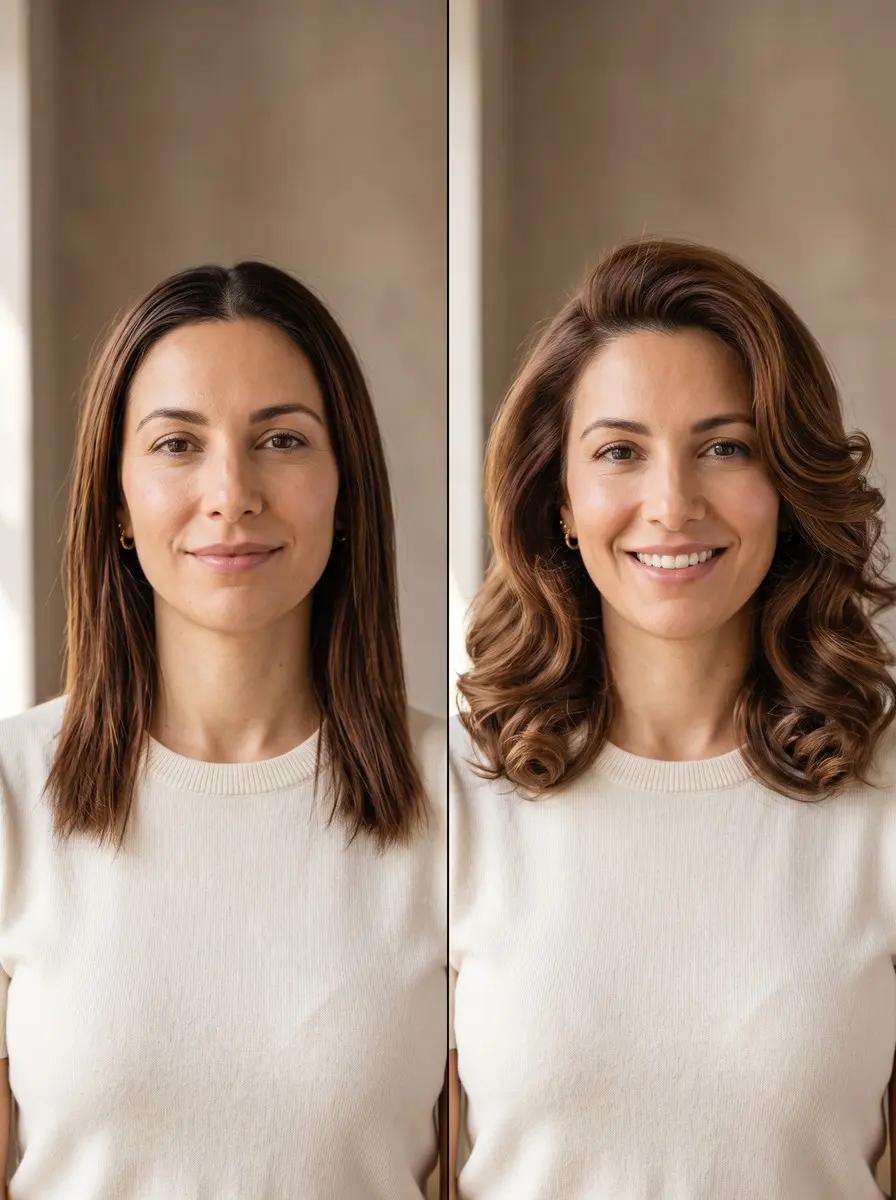
Quick answer To use hot rollers, start on completely dry hair, take sections as wide as the roller, and wrap from an inch or two above the ends, rolling away from your face. Leave them in 20 to 30 minutes so they cool completely, then unclip and finger-comb.
Hot rollers are one of the most hands-off routes to bouncy, glossy curls: you set them, walk away to do your makeup, and come back to body and root lift. Yet plenty of people try a set once, get limp waves that are gone by lunch, and decide the tool doesn’t work for them.
The problem is almost always technique, not the rollers: a roller too large for the curl you wanted, sections too thick to heat through, or clips pulled out while the hair was still warm.
This guide shows how to use hot rollers step by step, from choosing roller sizes and sectioning to wrapping without kinks and the cooling time that actually sets the curl. It takes 30 to 45 minutes at home, most of it hands-free, and it works on any length long enough to wrap twice around a roller. The last step fixes curls that come out flat, crimped or gone by the afternoon.
Time 30-45 minutesDifficulty BeginnerSteps 9
Hot Roller Size by Goal
| Roller size | What it gives | Section width | Best placement |
|---|---|---|---|
| Small (about 1 in or less) | Tighter, defined curls | About 1 in | Chin-length and shorter hair |
| Medium (about 1.25-1.5 in) | Body and bounce | 1.25-1.5 in | Sides and back |
| Large (1.75 in and up) | Volume, root lift, loose waves | 1.75 in or more | Top and crown; all over on long hair |
What You’ll Need
As an Amazon Associate, HairAide earns from qualifying purchases. Product links in this guide are affiliate links: they cost you nothing extra and help keep these tutorials free.
- Hot roller set with mixed sizes A mixed set lets you put large rollers on the crown for lift and medium or small rollers through the sides and back for shape.
- Heat protectant spray It goes on before the rollers so each section is protected while the roller holds heat against it.
- Flat sectioning clips They hold the unworked hair out of the way so every section stays as wide as its roller.
- Volumizing mousse or setting spray It gives fine, slippery hair the grip it needs to hold the curl after the rollers come out.
- Flexible-hold hairspray A fine mist from arm’s length locks the finished curls without making them stiff or crunchy.
Step-by-Step
Step 1 Choose roller sizes for your goal
Roller diameter sets the size of the curl, so decide on the result before you heat the set: small rollers (about 1 inch or less) give tighter, defined curls, medium rollers (about 1.25 to 1.5 inches) give body and bounce, and large rollers (1.75 inches and up) give volume, root lift and loose waves.
Length matters too, because each section has to wrap at least two full turns around its roller, so chin-length and shorter hair usually works best with small rollers.
Most sets mix sizes on purpose: large rollers along the top and crown for lift, medium through the sides and back for shape, and on long hair, large rollers all over for loose, glossy waves. If a section can’t make two full turns, drop down a size.
Step 2 Prep completely dry hair
Hot rollers only work on completely dry hair: damp strands can’t finish drying inside a roller in 20 to 30 minutes, so the curl comes out half-set and collapses as the last of the moisture leaves.
If you’ve just washed, blow-dry fully first; on fine, slippery hair, work a little mousse through the damp lengths before drying, or mist a setting spray once dry, so the curl has something to grip. If your hair is coarse or curly, a smooth blow-dry or a flat-iron pass on the dry hair gives the roller an even surface, so it sets one uniform curl instead of competing with your natural texture.
Mist a heat protectant through the lengths, and plug the set in while you prep so every roller is fully hot, per its ready indicator if it has one, by the time you start.
Step 3 Section to match each roller
Take each section about as wide as the roller you’re using, so a 1.5-inch roller gets a 1.5-inch section, and keep it no longer side to side than the roller itself.
When a section is too thick, the outer layers sit far from the hot barrel and set limp while the inner hair curls, which is the most common reason for flat, uneven results. Start with a center panel running from the front hairline back to the crown for your largest rollers, since that area carries most of the volume and gets the longest set, then work down the sides and finish at the back.
Clip the rest of the hair out of the way so each section stays clean and no stray strands get wrapped into the wrong roller.
Step 4 Wrap two turns away from the face
Hold the section smooth, set the roller against it an inch or two above the ends, tuck the ends around it so they lie flat, and make two full turns before you roll on toward the scalp. Those first two turns anchor the ends, which prevents bent, fishhook-shaped tips and ends that spring loose.
Roll the sections around your face back, away from it, so the front curls fall open instead of flipping into your eyes, and at the crown, hold the section straight up from the scalp so the roller sits right on top of its own base for maximum lift.
Keep the wrap snug enough that the hair hugs the roller with no slack, but stop before the roots pull: a loose wrap sets a saggy curl, while an overly tight one tugs at the scalp.
Step 5 Clip each roller without denting
Fasten each roller with its clip or pin as soon as it reaches the scalp, placing the clip so it holds the roller to the head without clamping hard across the wrapped hair. A clip pressed into the curl leaves a crease that survives the whole set, which is where many mystery kinks come from.
Check that each roller sits flat on its base rather than dragging down on the one beside it, because a roller hanging off its base sets a weaker, droopier curl at the root. Once the last roller is in, note the time.
Step 6 Let the rollers set and cool
Leave the rollers in for 20 to 30 minutes: the set itself takes 10 to 30 minutes on dry hair, and the clips shouldn’t come out until the rollers have cooled for at least 20, so the sweet spot is the overlap.
Heat loosens the hydrogen bonds that hold your hair’s current shape, and those bonds re-form in the curled shape as the hair cools around the roller, so cooling, not heating, is the part that sets the curl. Pull a roller while it’s still warm and the curl relaxes before it’s locked in.
Past 30 minutes the rollers are cold and have nothing more to give, so extra time only adds clip marks, and sleeping in them is a mistake for the same reason. You’re ready when every roller feels completely cool to the touch.
Step 7 Release the curls gently
Unclip one roller at a time, starting at the nape and working up to the crown so you never reach through curls you’ve already released. Unwind each roller in the reverse direction rather than pulling it straight down, which stretches the curl you just spent 20 minutes setting.
Let each curl drop and leave it alone while you work through the rest of the head. Tight, springy curls at this stage are normal, because they relax and soften as you finish.
Step 8 Finger-comb and finish with hairspray
Rake your fingers through the curls from underneath, separating them gently and giving the roots a light shake for lift; the more you rake, the softer and more brushed-out the finish becomes.
Fingers open curls into soft waves without breaking them apart, whereas a brush drags the set straight and fluffs it into frizz. For a smoother, glossier surface, press the top layer down with your palms instead of combing it.
Mist a flexible-hold hairspray from arm’s length so it lands as a fine veil that holds the shape without stiffening it, and stop raking once the curls are as loose as you want, since you can loosen them later but can’t re-tighten them without re-rolling.
Step 9 Fix limp, kinked or dropping curls
If curls came out limp, the usual culprits are sections wider than the roller, rollers that weren’t fully hot, hair that was still slightly damp, or clips pulled before the rollers cooled; fix whichever applies and re-roll only the flat sections.
Bent or crimped ends mean the ends weren’t smoothed flat before the first two turns, while dents across the curl point to a clip pressing on the wrapped hair. Curls that drop within hours usually need more grip, so on fine hair add mousse or a setting spray at the prep stage and size down one roller.
Humidity loosens the same hydrogen bonds that cooling set, so on damp days, smaller rollers and a firmer finishing spray give the curl more to lose before it goes flat.
Common Mistakes to Avoid
- Rolling hair that’s even slightly damp, so the curl comes out half-set and collapses as it finishes drying
- Taking sections wider than the roller, so the outer layers never heat through and set limp
- Pulling the rollers out while they’re still warm, before cooling has set the curl
- Leaving rollers in for more than 30 minutes or sleeping in them, which adds clip dents and no extra hold
- Brushing the curls out with a paddle or round brush, which drags the set straight and turns it to frizz
- Using hot rollers daily without a heat protectant
Pro tip On the back rows, alternate the roll direction from one roller to the next instead of rolling every section the same way. The curls stay separate instead of merging into one uniform roll, so the finger-combed finish looks softer and more modern.
The Bottom Line
Once you’ve done a full set a couple of times, hot rollers become one of the easiest ways to polished, bouncy curls: pick the size for the result you want, keep each section roller-width, wrap two smooth turns, and let the cooling do the setting.
Expect the curls to soften through the day; rolling just two or three large rollers into the crown while you get ready brings the volume back without a full redo.
Give your hair rest days between heat-styled sets rather than rolling every morning. If your curls refuse to hold no matter which variable you change, or your ends are splitting and snapping, book a stylist: a trim and a few well-placed layers often help a set hold better than any product.
Frequently Asked Questions
How long should you leave hot rollers in?
Leave them in for 20 to 30 minutes. Hot rollers set in 10 to 30 minutes on completely dry hair, but the clips shouldn't come out until the rollers have cooled for at least 20 minutes, because cooling is what locks the curl in. Don't go past 30 minutes or sleep in them; cold rollers add clip marks, not hold.
Can you put hot rollers in damp hair?
No. Hot rollers are meant for completely dry hair, because damp strands can't finish drying inside a roller in 20 to 30 minutes, so the curl comes out half-set and drops as the rest of the moisture evaporates. If you've just washed your hair, blow-dry it fully first, then roll.
Do you need a heat protectant with hot rollers?
Yes, use a heat protectant every time you set, since each roller holds heat against the same section for several minutes. If you blow-dry first, apply it to damp hair before the dryer. If you smooth coarse hair with a flat iron, iron only completely dry hair, never wet, and keep it around 150°C/300°F for fine or bleached hair and no higher than 180-200°C/355-390°F for coarse hair.
Do hot rollers work on thick, coarse or curly hair?
They can, though hot rollers suit straight, wavy and fine hair best. Coarse or curly hair may need a smooth blow-dry or a flat-iron pass first, so the roller sets one even curl instead of competing with your natural texture. Keep every section no wider than the roller and use the full cooling time so dense sections set all the way through.
How do you make hot roller curls last longer?
Let the rollers cool completely before unclipping, since a curl released warm relaxes before it sets. Give fine or slippery hair some grip with mousse before blow-drying or a setting spray before rolling, finish with your fingers instead of a brush, and mist a flexible-hold hairspray. In humid weather, size down one roller, because moisture loosens the bonds that hold the curl.
Keep Reading
Sources
- How to use curlers curlcentric.com