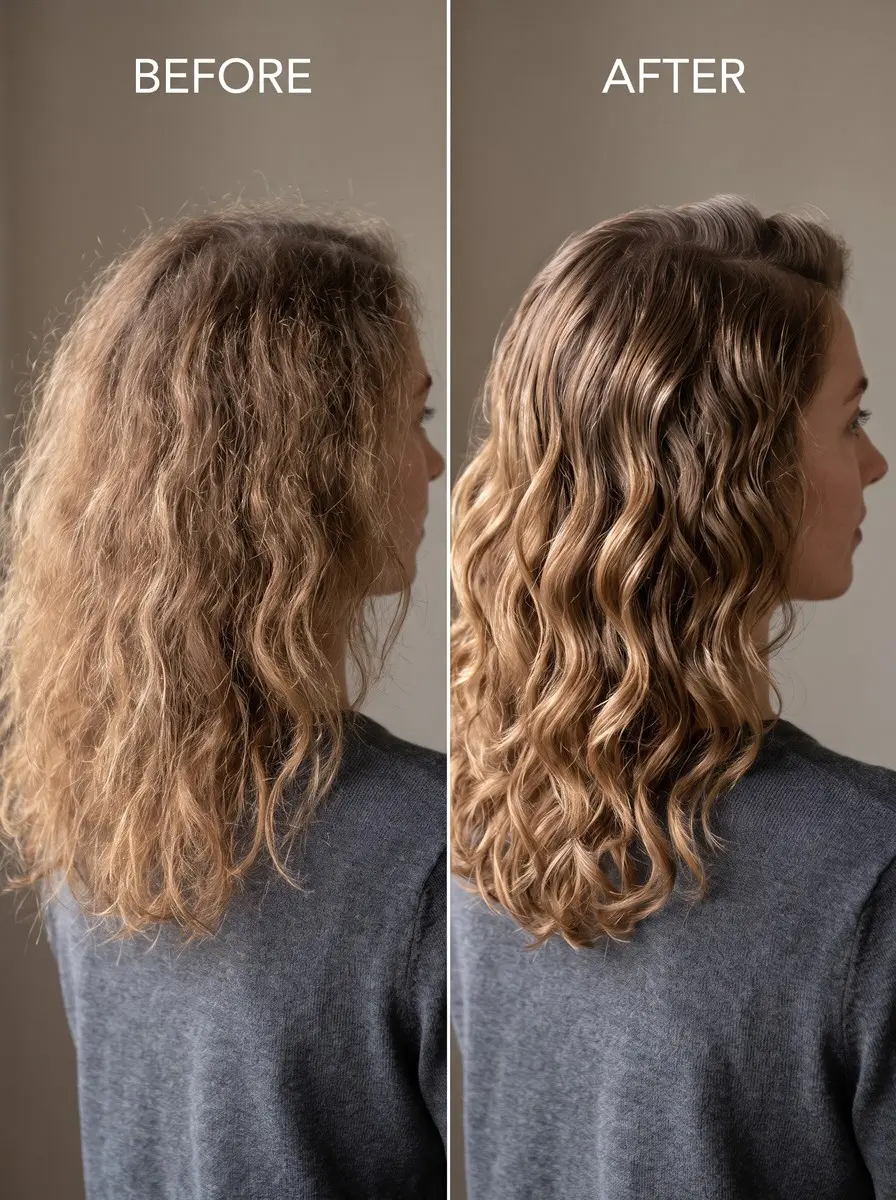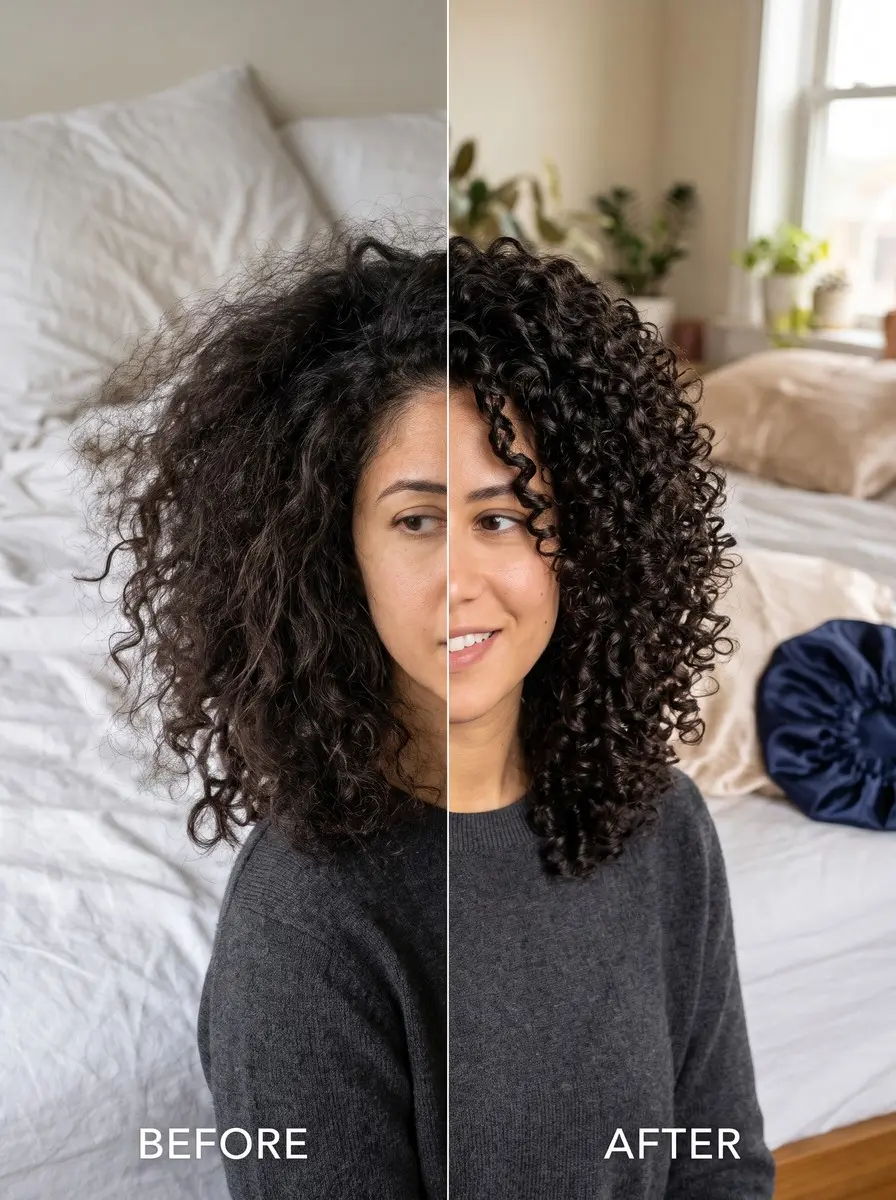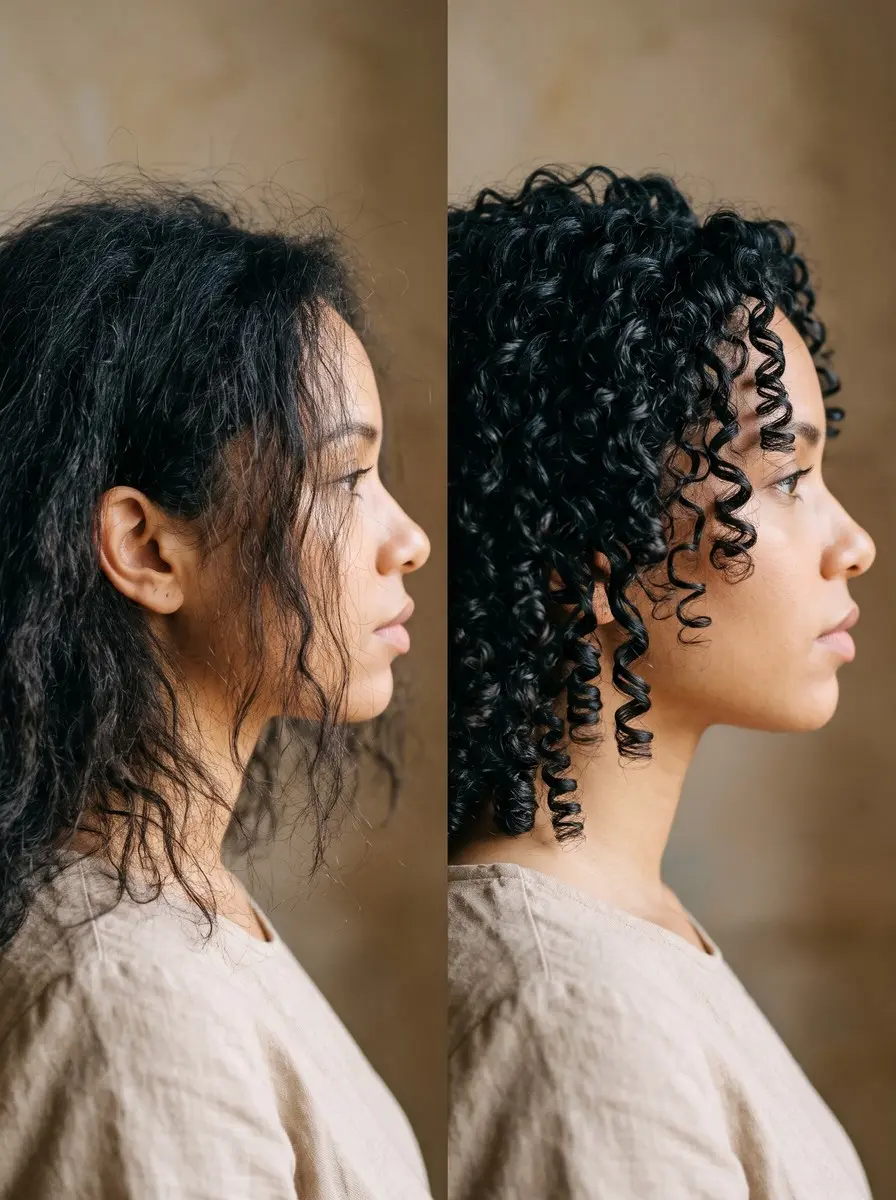
Quick answer To find your curl type, wash with a clarifying shampoo, skip all styling products and let your hair air-dry untouched, then check the shape at your crown, nape and hairline: S-waves are type 2, spirals type 3, and tight O- or Z-shaped coils type 4.
If you’ve ever bought a curl cream that left your hair limp, or a gel that did nothing, the problem may not be the product. You may be treating your hair as a different texture than it is.
Curl type, the 2A-to-4C scale you see on bottles, is the shorthand curl products and stylists use, and once you know yours you can rule out most of the shelf. Many people get stuck between neighboring types, especially 3C and 4A, or 4B and 4C.
The good news is that you don’t need a salon appointment to find your curl type. You need one clean wash, patience while your hair dries, a mirror and about fifteen minutes.
This guide shows you how to read the shape of your strands zone by zone and how to separate the tricky subtypes. It also covers what the chart can’t tell you, so you can use your result as a starting point rather than a rule.
Time 15-20 minutes, plus air-drying timeDifficulty BeginnerSteps 8
Curl Types at a Glance
| Type | What you’ll see | Product starting point |
|---|---|---|
| 2A-2C | S-waves, flat to the head | Lightweight foam or mousse |
| 3A | Loose spirals, chalk-wide | Light cream plus gel |
| 3B | Springy curls, marker-wide | Cream plus gel |
| 3C | Corkscrews, pencil- or straw-wide | Richer cream plus gel |
| 4A | Tight, defined O-shaped coils | Rich cream sealed with oil |
| 4B | Zigzag Z-shaped coils | Water, cream, then butter or oil |
| 4C | Peppercorn coils, little visible pattern | Water, cream, then butter or oil |
What You’ll Need
As an Amazon Associate, HairAide earns from qualifying purchases. Product links in this guide are affiliate links: they cost you nothing extra and help keep these tutorials free.
- Clarifying shampoo Removes gel, oil and silicone buildup so the test shows your natural pattern, not your products.
- Lightweight rinse-out conditioner Detangles after clarifying without leaving the coating a leave-in or heavy mask would.
- Microfiber hair towel or cotton T-shirt towel Blots water without the rough friction that frizzes curls and hides their shape.
- Two-sided handheld mirror Lets you check the crown and nape, which you can’t see head-on and which often carry a different pattern.
Step-by-Step
Step 1 Wash with a clarifying shampoo
Start on wash day with a clarifying shampoo. Work it into the scalp and let the suds run through the lengths to lift leftover gel, oil, silicone and hard-water film. Follow with a lightweight rinse-out conditioner on the mid-lengths and ends only, rinse until your hair no longer feels slippery, and skip every leave-in, cream, gel, mousse and oil this once.
Residue clumps curls, weighs them down or defines them artificially, so clean hair is the only way to see the pattern your hair makes on its own. You’re done when your hair feels light and squeaky-clean at the roots.
Step 2 Let it air-dry untouched
Squeeze out excess water and blot gently with a cotton T-shirt or microfiber towel, pressing rather than rubbing. Then leave your hair completely alone: no brushing, combing, scrunching, clips or twirling with your fingers, and let it dry naturally rather than trying to speed it up.
Every touch while hair is drying breaks up natural clumps and adds frizz that hides the real shape. Wet hair is unreliable anyway, because curls change as the water evaporates, so wait until your hair is dry right down to the roots at the crown and nape. On dense or long hair that can take several hours.
Step 3 Check several zones of your head
At a well-lit mirror, use a hand mirror or your phone camera to examine your front hairline, temples, crown, sides and nape, and lift the top layer to see what grows underneath.
Most heads have more than one pattern, looser in some areas and tighter in others, so photograph and note each zone separately instead of judging from the pieces around your face. Your overall type is the pattern that covers most of your head, and the other zones show where you’ll need to adjust products later.
If your lengths have been relaxed, permed, keratin-treated or repeatedly heat-straightened, judge from the new growth near the roots, because treated lengths no longer show your natural pattern.
Step 4 Read the shape of a single clump
In each zone, separate a small clump that formed naturally and look at it from the side at eye level, not head-on. A type 2 wave bends back and forth in a loose S that sits mostly flat, in one plane, and lies close to the head.
A type 3 curl forms a defined three-dimensional spiral or corkscrew that loops around a visible hollow center. Type 4 coils are smaller and tighter, forming either round O-shaped loops or zigzag Z-shaped bends with sharp angles, and if the strand falls straight with no bend at all, you’re type 1.
The side view works because it separates a flat S from a 3D spiral, and confusing the two is the most common way people misread type 2 as type 3.
Step 5 Narrow down waves and curls by size
Within type 2, look at where the bend starts: 2A has barely-there waves from the mid-lengths down, 2B has a clearer S from the mid-lengths, and 2C has deep S-waves that start near the root, sometimes with a few loose ringlets.
Within type 3, the width of the spiral sorts it: 3A is a loose spiral, 3B a tight, springy curl and 3C a dense corkscrew. As a rough rule of thumb, 3A curls are about the width of a stick of sidewalk chalk, 3B closer to a marker and 3C a pencil or drinking straw, so wrap a clump loosely around each object to compare.
Width is the clearest visible difference within a type, and if you land between two sizes you’re probably a blend, which is common and easy to work with.
Step 6 Tell 4A, 4B and 4C apart
4A forms tight O-shaped coils with a clearly visible pattern that springs back when stretched. 4B bends in sharp Z-shaped zigzags rather than loops, so the pattern looks less defined and fluffier.
4C is made of very tight, peppercorn-like coils with little visible pattern when dry and untouched, and it often shows almost no definition without manipulation, so twist a small damp section with water only, let it dry and unravel it: coils that appear only after twisting point to 4C.
Shrinkage is the other clue, so gently stretch a dry clump to its full length, compare it with its resting length and let go; the tightest coils shrink the most, which is also how you settle 3C versus 4A, since a 3C corkscrew spirals around an open center about straw-width while a 4A coil is a smaller, tighter loop that shrinks noticeably more.
Step 7 Know what curl type leaves out
The chart was created in the nineties by Andre Walker, Oprah Winfrey’s stylist, originally to market his hair care line. It sorts hair into 1 straight, 2 wavy, 3 curly and 4 coily, each with a, b and c subtypes.
Critics point out that it implies a hierarchy favoring straighter textures and overlooks density, scalp type and the variation across a single head, which is why many people use it only as a rough guide.
It also says nothing about strand width (fine, medium or coarse) or porosity (how readily your hair absorbs and holds water), and these often matter more than pattern when choosing products, so check them separately: a shed strand you can barely feel when you roll it between your fingers is fine, lots of scalp showing at your part suggests low density, and two people with 3B curls can need opposite routines because of exactly these differences.
Step 8 Match products and cuts to your type
Wavy type 2 hair is easily weighed down, so start with a lightweight foam or mousse, wash every few days as needed, and ask for long layers that remove bulk so the weight doesn’t pull your waves straight.
Type 3 curls usually need both moisture and hold, so start with a cream plus gel (light for 3A, richer for 3C), wash two or three times a week, and look for a stylist who cuts curl by curl, often dry, to avoid a triangle shape.
Natural oils travel less easily down tightly coiled strands, so 4A often does well with a rich cream sealed with oil, while 4B and 4C usually need layering: water or a water-based leave-in, then a cream, then a butter or oil to seal.
Coily hair is typically washed every week or two and is best cut stretched or twisted by a stylist experienced with coils, because shrinkage hides its true length. Treat all of this as a starting point and adjust for your porosity and density over a few wash days.
Common Mistakes to Avoid
- Judging your type on wet hair, or with leave-in or gel still in it, which clumps and defines curls artificially.
- Checking only the pieces around your face, which can differ from the crown, sides and nape.
- Reading relaxed, permed or heat-damaged lengths instead of the new growth at the roots.
- Touching, scrunching or brushing hair while it dries, which breaks the pattern up into frizz.
- Buying products on curl type alone without checking porosity, density and strand width.
Pro tip Photograph each zone from the side in daylight on three separate wash days, then compare. A pattern you see every time is your real type, while a one-off reading usually comes down to humidity or how your hair happened to dry that day.
The Bottom Line
Once you’ve checked each zone on clean, air-dried hair, you’ll know your main pattern, where it changes, and roughly which product weight and cut to start with. Check again after any big change, such as a new routine, hormonal shifts or growing out relaxed or heat-damaged lengths, because the pattern you see can change too.
If you still can’t decide between two types, or your hair shows very little pattern even after a twist test, book a consultation with a stylist who specializes in curly and coily hair. They can read texture, density and porosity together, then cut for the shape your curls actually make.
Frequently Asked Questions
Can you have more than one curl type on your head?
Yes, and it's normal. Many people have looser waves or curls in some areas and tighter curls or coils in others, such as at the nape or crown. Go by the pattern that covers most of your head, then adjust your products for the zones that behave differently, adding a little more moisture or hold where the curls are tighter.
What's the difference between 3C and 4A hair?
Both are tight, but the shape is different. 3C hair forms corkscrew spirals around an open center roughly the width of a pencil or straw, while 4A forms smaller O-shaped coils that are tighter and shrink noticeably more as they dry. Stretch a dry clump and release it: if the loop is narrower than a pencil and springs back well short of its stretched length, lean toward 4A.
How do I know if I have 4B or 4C hair?
Look at how visible the pattern is on dry, product-free hair. 4B bends in sharp Z-shaped zigzags you can usually see, while 4C forms very tight, peppercorn-like coils with little visible pattern unless it's twisted or shingled. 4C also tends to shrink the most. If a small damp twist reveals coils you couldn't see before, 4C is the likelier fit.
Is curl type the same as hair porosity?
No. Curl type describes the shape your strands form, while porosity describes how readily hair absorbs and holds water, and the two vary independently. Density (how many strands you have) and strand width (from fine to coarse) are separate traits too. Two people with the same curl type can need very different products, so check porosity as well as your pattern before you shop.
Can your curl type change over time?
Yes. Many people notice their pattern shift with hormonal changes such as pregnancy or menopause. Relaxers, perms and repeated high heat can also permanently loosen the lengths they touch, while new growth shows your natural pattern. After any big change, retest on clean, product-free, air-dried hair, and judge from the roots if your lengths have been chemically treated.
Keep Reading
Sources
- Andre Walker Hair Typing System en.wikipedia.org