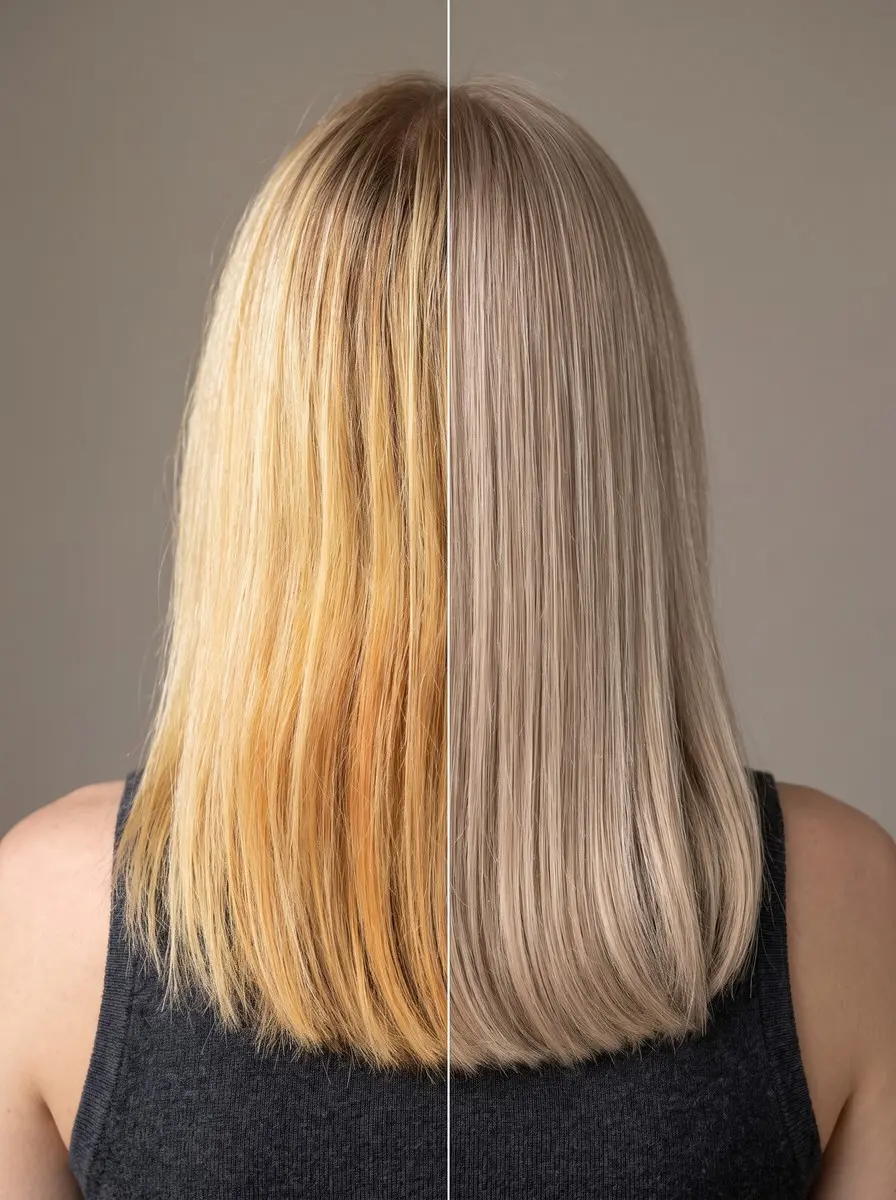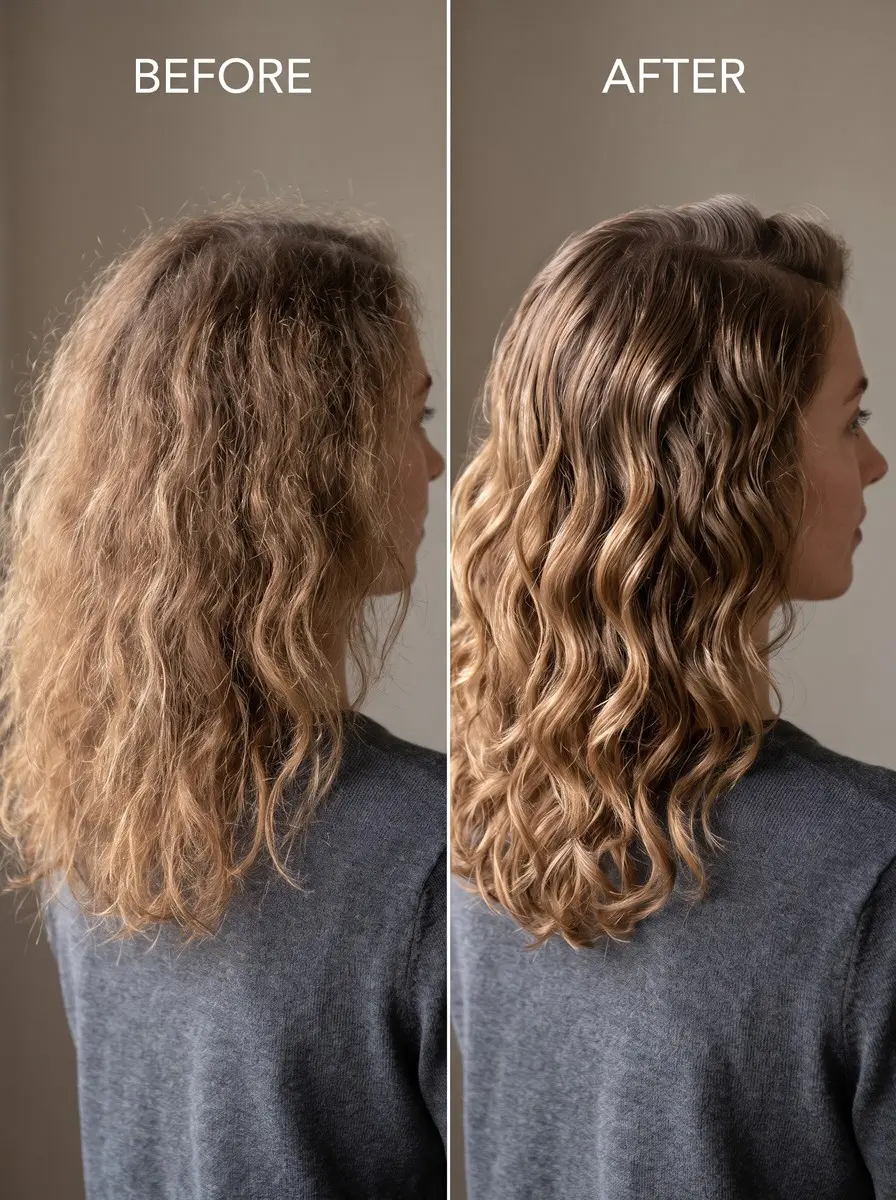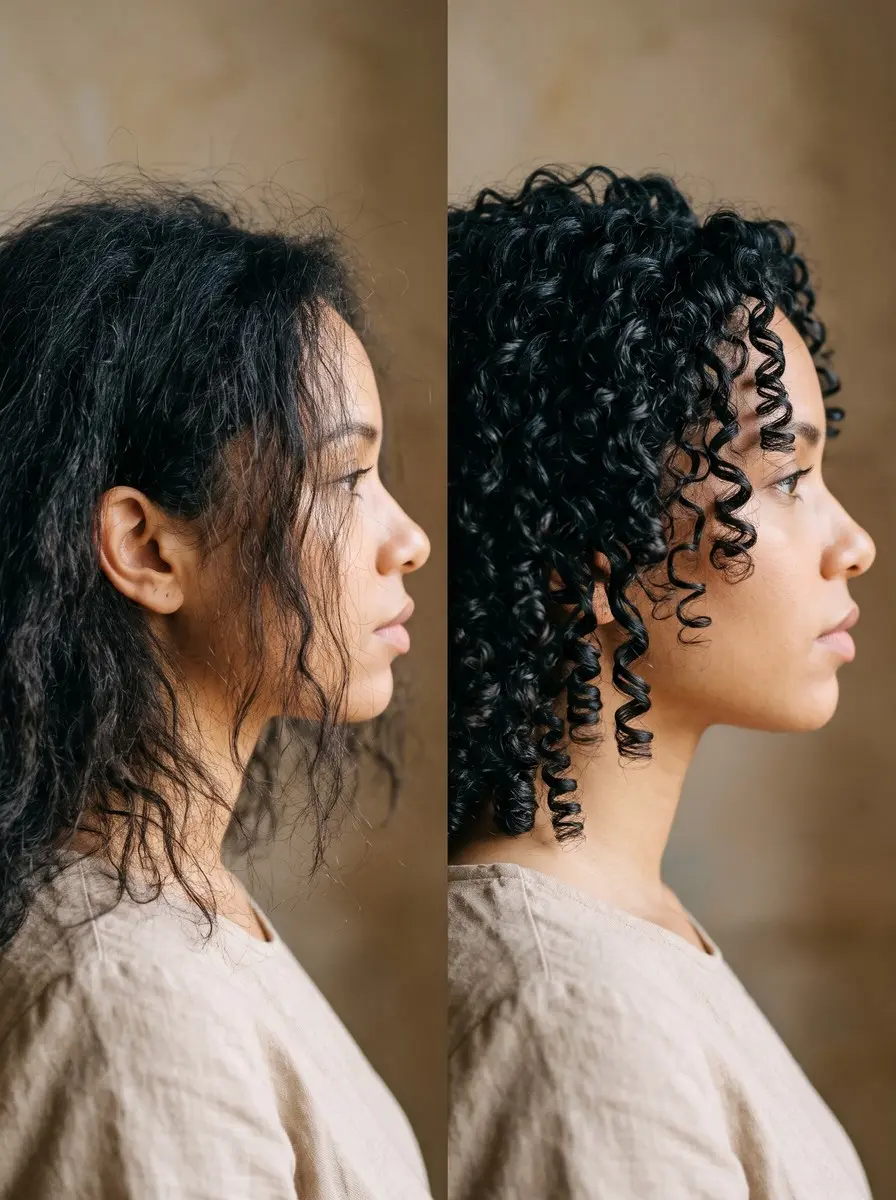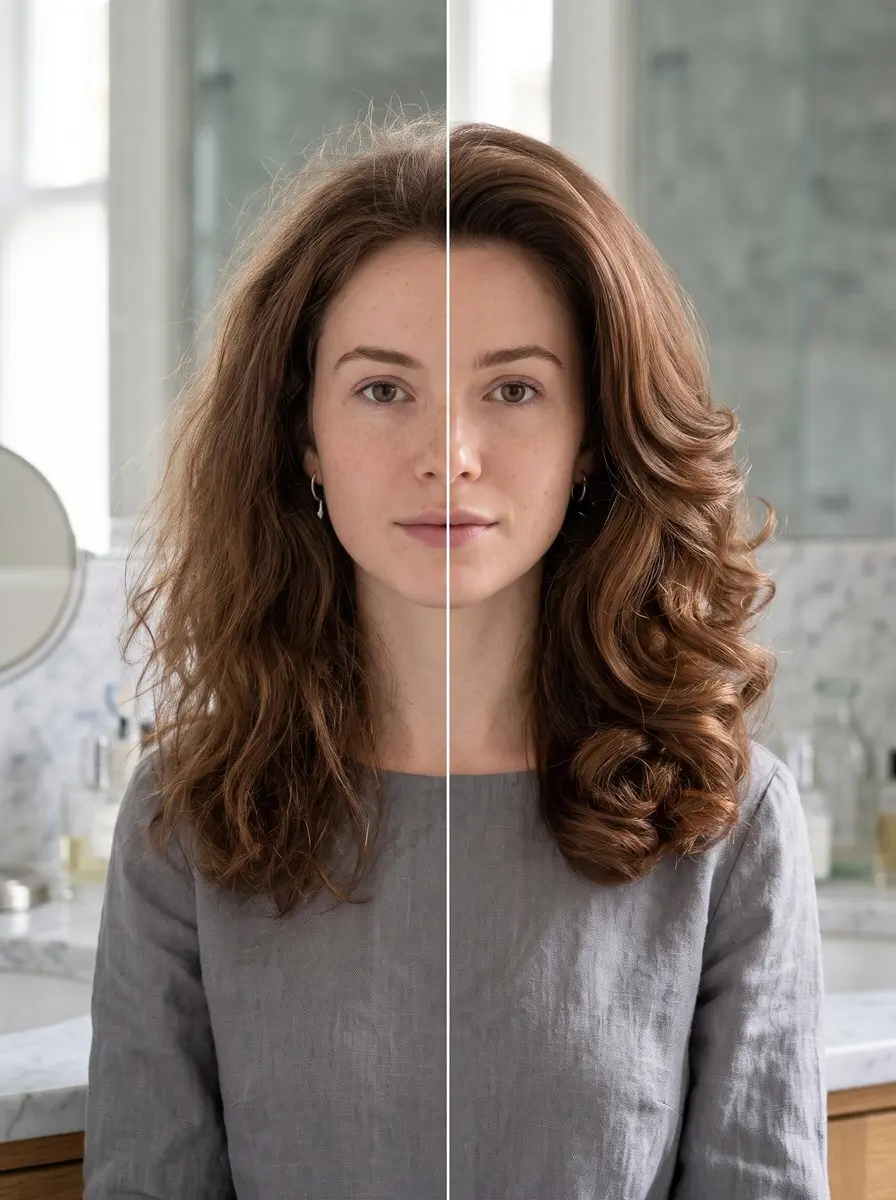
Quick answer To use the Shark FlexStyle, rough-dry hair to about 50% dry for the oval or paddle brush, or 80-90% dry for the Auto-Wrap Curlers, then style in sections: hold each curl about 10 seconds and finish with at least 10 seconds of Cool Shot so it sets.
The Shark FlexStyle comes as a dryer, a styling wand and a box of attachments. When curls won’t wrap or a blowout turns to frizz, the cause is usually one of two things the box doesn’t make obvious: how wet your hair should be for each attachment, and which heat and airflow to choose.
Get those two right and the Auto-Wrap Curlers grab cleanly, the brushes smooth instead of puff, and your curls are still there at dinner.
This guide goes through the tool one attachment at a time, using the starting points from Shark’s own styling guide, and gives a recommended order for your hair type and length. You can do all of it at home. The curlers take a few sections to learn, not a few weeks. Kits vary by model, so skip any step for an attachment you don’t own.
Time 20-45 minutes, depending on length and densityDifficulty BeginnerSteps 8
Shark FlexStyle Settings by Attachment
| Attachment | Start with | Airflow | Heat |
|---|---|---|---|
| Auto-Wrap Curlers | 80-90% dry hair | High | High |
| Oval Brush | About 50% dry | Medium | Medium |
| Paddle Brush | About 50% dry | High | Medium |
| Curl-Defining Diffuser | Damp, product in | Low or Medium | Low, alternating with Cool Shot |
What You’ll Need
As an Amazon Associate, HairAide earns from qualifying purchases. Product links in this guide are affiliate links: they cost you nothing extra and help keep these tutorials free.
- Shark FlexStyle Air Styling & Drying System The tool this guide covers; check which attachments a bundle includes before you buy, because kits differ by model.
- Heat protectant spray Protects hair from repeated passes of warm air while you dry, brush and curl.
- Duckbill or alligator sectioning clips Keep the top half and stray strands out of the way so only one clean section wraps around the curler.
- Flexible-hold hairspray Helps cooled curls last longer without making them stiff or crunchy.
- Curl cream or curl-defining gel Worked into wet hair before diffusing, it clumps curls together and cuts frizz.
Step-by-Step
Step 1 Match attachments to your hair
Kits vary by model, so start by learning what each piece in yours does. The Auto-Wrap Curlers use airflow to pull hair onto the barrel for curls. The Oval Brush smooths and lifts the roots, and the Paddle Brush straightens.
The Curl-Defining Diffuser dries natural curls with less frizz, the Wide-Tooth Comb detangles and stretches damp hair, and the FrizzFighter finishing tool tames flyaways on dry, styled hair. For straight or wavy hair at shoulder length or longer, go dryer, then Paddle Brush, then curlers.
For a bob or a shorter cut, rely on the Oval Brush for lift, because the curlers need enough length to wrap. For curly or coily hair you want defined, go straight to the diffuser.
To stretch it instead, use the Wide-Tooth Comb and then the Paddle Brush in small sections, which is also the prep Shark recommends before curling coily hair. Planning the order matters because each attachment wants drier hair than the one before it, so you dry your way down the list instead of rewetting.
Step 2 Set the airflow, heat and mode
The FlexStyle has three airflow levels (Low, Medium, High), four temperature options (No Heat, Low, Medium, High) and a Cool Shot button. To switch from styling wand to hair dryer, slide the hinge lock down and rotate the nozzle. Attachments push on until they click, and the styler lock releases them.
Always remove a hot attachment by holding its cool-touch zone. Good starting points are High air and High heat for the curlers, Medium air and Medium heat for the Oval Brush, High air and Medium heat for the Paddle Brush, and Low heat for the diffuser.
Then adjust the way Shark suggests: lower the airflow if fine hair frizzes, and raise the heat if thick hair takes too long. Starting from a known setting means that when a style fails, you can change one thing at a time instead of guessing.
Step 3 Prep and rough-dry to the right point
Towel-dry gently by squeezing rather than rubbing. Then comb your leave-in and styling products through while hair is still damp, because they spread evenly on wet hair and dry into the style. Switch to dryer mode and rough-dry until you reach the moisture level your first attachment needs: about 50% dry for the Oval or Paddle Brush, 80-90% dry for the Auto-Wrap Curlers, and simply damp for the diffuser or comb.
Hair that is too wet when the curlers go on stays limp and the curl drops. Hair that is already bone-dry gives the airflow nothing to set as it dries, which is why Shark suggests testing different moisture levels on your own hair.
Finish by clipping the top half up and away from the bottom half so you can work in clean layers from the nape up. You’re ready for the curlers when the roots feel dry and the lengths feel cool but not wet.
Step 4 Smooth or lift with the brushes
If you plan to stretch curly or coily hair, first run the Wide-Tooth Comb attachment through damp sections from the ends upward, so knots come loose before any brush pulls on them. To straighten, set the Paddle Brush to High air and Medium heat.
Place it close to the roots and brush down with a slight rounding motion while holding the ends for tension, and repeat until the section is dry. For volume, set the Oval Brush to Medium air and Medium heat.
Hold it under a section at the roots for about 3 seconds, then roll it outward to the ends. For a bend at the ends, roll them toward the roots and twist the brush out. Thick hair needs smaller sections and curly or coily hair needs repeated passes, because the air only dries and stretches the hair it actually reaches.
A hit of Cool Shot on each section helps it hold, since hair keeps the shape it cools in. The section is done when it’s dry from root to tip and swings smooth instead of puffing.
Step 5 Curl with the Auto-Wrap Curlers
Set High air and High heat, and pick the barrel by curl direction. Shark recommends the left (counterclockwise) barrel for the left side of your head and the right (clockwise) barrel for the right.
Take a ½- to 1-inch section of even length and hold it about 4 inches from the ends, with the ends hanging free. Switch the wand on and bring the barrel behind the ends so the airflow wraps them around the middle of the barrel.
Let go and slowly guide the barrel up to the roots while the hair keeps winding itself on; there’s no need to twist. Hold for about 10 seconds (up to 15 on thick hair), then press Cool Shot for at least 10 seconds.
Switch the wand off and slide the barrel straight down to release the curl, which should feel springy and dry. If it’s still damp, repeat the hold-and-cool cycle. Leave the curls alone until every section is done and cool, then finger-comb them into waves.
Step 6 Diffuse and define natural curls
Work curl cream or gel into wet hair before you start. Product applied to wet hair sets with the curl as it dries, while product added to dry curls breaks up the clumps. Attach the Curl-Defining Diffuser and set Low heat with Low or Medium airflow.
Bunch curls from the ends into the prongs, bring the diffuser up to the roots, and pause there. Slide the lever to extend the prongs when you reach the roots for more lift: extended prongs suit longer, thicker hair and retracted ones suit shorter, finer hair. Flip your head upside down if you want extra volume.
Alternate between Low heat and Cool Shot to protect your natural pattern, and move section by section without raking your fingers through. Keep going until your hair is dry or nearly dry, then leave it untouched to finish. Scrunch out any gel cast only once it’s completely dry.
Step 7 Set the style and tame flyaways
When every section is done, give your whole head a final pass of Cool Shot. Hair’s temporary hydrogen bonds re-form as it cools and dries, locking in whatever shape it’s in, so warm curls that get handled too soon relax.
Finger-comb curls apart only once they feel cool, and mist a flexible-hold spray from arm’s length if your hair tends to drop curls. If your kit includes the FrizzFighter finishing tool, use it only now, on completely dry, styled hair.
Hold it near the roots of a smooth section until the airflow draws the hair against it, then glide down to lay flyaways flat. On damp or unstyled hair it just roughs up the surface you’ve built. The finish should be smooth on top with no halo of frizz at the crown.
Step 8 Clean the attachments and filter
Unplug the tool and let it cool. After each use, pull loose hair off the brushes and curler barrels and wipe them with a dry cloth so product residue doesn’t bake on.
About once a month, brush the filter at the base of the handle with a new, dry toothbrush, as Shark’s care instructions recommend, until no lint or dust is visible. Clean it sooner if airflow feels weaker or you can see buildup on the inlet.
A blocked inlet starves the motor of air, so the tool works harder, runs hotter and styles less well. For the same reason, never cover the filter with your hand while the tool is running. A clean filter keeps the airflow strong enough for the curlers to grab properly.
Common Mistakes to Avoid
- Starting the Auto-Wrap Curlers on wet or very damp hair, so the curl can’t set and drops within the hour. Rough-dry to 80-90% dry first.
- Taking sections that are too thick or uneven in length, so the ends flap loose instead of wrapping around the middle of the barrel.
- Twisting the wand or pulling the barrel off while it’s still running, which tangles the section. Switch it off and slide straight down.
- Skipping the Cool Shot or touching curls while they’re still warm, so they relax before they’ve set.
- Using the FrizzFighter on damp or unstyled hair, where it only roughs up the surface.
- Ignoring the filter until airflow fades. A clogged inlet makes the tool run hotter and the curlers grab poorly.
Pro tip Pin each curl as it comes off the barrel: loop it back up into its coil and hold it with a flat clip while you do the next section. Curls that cool completely in their wound shape last noticeably longer than ones left hanging under their own weight.
The Bottom Line
Once you’ve matched the moisture level and settings to each attachment, the FlexStyle becomes a quick routine: rough-dry, brush or curl in sections, cool, then finish. On day two, refresh with a quick pass of the Oval Brush or re-curl just the face-framing pieces instead of restyling your whole head. Brush the filter clean every month so the airflow stays strong.
If your curls drop no matter what you adjust, your cut may need more shape to hold a style. A stylist can show you sectioning on your own head in one appointment. And if the tool cuts out, smells hot or loses airflow even after a filter clean, stop using it and contact Shark support rather than pushing on.
Frequently Asked Questions
Should my hair be wet or dry when I use the Shark FlexStyle?
It depends on the attachment. Shark's styling guide says to start the Auto-Wrap Curlers on 80-90% dry hair and the Oval and Paddle Brushes on hair that's about 50% dry. The Curl-Defining Diffuser goes on damp hair. The FrizzFighter finishing tool is the exception: use it only on completely dry, already-styled hair.
Why won't my hair wrap around the Shark FlexStyle curler?
Usually the section is too big, the ends aren't hanging free, or the barrel isn't behind the ends when you switch on. Use ½- to 1-inch sections of even length, hold them about 4 inches from the ends, and run the curler on high airflow. Very short hair may not have enough length to catch the airflow and wrap.
Does the Shark FlexStyle work on short, very thick or coily hair?
Yes, with limits. Very short cuts get more from the Oval Brush than the curlers, which need enough length to wrap. Thick hair needs smaller sections and more heat or more time per section. On curly or coily hair, the brushes stretch and smooth, but an air styler gives a softer, stretched finish rather than bone-straight hair, and the stretch reverts in humidity.
Do I need heat protectant with the Shark FlexStyle?
Yes, whenever you use a heat setting: mist a heat protectant through damp hair before drying. The FlexStyle dries and styles with heated air, not hot plates, so it can go on damp hair. If you touch up with a flat iron or curling wand afterward, use it only on completely dry hair, at up to about 150°C/300°F for fine or bleached hair and 180-200°C/355-390°F for coarse hair.
How often should I clean the Shark FlexStyle filter?
Shark recommends cleaning the filter at the base of the unit about once a month, using a new, dry toothbrush with the tool unplugged. Clean it sooner if airflow feels weaker or you can see lint on the inlet, because a blocked filter reduces performance and makes the motor work harder.
Keep Reading
Sources
- Shark beauty flexstyle review dermstore.com