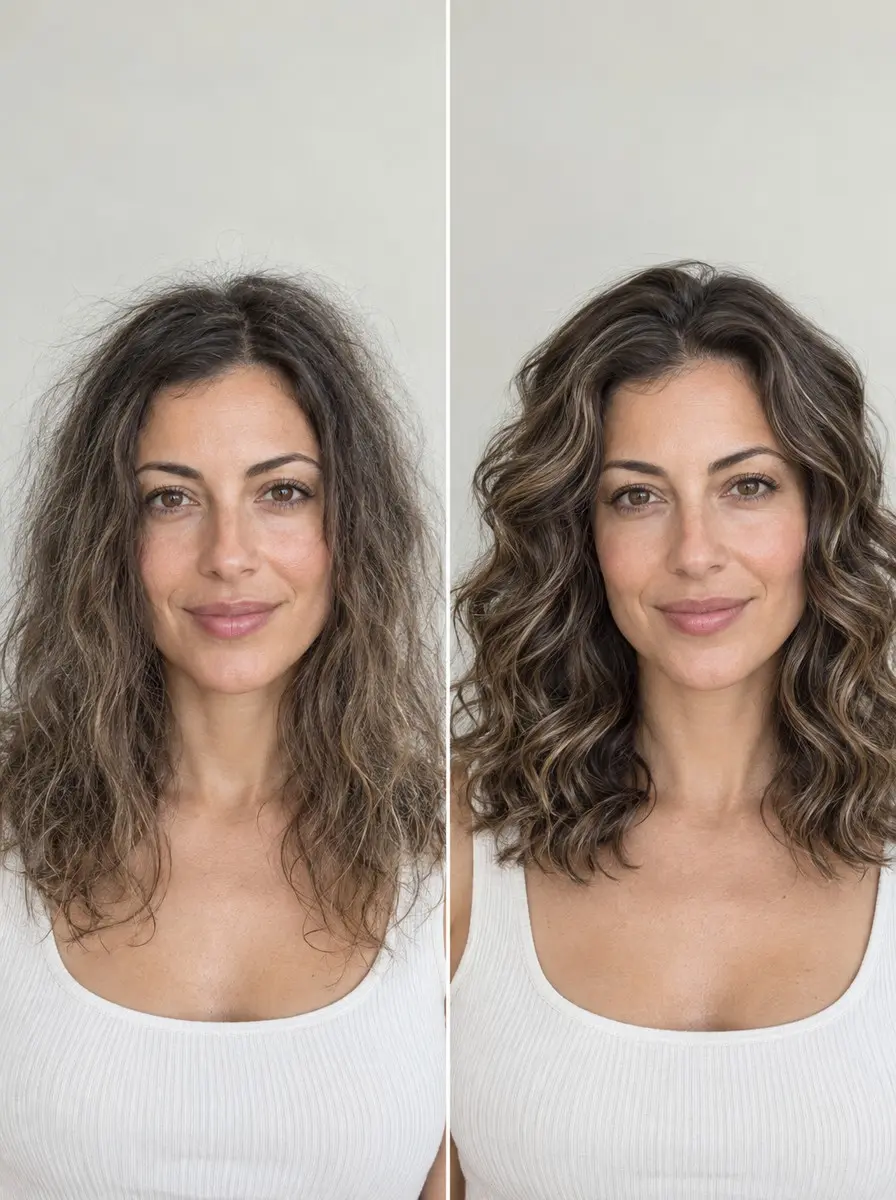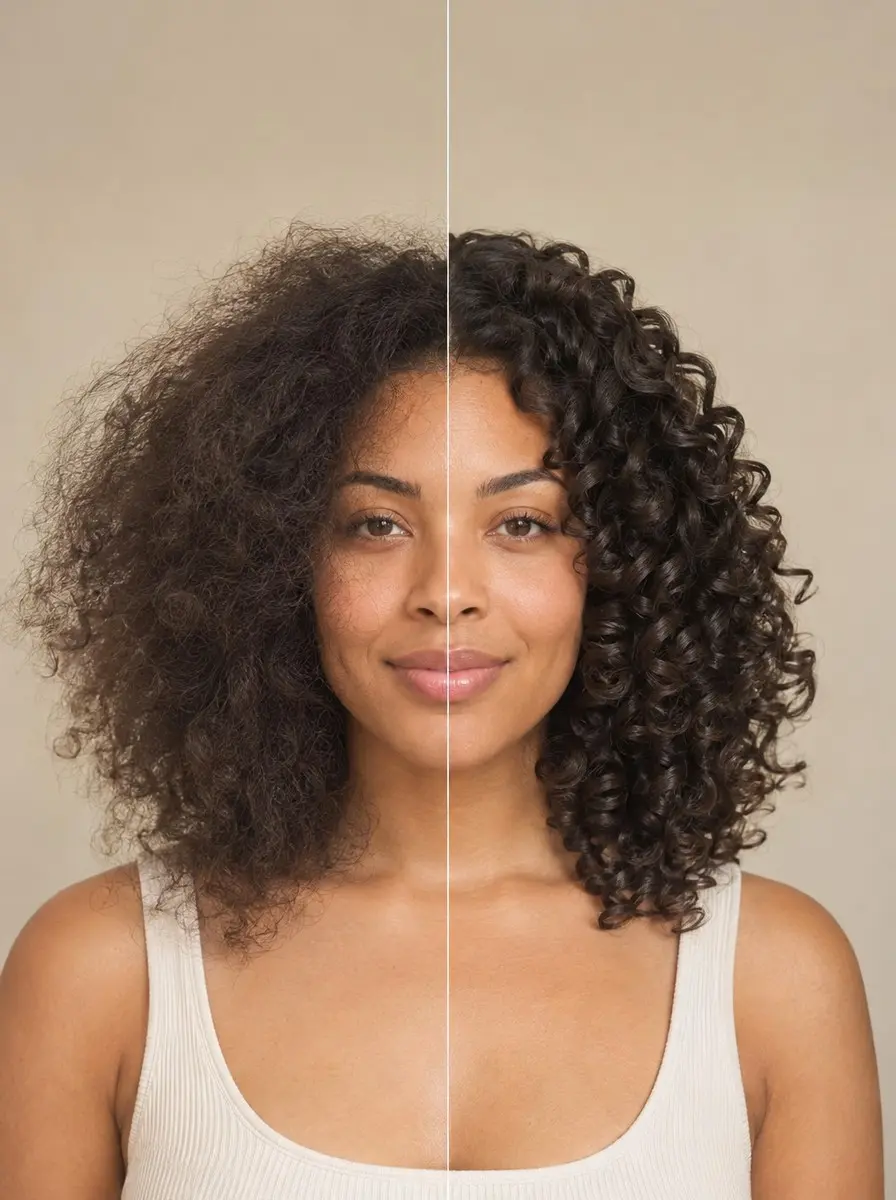
Quick answer To deep condition curly hair, apply a moisturizing deep conditioner to freshly washed, damp hair from the ends up, cover with a plastic cap for 20-30 minutes, then rinse and add a leave-in. Repeat weekly to monthly, depending on porosity.
Curly hair tends to run dry for a simple reason: every bend in the strand slows the scalp’s natural oils on their way down to the ends. A deep conditioner, a richer rinse-out you leave on far longer than everyday conditioner, is how you put that softness back. Done well, it’s the difference between curls that frizz into a halo and curls that clump, bounce and hold their shape.
The catch is that most advice stops at ‘use a mask once a week.’ How often you need one, and whether heat helps, depends on your hair’s porosity and how much damage it carries. Overdoing it leaves curls limp and greasy.
Here’s how to deep condition curly hair at home: where it fits on wash day, a porosity-based schedule, which cap or heat option to use, and how to read the results. All you need is a cap, a good deep conditioner and about half an hour.
Time 30-45 minutesDifficulty BeginnerSteps 8
How Often to Deep Condition Curly Hair
| Your hair | Start at | Heat |
|---|---|---|
| Low porosity | 1-2x a month | Helps most, on low |
| Medium porosity | About 2x a month | Optional |
| High porosity | Weekly | Usually unnecessary |
| Limp, greasy or mushy | Drop back one step | Skip it |
What You’ll Need
As an Amazon Associate, HairAide earns from qualifying purchases. Product links in this guide are affiliate links: they cost you nothing extra and help keep these tutorials free.
- Gentle sulfate-free shampoo or co-wash Removes buildup so the deep conditioner reaches the strand instead of sitting on old product.
- Microfiber hair towel Squeezes out excess water without roughing up curls, and wrapped over the cap it adds body warmth.
- Sectioning clips Hold four to six twisted sections out of the way so every strand gets coated.
- Moisturizing deep conditioner The treatment itself: a rich, moisture-focused rinse-out formula made to sit for 20-30 minutes.
- Plastic processing caps Trap body warmth and stop the conditioner drying on the hair, which is all the heat most curls need.
- Thermal heat cap, hooded dryer or steam cap Optional: gentle warmth on low helps low-porosity hair absorb the treatment, and most other curls can skip it.
- Leave-in conditioner A lighter product applied after rinsing to keep curls hydrated between wash days.
- Heat protectant Optional: only for heat styling after wash day, since it isn’t needed under the cap.
Step-by-Step
Step 1 Match your schedule to porosity
Porosity is how easily your hair takes in and lets go of water, and it decides how often you deep condition. Low-porosity hair beads water, takes a long time to get fully wet and to dry, and products seem to sit on top, so start at 1-2 times a month.
Medium porosity sits in between, so aim for about twice a month. High-porosity hair, which is often bleached, colored or heat-damaged, soaks water up and loses it fast, so start weekly. Skip the float-in-a-glass test, because oils and product residue change how a strand floats, and judge by how your hair behaves on wash day instead.
Step 2 Cleanse before you condition
Deep condition right after you shampoo or co-wash, on clean, damp hair, and never on hair still coated in last week’s gel, oil or dry shampoo. Buildup sits between the treatment and the strand, so the conditioner coats the residue instead of the hair and you get a fraction of the softness.
On wash day the order is your pre-poo if you do one, then cleanse, deep condition, rinse, leave-in and style. The deep conditioner simply replaces your regular rinse-out conditioner that day. If your hair still feels coated after one lather, do a second, and move on once it feels clean but not squeaky.
Step 3 Squeeze out water and section
Squeeze the excess water out with a microfiber towel or an old cotton T-shirt, without rubbing, until your hair is damp rather than dripping. Dripping-wet hair dilutes the conditioner and lets it slide off before it can work, and hair that has started to dry is harder to coat evenly.
Divide it into four to six sections, or more if your hair is thick or long, and twist each one up with a sectioning clip. Working one section at a time gets product onto every strand instead of just the outer layer, which is where most rushed deep conditioning falls short.
Step 4 Apply from the ends upward
Unclip one section and work a generous amount of deep conditioner into the ends first, then the mid-lengths, stopping about an inch short of the scalp. The ends are the oldest, most weathered and driest part of every strand.
The roots already get the scalp’s own oil, and extra product there just turns them greasy. Smooth the conditioner down the section with flat palms, then finger-detangle gently from the ends up so you lift knots out rather than pushing them down.
A section is done when every strand feels slippery and the curls start clumping together. Twist it back up, and if a section dried while you worked, smooth damp hands over it first.
Step 5 Cover it and choose your heat
Pile the sections up and pull a plastic processing cap over everything. For most people this is all they need, because the cap traps body warmth and stops the conditioner drying on the hair.
Wrapping the microfiber towel over the cap adds a little more warmth with no equipment. A heat cap, hooded dryer or steam cap is optional: keep heat caps and dryers on low, and use them mainly if your hair is low porosity, since gentle warmth helps product absorb into hair that otherwise lets it sit on top.
Medium-porosity hair can take or leave the heat. High-porosity hair usually doesn’t need it, because it already takes conditioner in quickly.
Step 6 Leave it on 20 to 30 minutes
Set a timer for 20 to 30 minutes, or follow the label if your deep conditioner gives a different time. That window is enough for the treatment to do its work. Leaving it on for hours, especially under heat, doesn’t add softness and tends to leave curls over-soft and limp.
If you’re under a hooded dryer or heat cap, switch it off when the timer goes rather than letting it run. To check it’s ready, feel a strand at the edge of the cap: it should be noticeably softer and more slippery than when you applied it.
Step 7 Rinse cool and add leave-in
Rinse with cool to lukewarm water until the hair feels free of product but still slippery. Many curly routines deliberately keep a little slip rather than rinsing to squeaky. Cooler water is gentler and more comfortable after a warm session, but the popular claim that a cold rinse seals the cuticle is a myth, so there’s no need to stand under icy water.
While your hair is still wet, apply your leave-in conditioner. It’s a different product with a different job: lighter, meant to stay in, and there to keep curls hydrated between washes. Then move on to styling as usual.
Step 8 Read your curls and adjust
Over the next few days, watch how your curls behave, because they’ll tell you whether the schedule fits. Greasy roots, limp or flat curls, and a mushy, overly stretchy feel when wet mean you’re overdoing it. Drop back one step (weekly to every other week, or twice a month to once), shorten the time and skip the heat.
Curls that feel rough, tangle easily or frizz quickly need more, so add a session or, for low-porosity hair, add gentle warmth. If curls stay mushy and stretchy even on a lighter schedule, they may be short on protein rather than moisture, which a deep conditioner can’t fix.
Common Mistakes to Avoid
- Applying deep conditioner over buildup or on unwashed hair, so it coats old product instead of the strand.
- Putting it on dripping-wet hair, which dilutes the treatment and lets it slide off before it works.
- Starting at the scalp, which greases the roots and leaves the driest ends with the least product.
- Leaving it on for hours or overnight under heat, assuming that longer means softer.
- Turning a heat cap or hooded dryer up high instead of keeping it on low.
- Sticking to a weekly schedule after curls turn limp, greasy or mushy instead of dropping back.
Pro tip After rinsing, stretch a single wet strand gently between your fingers. If it stretches a little and springs back, your balance is right. If it stretches a long way and stays limp, it has had too much moisture. If it snaps with almost no give, it’s dry and brittle and needs more conditioning.
The Bottom Line
Deep conditioning curly hair comes down to clean, damp hair, product applied from the ends up, a cap and 20-30 minutes, on a schedule set by your porosity rather than someone else’s routine. Expect softer, more defined curls from the first session. Treat the schedule as a starting point: drop back when curls turn limp or greasy, and add a session when they stay rough and dry.
If your curls still feel straw-like, snap when you detangle or won’t hold their pattern after a few weeks of steady deep conditioning, the cause is likely damage that a treatment can’t reverse. A curl specialist can tell you whether a trim or a protein-and-moisture plan is the right next step.
Frequently Asked Questions
How often should you deep condition curly hair?
There's no universal schedule, and sources differ. A good starting point is 1-2 times a month for low-porosity hair, about twice a month for medium porosity, and weekly for high-porosity or bleached hair. Then adjust to how your curls respond: drop back if they turn limp or greasy, and add a session if they stay dry and rough.
Do you need heat to deep condition curly hair?
No. A plastic cap, with a towel wrapped over it for extra body warmth, is enough for most curls. Gentle heat from a heat cap, hooded dryer or steam cap helps low-porosity hair most; keep it on low and within the 20-30 minute window. You don't need a heat protectant under the cap, but use one before any heat styling afterwards.
What's the difference between a deep conditioner, a leave-in and a protein treatment?
A deep conditioner is a richer rinse-out that sits on clean hair for 20-30 minutes to restore softness and moisture. A leave-in is lighter and stays in after rinsing to keep curls hydrated and easier to style. A protein treatment gives weak, overly stretchy hair temporary strength and is used less often. Some deep conditioners contain protein, so check the label.
Can you leave deep conditioner in overnight?
It isn't necessary. Most deep conditioners do their work in about 20-30 minutes, so hours under a cap mainly risks limp, mushy curls and a scalp that stays damp all night. If a product is specifically labelled as an overnight treatment, follow its directions. Otherwise, rinse within the time on the label.
Keep Reading
Sources
- The dos and donts of deep conditioning curlynikki.com
- How to deep condition hair healthline.com
- How to deep condition curly hair vegamour.com