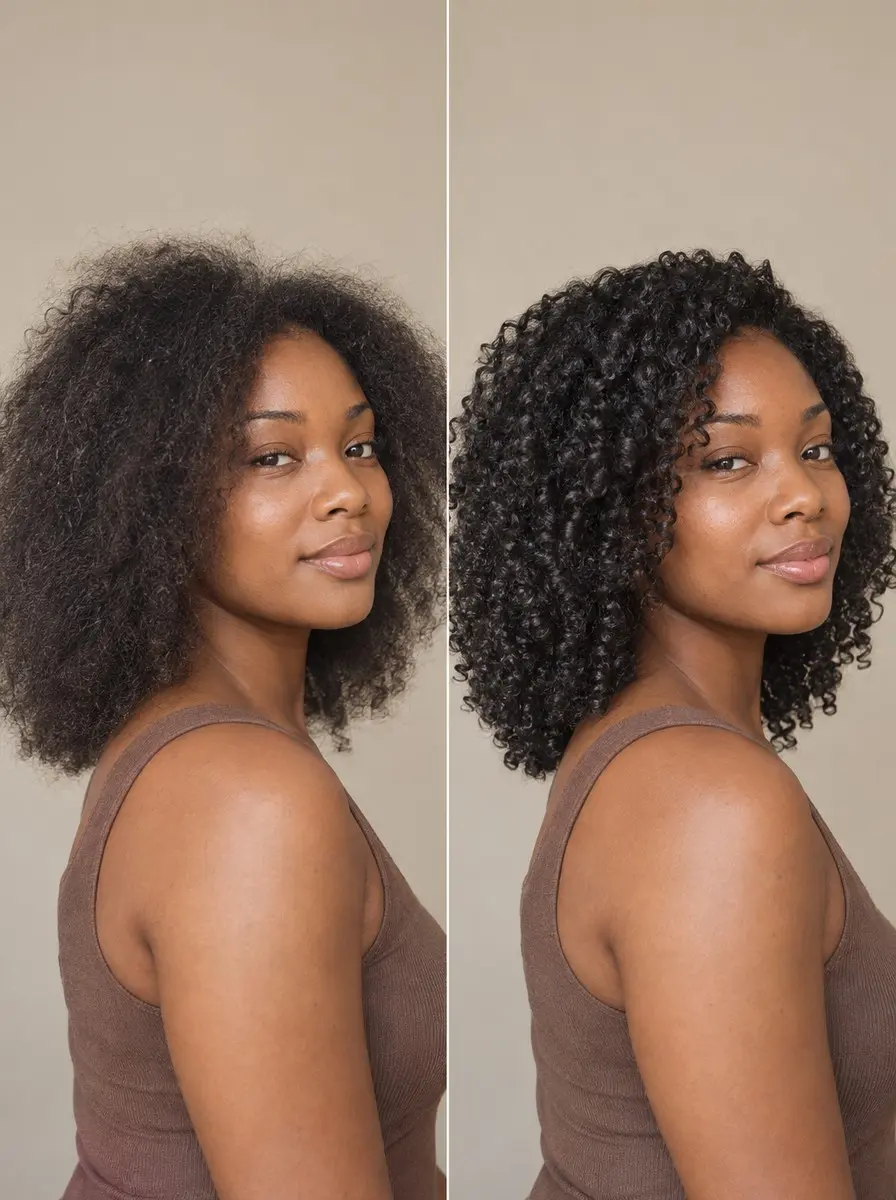
Quick answer To use a hair steamer on curly hair, cleanse, detangle and section damp hair, coat it in a moisturizing deep conditioner, then steam with distilled water for the time on the device label, roughly 5-30 minutes by length. Let it cool, rinse, and steam at most weekly.
If your curls drink up deep conditioner and still feel rough by day two, or a mask seems to sit on top of your hair and rinse away untouched, learning to use a hair steamer is the wash-day step worth trying.
Warm, humid air softens the strand while conditioner sits on it, and the guides that recommend steaming agree it helps that conditioner absorb. Cosmetologists describe it as an excellent way to moisturize curly and coily hair, which tends to run dry.
Be realistic about it, though: there is little formal research on hair steaming, so treat it as an upgrade for softness and moisture, not a cure. This guide covers choosing a hair steamer or a low-cost stand-in, prepping your hair, timing a safe session, rinsing and keeping the device clean, plus who should skip it. It takes one unhurried wash day, and you don’t need any salon skills.
Time 45-75 minutes, including wash and rinseDifficulty BeginnerSteps 8
Hair Steaming Methods Compared
| Method | How it works | Best for |
|---|---|---|
| Hooded or tabletop steamer | Even steam around the head | Hands-free, even sessions |
| Handheld hair steamer | Steam wand, 6+ in from scalp | Section-by-section control |
| Plastic cap + heat cap | Traps warmth and moisture | Budget stand-in |
| Warm towel over a plastic cap | Hot-tap-water towel, re-soaked | Testing steam before buying |
| Facial steamer or humidifier | Narrow plume or room-wide mist | Not suitable for hair |
What You’ll Need
As an Amazon Associate, HairAide earns from qualifying purchases. Product links in this guide are affiliate links: they cost you nothing extra and help keep these tutorials free.
- Hair steamer Delivers steady, controlled steam to the head, which facial steamers and room humidifiers aren’t designed to do.
- Plastic processing caps and a thermal heat cap Optional: needed only for the no-steamer methods, where the plastic cap traps moisture and the heat cap supplies the warmth.
- Towels: a microfiber hair towel and a cotton hand towel The microfiber towel blots curls after the rinse without frizzing them, and the cotton hand towel is needed only for the warm-towel method.
- Distilled water Contains no dissolved minerals, so it won’t scale up the tank and nozzle the way tap water does.
- Sulfate-free shampoo or cleansing conditioner Clears buildup first so the deep conditioner reaches the strand instead of sitting on old product.
- Wide-tooth comb and sectioning clips Detangle and divide hair so conditioner and steam reach every section evenly.
- Moisturizing deep conditioner This is what steaming helps absorb; steam on its own adds only warmth and water.
- White vinegar or a citric-acid descaler Dissolves mineral scale in the tank and nozzle; use whichever your steamer’s manual specifies.
Step-by-Step
Step 1 Check that steaming suits your curls
Steaming pays off most on dry curly, coily and low-porosity hair, the kind where conditioner seems to sit on the surface and water beads up before it soaks in, because warmth and humidity help a conditioner soak in rather than sit on top.
Skip it, or keep sessions short, if your hair is fine and goes limp easily, if it is protein-sensitive (a steamed protein mask can leave it stiff), or if it is heavily bleached or over-processed, since that hair already takes in water fast and can end up feeling mushy rather than soft.
Hold off, too, if your scalp is broken, sunburned or irritated. You’ll know it suits you if your curls dry softer and springier after the first session, not limp or stretched.
Step 2 Pick a hair steamer or stand-in
A hooded or tabletop hair steamer surrounds your head with an even cloud of steam while you sit still, and a handheld hair steamer lets you work section by section; both are designed to deliver steam to hair at a controlled distance.
On a budget, a plastic processing cap under a thermal heat cap traps warmth and moisture against conditioned hair, and a cotton hand towel soaked in hot tap water and wrapped over a plastic cap does the same, which makes it a near-free way to test steaming before you buy a device.
Skip facial steamers, which send a narrow plume meant for your face rather than a whole head of hair, and room humidifiers, which spread their mist through the air so little of it reaches your hair; never use a garment steamer, whose jet is hot enough to scald. Whichever you choose, read its label for time limits and the fill line before your first session.
Step 3 Fill the tank with distilled water
Fill the reservoir with distilled water up to the marked line, never past the maximum. Distilled water has no dissolved minerals, so it won’t leave the white scale that clogs nozzles and heating plates, which is why steaming guides specify it over tap water.
Never switch a steamer on with an empty or nearly empty tank, because running it dry can damage the device and create a safety hazard. Let it warm up pointed away from your head; it’s ready when it releases a steady, gentle cloud instead of sputtering.
Step 4 Cleanse, detangle and section damp hair
Steam works best on clean hair, so steam straight after your usual sulfate-free shampoo or co-wash, while your hair is still damp; product buildup on the strand gets between the conditioner and your hair.
Detangle gently with a wide-tooth comb, starting at the ends and working up to the roots, so the conditioner can spread evenly instead of catching in knots.
Divide your hair into four to six sections with clips, or more if it is very thick or long, because separate sections let both conditioner and steam reach the middle of your hair rather than just the outer layer. You’re ready when each section slides through the comb without snagging and is clipped out of the way.
Step 5 Coat each section in deep conditioner
Unclip one section at a time and work a moisturizing deep conditioner through the mid-lengths and ends first, then smooth what’s left toward the roots, since the ends are the oldest, driest part of each strand.
Use enough that every strand feels slick and coated: steam adds only warmth and water, so the conditioner is what actually softens your curls. If your hair is protein-sensitive, pick a protein-free formula, because steaming is meant to help whatever you apply absorb.
Twist or loosely pin each finished section, and leave your hair uncovered under a hooded or handheld steamer so the steam can reach it; the plastic cap is only for the heat-cap and towel methods.
Step 6 Steam for the time on the label
Follow your device’s label first, because published guides disagree: some suggest roughly 10-15 minutes, others 15-30, and one brand’s guide gives about 5 minutes for short hair, 10 for medium and 12 for long.
Start at the low end for your length, sit upright under a hooded steamer at the distance its manual shows, and keep a handheld steamer at least 6 inches (15 cm) from your scalp, moving it steadily from section to section so no one spot takes the heat for long.
For the cap method, wear the plastic cap under the heat cap for a similar length of time; for the towel method, soak the towel in hot tap water (never the microwave, which heats unevenly and can scald), wring it out, wrap it over the plastic cap and re-soak it whenever it cools. Stop at once if your scalp, ears or neck feel hot rather than pleasantly warm; warm and humid means it’s working.
Step 7 Let hair cool, then rinse
When the time is up, switch off the steamer and let your hair rest, still coated, for about five minutes so it’s comfortable to handle before you rinse. Rinse with lukewarm or cool water, whichever feels better, finger-combing gently until your hair feels slippery-soft but no longer slimy.
A cool rinse feels refreshing, but water temperature doesn’t open or seal the cuticle; the thin film of conditioner left on the strand is what makes your hair feel smooth. Blot with a microfiber towel by squeezing rather than rubbing, then go straight into your usual styling routine while your hair is still wet.
Step 8 Empty, clean and descale the steamer
Pour out any water left in the tank after every session and leave the reservoir open to air-dry, because mildew can grow in standing water. Wipe conditioner splashes off the hood or nozzle while they’re still soft.
Even with distilled water, descale on the schedule your manual gives, using the diluted white-vinegar or citric-acid solution it specifies, then rinse the tank with plain distilled water so no vinegar smell carries into your next session. It’s clean when there’s no white crust around the heating plate or nozzle and the steam flows evenly instead of sputtering.
Common Mistakes to Avoid
- Filling the tank with tap water, which leaves mineral scale that clogs the nozzle and makes the steam sputter.
- Holding a handheld steamer closer than 6 inches to the scalp, or keeping it on one spot, which risks burns.
- Switching the steamer on with an empty or nearly empty tank.
- Steaming bare hair with no deep conditioner, which adds warmth and water but nothing that softens curls.
- Steaming every wash day or past the time on the label, which can leave fine or porous hair limp and mushy.
- Using a facial steamer, room humidifier or garment steamer instead of a device made for hair.
Pro tip For your first three sessions, note the time you steamed and how your curls dried: softer, springier, better-clumped curls mean the timing suits you, while limp, mushy or stretched curls mean you should shorten the session or steam less often.
The Bottom Line
Done well, steaming turns your usual deep-conditioning step into one that leaves dry curls and coils softer, springier and easier to define. Steam once a week at most, follow the label for time, fill the tank with distilled water every session, and descale on the manual’s schedule so the steam stays clean and even.
If your hair still feels dry and rough after a few steamed treatments, or it’s breaking, shedding more than usual, or your scalp is sore or flaking, see a stylist or dermatologist instead of adding more steam, because moisture alone won’t fix damage or a scalp problem. Many salons also offer steamed deep-conditioning treatments, which are an easy way to try it before you buy a steamer.
Frequently Asked Questions
Does steaming curly hair actually work?
There's little formal research on hair steaming, but the guides that recommend it agree it helps a deep conditioner absorb, and cosmetologists describe it as an excellent way to moisturize curly and coily hair, which tends to run dry. Your own hair is the practical test: if your curls dry softer and springier after a steamed treatment than after the same conditioner without steam, it's working for you.
How long and how often should you steam curly hair?
Follow your device's label. Guides range from roughly 10-15 minutes to 15-30 minutes, and one brand suggests about 5 minutes for short hair, 10 for medium and 12 for long. Steam no more than once a week; every two to four weeks is plenty for hair that isn't very dry. Cut back if your curls start feeling limp or mushy.
Can I use a facial steamer on my hair?
It isn't a good substitute. A facial steamer sends a narrow plume meant for your face, so it can't surround a full head of hair, and you'd have to lean in close to its nozzle. A room humidifier spreads its mist through the room and does little for hair. Use a hair-specific steamer, or try the heat-cap or warm-towel method.
Does a cold rinse after steaming close the cuticle?
No, that's a salon myth. Water temperature doesn't open or seal the hair cuticle, so rinse at whatever temperature feels comfortable. The smooth, soft finish you notice after a steam treatment comes from the conditioner left on the strand, so rinse until your hair feels slippery rather than squeaky.
Is hair steaming safe for fine or color-treated hair?
It can be, but go gently. Fine hair can turn limp, and heavily bleached or over-processed hair already takes in moisture quickly and may feel mushy, so start at the shortest time on the label and steam less often. If your hair is protein-sensitive, steam a protein-free conditioner. If your hair is fragile or breaking, ask a stylist first.
Keep Reading
Sources
- Hair steamer guide lorealparisusa.com
- People steaming hair why does ca.style.yahoo.com