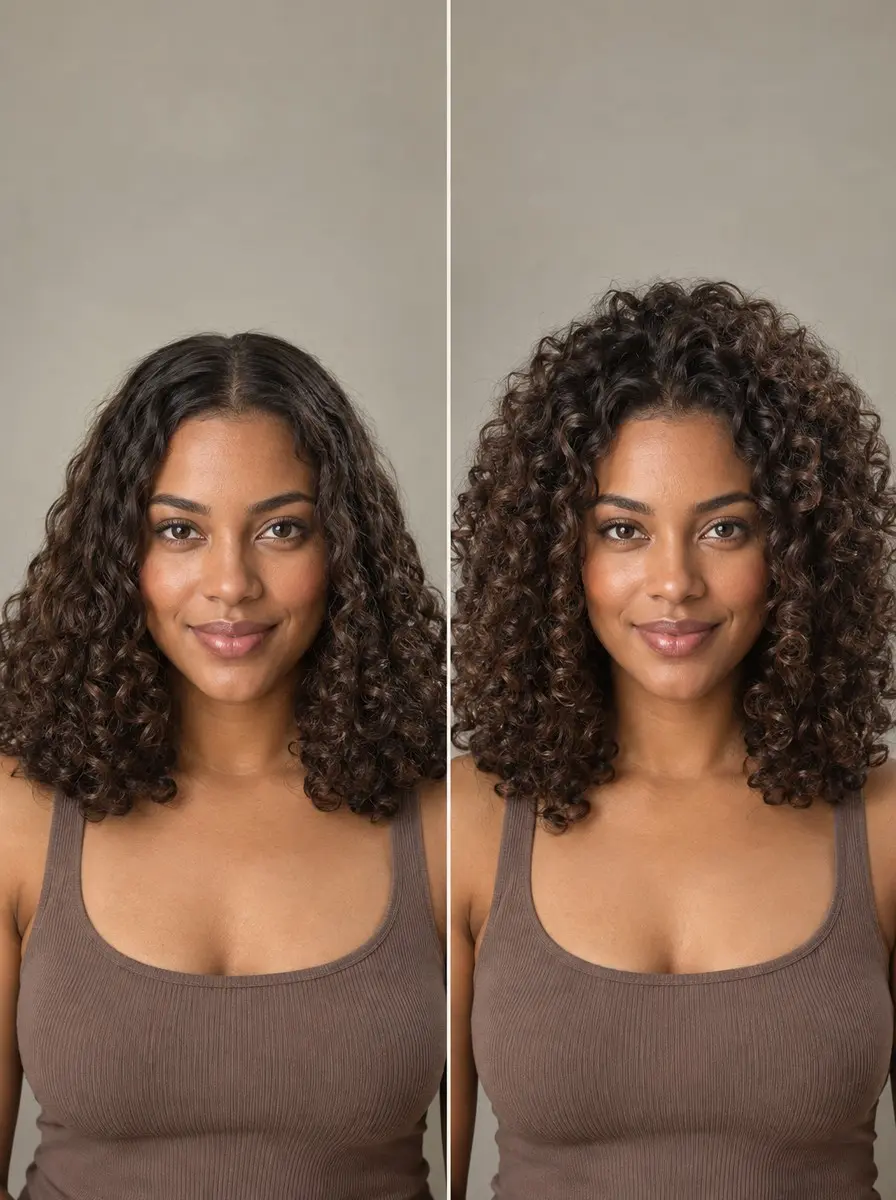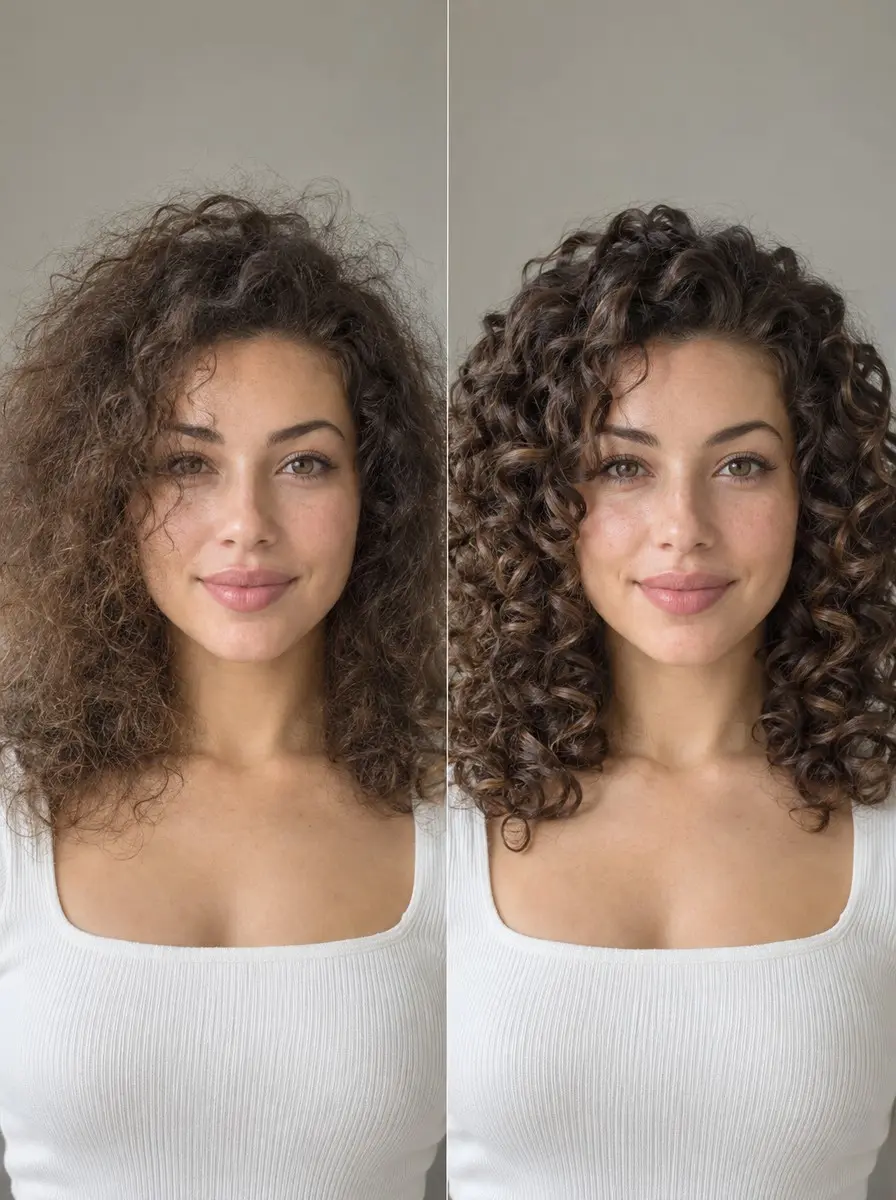
Quick answer To use a Denman brush on curly hair, detangle first, then smooth leave-in and gel through soaking-wet hair, take small sections, pull the brush from root to tip with a quarter turn on the way through, and let the curls dry untouched before scrunching out the cast.
Knowing how to use a Denman brush well is what turns loose, undefined curls into springy, glossy ringlets that hold their shape, and it is why the brush has a cult following among curly-haired people. Used badly, the same brush does the opposite. If you drag it through dry hair or treat it like a detangler, you get a frizzy halo, snapped ends and curls that look stretched and stringy.
The difference is almost all technique, and none of it needs a salon. This guide starts with the decision most people skip: which brush fits your curl pattern, and whether you should use one at all. Then it walks through each step on soaking-wet hair with product in it, and explains why each step works. Allow 30 to 45 minutes the first time. It gets faster once your hands learn the quarter turn.
Time 30-45 minutes, plus drying timeDifficulty IntermediateSteps 8
Which Denman Brush for Your Curl Pattern
| Curl pattern | Start with | Passes per section |
|---|---|---|
| Looser curls (2B-3A) | 7-row D3 | One or two |
| Tighter curls (3B-3C) | 9-row D4 | One or two |
| Looser coils (4A) | 9-row D4, one test section | One, gently |
| Very tight coils (4B-4C) or fragile hair | Finger coiling or shingling | No brush |
What You’ll Need
As an Amazon Associate, HairAide earns from qualifying purchases. Product links in this guide are affiliate links: they cost you nothing extra and help keep these tutorials free.
- Denman D3 (7-row) or D4 (9-row) styling brush The cushioned row brush that lines curls up into clumps; pick the row count that matches your curl pattern.
- Leave-in conditioner Gives wet hair the slip to detangle without snapping and a moisture base under your styler.
- Heat protectant Optional: worked in with your leave-in before the styler, it protects your curls if you finish with the diffuser.
- Wide-tooth comb Detangles wet curls before brushing, so the Denman never has to pull through knots.
- Sectioning clips Hold the rest of your hair up so you can style one small subsection at a time.
- Curl gel or curl cream The product the brush spreads through each section; gel dries into the cast that holds definition, cream gives a softer hold.
- Hair dryer with a diffuser attachment Optional: dries brushed curls faster on low heat without blowing the clumps apart; air drying works too.
- Gentle shampoo A drop in warm water lifts gel and cream buildup off the bristles and rubber pad.
Step-by-Step
Step 1 Match the brush to your curl pattern
Choose your brush before you start, because the number of rows decides how much grip and tension each pass puts on a section. Curl guides usually pair the 7-row D3 with looser 2B to 3A curls, which get enough definition without being pulled flat.
They pair the 9-row D4 with tighter 3B to 3C curls, which need more grip to form clumps. Looser 4A coils can try the D4 on one test section with a single gentle pass. Very tight 4B to 4C coils and fragile, breakage-prone hair usually do better without a brush at all, so use finger coiling or shingling instead (see the FAQ).
Step 2 Detangle before the brush goes in
Start right after your wash while your hair is soaking wet, and work a generous amount of leave-in conditioner through it for slip. If you plan to diffuse, also work in a heat protectant now, so it sits under your styler.
Detangle with your fingers or a wide-tooth comb, starting at the ends and working up toward the roots, so knots slide out instead of tightening. This comes first because the Denman is a styling brush, not a detangler.
Its closely packed nylon bristles catch on knots and snap strands, and the broken ends show up as frizz in the finished curls. You’re done when your fingers glide from root to tip without catching.
Step 3 Section the hair into small parts
Divide your hair into four to eight sections and clip each one up with sectioning clips. Let the nape section down first and work upward in subsections about one to two inches wide. Small subsections matter because the brush only defines the hair it passes all the way through.
In a thick section the inner strands never touch the bristles, and they dry as frizz under a defined surface. Thick or dense hair needs smaller, more numerous subsections than fine hair, and keeping the rest clipped up stops it tangling while it waits.
Step 4 Smooth styler into soaking-wet sections
Before you brush each subsection, make sure it is dripping wet, and re-wet it with wet hands if it has started to dry. Curls clump best while there is enough water to carry the product along every strand. Glide a palmful of curl gel down the section between flat palms from root to tip, or use curl cream if you want a softer hold.
Gel gives the strongest definition and dries into the cast that locks the shape in. Cream leaves a softer, touchable finish that may frizz sooner in humid weather. The section is ready when it looks evenly shiny with no dry or white patches.
Step 5 Brush through with a quarter turn
Lift the section away from your head and slide the brush horizontally underneath it, bristles facing the hair. Pull down from near the root to the ends with steady, light tension, and give the brush a quarter turn as it travels so the section twists slightly as it leaves the bristles.
The tension lines the strands up into one smooth ribbon, and the turn sets the direction the curl coils in. That is what gives brush-styled curls their even, springy look. Stop at one or two passes: the section is done when it bounces back into a defined ringlet as the brush clears the ends.
Step 6 Shake or scrunch the curl into shape
Straight after brushing, give the section a gentle shake from the ends, or cup it in your palm and scrunch it up toward the root once. Brushing stretches the curl a little. Shaking lets the ribbon settle into its natural clumps, and scrunching helps it spring back toward its true length.
Don’t re-brush a section that looks imperfect, because every extra pass splits the clumps further and leaves curls stringy. Repeat the styler, brush and shake sequence one section at a time until your whole head is done, then stop touching it.
Step 7 Air dry or diffuse without touching
Let the curls dry completely without touching them, either by air drying or with a diffuser attachment on low heat and low speed. As gel dries it forms a cast, a slightly crunchy shell that holds each clump in place while it sets. Touching, twirling or fluffing before then pulls the clumps apart and creates frizz.
If you diffuse, cup a section in the diffuser bowl and hold it still for about a minute before moving on, so the airflow doesn’t blow the clumps around. Go on to the next step only when your hair feels completely dry at the roots and through the lengths.
Step 8 Scrunch out the cast
Once your hair is completely dry, cup sections in your palms and scrunch upward to break the cast. The curls soften but keep the shape they set in. For more fullness, gently split the largest clumps in two with your fingertips, then shake at the roots for lift.
Waiting until hair is fully dry matters, because any clump that is still damp pulls apart instead of softening and dries fuzzy. You’re done when your curls feel soft and touchable but still hold their defined, bouncy shape.
Common Mistakes to Avoid
- Brushing dry or half-dry curls: the bristles split clumps that have already formed and leave a frizzy halo, so re-wet any section that has started to dry.
- Using the Denman as a detangler: dragging it through knots snaps strands, so detangle with your fingers or a wide-tooth comb first.
- Over-brushing: more than one or two passes per section stretches the curl and splits clumps into stringy strands. Looser 4A coils get a single gentle pass, and very tight 4B-4C coils skip the brush entirely.
- Skimping on water or styler: without enough of both, the brush creates friction and frizz instead of smooth, clumped ribbons.
- Touching the curls before they are completely dry, which breaks the gel cast and the clumps underneath it.
Pro tip If brushed curls dry stringy or too separated, pop the rubber pad out of the handle and take out one or two rows of bristles, spaced apart rather than side by side. Fewer rows grab less hair per pass and leave bigger, chunkier clumps, and you can slot the rows back in if you want more definition later.
The Bottom Line
Brush-styling comes down to a few habits: the right row count for your curl pattern, detangled and soaking-wet hair, small sections, one or two passes with a quarter turn, and hands off until the cast is fully dry. Do it on wash day. Between washes, re-wet only the sections that have lost their shape, smooth in a little styler and brush just those.
If your curls stay frizzy or limp however carefully you brush, the cause is often the cut or damage to the ends, not your technique. A stylist who cuts curly hair dry, curl by curl, can shape it so the clumps the brush creates sit where they should. They can also tell you whether your ends are too damaged to hold a curl.
Frequently Asked Questions
Can you use a Denman brush on dry curly hair?
No. A Denman is a styling brush for soaking-wet or damp hair that already has leave-in and a styler in it. On dry curls the bristles break up the clumps that formed as your hair dried, which causes frizz and can snag strands. To refresh second-day curls, re-wet a section, smooth in a little styler, then brush and shake just that section.
Why are my curls frizzy or stringy after using a Denman brush?
Frizz usually means the hair started to dry before you brushed it, or the curls were touched before the gel cast set. Stringy curls usually mean too many passes, too many rows for your curl pattern, or not enough styler. Keep each section dripping wet, stop at one or two passes, and if curls still separate, take out one or two bristle rows, spaced apart.
Should you use a Denman brush on tight coils or fragile hair?
Often not. Very tight 4B-4C coils and fragile, breakage-prone hair can snag and stretch in the brush's closely packed rows, and the pull of repeated passes adds to breakage. Finger coiling, or shingling (smoothing styler down small sections with your fingers), defines coils without that tension. Looser 4A coils can try one gentle pass on a single test section and judge it once dry.
Do I need a heat protectant if I diffuse after brush-styling?
Yes. If you finish with a diffuser, work a heat protectant through your damp hair along with your leave-in, before the styler, and keep the dryer on low heat and low speed. Diffusers are meant for wet or damp hair, so you can start straight after brushing. If you air dry, you don't need a heat protectant at all.
How do I clean a Denman brush?
Pull trapped hair out of the bristles after every use. Once a week, or whenever you see white residue, pop the rubber pad out of the handle and soak both parts in warm water with a drop of gentle shampoo. Swish the bristles clean, rinse, and let everything air dry fully before you put the brush back together.
Keep Reading
Sources
- How to use a denman brush for amazing curls onlycurls.com