Quick answer To braid your hair for a wig, start with dry, moisturized, detangled hair, then braid flat cornrows (or flat twists or gel for short hair) that are snug but never tight. Pin every end flat so no spot bulges, and finish with a breathable wig cap in your scalp tone.
A wig only looks as smooth as what’s underneath it: loose hair bunches at the crown, a thick nape braid pushes the wig off your neck, and a stray hairline section becomes the lump everyone notices. Learning how to braid your hair for a wig is what lets the cap lie flat and the wig sit as if it grew there.
A good braid-down, your own hair flattened into neat braids, twists or gel, has a second job most wig-brand guides skip: protecting the hair you’re covering. Braids that are too tight strain your edges, damp hair under a cap stays damp, and hair left dry for weeks breaks.
Below, you’ll match a pattern to your hair’s length and texture (short hair included), braid it snug but comfortable, and choose a cap that disappears at the hairline. If you can manage a basic braid or twist, you can do this at home.
Time 45 minutes to 2 hoursDifficulty IntermediateSteps 8
Braid-Down Pattern by Hair Length
| Your hair | Flatten it with | Where the ends go |
|---|---|---|
| Very short (TWA or pixie) | Gel smoothed back, no braids | No ends to hide |
| Chin-length | Small flat twists or 4-6 cornrows | Pinned flat at the nape |
| Shoulder-length | 6-8 straight-back cornrows | Crossed flat across the nape and pinned |
| Long or very thick | 8-12 small cornrows in a beehive | Tucked under the next braid and pinned |
| Fine, straight and slippery | Two flat French braids | Crossed flat across the nape and pinned |
What You’ll Need
As an Amazon Associate, HairAide earns from qualifying purchases. Product links in this guide are affiliate links: they cost you nothing extra and help keep these tutorials free.
- Cream leave-in conditioner Softens the lengths and ends so hair stays pliable, not brittle, under the cap.
- Wide-tooth comb, rat-tail comb and sectioning clips The wide teeth detangle without snapping hair, the tail parts clean, equal braid sections, and the clips hold the rest out of the way so each row stays even.
- Small snag-free elastics Secure straight or wavy braid ends without the bulk of a regular hair tie.
- Light-hold styling gel or edge control Lays very short hair and the hairline flat without pulling them into braids.
- Bobby pins Pin braid ends flat and anchor the wig cap to the braids underneath.
- Breathable wig cap in your scalp tone Creates a smooth, invisible base that keeps the wig from slipping.
- Satin bonnet or scarf Optional: protects the braids from frizz and loosening on nights the wig comes off.
- Flexible measuring tape Optional: lets you measure your head with the braid-down and cap already on, so a new wig is sized to the head it actually has to fit.
Step-by-Step
Step 1 Start with dry, moisturized hair
Begin with clean hair that is completely dry from root to tip; if thick hair takes hours to air-dry, braid the day after wash day rather than rushing it. Smooth a small amount of cream leave-in conditioner through the lengths, concentrating on the ends, and give it time to absorb until the hair feels soft but dry to the touch.
Moisture trapped under a cap and wig can’t evaporate, and a warm, damp scalp is where musty smells, itching and bacterial growth start. Hair left parched under a cap for days has the opposite problem and snaps where it rubs, so you’re aiming for soft, pliable lengths and dry roots.
Step 2 Detangle from the ends up
Work a wide-tooth comb through one section at a time, starting at the ends and moving up toward the roots only once the lower part glides freely. Hold the hair above the section you’re combing so any pull lands on your hand rather than your scalp.
Every knot you braid over becomes a ridge under the wig and snaps when you take the braids down, so this step decides how flat and how gentle the whole braid-down will be. You’re done when the comb passes from root to tip without catching anywhere.
Step 3 Choose a pattern for your length
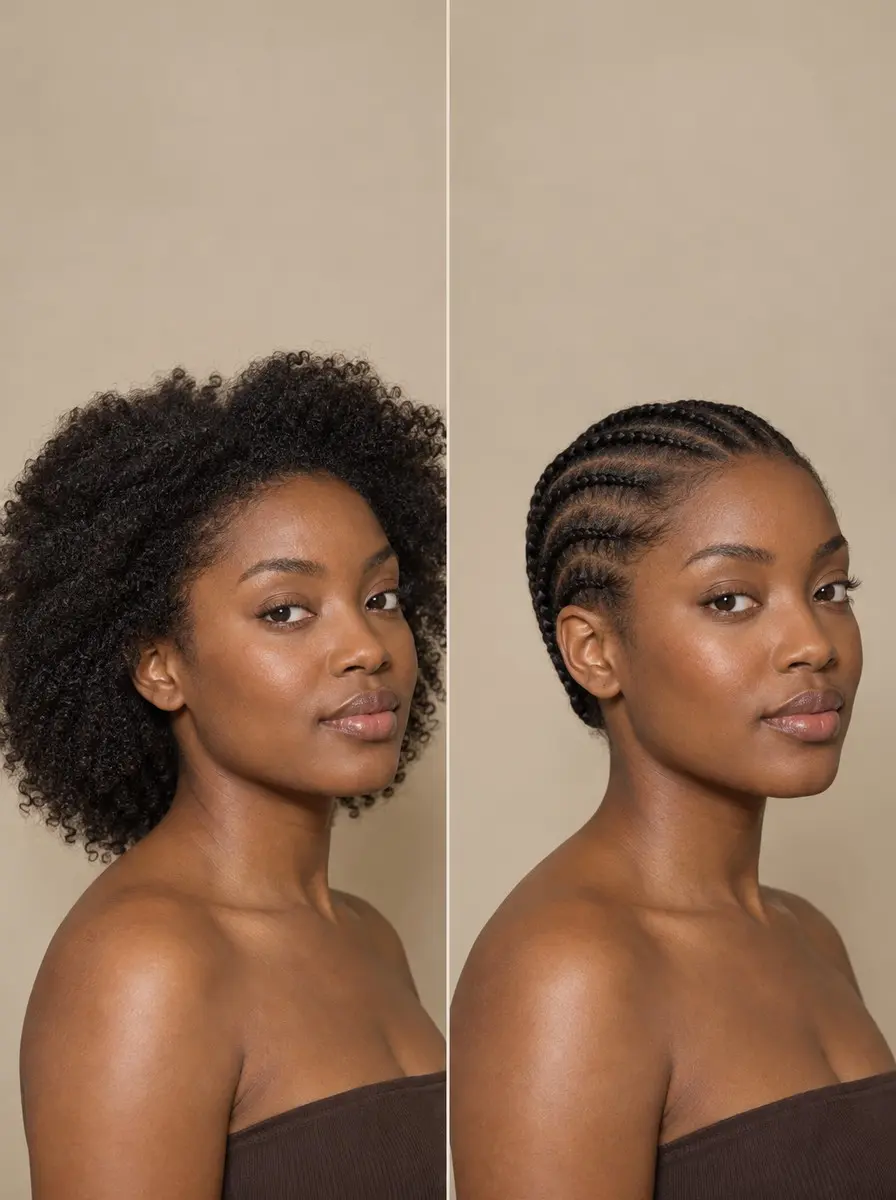
Match the braid-down to your hair: very short hair, such as a TWA or a pixie, usually needs no braids at all, just gel; chin-length hair suits small flat twists or 4 to 6 cornrows; and shoulder-length hair takes 6 to 8 straight-back cornrows.
Long or very thick hair needs 8 to 12 small cornrows in a circular, beehive pattern, so the length wraps around the head instead of piling up at the nape. If your hair is fine, straight and slippery, two flat French braids grip better than cornrows, and flat twists are the easiest option if braiding your own hair is new to you.
Part each section with the tail of a rat-tail comb and clip the rest away with sectioning clips; smaller, equal rows each carry less bulk, which is what keeps the surface flat, so denser hair belongs at the top of each range.
Step 4 Braid snug, never tight
Braid each section flat to the scalp, keeping the braid close to your head the whole way back; for a French braid, add a little hair with each crossover so it hugs the scalp.
Aim for snug enough that the braid doesn’t slide, but loose enough that you can raise your eyebrows and move your scalp without feeling a pull. Over-tight braids pucker the scalp into small bumps that the wig then sits on, and repeated tension, especially at the hairline, strains the follicles and can lead to traction hair loss.
Secure straight or wavy ends with a small snag-free elastic, since coily hair often holds a braid ending on its own and a bulky band becomes a knot under the cap.
Step 5 Smooth short hair and edges flat
If your hair is too short to braid, smooth a light layer of styling gel or edge control over it and lay it back toward the crown, following the way it naturally lies, using your fingertips and the fine end of the rat-tail comb.
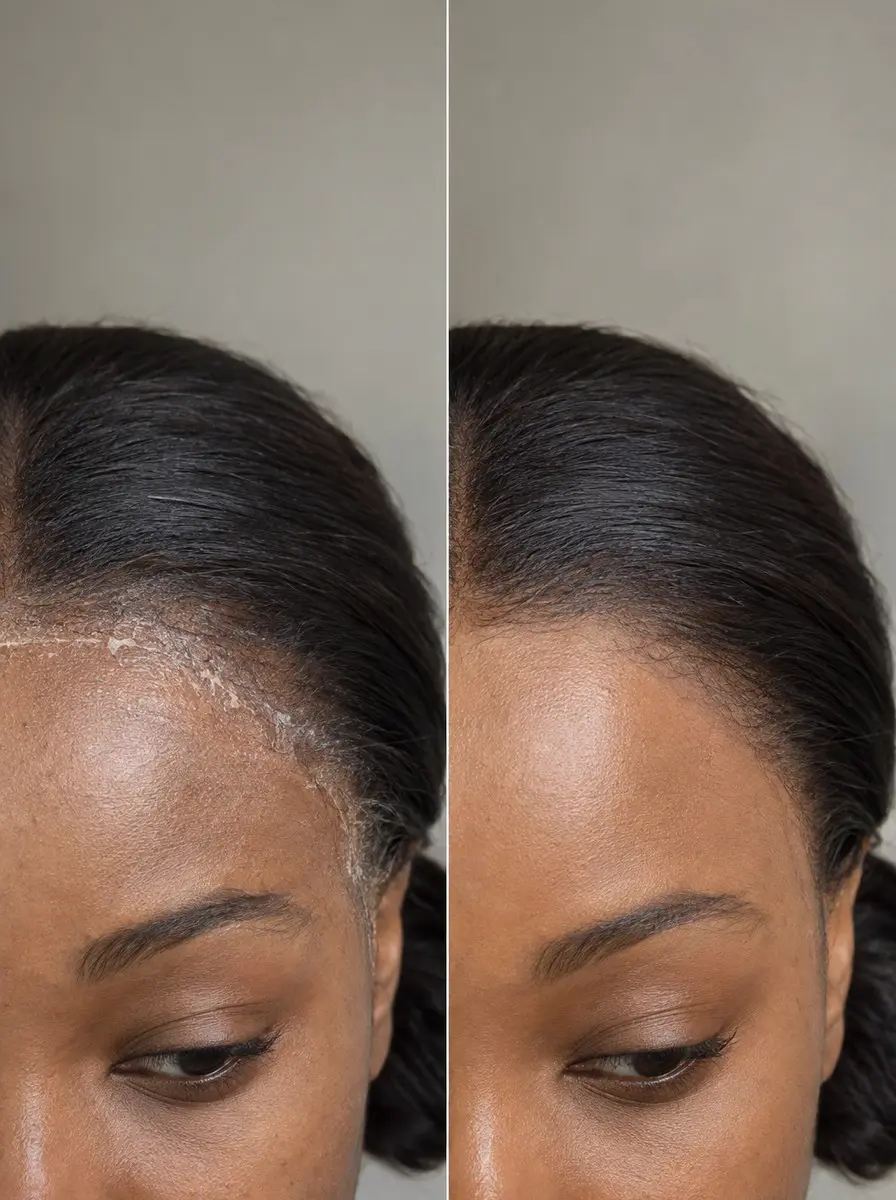
Use the same gel along the hairline whatever your length: keep the shortest hairline hairs out of the braids and smooth them back instead of pulling them into a tight first row.
Edges are the most fragile hair on your head and the first to thin from tension, and gel holds them flat with no pull at all. Let the gel dry completely before moving on, because a wet or tacky product under the cap causes the same damp-scalp problem as wet hair.
Step 6 Tuck and pin the ends flat
Lay every braid end down before it can become a bump, and spread them out so no single spot carries the bulk. With straight-back cornrows, cross the left-side ends toward the right and the right-side ends toward the left so they lie in one flat layer across the nape, then pin them.
With a beehive, tuck each end under the neighbouring braid as it wraps around the head and pin it there; with two French braids, cross the tails flat across the nape and pin them; with flat twists, pin each end flat at the nape where it finishes.
Slide each bobby pin along the braid, parallel to the scalp, so it grips the braid instead of scraping your skin. Then run your flat palms over your whole head: any ridge you can feel, the wig will show, so re-pin it now.
Step 7 Fit a scalp-toned wig cap
Choose a breathable mesh or thin nylon wig cap in the shade closest to your scalp, not your hair or wig colour, so anything that peeks through at a part or a lace hairline reads as skin.
Stretch it open, set the front edge along your hairline, then draw it back over the braids and tuck any stray hairs inside. Fold the excess flat at the nape instead of bunching it at the crown, and anchor it with bobby pins at the front corners, the crown and the nape, pushing each pin through the cap into a braid.
A cap that is smooth, aligned and anchored gives the wig a flat, non-slip base, so it sits evenly and doesn’t shift through the day.
Step 8 Give your hair regular breaks
A braid-down is a short-term base, not a permanent one: most stylists suggest taking it out within about 2 to 4 weeks, then giving your hair a full wash day and a few days loose before you braid again.
Between installs, refresh dry lengths with a little leave-in conditioner along the braids and let it absorb fully before the cap goes back on.
If your wig is the removable kind, take it off at night and sleep in a satin bonnet or scarf so the braids don’t frizz or loosen against a cotton pillowcase. Rest days let your scalp breathe and your edges recover from tension, which is what lets you keep wearing wigs long term.
Common Mistakes to Avoid
- Braiding hair that’s still damp, or putting the cap over leave-in or gel that hasn’t dried, so moisture stays trapped against the scalp.
- Pulling the hairline into a tight first row; the edges are the first hair to thin from repeated tension.
- Stacking every braid end in one spot at the nape, which creates the exact lump the braid-down is meant to prevent.
- Choosing a wig cap to match your hair or wig colour instead of your scalp tone, so it shows at the part.
- Leaving the same braid-down in long after it has loosened, with no wash day or moisture break in between.
Pro tip Measure your head for a new wig with your braid-down and cap already in, because that’s the head the wig actually has to fit; a long or very thick braid-down can add enough bulk to change your size.
The Bottom Line
Done well, a braid-down is invisible: the cap lies flat, the wig sits evenly from hairline to nape, and the hair underneath comes out as healthy as it went in. Expect your first one to take longer than the next; once you know your pattern, re-braiding between installs gets quick.
Redo it whenever the braids loosen and start to bulge, and take it down within 2 to 4 weeks for a wash and a rest.
See a braider or stylist if you can’t get the back flat on your own or can’t reach to braid a beehive in long, very thick hair. If you notice thinning, tenderness or bumps at your hairline that don’t settle once the tension is gone, see a dermatologist.
Frequently Asked Questions
How tight should my braids be under a wig?
Snug enough that the braids don't slide, but never painful. If your scalp feels tender, you get a headache, small bumps rise along the parts or you feel a pull at the hairline, they're too tight. Loosen them, especially at the edges, because repeated tension there can cause traction hair loss that may become permanent.
Do I need to braid short hair before putting on a wig?
Not always. Very short hair, like a TWA or a pixie, usually lies flat with a light layer of gel smoothed back and just a wig cap on top. Chin-length hair is long enough for small flat twists or 4 to 6 cornrows, which hold it flat without the stubby, springy ends you get from forcing braids into hair that's too short.
How long can I keep my hair braided under a wig?
Most stylists suggest taking a braid-down out within about 2 to 4 weeks. After that, braids loosen and bulge, buildup collects at the scalp and the hair underneath dries out. Take it down gently, give your hair a full wash day and let it rest loose for a few days before re-braiding. Taking a removable wig off at night in between lets your scalp breathe too.
What colour wig cap should I wear?
Pick the cap closest to your scalp tone, not your hair or wig colour, so anything visible at a part or lace hairline reads as skin. Breathable mesh is cooler for all-day wear, while a thin nylon cap lies flatter under lace. Either way, put it on only over completely dry hair and fully dried gel.
Can I put a wig on over damp braids?
No. A cap and wig trap moisture against your scalp, and a warm, damp scalp is where musty smells, itching and bacterial growth start. Let the braids dry completely, which can take overnight for thick hair, before the cap goes on, and apply leave-in conditioner lightly enough that it absorbs and leaves your roots dry to the touch.
Keep Reading
Sources
- How to make a wig lay flat unice.com
- How to wear a wig keswigs.com