Quick answer Leave hair dye on for the time your brand's directions give: usually about 30 minutes for permanent color (around 40 for resistant gray), 20-25 for demi-permanent and 15-40 for semi-permanent. A strand test sets your exact time within that window, and you never go past the maximum.
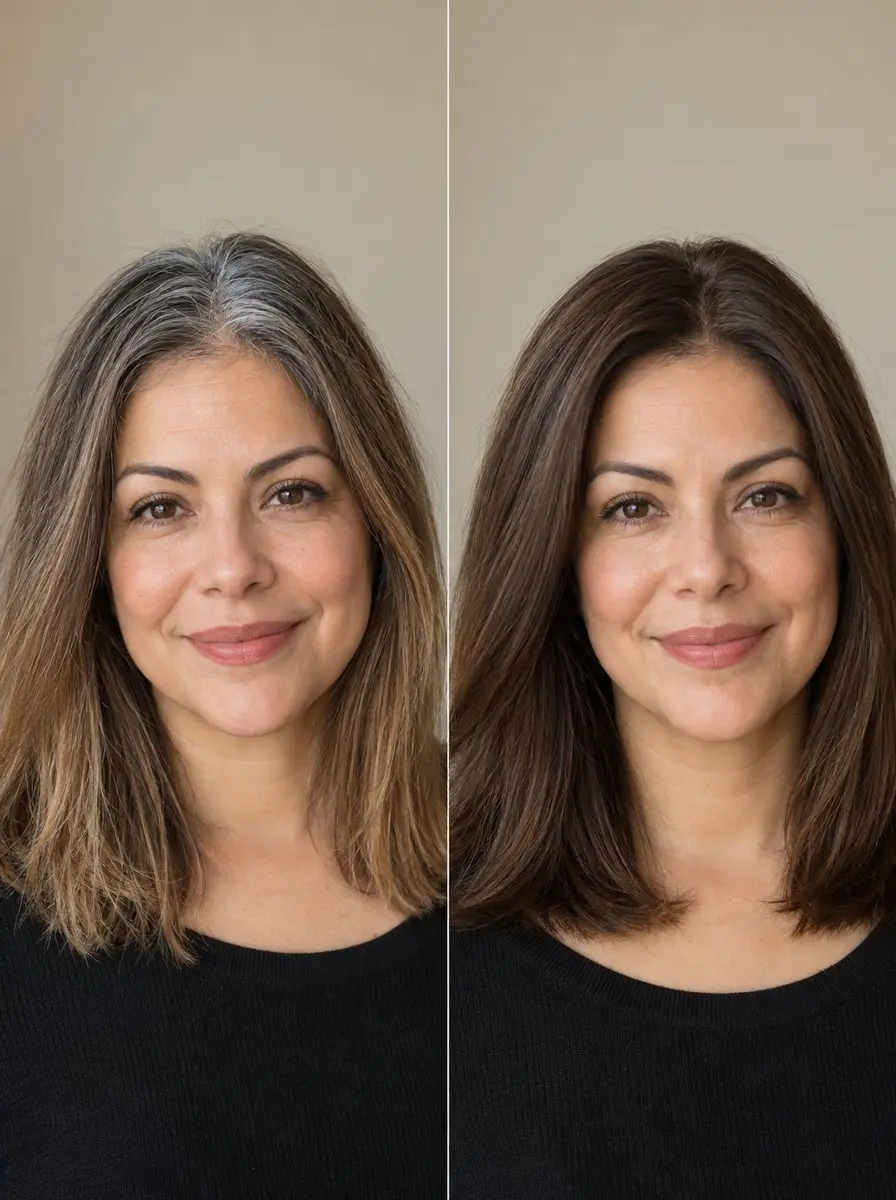
Most at-home color mistakes come down to how long you leave hair dye on, not the shade on the box. Rinse too soon and grays stay see-through, and the color fades within a few washes or turns out lighter and warmer than promised.
Leave it too long and you get dry, rough ends and an irritated scalp with no extra color to show for it. Yet most brand pages give a single number and stop there.
The good news is that timing is the easiest part of home color to get right once you know what moves it.
Your dye type sets the window, your gray and your hair’s texture decide where in that window you land, and a strand test gives you your own number before dye touches your whole head. Below is how to set the clock, stagger roots and ends, check progress partway through and correct a result that missed.
Time 60-90 minutes, plus a skin allergy test 48 hours beforeDifficulty BeginnerSteps 8
How Long to Leave Hair Dye On by Type
| Dye type | Developer | Typical time | Rinse when |
|---|---|---|---|
| Permanent | Yes, kit-matched | About 30 min (20-45 by formula) | Tested time, never before the minimum |
| Permanent on resistant gray | Yes, kit-matched | About 40 min | The leaflet’s gray time |
| Demi-permanent | Yes, low-volume | About 20-25 min | Tested time, never before the minimum |
| Semi-permanent | Usually none | 15-40 min by brand | Once it matches, within the window |
What You’ll Need
As an Amazon Associate, HairAide earns from qualifying purchases. Product links in this guide are affiliate links: they cost you nothing extra and help keep these tutorials free.
- Hair color kit with its matched developer It is the color itself, and its leaflet gives the minimum, maximum and gray processing times every step here works within.
- Disposable nitrile gloves Most kits include one thin pair; a spare lets you do the strand test and the full application without staining your hands.
- Tint brush and mixing bowl The bowl holds a small strand-test batch and the full mix, and a brush with a pointed tail parts clean sections and places color on regrowth only, which is what makes roots-first timing possible.
- Kitchen timer Timing to the minute, from whenever your leaflet says to start, is the whole job, and an alarm you can hear from the next room beats watching the clock.
- Paper towels A damp sheet wipes a test strand clean so you can read the color during the strand test and the mid-process check.
- Sectioning clips Four clean, clipped sections let you apply quickly, so the first areas don’t get a head start on the timer.
- Barrier cream or petroleum jelly Optional: a thin line along the hairline and ears lets stray dye wipe off instead of staining skin.
- Color-safe shampoo For kits whose directions call for a wash after rinsing, and for the washes that follow, so the new color isn’t stripped early.
Step-by-Step
Step 1 Read your directions for the dye type
Find the processing time in your kit’s leaflet before you mix anything, and treat it as the ceiling: brand directions override any generic number, including the ones in this guide.
As a rough map, permanent color runs about 30 minutes (Sally Beauty puts the range at 20-45 minutes depending on the formula), demi-permanent about 20-25 minutes, and semi-permanent anywhere from 15 to 40 minutes by brand.
The windows differ because permanent color develops inside the hair through a reaction with its developer, demi-permanent uses a gentler low-volume developer, and semi-permanent has no ammonia and usually no developer, so it only stains the hair’s outer layers. You’re done when you’ve noted the minimum time, the maximum time and any separate time the leaflet gives for gray.
Step 2 Place yourself in the window
Three things decide whether you land at the short or the long end of your brand’s window. Resistant gray, which often feels coarse and glassy, tends to need the longer time, which is why Kenra Professional allows 40 minutes for resistant gray against 30 for its standard permanent processing; gray that takes color easily may not.
Texture and porosity matter too: coarse, low-porosity hair takes color in slowly, while fine, porous or previously lightened hair grabs it quickly and can turn darker than the box shade, so it rarely needs the maximum.
Developer volume changes how hard the dye works rather than the clock: 20 volume releases more oxygen than 10, so it works faster and lifts more in the same time but is harsher on the scalp and fragile ends, which is why box kits come with a matched developer and you shouldn’t swap volumes to save minutes.
Step 3 Patch-test, then strand-test your time
Most kits ask for a skin allergy test 48 hours before every coloring, even with a brand you’ve used for years, because a reaction to dye ingredients can develop over time; if the spot turns red, itchy or swollen, don’t use the dye.
Only once those 48 hours have passed with no reaction, put on gloves, mix about a teaspoon of color (plus developer, if your kit has one) in your bowl and brush it onto a hidden section at the nape, including some gray if you have it.
Set a timer, wipe a few strands clean with a damp paper towel at the minimum time and a few more every five minutes up to the maximum, then let them dry and compare. The earliest strand with the shade you want and fully covered grays, never past the maximum, is your processing time, and it beats any chart because it was measured on your own hair.
Step 4 Section dry hair and protect your hairline
Unless your leaflet says otherwise, apply permanent and demi color to dry hair that hasn’t been washed for a day or two, since the scalp’s natural oil helps buffer irritation; some semi-permanent brands want clean, towel-dried hair instead, so check yours.
Finger-detangle, then part your hair into four sections with the pointed tail of your tint brush and clip each one up. Smooth a thin line of barrier cream along your hairline and over the tops of your ears so stray color wipes off rather than staining.
Clean sections matter for timing as much as for coverage: if you hunt for partings mid-application, the first areas get a head start and process longer than the last.
Step 5 Apply roots first and stagger the ends
With your sections clipped, mix the full batch in your kit’s ratio, as our guide on how to mix hair dye and developer explains, and start applying straight away, since most leaflets say to use mixed color at once and discard any left over; semi-permanent color with no developer goes on straight from the tub.
For a root touch-up, apply color to the regrowth only and give it most of the time, then pull it through the previously colored lengths for just the final 5-10 minutes, or as your directions specify, and skip that step entirely if your ends haven’t faded.
Lengths that are already colored are more porous and still hold pigment, so a full session there builds up dark, muddy ends and adds needless damage.
Going lighter on hair that has never been colored is the exception: warmth from the scalp makes the first inch process faster and leaves bright, warm ‘hot roots’, so most directions have you apply mid-lengths and ends first and add the roots partway through. Either way, work steadily so the whole head is covered within about 10-15 minutes.
Step 6 Time it and check a strand
Start the timer when application is finished unless your leaflet says to time from the start, and skip extra warmth from a plastic cap or dryer hood unless the brand calls for it, since warmth speeds the reaction and makes your strand-test number unreliable.
At the minimum time, wipe a few strands at the crown and near the part with a damp paper towel: grays should look evenly colored, not translucent.
Semi-permanent color can come off once it matches your strand test, but permanent and demi color need at least the leaflet’s minimum to develop, so this check tells you whether you need the gray time, not whether to rinse early; color also looks darker in the mixture than it will once dry. If your scalp burns, stings sharply or starts to swell at any point, rinse immediately and get medical advice.
Step 7 Rinse until clear and condition
When the timer goes, rinse with lukewarm water, massaging your scalp and hairline, until the water runs completely clear, because leftover dye keeps sitting on your skin, where it can irritate and stain your pillowcase. Follow your leaflet on shampoo: many permanent kits go straight to their own conditioner while others call for a wash, and if yours does, use a color-safe shampoo.
Smooth the kit’s conditioner through your lengths for a couple of minutes to restore softness after the alkaline color, then rinse again. Let your hair dry and judge the shade in daylight, since wet hair and bathroom lighting both read darker than the real result.
Step 8 Correct a result that missed
If grays still show or the shade came out lighter than planned, the color most likely came off too early or needed the gray time; wait at least a week, strand-test again and reapply to the missed areas only, using the longer end of the window.
If it came out too dark, don’t put a lighter box shade on top: color doesn’t lift color, so it won’t lighten anything and only adds damage.
Semi and demi shades soften with each wash, and our guide to fixing hair dye that’s too dark walks through the gentle options in order before anything stronger. Patchy results usually trace back to uneven sections or saturation rather than time, and a permanent shade more than a level too dark is a job for a colorist.
Common Mistakes to Avoid
- Rinsing permanent color early because it already looks dark in the mixture, which leaves underdeveloped color that fades within a few washes and grays that stay see-through.
- Leaving dye on past the brand’s maximum to make it ‘take’ better, which adds dryness and scalp irritation without adding color or staying power.
- Pulling permanent color through already-colored ends for the full time, which builds up dark, muddy lengths.
- Starting the timer at a different point than the leaflet says (usually when application is finished), which leaves the last sections short of time.
- Skipping the 48-hour skin allergy test because you’ve used the same brand before.
Pro tip After every session, write your strand-test minute, the shade and how well grays covered on the leaflet or in your phone. Next time, start from that number instead of the box default, and if grays still peeked through, add five minutes only while you stay within the brand’s maximum.
The Bottom Line
Timing comes down to three numbers: the brand’s window, your strand-test time inside it, and the maximum you never cross. Write your number down after the first session and every touch-up after that gets quicker and more predictable. Plan root touch-ups every four to six weeks, and pull color through the lengths only when they’ve faded.
See a colorist instead if you’re going more than a couple of shades lighter, covering resistant gray that box color keeps missing, correcting a result that’s much too dark, or if your scalp has ever reacted to dye. A pro can change the formula, not just the clock, and that is often what a stubborn result needs.
Frequently Asked Questions
Can I leave hair dye on longer than the box says?
No. Past the brand's maximum, the color reaction has largely finished, so extra minutes add little depth or staying power. With permanent and demi color, what keeps going is the alkaline, peroxide-based mixture sitting on your scalp and hair, which means more dryness, breakage and risk of irritation. If grays weren't covered at the maximum, use the leaflet's gray time or a formula made for resistant gray instead.
What happens if I rinse hair dye out too early?
Permanent color rinsed before its minimum time hasn't fully developed, so it usually looks lighter or warmer than the box shade, leaves grays translucent and fades within a few washes. Semi-permanent color rinsed early simply looks sheerer. Wait at least a week, strand-test again, then reapply to the missed areas only for the full time.
Does gray hair need longer for hair dye to work?
Often, yes. Resistant gray, which tends to feel coarse and glassy, takes color in more slowly, so many permanent lines give it a longer time: Kenra Professional allows 40 minutes for resistant gray against 30 for standard processing. Gray that's soft and takes color easily may cover in the standard time, which is why a strand test beats guessing.
How long should I leave semi-permanent hair dye on?
It depends entirely on the brand: reported times run from 15-20 minutes to 20-40 minutes. Semi-permanent dye has no ammonia and usually no developer, so it stains the hair's outer layers rather than developing inside. Follow your brand's window and rinse once a strand matches the shade you want, then expect it to fade gradually with each wash.
How often can I re-dye my roots?
Most people touch up roots every four to six weeks. Hair grows about half an inch a month, so that's roughly half an inch to three-quarters of an inch of regrowth, enough to see but easy to cover evenly. Apply new color to the regrowth only and pull it through the lengths just when they've faded, so ends aren't recolored every time.
Keep Reading
Sources
- Pro talk how to dye your hair at home sallybeauty.com
- Colouring products opentextbc.ca
- How long to leave hair dye in curlcentric.com