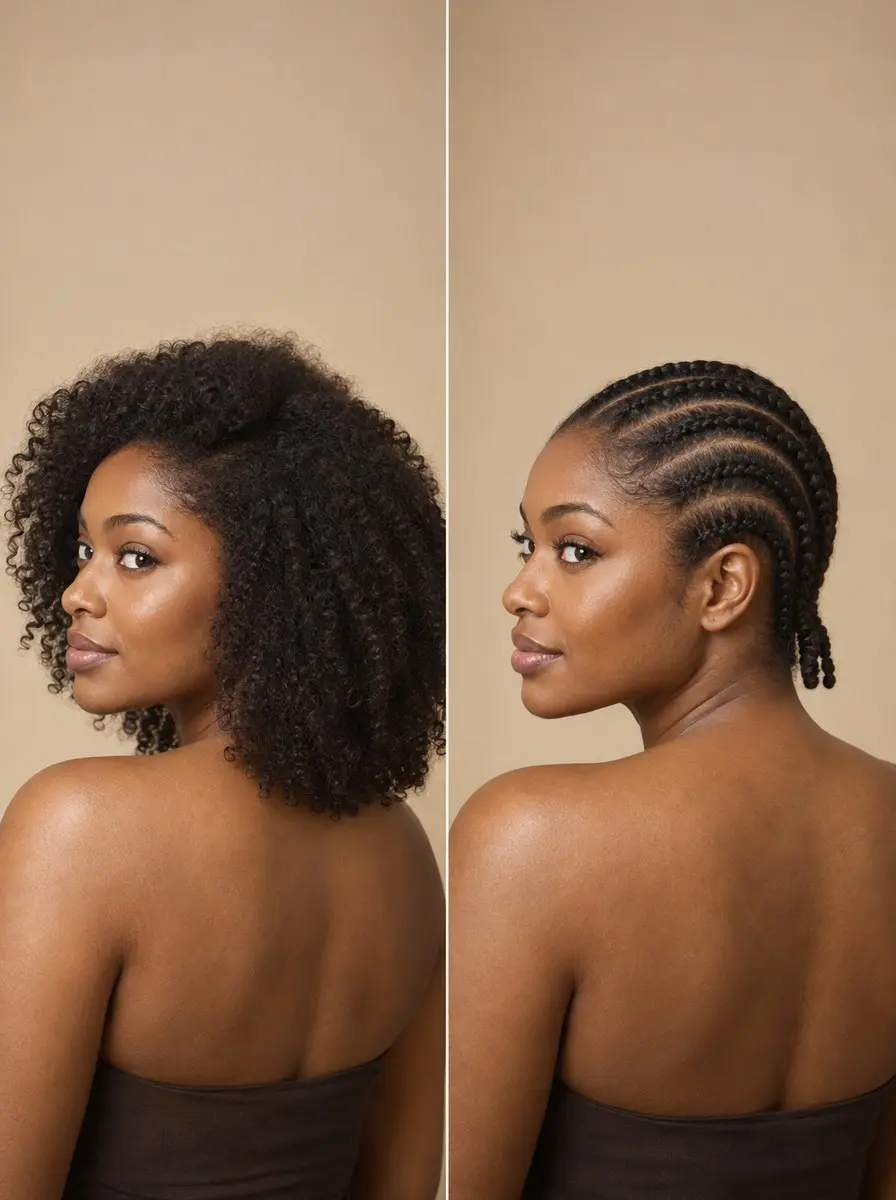
Quick answer To do cornrows as a beginner, detangle and moisturize the hair, then use a rat-tail comb to part it into 4-6 straight-back sections. Braid each section close to the scalp, crossing strands under the middle and adding a small piece of hair at every cross. Keep the tension firm but painless.
Wondering how to do cornrows at home without pain or crooked parts? Cornrows are the base for much more than one look. They hold a wig flat, anchor crochet styles and sew-ins, and look sharp on their own. Learning to braid them neatly at home saves salon time and lets you decide how tight they go. That matters, because the most common beginner problem is a painful row rather than a messy one.
This guide keeps the first attempt simple. You’ll braid four to six big rows running straight back, each with a clean part, using the underhand method that makes cornrows sit raised on the scalp. Every step explains why it works. You’ll also learn to tell firm tension from harmful tension and to fix zig-zag parts, lumps and puffy rows. Your first set will take a while, and that’s normal. Speed comes with practice.
Time 1-3 hours for a first set of 4-6 rowsDifficulty BeginnerSteps 8
Cornrow Mistakes and Fixes
| Problem | Usual cause | Fix |
|---|---|---|
| Zig-zag parts | Parting by eye | Redraw with the comb tail; check in a mirror |
| Lumpy row | Uneven pick-ups | Add the same size piece every cross |
| Puffy row | Hands drifting off the scalp | Braid low over the part; gel each pick-up |
| Row drifts off the part | Pulling the braid sideways | Keep hands directly over the part line |
| Bulky start that pulls the edges | Too big a first piece | Begin each row with a small piece |
| Bumps or soreness at the roots | Too much tension | Take the row out and redo it looser |
What You’ll Need
As an Amazon Associate, HairAide earns from qualifying purchases. Product links in this guide are affiliate links: they cost you nothing extra and help keep these tutorials free.
- Leave-in conditioner spray Gives the hair slip and softness so it detangles and bends into the braid without snapping, and doubles as the light mist for aftercare.
- Wide-tooth comb Removes knots from the ends up before you braid and after takedown without ripping through tangles.
- Rat-tail comb Its fine tail draws the straight, clean parts every row is built on.
- Sectioning clips Hold the unbraided sections back so loose hair doesn’t get pulled into the row you’re working on.
- Handheld mirror Used with a wall mirror, it lets you check the back parts and rows for zig-zags and drift.
- Braiding gel Sets the parts, smooths each pick-up and gives your fingertips grip so the rows stay neat.
- Small snag-free hair elastics Secure each tail without gripping and snapping strands the way rubber bands do.
- Satin scarf or bonnet Cuts friction overnight so the rows stay smooth and frizz-free for longer.
Step-by-Step
Step 1 Detangle and moisturize first
Start with clean hair that is dry or just damp. Mist each section with leave-in conditioner, then work a wide-tooth comb from the ends up to the roots. Knots snag every time you add hair, which forces you to pull harder and leaves the row lumpy, while moisture keeps strands pliable so they bend into the braid instead of snapping.
Coily and tightly curled hair usually needs a little more leave-in, while straight or wavy hair is slipperier and relies more on gel for grip. You’re done when the comb glides from root to tip without catching and the hair feels soft but not wet.
Step 2 Map out four to six rows
Plan four to six large rows running straight back from the hairline to the nape. Big rows forgive small mistakes because each pick-up is easy to grab and there are fewer parts to keep straight; small rows need far more precision.
For six rows, use the rat-tail comb to part down the center first, then plan three equal sections on each side; for four rows, plan two per side. Straight-back lines are the easiest pattern to keep even, so save curves and designs for later. Your plan is right when the sections look matched in width from the front.
Step 3 Draw clean parts and set them
Use the tip of the rat-tail comb to draw each part in one steady line from hairline to nape instead of parting by eye. Comb the hair on each side away from the part, then clip every section except the first out of the way so loose hair can’t get pulled into the row.
Check each part in the wall mirror, holding the hand mirror behind you for the back, and redraw any zig-zag now, because a crooked part shows in the finished style and can’t be fixed once it’s braided.
Run a thin line of braiding gel along each part and smooth a little over the section so short pieces can’t escape into the next row. You’re ready when every part is a straight, clean line and the section lies smooth.
Step 4 Start small at the hairline
Start with the first section, the one you left unclipped, and take a small piece of hair right at the front of it, then divide that piece into three equal strands. Starting small keeps the fine edge hairs from carrying the weight and pull of the whole braid, and it gives the row a neat, tapered start instead of a bulky knot.
To anchor the braid, make one or two crossings close to the scalp without adding any hair, crossing each strand under the middle as described in the next step. It’s right when a tiny, firm base sits flat at the hairline without pulling the skin.
Step 5 Cross under and add hair
Cross the right strand under the middle one, then the left strand under the middle one. Crossing under instead of over is what makes a cornrow sit raised on the scalp rather than lying woven in like a French braid.
Before each cross, pick up a small piece of hair from that side of the section, just ahead of the braid, and add it to the outer strand you’re about to move. Take the same size piece every time, because even pick-ups give an even row and a big piece followed by a small one leaves lumps.
Keep your hands low and directly over the part line without pulling the braid sideways or toward you, so the row hugs the scalp, follows the part and stays smooth, with a dab of gel on each pick-up.
Step 6 Keep tension firm but painless
Tension should feel firm and even, never painful. With good tension the row feels snug, the person wearing it can still raise their eyebrows and turn their head comfortably, and the scalp lies flat around the braid.
Stinging, skin lifting at the base, small bumps at the roots or a headache all mean the tension is too high, which can cause breakage. Repeated tight styling is also a recognized cause of thinning at the hairline. If a row hurts, take it out and braid it again more loosely instead of waiting for it to ease.
Step 7 Finish and secure the tail
When you reach the nape and there’s no loose hair left to add, keep going with an ordinary three-strand braid to the ends, still crossing each strand under the middle. Using the same under-cross keeps the tail’s texture continuous with the row above it.
Secure the end with a small snag-free elastic rather than a rubber band, which grips and snaps strands when you take it off. Repeat the small start, the underhand braiding and the tension check on each remaining section, starting every row with the same size piece so all the rows come out the same width.
Step 8 Moisturize lightly and take down gently
Mist the scalp and rows lightly with leave-in conditioner every few days. Use it sparingly, because heavy creams and oils build up along the parts and are hard to rinse out of braids.
Wrap the hair in a satin scarf or bonnet at night to cut friction so the rows stay smooth and frizz-free for longer. Take the cornrows out by about 4-6 weeks at the latest, or sooner once they look fuzzy or the scalp feels sore.
To take them down, remove the elastic and unbraid from the tail upward, then mist with leave-in and detangle with the wide-tooth comb from the ends toward the roots, because hair you shed normally stays trapped in the braid and knots if you comb from the top.
Common Mistakes to Avoid
- Braiding tangled or dry hair, which snags on every pick-up and tempts you to pull harder.
- Starting with small rows or curved patterns before you can braid 4-6 straight-back rows evenly.
- Crossing the strands over the middle instead of under, which makes a flat French braid rather than a raised cornrow.
- Pulling extra tight at the hairline to make the start look neat, when the fine edge hairs are the easiest to stress and break.
- Piling on heavy creams or oils between washes, which leaves buildup along the parts that’s hard to rinse out.
Pro tip Before each row, rub a pea-size dab of braiding gel between your fingertips. Grip keeps your pick-ups the same size, while extra force only adds tension.
The Bottom Line
Your first set doesn’t have to be perfect. The whole skill comes down to even straight-back rows, clean parts and comfortable tension. Mist the rows lightly every few days, wrap your hair at night and take the cornrows down by about 4-6 weeks, or sooner if they turn fuzzy or anything feels sore.
Once your straight-back rows come out even every time, try smaller rows or gentle curves, then work up to goddess and swirl patterns. For very small rows, a complex design, or a base for a wig or extensions you’ll wear for weeks, a professional braider is worth it. If you notice thinning along your hairline, see a braider or a dermatologist before you braid again.
Frequently Asked Questions
Should hair be wet or dry when you cornrow it?
Braid dry or just-damp hair that has been detangled and moisturized. Soaking-wet hair is harder to part cleanly and takes a long time to dry inside tight rows. A light mist of leave-in conditioner before you start gives enough slip and softness, and a little braiding gel on the parts adds grip and hold.
How tight should cornrows be?
Firm and even, but never painful. The rows should feel snug while the wearer can still raise their eyebrows and turn their head comfortably. Pain, small bumps at the roots, skin lifting around the base or a headache all mean too much tension, which can cause breakage. Take that row out and braid it again more loosely rather than waiting for it to ease.
How long can you leave cornrows in?
Take them out by about 4-6 weeks at the latest. Beginner rows on your own hair often turn fuzzy sooner, and it's fine to take them down early once they stop looking neat or your scalp feels sore. Unbraid from the tail upward, then detangle from the ends toward the roots, because shed hair collects inside the braid.
Can you cornrow your own hair as a beginner?
Yes, but it's harder than braiding someone else's hair because you work partly by feel. Start with the front rows you can see in a wall mirror, use a hand mirror for the back, and stick to 4-6 large straight-back rows. Many people practice on a friend's hair first, where the part and both hands are in view.
What's the difference between cornrows and French braids?
Both add hair as you braid along the scalp. In a cornrow, each strand crosses under the middle, so the braid sits raised on top of the scalp. In a French braid, the strands cross over, so the braid lies woven into the hair. Cornrows are usually smaller, follow clean parts close to the scalp and can be worn for weeks.
Keep Reading
Sources
- How to do cornrow braids jaliza.com