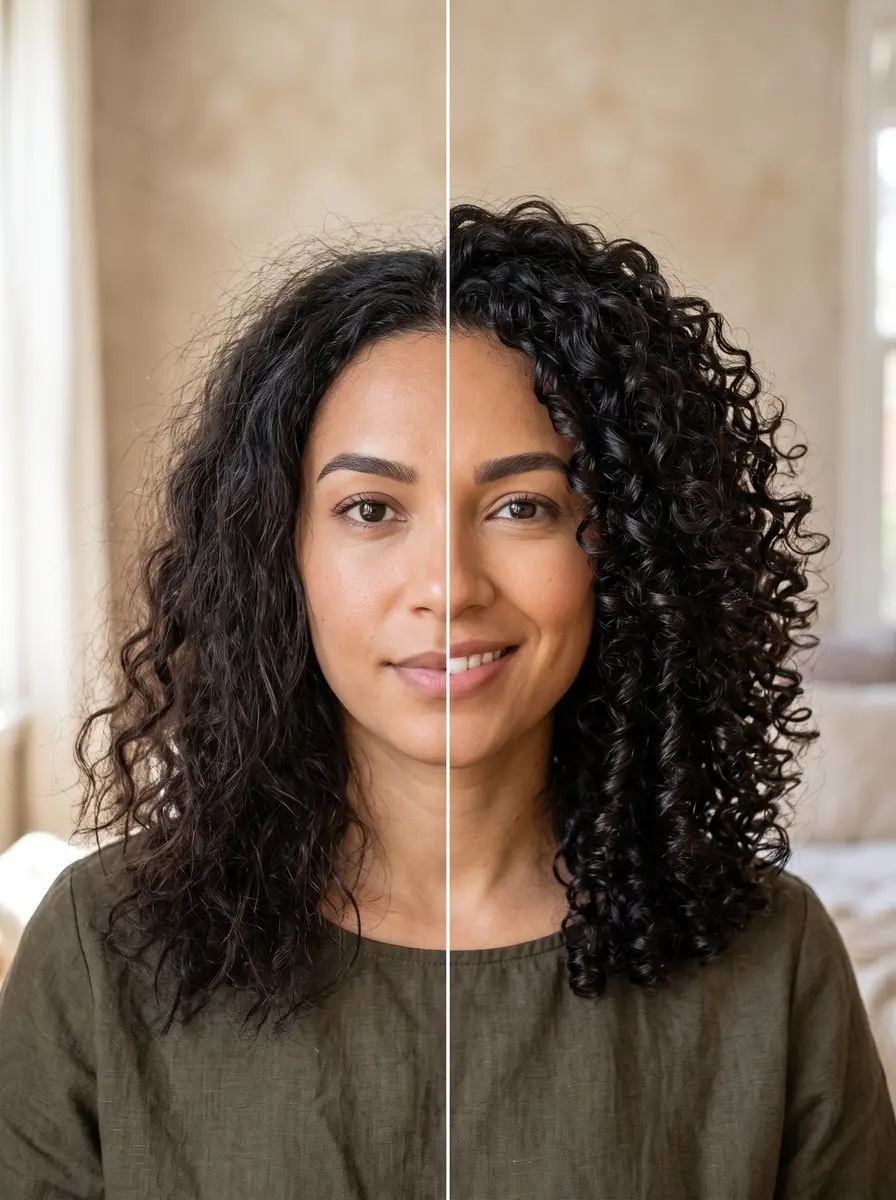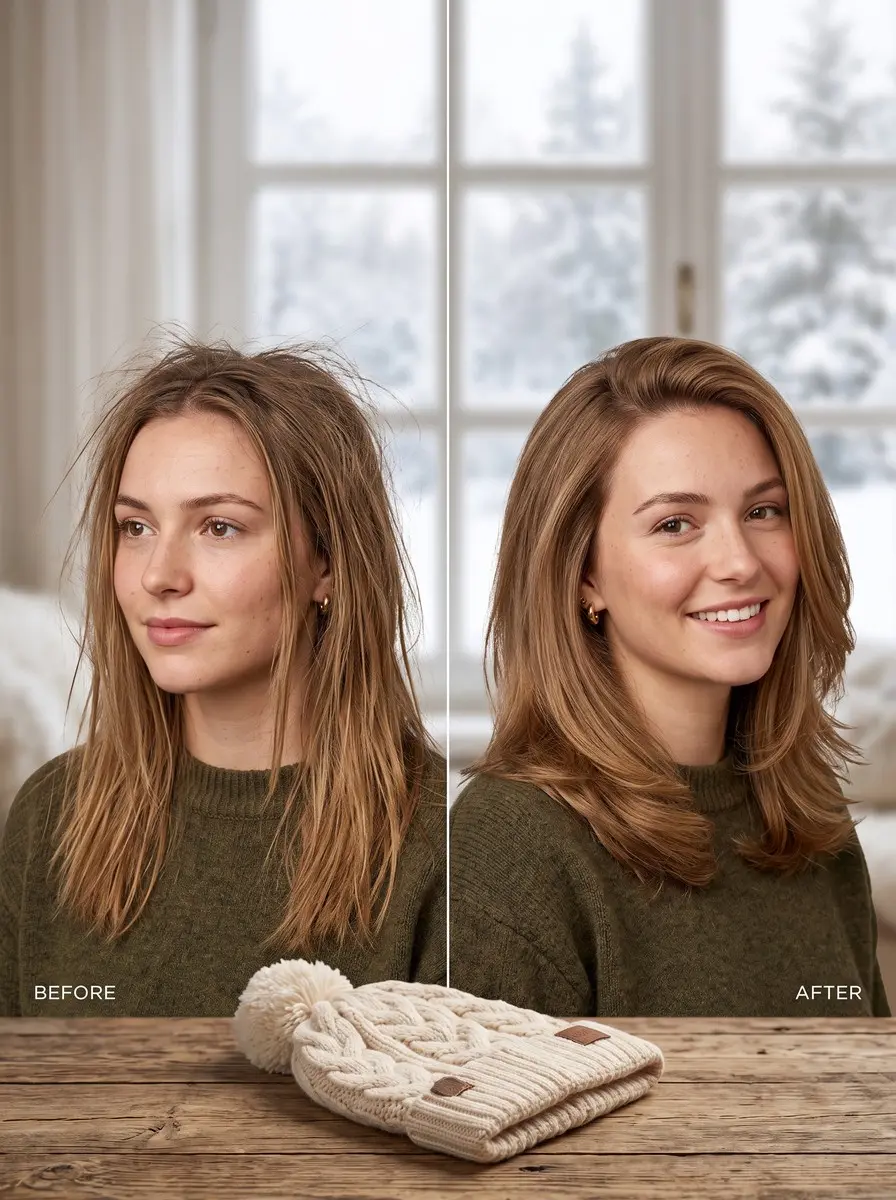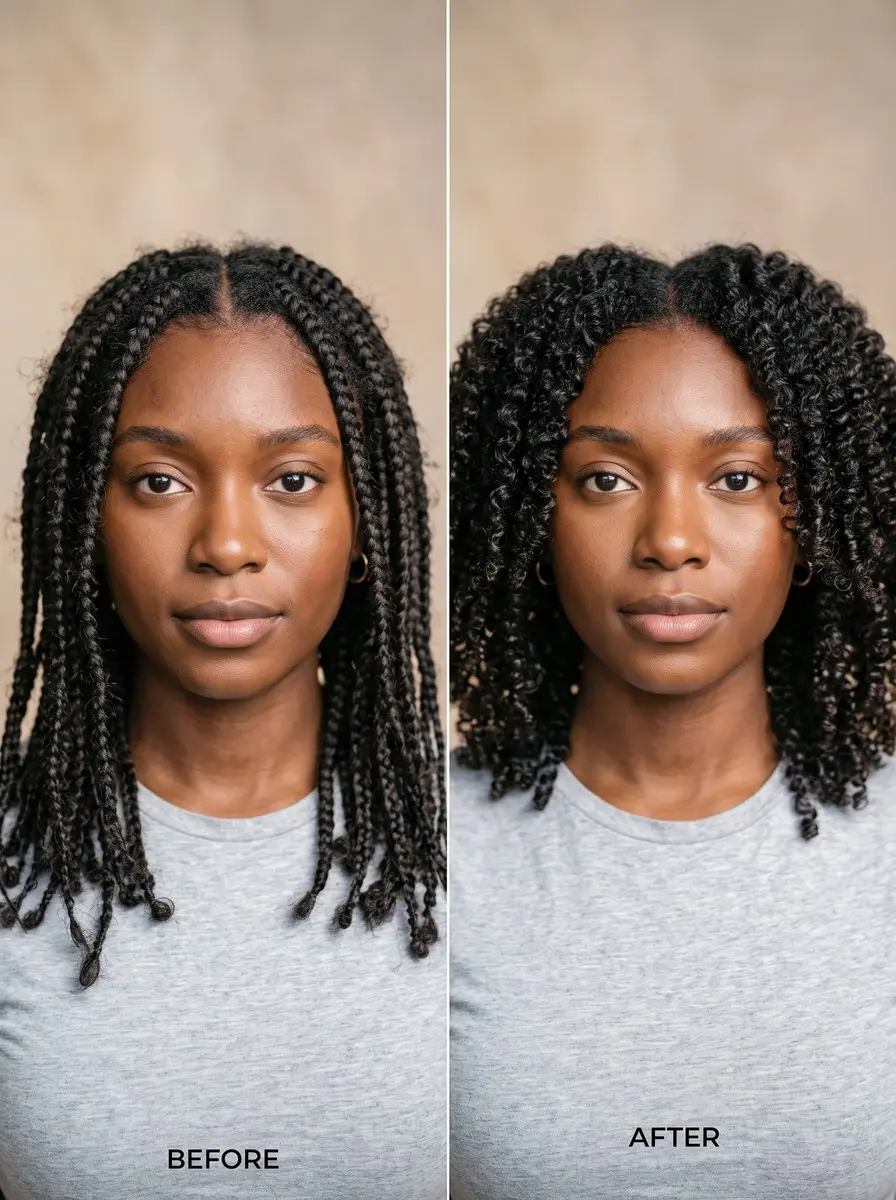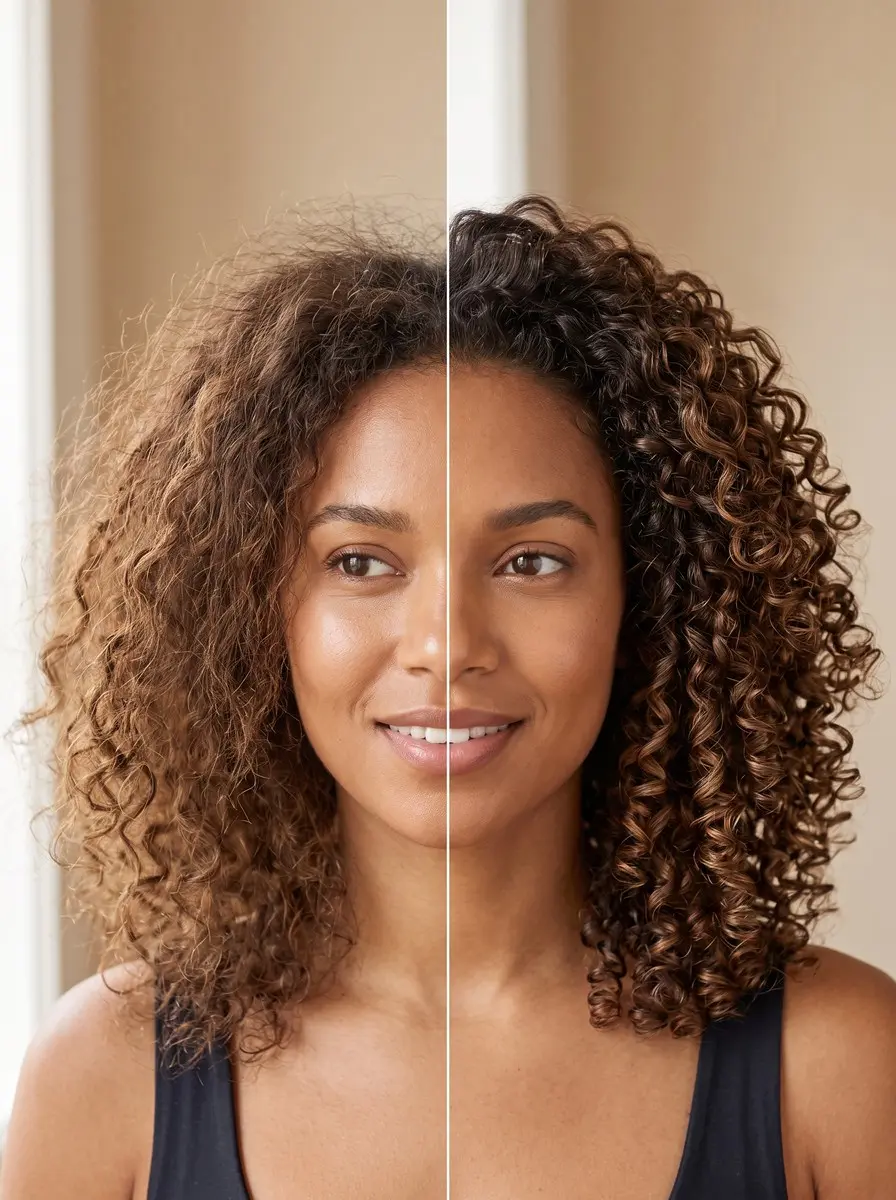
Quick answer To plop curly hair, apply curl products to soaking-wet hair, flip forward onto a cotton t-shirt or microfiber towel, wrap it snugly and leave it on 10 to 20 minutes for dry, frizz-prone hair or 30 to 60 for thick hair, then unwrap and air-dry or diffuse.
Learning to plop curly hair is one of the simplest fixes for curls that dry into a frizzy, stretched-out halo even when the rest of wash day goes right. Plopping means wrapping soaking-wet, styled hair in a cotton t-shirt or microfiber towel.
It draws out excess water while holding your curls coiled against your head, so they set in tight clumps with lift at the root instead of being pulled straight by the weight of the water.
It takes about five minutes of hands-on work, and you don’t need anything beyond a shirt you probably already own. Most guides gloss over the timing, and published advice ranges from 5 minutes to overnight. Below you’ll find the exact wrap, a plop time matched to your hair’s thickness and porosity, and what to change when plopping causes frizz or flattens your roots.
Time 5 minutes hands-on, plus 5-60 minutes of plop timeDifficulty BeginnerSteps 7
How Long to Plop Curly Hair by Hair Type
| Hair type | Start at | Go up to |
|---|---|---|
| Dry, frizz-prone or high-porosity | 10 minutes | 20 minutes |
| Fine, flattens at the root | 5-10 minutes | 15 minutes |
| Medium-density waves and curls | 15 minutes | 30 minutes |
| Thick, dense or low-porosity | 30 minutes | 60+ minutes |
| Short, above the chin | Micro-plop for a minute or two | Skip a full plop |
What You’ll Need
As an Amazon Associate, HairAide earns from qualifying purchases. Product links in this guide are affiliate links: they cost you nothing extra and help keep these tutorials free.
- 100% cotton long-sleeve t-shirt Its flat weave absorbs water without loops that snag strands, and the long sleeves make the wrap easy to tie.
- Microfiber hair towel A smooth alternative to cotton that absorbs quickly, useful when you want a shorter plop.
- Leave-in conditioner or curl cream Applied to soaking-wet hair before plopping, it helps strands group into clumps that the wrap then holds in place.
- Light-hold curl gel It forms a cast that holds clumps while hair dries, and a little smoothed over the surface after unwrapping tightens loose sections.
- Bowl-style diffuser attachment It speeds up drying after you unwrap and adds lift at the root without blowing clumps apart.
Step-by-Step
Step 1 Lay out a smooth, absorbent fabric
Before you get in the shower, set out a 100% cotton t-shirt (a long-sleeved one is easiest to tie) or a microfiber hair towel, and leave the terry bath towel on the rail.
Terry cloth is made of raised loops that catch strands and rough up the surface of your curls as you wrap and unwrap, which breaks clumps apart and shows up as frizz. A flat, tight weave soaks up water without snagging, and microfiber usually absorbs faster than cotton, so expect to need a little less time with it.
Spread the fabric flat on a counter, bed or closed toilet lid with the sleeves or long sides pointing out to each side. Having it ready matters because every minute you spend looking for a shirt is a minute of water weight stretching out your freshly styled curls.
Step 2 Apply products to soaking-wet hair
Plopping goes right after your final conditioner rinse and before you air-dry or diffuse, so do your styling in the shower while your hair is still dripping. Rake or glaze a leave-in conditioner or curl cream through each section, add gel if you use one, and scrunch upward until you hear a squelch.
Product spreads evenly on soaking-wet hair and helps strands group into clumps, and the plop then holds those clumps in place while the water drains out. You’re ready when your hair feels slippery all over and you can see defined ringlets or waves forming, with no dry or sticky patches.
Step 3 Flip forward onto the fabric
Bend forward at the waist and let your hair hang straight down so the lengths fall into the center of the fabric, then lower your head slowly until your crown rests on it and let the curls fold and pile up like an accordion, without twisting or bunching them by hand.
Lowering your head pushes the lengths up toward your scalp in their natural spring, so the curls start to dry without wet weight stretching them out, and that’s where the root lift and tighter definition come from.
Your hair is in position when it sits in a neat, coiled stack in the middle of the fabric with your front hairline lined up along one edge. If your hair is above the chin and too short to pile up, skip the full wrap: scrunch it upward with the t-shirt for a minute or two instead (often called micro-plopping), then go straight to drying.
Step 4 Wrap and secure it snugly
Fold the far side of the fabric up over the nape of your neck so it covers the back of your head, twist the two sides (or the sleeves) into ropes behind your head, bring them forward and knot or tuck them above your forehead, then stand up.
The wrap should be firm enough that no curls hang out and nothing slips when you move, but loose enough that it doesn’t press the stack flat against your crown or tug at your hairline. If you have fine hair that tends to dry flat at the root, keep the wrap noticeably looser over the crown, because pressure there is what sets the roots down.
If hair escapes at the sides or the knot slides back, take the wrap off and do it again instead of stuffing strands back in, because pushing them in by hand breaks up the clumps you just formed.
Step 5 Time the plop to your hair
Set a timer instead of guessing, because the fabric keeps drawing water out for as long as it’s on.
Start dry, frizz-prone or high-porosity hair at 10 minutes and stop by 20; fine hair that flattens at the root at 5 to 10 minutes and no more than 15; medium-density waves and curls at 15 minutes, going up to 30; and thick, dense or low-porosity hair at 30 minutes, going to 60 or longer if it’s still dripping.
Published advice disagrees: Keune suggests starting with 5 to 10 minutes, Marie Claire’s expert says 15 to 20 is enough to remove excess water, and Davines recommends at least 20 to 30 minutes and says a plop can be left overnight.
The gap comes from different hair: high-porosity hair gives up water quickly and can over-dry and frizz in a long plop, while thick, dense hair holds so much water that a short plop barely makes a dent, and low-porosity strands release it slowly. So start short, check at your starting time, and add 10 minutes at a time until your hair is damp and heavy with no drips.
Step 6 Unwrap gently and check the result
Untie the knot and lift the fabric straight off your head instead of rubbing or sliding it along your hair, then stand upright slowly and gently shake the roots with your fingertips to loosen any crease from the wrap, leaving the lengths alone.
Now read the result: a fuzzy or rough surface means the plop ran too long for your hair, since Marie Claire’s expert notes that longer plopping soaks up more water and can cause frizz on hair that’s already dry, so take 5 minutes off next wash day, as Keune advises when frizz appears.
Roots that sit flat mean the wrap pressed too hard or stayed on too long, so next time tie it looser at the crown and shorten the plop, changing only one thing per wash day so you can tell which fix worked.
If some clumps look looser than you’d like, smooth a small amount of light gel over the surface with flat palms while the hair is still damp, because gel added now forms a cast that holds the shape as it dries. You’re done unwrapping when your curls hang in defined, separate clumps with no towel marks or flattened sections.
Step 7 Finish drying hands-off
Let your curls finish drying in the air, or use a diffuser on low heat and low speed, which is faster and adds more volume at the root (our guide to diffusing curly hair covers the full technique).
Whichever you choose, keep your hands out of your hair until it’s completely dry, because touching damp curls separates the clumps and roughs up the surface, and that turns into frizz as it dries.
Once every section is fully dry and any gel feels crisp, put a drop of oil or curl cream on your palms and scrunch upward to break the cast. You’re done when your curls are soft and bouncy and keep their shape when you move your head.
Common Mistakes to Avoid
- Plopping before you apply product: the fabric soaks up the water your leave-in and gel need to spread evenly, so curls set patchy and frizzy.
- Squeezing or wringing hair into the fabric, or tying the wrap too tight, which flattens the curl stack, crushes clumps and leaves a crease at the crown.
- Sleeping in a plop when your hair is naturally dry or frizz-prone. Hours in fabric can pull out so much water that you wake up to fuzz instead of definition.
- Using a terry bath towel, whose raised loops snag strands and rough up the surface as you wrap and unwrap.
- Touching, scrunching or shaking out the lengths before your hair is completely dry, which breaks clumps apart and adds frizz.
Pro tip Set your part before you flip forward, not after you unwrap. Curls dry in whatever direction the roots sit in the plop, and moving the part once they’ve set breaks every clump around it.
The Bottom Line
Done right, plopping turns dripping, stretched-out curls into defined clumps with lift at the root, for about five minutes of work.
Do it every wash day, and treat the first few as tests: note your fabric and plop time, then adjust by 5 or 10 minutes until your curls dry soft and frizz-free. If you finish with a diffuser, work a heat protectant through your damp hair before you switch it on.
Between washes, a quick refresh keeps the shape going without a full re-plop. If your curls still dry limp, uneven or frizzy after you’ve adjusted the time and fabric, the cut or the condition of your ends is more likely the problem than your technique. A stylist who works with curly hair can cut layers that let your curl pattern spring up.
Frequently Asked Questions
How long should you plop curly hair?
There's no single right time, because it depends on how much water your hair holds. Medium-density waves and curls usually need 15 to 30 minutes, dry or frizz-prone hair 10 to 20, fine hair 5 to 15, and thick, dense or low-porosity hair 30 to 60 minutes or more. Start at the short end and add 10 minutes if your hair is still dripping.
Can you plop curly hair overnight?
Yes. Davines says a plop can be left on overnight, and that can suit thick, dense hair that takes hours to dry. It's a poor fit for dry or frizz-prone hair, though, because the fabric keeps pulling water out all night and you may wake up to frizz instead of definition. Try a timed plop first, and tie the wrap loosely if you sleep in one.
Is plopping better than diffusing?
They do different jobs, so many people use both. Plopping removes excess water and sets curls with lift while you get ready, but it doesn't dry your hair. Diffusing does the drying, faster and with more root volume. A diffuser-only routine skips the wrap and suits short or fine hair that plopping flattens, while thick hair usually dries faster if you plop first and then diffuse.
Why does my hair frizz after plopping?
Frizz after plopping usually comes from one of four things: plopping too long for hair that's already dry, using a terry towel whose loops snag strands, applying product after plopping instead of before, or touching your curls before they're fully dry. Cut 5 minutes off your plop time first, switch to cotton or microfiber, and keep your hands off until your hair is completely dry.
Can you plop short or fine hair?
Hair above the chin usually can't coil into the fabric, so scrunch it upward with a cotton t-shirt for a minute or two instead. This is often called micro-plopping. Fine hair can be plopped, but keep it to 5 to 10 minutes and no more than 15, and tie the wrap loosely at the crown, because a long, snug plop tends to set fine roots flat.
Keep Reading
Sources
- Curly hair plopping marieclaire.com
- How to plop hair ca.davines.com
- Hair plopping keune.com
- How to plop your hair patternbeauty.com