Quick answer To co-wash curly hair, soak your hair, work a generous amount of cleansing conditioner into your scalp, massage with your fingertips for three to five minutes, smooth the rest down your lengths, then rinse thoroughly. Clarify with shampoo every few weeks so buildup can't collect.
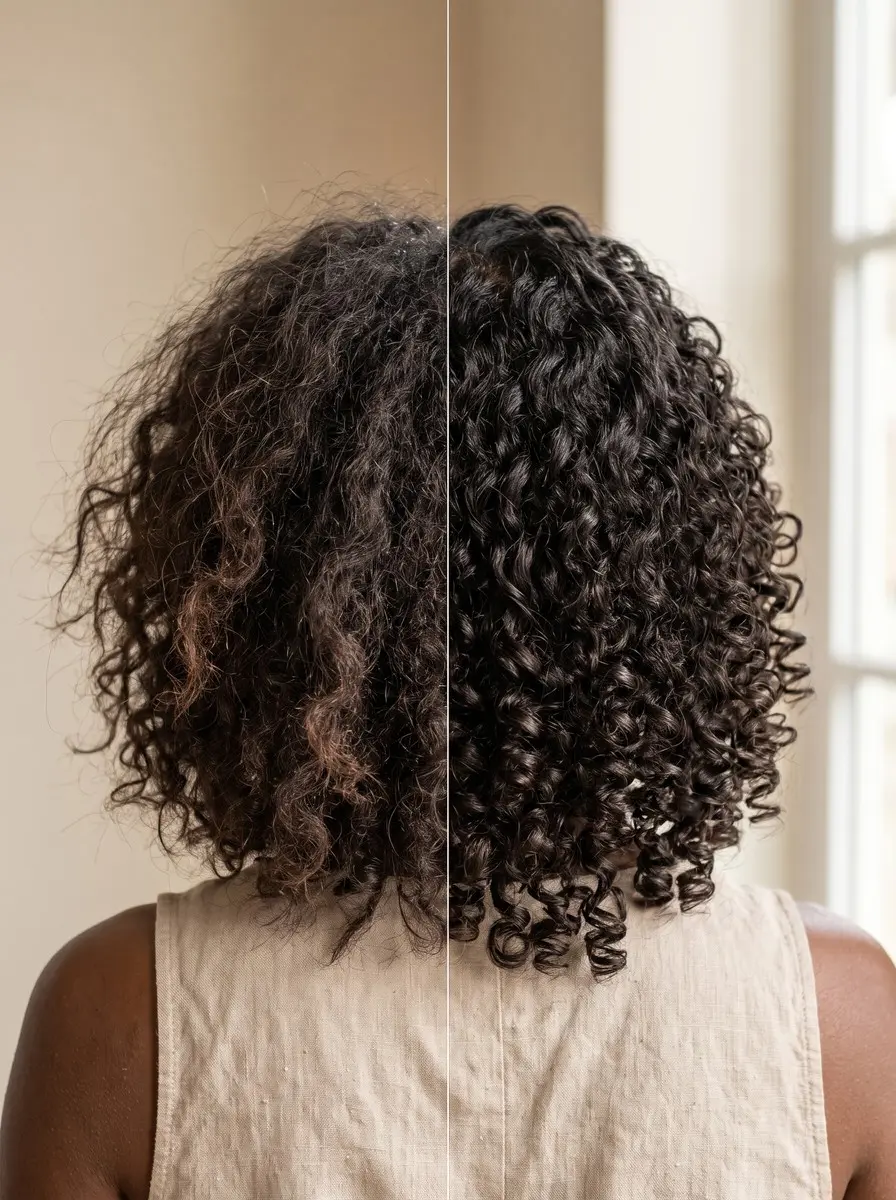
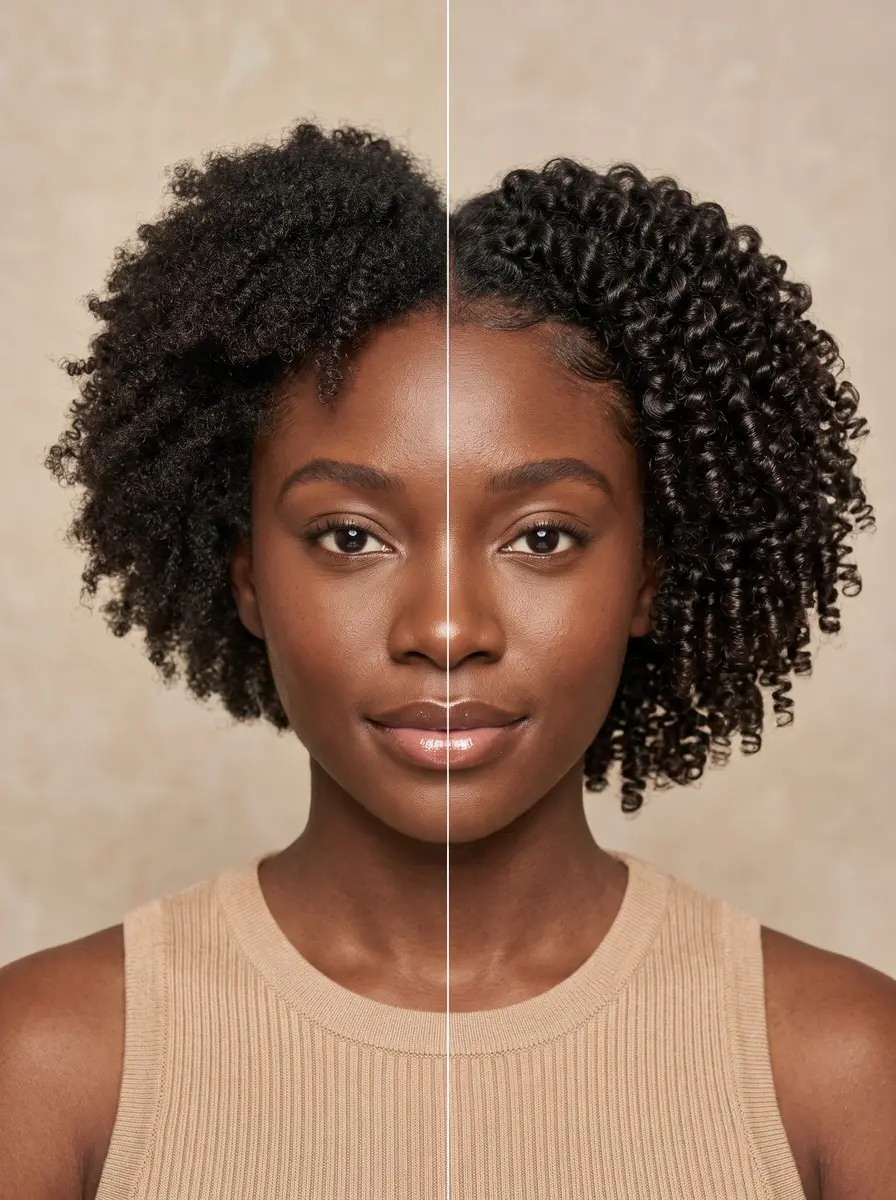
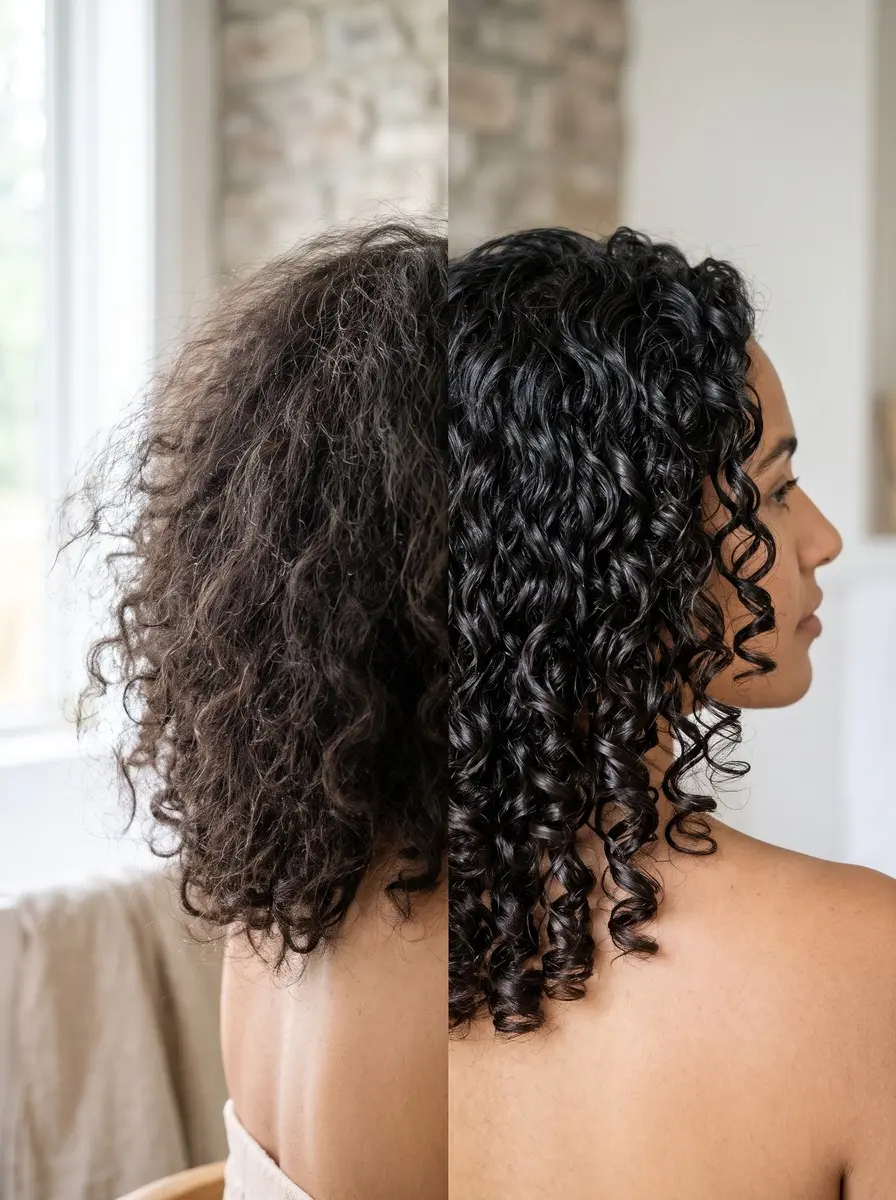
If you want to co-wash curly hair because your curls feel dry, squeaky and frizzy straight after shampooing, your cleanser may be doing more than your hair needs. Co-washing swaps a foaming shampoo for a low-lather cleansing conditioner, which loosens oil and everyday dirt while it conditions. For dry, frizzy, damaged or highly porous curls, that gentler wash can mean softer clumps and less frizz on day one.
Co-washing is different from shampoo, not better, and it isn’t right for every head of curls. An oily scalp, fine waves or a heavy styling routine can turn conditioner-only washing into limp, coated hair within a few weeks.
This guide helps you decide whether co-washing suits you, explains why a regular conditioner is not a substitute, takes you through the method one step at a time, and gives you a clarifying schedule so buildup never gets a foothold. All you need is your shower and about fifteen minutes.
Time 15-20 minutesDifficulty BeginnerSteps 9
Co-Wash or Shampoo? Match the Cleanser to Your Hair
| Your hair and scalp | Main cleanser | Clarify |
|---|---|---|
| Dry, frizzy or high-porosity curls | Cleansing conditioner | Every 2-4 weeks |
| Damaged curls or coils | Cleansing conditioner | Every 2-4 weeks |
| Heavy gel, butter or oil user | Alternate co-wash and shampoo | Every 2 weeks or at first buildup |
| Fine waves that go flat easily | Shampoo | When hair looks coated |
| Oily scalp by day two | Shampoo | About once a month |
What You’ll Need
As an Amazon Associate, HairAide earns from qualifying purchases. Product links in this guide are affiliate links: they cost you nothing extra and help keep these tutorials free.
- Silicone-free cleansing conditioner Its mild cleansing agents lift oil and dirt while conditioning, which a regular rinse-out conditioner can’t do.
- Clarifying shampoo Resets hair before your first co-wash and removes buildup every few weeks.
- Silicone scalp massager brush Gives the even scalp friction that does the cleaning when there’s no lather.
- Wide-tooth detangling comb Detangles slippery, conditioner-coated curls without breaking up curl clumps or snapping strands.
Step-by-Step
Step 1 Decide whether co-washing suits you
Before you buy anything, look honestly at your scalp and strands. Co-washing tends to suit dry, wavy, curly or coily hair, frizzy curls, damaged hair and high-porosity hair: hair that drinks water fast and loses moisture just as fast.
Shampoo is usually the better primary cleanser if your scalp is oily by day two, if your hair is fine and goes flat easily, or if you use a lot of gel, butter or oil. A heavy product user with dry ends can alternate the two. Knowing which group you’re in sets your schedule, because co-washing works when the cleanser matches how much oil and product you need to remove.
Step 2 Start from a clarified base
Wash once with a clarifying shampoo before your first co-wash. Clarifying shampoo strips old silicones, hard-water minerals and leftover styler so the cleansing conditioner starts on clean hair. If you skip this, the new routine can trap existing residue under fresh conditioner, and you’ll blame co-washing for buildup you already had.
Your hair is ready when it feels light and squeaky-clean at the root, and the lengths feel lighter than usual. Follow with a regular conditioner on this wash only.
Step 3 Choose a true cleansing conditioner
Pick a product labelled co-wash, cleansing conditioner or low-poo conditioner, not your everyday rinse-out conditioner. A cleansing conditioner contains mild cleansing agents that lift oil and dirt as you massage, while a regular conditioner is designed to coat hair. It doesn’t rinse dirt and oil away well and can weigh curls down when used as a cleanser.
Check the ingredient list for silicones too. Water-insoluble ones such as dimethicone can build up when you never shampoo, so look for a silicone-free formula or one with water-soluble silicones. The right bottle gives a slippery, almost lather-free feel on wet hair.
Step 4 Soak your hair completely
Stand under the shower until your hair is saturated from root to tip, which takes longer than you’d expect for thick or coily hair. Water is what spreads the conditioner and carries away the oil it loosens, so dry patches at the crown or nape will stay greasy.
Squeeze a section near the scalp to check. If water drips out and the roots feel fully wet rather than just damp on top, you’re ready. Thick or dense hair can be split into two or four sections now to make the next steps easier.
Step 5 Apply generously to the scalp
Use more product than you would with shampoo, often a palmful for shoulder-length curls and more for long or dense hair. Because a cleansing conditioner lathers little, the amount does the cleaning. Too little just glides over the oil.
Apply it directly to the scalp in sections: front hairline, crown, sides and nape. The scalp is where sebum, sweat and product collect, and the lengths need conditioning more than they need cleaning. You’ve used enough when every part of your scalp feels coated and slippery.
Step 6 Massage the scalp for several minutes
Massage with the pads of your fingertips, not your nails, in small circles across the whole scalp for three to five minutes. That friction replaces the work shampoo foam would do, breaking up oil and loosening product so it can rinse away.
A silicone scalp massager makes it easier to reach the crown and nape evenly. Keep the movement at the roots and avoid piling the hair on top of your head, which tangles curls. Your scalp should feel slightly tingly and clean under the product when you’re done.
Step 7 Smooth through lengths and detangle
Smooth the conditioner from the roots down to the ends using praying hands or a gentle raking motion. Add a little more to dry or porous ends if they still feel rough.
Detangle now while the hair is slippery, using a wide-tooth comb or your fingers and working from the ends up toward the roots so knots slide out instead of tightening. Leave it on for a minute or two while you finish the rest of your shower. The lengths are ready when your fingers glide through without snagging.
Step 8 Rinse until the roots feel clean
Rinse for longer than feels necessary, at least one to two minutes, lifting sections so water reaches the scalp underneath. Leftover cleansing conditioner at the roots is the most common reason co-washed hair turns limp or greasy by the next day.
Run your fingertips over your scalp under the water. It should feel clean and smooth, not slick or waxy. The lengths can keep a slight slip. Most people need no extra conditioner afterwards, but very dry or coily hair can follow with a leave-in or squish to condish before styling.
Step 9 Set a schedule and watch for buildup
For curly hair, aim for one to five washes a week at most. Within that range, co-wash as often as your scalp needs and clarify every 2-4 weeks, or every 2 weeks if you use heavy gels, butters or oils.
If you shampoo an oily scalp as your main cleanser, clarifying about once a month is usually enough. If you alternate, a common rhythm is co-washing on most wash days and shampooing the scalp once a week.
Underwashing shows up as greasy, limp curls. Overwashing shows up as a tight scalp and dry, frizzy strands. If curls start to look coated, lose bounce or won’t hold a style, clarify straight away and co-wash less often.
Common Mistakes to Avoid
- Using your regular rinse-out conditioner as a co-wash: it coats instead of cleansing and leaves roots greasy and curls weighed down.
- Applying too little product and skipping the scalp massage, so the cleanser glides over oil instead of loosening it.
- Rinsing too quickly, which leaves conditioner at the roots and makes curls limp by the next day.
- Never clarifying, so silicones, hard-water minerals and styler pile up until curls lose definition.
- Switching to co-washing with an oily scalp or fine hair and pushing through weeks of flat, greasy roots instead of going back to shampoo.
Pro tip Treat your scalp and your lengths as two different jobs: if your roots get oily but your ends stay dry, shampoo only the scalp and co-wash the lengths in the same shower. You get a clean scalp without stripping your curls.
The Bottom Line
Done well, co-washing gives dry, frizzy or porous curls a cleaner scalp without the squeaky, stripped feeling, leaving softer clumps and less frizz from the first day. The method takes a generous amount of a true cleansing conditioner, a few minutes of scalp massage and a thorough rinse. The routine works only if you clarify every few weeks and watch for limp, greasy or coated curls.
If your scalp turns oily or your waves go flat, go back to shampoo or alternate the two. That is choosing the right tool, not failing at co-washing. See a dermatologist for persistent itching, flaking or tenderness, and see a curl specialist if your curls stay dull and undefined despite a balanced routine.
Frequently Asked Questions
Can I co-wash with regular conditioner?
It isn't recommended. A regular rinse-out conditioner is designed to coat hair, so it doesn't rinse away dirt and oil well and can weigh curls down over time. A cleansing conditioner contains mild cleansing agents that loosen oil during the scalp massage while still conditioning. Keep your regular conditioner for after shampoo or clarifying washes.
How often should I co-wash curly hair?
Most curly hair does well with one to five washes a week at most, so co-wash as often as your scalp needs within that range. Greasy, limp curls mean you need to cleanse more often or switch some washes to shampoo. A tight scalp with dry, frizzy strands means you're washing too often. Clarify every 2-4 weeks.
Is co-washing good for fine or oily hair?
Usually not as your only cleanser. Shampoo suits oily scalps and fine hair that needs a lighter, volume-boosting formula, because a cleansing conditioner can leave too much behind and flatten the roots. If your ends are dry, try alternating: shampoo the scalp on most wash days and co-wash only when your ends need extra softness.
How do I know if co-washing is causing buildup?
Watch for curls that feel coated or waxy, look limp or greasy soon after washing, lose their bounce, or stop holding a style. Your scalp may also feel slick or itchy. Clarify straight away, then co-wash less often or alternate with shampoo. If scalp itching or flaking persists after clarifying, see a dermatologist.
Should my co-wash be silicone-free?
It's the safer choice if you rarely use shampoo. Water-insoluble silicones such as dimethicone are not reliably removed by a low-lather cleansing conditioner, so they can build up wash after wash. Water-soluble silicones rinse away more easily. If you love a silicone styler, plan a clarifying wash every 2 weeks to clear it.
Keep Reading
Sources
- What is co washing hair wella.com
- How often to wash curly hair healthline.com