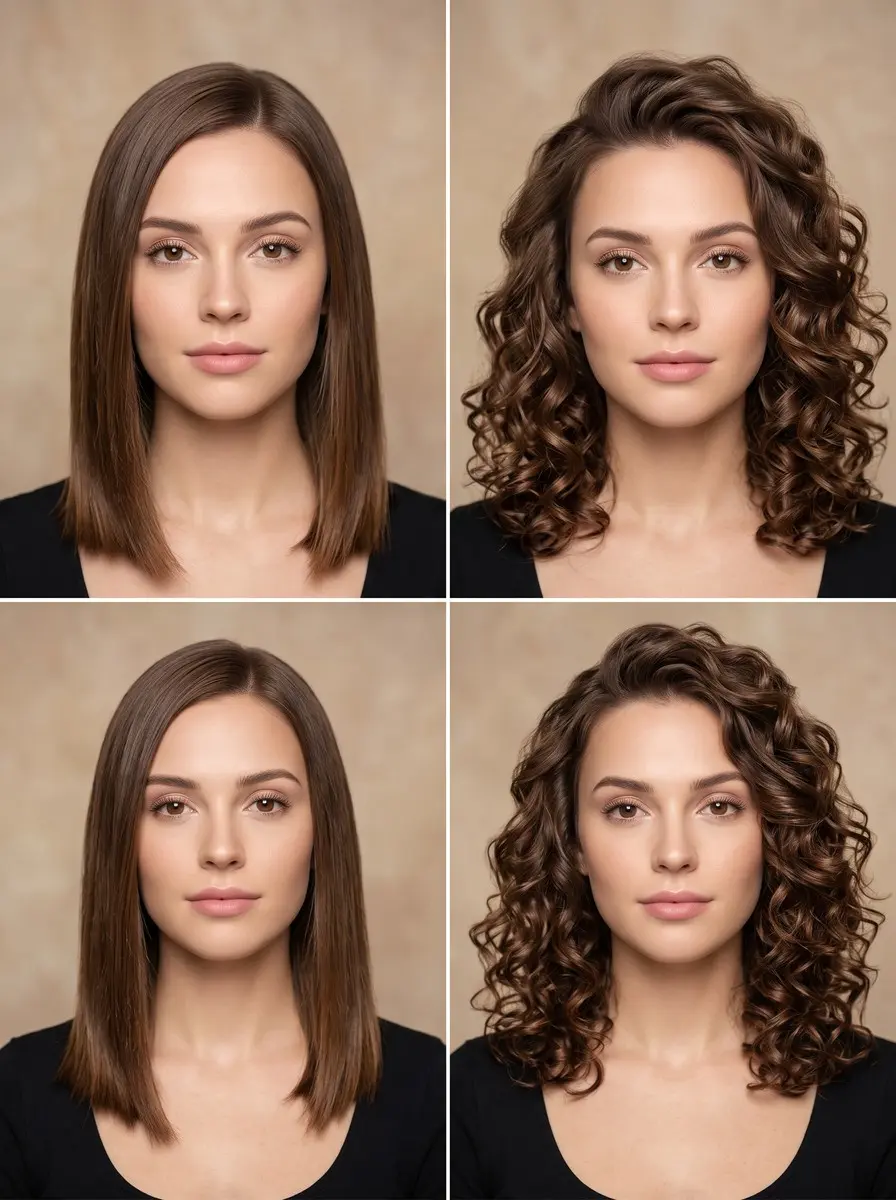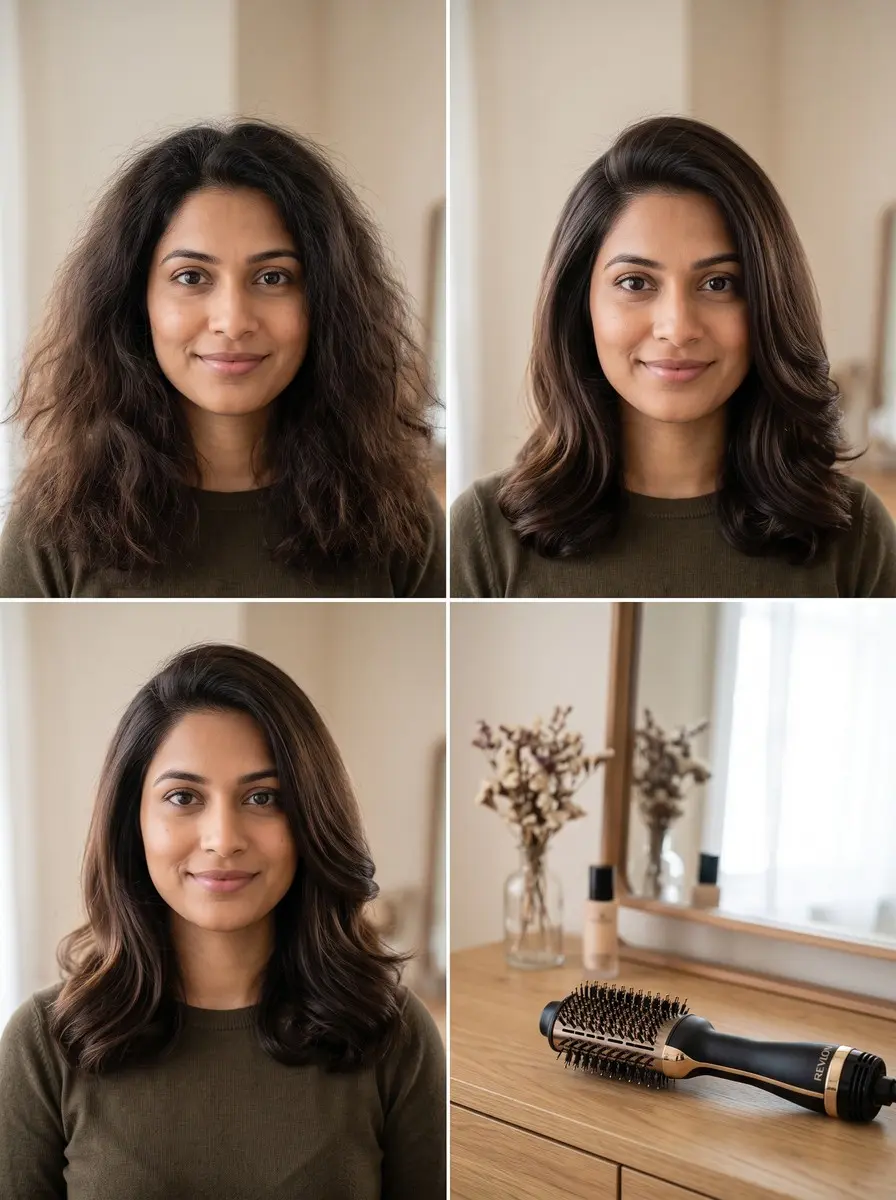
To use a hot air brush, rough-dry your hair until it's about 80% dry and clip it into four sections. Then glide the brush slowly from root to ends on small, taut subsections. Hold for 5-10 seconds at the root and at the ends, then switch to cool to set the shape.
A hot air brush promises a salon blowout from one tool. That’s why so many get unwrapped as gifts, and why so many end up in a drawer after a frizzy, flat first try. The tool usually isn’t the problem. A hot air brush is a finishing tool with its own rules. It can’t dry soaking-wet hair, it needs small sections, and it works best with slow passes, not fast ones.
This guide takes those rules in order. It starts with how dry your hair should be before you begin, then covers choosing a paddle, oval or round head and picking a heat setting for your hair type. After that come root lift, turned ends, and cleaning the bristles so the brush keeps gliding instead of snagging. Expect your first try to feel slow. By the third, the routine usually clicks, and it takes about as long as a regular blow-dry with a far more polished finish.
What You’ll Need
- Oval hot air brush (one-step volumizer style) — It smooths the lengths, lifts the roots and bends the ends in one tool, so it’s the easiest first hot air brush for shoulder-length and longer hair.
- Small-barrel round hot air brush (about 1-1.5 inch) — Short hair needs a barrel small enough to sit right against the roots for lift and curved ends.
- Heat protectant spray — Misted through damp hair before rough-drying, it protects strands through both the dryer and the brush.
- Sectioning clips (flat duckbill or alligator clips) — Holding the four sections out of the way is what keeps your subsections small and tangle-free.
- Rat-tail comb — Its tail parts clean subsections and lifts trapped hair out of the bristles after each use.
As an Amazon Associate, HairAide earns from qualifying purchases. Some links above are affiliate links — they cost you nothing extra and help support free tutorials.
Step-by-Step
-
Start with clean, towel-blotted hair and comb your styling prep through from mid-lengths to ends. Then let it air-dry, or rough-dry it with a blow-dryer, until it’s about 80% dry: no wet shine anywhere, just a faint coolness at the roots. This matters because a hot air brush has far less drying power than a dryer. On wet hair it has to sit on each section much longer, which means more heat. And any section that’s still damp when you move on finishes drying in its natural texture, so the frizz comes back. You’re ready when you squeeze a section and your hand comes away dry.
-
Choose the head for the result you want before you plug in. A flat paddle head smooths and straightens without adding much volume. It suits sleek, straight styles and frizz-prone hair you want polished. An oval head, the shape many one-step brushes use, smooths the lengths while lifting the root and putting a soft bend in the ends, which makes it the easiest all-rounder. A round barrel gives the most curl, so use it when you want bouncy, turned-under or flipped ends. Match the size to your length. Short hair needs a small barrel that sits right against the roots. Shoulder-length and longer hair can take a larger oval or round head.
-
Clip your hair into four sections: crown, left side, right side and back. Work one section at a time, starting at the back. Let down subsections no wider than the brush head so every strand sits in the bristles and the airflow. Fine or thin hair can take subsections about 2 inches deep because air moves through it easily. Thick or coarse hair needs slices closer to 1 inch, and the back usually needs splitting into two. Dense hair blocks the airflow, so the outside looks finished while the inner strands stay damp and puff up later. Small sections also stop most tangles before they start.
-
Set the heat to the lowest level that gets a subsection smooth in two or three passes. Fine, thin, bleached or color-treated hair usually needs low, because it heats up quickly and dries out easily. Most medium-textured hair does well on medium, and very thick or coarse hair may need high. If a subsection still feels damp or rough after three passes, take a thinner slice before you turn the heat up. Smaller sections fix more problems than extra heat. Save the cool setting for the end of every section. Hair holds the shape it cools in, so the cool blast is what locks in lift and bend.
-
Place the brush under a subsection right at the root, let the bristles grip, then glide slowly down to the ends. Aim for about a count of five on shoulder-length hair, and keep the hair pulled taut between the brush and your scalp. Tension is what smooths: it holds each strand straight while the warm air finishes drying it in that position. That’s why a quick, slack pass leaves hair fluffy. Keep the brush moving down the length instead of rubbing back and forth, and repeat two or three passes. The subsection is done when it feels completely dry and smooth from root to tip, with no cool, damp patch near the scalp.
-
For volume, go back to the root of each finished subsection on the crown and around your face. Slide the brush underneath and lift the hair straight up from the scalp instead of letting the brush lie flat against your head. Hold it there for 5-10 seconds on warm, then switch to cool for another 5-10 seconds before sliding the brush out. The lift lasts because the root cools while it’s standing up. If you pull away while it’s still warm, it relaxes back down. Skip this at the nape and underneath, where extra volume only adds bulk you can’t see.
-
Finish each subsection at the ends. Glide to about 2 inches from the tips, then turn the brush under for a polished bend or outward for a flip. Hold for 5-10 seconds for a soft bend, or 15-20 seconds for a defined curl. Then switch to cool for 5-10 seconds and let the ends slide off the barrel instead of pulling the brush away. A round or oval head holds the curve, while a paddle only gives a slight bevel. Leave the turned ends alone until your whole head has cooled, because brushing or twirling a warm curl makes it drop.
-
After every use, unplug the brush and let it cool. Then lift trapped hair out of the bristles with the tail of a rat-tail comb and pull it free. Hair left behind builds up, blocks airflow and makes the next tangle more likely. About once a month, wipe the barrel with a barely damp cloth (never submerge it) and clear lint from the air-intake vent or filter cap as your manual describes. A clogged intake makes the brush run hotter. If hair tangles mid-style, switch off and unplug, then gently unwind it backward instead of pulling. On a rotating brush, use the reverse button. A drop of conditioner helps a knot slip free.
Common Mistakes to Avoid
- Starting on wet hair. The brush can’t dry soaking strands, so sections take far more heat and still finish drying frizzy after you move on.
- Taking subsections wider or thicker than the brush head. That leaves the inner hair damp and puffy, and it’s the most common cause of tangles.
- Rushing the pass or holding the hair loosely. Speed and slack leave hair fluffy instead of smooth.
- Letting the brush glide flat against the scalp instead of lifting at the root, which gives a flat, helmet-like crown.
- Skipping the cool setting or touching the ends while they’re still warm, so the bend drops within the hour.
- Turning the heat to high on fine or bleached hair to save time, which dries out the ends and makes them look rough and frizzy.
- Putting heavy oil or serum at the roots before styling, which weighs fine hair down and kills the lift.
Pro Tip
Pin each crown subsection into a loose rolled curl with a flat clip as soon as you finish it, and only release the curls once your whole head is cool. The roots set while they’re lifted, so the volume lasts into day two instead of dropping by lunch.
Frequently Asked Questions
Can you use a hot air brush on wet hair?
No. Get your hair to at least 80% dry first, either by air-drying or with a few minutes of rough-drying. A hot air brush has much less drying power than a blow-dryer, so on wet hair it has to sit on each section far longer. Sections left damp then finish drying in their natural texture and frizz.
Can a hot air brush replace a blow-dryer?
Partly. It replaces the dryer-and-round-brush finishing stage, which is the hardest part for most people to master. You still need a way to get from wet to about 80% dry. Fine hair often air-dries there quickly. Thick or coarse hair usually needs a few minutes of rough-drying with a regular dryer first.
Is a hot air brush damaging to hair, and do I need a heat protectant?
Like any heat tool, it adds wear over time. Mist a heat protectant through damp hair before you rough-dry, and use the lowest setting that works. Heated ceramic-plate straightening brushes with no airflow are different. Use them on completely dry hair only, at no more than about 150C/300F for fine or bleached hair or 180-200C/355-390F for coarse hair. Wet hair under hot plates is what genuinely damages it.
Does a hot air brush work on curly or coily hair?
Yes, as a stretching and smoothing tool. Tight curls and coils need thin subsections, firm tension and a few extra passes on medium heat. The result is usually a soft, stretched blowout rather than bone-straight hair. Humidity brings the curl back, so it lasts longest in dry weather and with an anti-humidity finishing spray.
How long does a hot air brush blowout last?
Often two to three days for medium or coarse hair, and sometimes less for fine hair that gets oily at the roots. Make it last by sleeping on a silk pillowcase with your hair loosely gathered on top of your head. Refresh the roots with dry shampoo, and re-smooth any bent pieces with a quick pass on low.
You Might Also Like
- 20 whisper-soft hush cut ideas that blow out beautifully
- 20 claw clip hairstyles to stretch your blowout into day three
- how to add volume at the crown
- how to blow-dry curtain bangs
- air-drying hair without frizz
- stop static and flyaways after styling
- how to style a shag haircut at home
A hot air brush rewards patience more than skill. Start about 80% dry, work in small subsections, pass slowly with tension, and let every section cool before you touch it. Do that and you get a smooth, bouncy blowout with lifted roots and ends that turn the way you want, and it holds for days.
Repeat the routine after each wash, and clear the bristles every time so the brush doesn’t snag. If your hair still frizzes or falls flat after a few careful tries, the cause is often the cut or a product mismatch rather than your technique. A stylist can add layers for lift or suggest a smoothing treatment. If your ends are splitting or snapping, see a pro before you add any more heat.
Sources
- Hair should be at least 80% dry before using a hot brush. Hot brushes lack a blow dryer's drying power, and thermal ceramic-plate brushes should never be used on wet hair. samvilla.com