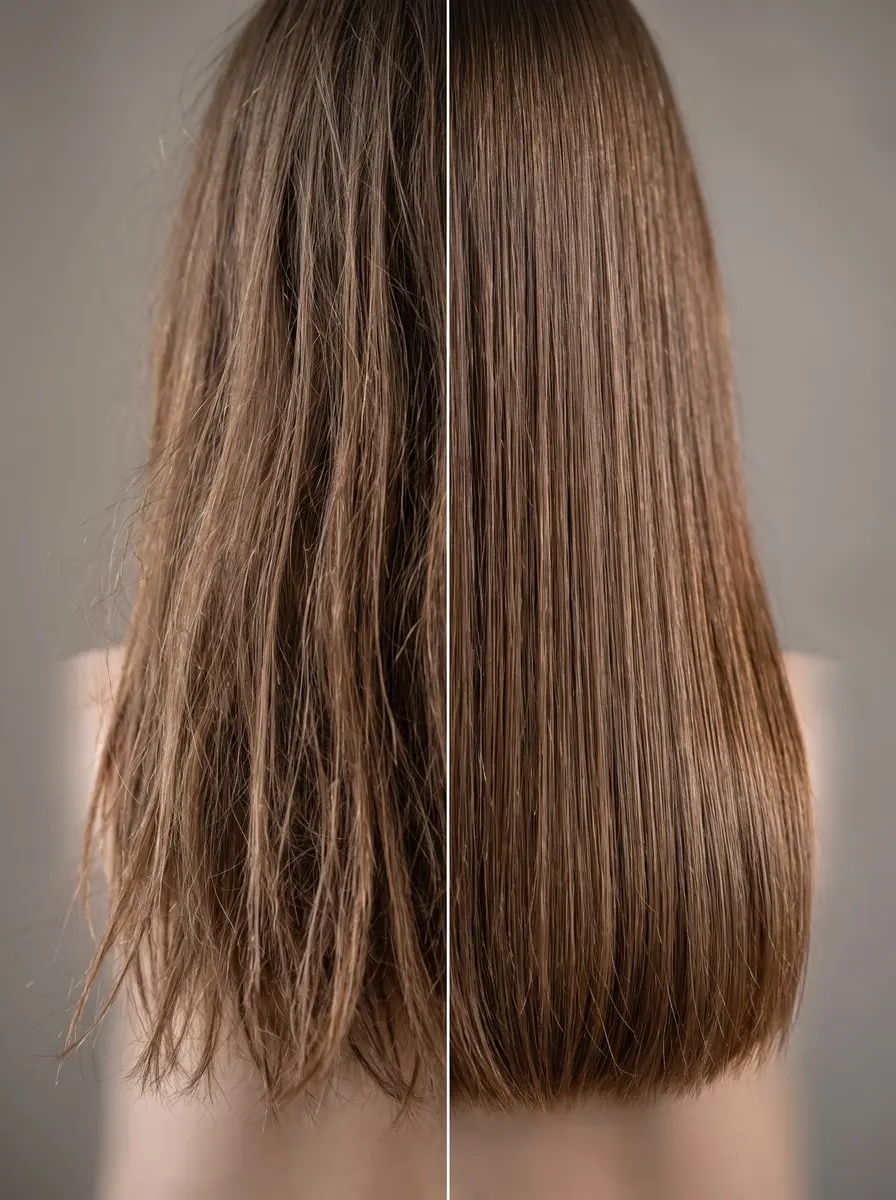
To dust split ends at home, start with clean, dry, straightened hair and divide it into three sections. Twist small subsections and use sharp haircutting shears to snip only the frayed tips that poke out, a few millimeters at most. Repeat every six to eight weeks between real trims.
Split ends can make long hair look thinner and frizzier than it is, and the usual fix, a trim, can feel like a step backward when you’re trying to grow it out. That’s why hair dusting took off on TikTok. It’s a micro-trim that keeps your length: instead of cutting a line across the bottom, you snip off only the tips of the strands that have split, often just a few millimeters at a time.
Done carefully, dusting is an easy habit to keep up at home. It makes ends look smoother and cuts down the breakage that can make hair seem stuck at one length. But it isn’t magic, and it doesn’t replace a real haircut. This guide walks you through the method stylists use (dry, smooth hair, three sections, twist and snip) and is honest about what dusting can and can’t do. You should finish with healthier-looking ends and the same length you started with.
What You’ll Need
- Professional haircutting shears (5.5-6 inch stainless steel) — Sharp shears made for hair cut each strand cleanly, while kitchen or craft scissors are duller and tend to crush and tear the tip, leaving a ragged end that splits again quickly.
- Sectioning clips (duckbill or alligator clips) — They keep finished and unfinished hair apart, so you check every section once instead of cutting the same pieces twice.
- Fine-tooth tail comb — It parts clean one-inch subsections and combs each piece straight so the ends are easy to check.
- Heat protectant spray — It protects your hair from the blow-dryer and flat iron while you smooth it, and smooth hair is what makes split ends easy to see.
- Lightweight hair serum or oil — It smooths freshly dusted ends and reduces the friction that snags and frays tips between dustings.
As an Amazon Associate, HairAide earns from qualifying purchases. Some links above are affiliate links — they cost you nothing extra and help support free tutorials.
Step-by-Step
-
Start with clean, completely dry hair that has been blow-dried smooth or lightly flat-ironed so every strand lies straight. Wet hair stretches and clumps together, which hides splits and makes it easy to cut off more than you meant to. On smooth hair, frayed tips stand out clearly against the healthy lengths. Skip heavy oils, serums and leave-ins until you’re done, because they glue split ends down and hide them. You’re ready when a comb glides from root to tip without snagging and the ends hang separately instead of in clumps.
-
Detangle with a wide-tooth comb, then divide your hair into three sections (left side, right side and back) and clip each one out of the way. Working in set sections means you check every strand once, instead of going over the easy-to-reach front pieces again and again while the back gets skipped. If your hair is very thick or long, split each third in half so no section is wider than your palm and you can see all the hair in it. You’re set up when you have three (or six) neat, clipped sections with clean parts between them.
-
Unclip one section, take a subsection about an inch wide, and twist it firmly in one direction from the root all the way to the ends. Any strand that ends partway down the twist, including one that has split or snapped, has nowhere to tuck its tip, so the tip pokes out of the coil where you can see it. Run your fingers gently down the twist toward the ends to bring more of those tips into view. Stop twisting when the strand is taut and you can see a small halo of short ends sticking out along it.
-
Look closely at each end that pokes out before you cut, and snip only the ones that are clearly forked, frayed, thinned to a wisp or whitish at the tip. Short, smooth hairs with blunt, even tips are usually new growth or pieces of your layers, and cutting them takes off healthy hair without removing any damage. With just the tips of sharp haircutting shears, cut each damaged end about 3-6 millimeters above where the split starts, because the fraying often runs a little higher than the visible fork. Keep the blades clear of the twist itself. Done right, you’ll have only tiny clippings on your towel and no visible change in length.
-
Untwist the subsection, then twist it firmly in the opposite direction and repeat the check-and-snip process. Each direction tucks some ends into the coil and pushes others out, so reversing the twist shows a second set of damaged tips you would otherwise miss. When both directions are done, clip the finished strand aside so you don’t go over it twice, and move on to the next one-inch subsection. A subsection is finished when a fresh twist in either direction shows few or no frayed tips.
-
Before you move on from each section, check the very ends. Comb the finished hair straight, hold it a little away from your head against a contrasting background (dark fabric for light hair, a white towel for dark hair) and look at the tips in good daylight. Splits right at the bottom of a strand don’t always pop out of a twist, but they’re easy to spot when the ends fan out against a plain backdrop. Snip only the individual frayed tips, taking off no more than a few millimeters, and don’t try to even up the whole edge. If you catch yourself wanting to cut a straight line across the bottom, you need a proper trim, not a dusting.
-
Work through the remaining sections the same way. Save the back for last, and use a hand mirror angled toward your bathroom mirror, or ask someone to help, so you never cut blind. The back rubs against collars, seat backs and pillows all day, so splits often collect there, and it’s also the section people rush. Once every section is done, unclip everything, brush through and compare both sides in the mirror. Your hair should be the same length as when you started, with smoother, neater ends and fewer frayed flyaways along the lengths.
-
Finish by smoothing a pea-sized drop of lightweight serum or hair oil through your ends, then pick up a few habits that slow down new splits. Dusting only removes the splits you have today and doesn’t stop new ones from forming. No product can permanently seal a split end back together, though serums can smooth the tips for a while and reduce friction. Detangle from the ends upward, sleep on a silk or satin pillowcase, and swap tight elastics for coil ties or scrunchies to cut down on snagging and breakage. Those habits, more than the dusting itself, decide how soon your ends fray again.
Common Mistakes to Avoid
- Using kitchen, craft or nail scissors: dull blades crush and tear the strand, leaving a jagged tip that splits again quickly.
- Snipping every hair that pokes out of the twist, including short, healthy new growth and pieces of your layers. That removes good hair without removing any damage.
- Dusting damp hair, or hair coated in oil or leave-in, which clumps strands together and hides the splits you’re looking for.
- Letting a dusting turn into a DIY trim by evening up the bottom edge. Chasing a straight line almost always takes off far more length than you planned and can leave the cut lopsided.
- Treating dusting as a permanent replacement for salon trims. It removes stray splits but doesn’t keep the shape of your cut.
Pro Tip
Look for tiny white dots near the ends as well as obvious forks. They mark weak points where the strand is about to break, so stylists snip just above them. Use your cutting shears on hair only, too: one session cutting paper or tape is enough to dull the edge.
Frequently Asked Questions
What is the difference between hair dusting and a trim?
A trim removes a set amount of length, usually a quarter inch to an inch, across the whole perimeter to reshape the cut and clear damage. Dusting removes only the very tips of individual split ends, often just a few millimeters, so your length and shape stay the same. It's maintenance between trims, not a replacement for them.
How often should you dust your hair?
Every six to eight weeks works for most people, or whenever you notice frayed tips or flyaways along the lengths. Dusting doesn't keep a haircut's shape, though, so still book a real trim roughly every three to four months. Book sooner for short or heavily layered cuts: each half-inch of new length is a bigger share of the cut, so the shape loses its definition sooner.
Does hair dusting help your hair get longer?
Not directly. Hair grows about half an inch a month, and no cut, product or routine changes that rate. What dusting can do is help you keep more of that length. Removing a split before it frays further up the strand reduces breakage, so fewer ends snap off and your progress is easier to see.
Do you have to straighten your hair before dusting?
Splits are easiest to see on smooth hair, so blow-dry damp hair smooth with a heat protectant first. If you follow with a flat iron, use it on completely dry hair only, never damp. Keep it no hotter than about 150°C/300°F for fine or bleached hair, or 180-200°C/355-390°F for coarse hair. Curly or coily hair can be dusted dry instead, curl by curl, in its natural pattern.
Can dusting get rid of split ends for good?
No. Dusting removes the splits you have that day but doesn't stop new ones from forming, a point professionals often raise about viral dusting tutorials. New splits come from everyday friction, heat styling, coloring and rough detangling, so gentle handling matters as much as the dusting. If splits come back within weeks or run well up the strand, book a proper trim.
You Might Also Like
- 20 soft shag haircut ideas to inspire your next cut
- 20 lob haircut ideas to inspire your next look
- how to repair bleach-damaged hair at home
- growing out bangs stage by stage
- heatless curls that skip the hot tools
- how to tone brassy hair at home
A good dusting leaves you with the same length, smoother ends and fewer flyaways. Because you’ve removed splits before they could fray further, less of your hair snaps off between cuts. Repeat it every six to eight weeks, or whenever the tips start to look wispy or feel rough, and detangle gently so new splits form more slowly.
Keep booking a real trim every three to four months, though: dusting clears damage but doesn’t keep the shape of your cut. See a stylist sooner if splits run more than an inch up the strand, your ends look see-through, or you’d rather not cut the back yourself. A pro can remove the damage and rebalance the shape in one visit.
Sources
- Hair dusting trims only the very tips of split ends (often just a few millimeters) rather than shortening overall length, distinguishing it from a standard trim. refinery29.com
- The technique is done on dry, straightened hair sectioned into thirds, twisting each section until split ends visibly poke out, then snipping just the protruding ends. teleties.com
- Professionals note dusting only removes existing splits at that moment and doesn't prevent new ones from forming, pushing back on some TikTok claims. graziadaily.co.uk