Quick answer To care for a sew-in weave, wash the scalp and tracks every 1-2 weeks with diluted sulfate-free shampoo smoothed down the hair, never rubbed. Dry the braided base completely, sleep in satin, have it tightened around week 4 and take it down at 6-8 weeks.
A sew-in can look flawless for weeks, but to care for a sew-in weave well you have to think about what’s underneath. Your own hair is braided flat against the scalp with wefts stitched on top, so every wash, every night’s sleep and every product affects three layers at once: the extension hair, the braids and your scalp.
Rub the tracks during a wash and the wefts mat. Leave the base damp and you get the musty smell that makes people take an install out early. Skip the check-ins and new growth starts pulling on your edges.
The good news is that sew-in care runs on a short, predictable calendar: a wash and deep condition every one to two weeks, a closure check around week 3, tightening around week 4 and takedown at six to eight weeks. Most of it is doable at home. This guide walks through each stage, why it matters and which jobs belong with your stylist.
Time 60-90 minutes per wash dayDifficulty IntermediateSteps 8
Hand-Tied vs Machine Wefts for a Sew-In
| Weft type | How to spot it | Reuse with good care | Watch for |
|---|---|---|---|
| Hand-tied | Thin, flat, tiny knots | About 9-12 months | Never cut the weft |
| Machine | Thicker stitched seam | About 3-6 months | Seam loosening and shedding after many washes |
What You’ll Need
As an Amazon Associate, HairAide earns from qualifying purchases. Product links in this guide are affiliate links: they cost you nothing extra and help keep these tutorials free.
- Sulfate-free shampoo Cleans the scalp and braids without the harsh stripping that dries the extension hair and speeds up shedding.
- Nozzle applicator bottle Gets diluted shampoo directly onto the scalp between the tracks, so you don’t have to rub the wefts.
- Hooded hair dryer Dries the braided base under the wefts completely, which prevents odor and mildew.
- Wide-tooth comb Detangles from the ends up without snagging or stretching the wefts.
- Satin bonnet Cuts overnight friction that frizzes the ends and mats the hair at the nape.
Step-by-Step
Step 1 Identify your weft type first
Before the first wash, find out whether your install uses hand-tied or machine wefts, because that sets how gently you handle it and how long the hair will last. Ask your stylist, or look at the track. A hand-tied weft is thin, flat and flexible, with tiny knots along the top.
A machine weft has a thicker, stiffer stitched seam. Hand-tied wefts can be reused for roughly 9-12 months with good care, while machine wefts last about 3-6 months, and their seams can loosen and shed after repeated washes. Never cut a hand-tied weft, because cutting it releases the knots.
Step 2 Wash the scalp and tracks gently
Every 1-2 weeks, mix a sulfate-free shampoo with warm water in an applicator bottle at roughly one part shampoo to three parts water. Wet the hair with the nozzle pointed at the scalp, then squeeze the diluted shampoo directly onto the scalp between the rows and along each track.
Press and massage the scalp with the pads of your fingers, then smooth the lather down the length in one direction. Rubbing or piling the hair on top of your head is what mats wefts.
Diluting the shampoo lets it reach the braids under the wefts and rinse out completely, so no residue is left to cause itching or buildup. You’re done when the water runs clear and the scalp no longer feels slick.
Step 3 Deep condition the length, not the tracks
After shampooing, smooth a deep conditioner from mid-length to ends, keeping it about an inch away from the tracks, and leave it on for the time on the label. The extension hair gets no natural oil from your scalp, so the conditioner restores the slip and softness that prevent tangles.
Keeping heavy conditioner off the tracks matters because residue near the thread is hard to rinse out of the braided base and keeps it damp longer. Rinse in the same downward direction until the hair feels slippery but not coated.
Step 4 Dry the braided base completely
Squeeze water out of the length with a microfiber towel by pressing, not twisting, then sit under a hooded dryer, or use a blow-dryer with a diffuser aimed at the scalp, until the braids underneath are fully dry. Expect this to take 45 minutes to an hour or more, because braids hold water under a layer of weft.
A base left damp is what causes the musty smell and mildew, so this is the step you can’t rush. To check, slide a fingertip between the tracks at the crown and the nape, which dry last. If either spot feels cool or damp, keep drying.
Step 5 Detangle from the ends up
Once the hair is dry or nearly dry, use a wide-tooth comb on the bottom two inches first, then move up in small sections until the comb glides from track to ends. Starting at the ends means each knot only has to slide a short distance instead of collecting into a mat at the weft.
If the hair at the tracks is already matted, don’t pull the comb through it. Work a little conditioner or detangler into the clump, separate it with your fingers, then comb from below. Hair that mats again right after a wash usually means the weft is shedding and needs your stylist’s attention.
Step 6 Protect it overnight and between washes
Wrap the hair or put it in a loose low braid at night, then cover it with a satin bonnet or sleep on a satin pillowcase. Satin cuts the friction that frizzes the ends and tangles the nape.
Between washes, moisturize your own braids with a light, water-based leave-in sprayed along the tracks, and keep oil-heavy serums, butters and greases away from them. Natural oils can loosen the attachment and build up in the base. If you style with heat, follow the heat note in the FAQ below.
Step 7 Keep the week 3 and week 4 appointments
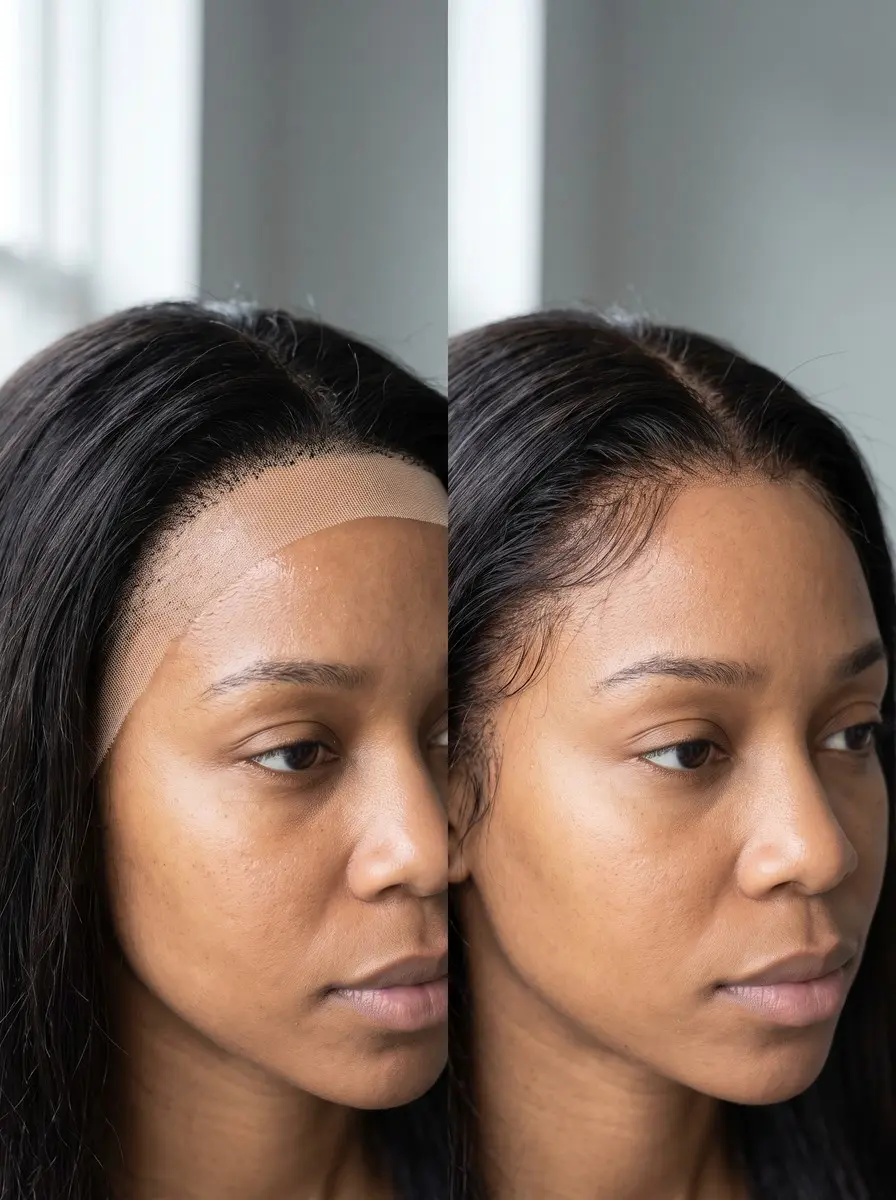
Book a stylist check at about week 3 to reposition a lace closure if you have one, and at about week 4 to tighten the install. Hair grows about half an inch a month, so by week 4 the braids sit farther from the scalp and the wefts start to slacken and shift.
Tightening resets the tension so the tracks lie flat again. Repositioning keeps the closure looking natural as your hairline moves. Doing both on time also keeps the leave-out and closure from bearing extra strain.
Step 8 Take it down at 6-8 weeks
Plan to take the install out at six to eight weeks. By then you have roughly three-quarters of an inch to an inch of new growth, and the braid base can no longer hold the wefts securely.
Take it out sooner if new growth is pulling at your edges, the braids feel loose or lumpy under the wefts, or your scalp is tender, itchy or flaking. A smell that persists after thorough drying is another reason to take it out early.
Have your stylist remove it, or snip only the thread, never your hair. Then detangle and deep condition your own hair before any reinstall. Persistent soreness, bumps, flaking or thinning at the hairline should be seen by a stylist or a doctor, not covered with another install.
Common Mistakes to Avoid
- Piling the hair on top of your head and scrubbing during a wash, which tangles the wefts into mats at the tracks
- Going to bed or tying the hair up while the braided base is still damp, which causes the musty smell and mildew
- Applying oil-heavy serums, butters or greases along the tracks, which can loosen the attachment and build up in the braids
- Detangling from the roots down, which drives every knot into the weft
- Leaving the install past 8 weeks or ignoring tenderness and pulling at the edges
Pro tip Before each wash, part the hair at a few tracks and smell the braids. A faint musty note means the base didn’t dry fully last time, so add 20 minutes under the dryer this wash day, before the smell sets in.
The Bottom Line
A well-kept sew-in comes down to rhythm: wash and deep condition every one to two weeks, dry the braided base all the way, detangle from the ends up and sleep in satin.
Let your stylist reposition a closure around week 3 and tighten the install around week 4, then take it down at six to eight weeks so your own hair can be cleansed, conditioned and checked before the next install.
If you choose hand-tied wefts and handle them gently, you can reuse them for close to a year. Machine wefts need replacing sooner. Whichever you wear, don’t push through pulling, tenderness or a smell that drying won’t fix. Persistent itching, flaking, bumps or thinning at the hairline are signs to see your stylist or a doctor before reinstalling.
Frequently Asked Questions
How often should you wash a sew-in weave?
Wash a sew-in every one to two weeks with a diluted sulfate-free shampoo applied directly to the scalp and tracks, then deep condition the length. Washing more often wears out machine-weft seams faster. Going longer lets buildup and sweat collect in the braids underneath, which can cause itching and odor.
How long can you keep a sew-in in?
Most sew-ins are worn for six to eight weeks before they are taken down and reinstalled, with tightening around week 4. After that, new growth leaves the braid base too loose to hold the wefts securely. Take it out sooner if you notice pulling, tenderness, or loose or lumpy braids.
Why does my sew-in smell and how do I fix it?
A musty smell almost always means the braided base stayed damp after a wash and mildew started to grow. Dry under a hooded dryer until the braids at the crown and nape feel fully dry, which often takes an hour or more. If the smell returns after thorough drying, have the install taken down.
Can you use heat on a sew-in weave?
Yes. Apply a heat protectant first. Blow-dry on damp hair at a medium setting. Flat irons and curling irons go on completely dry hair only, at no more than about 150C/300F for fine or bleached hair and 180-200C/355-390F for coarse hair. An iron on wet hair is what does real damage.
Keep Reading
Sources
- How long do sew ins last iloveslavichair.com