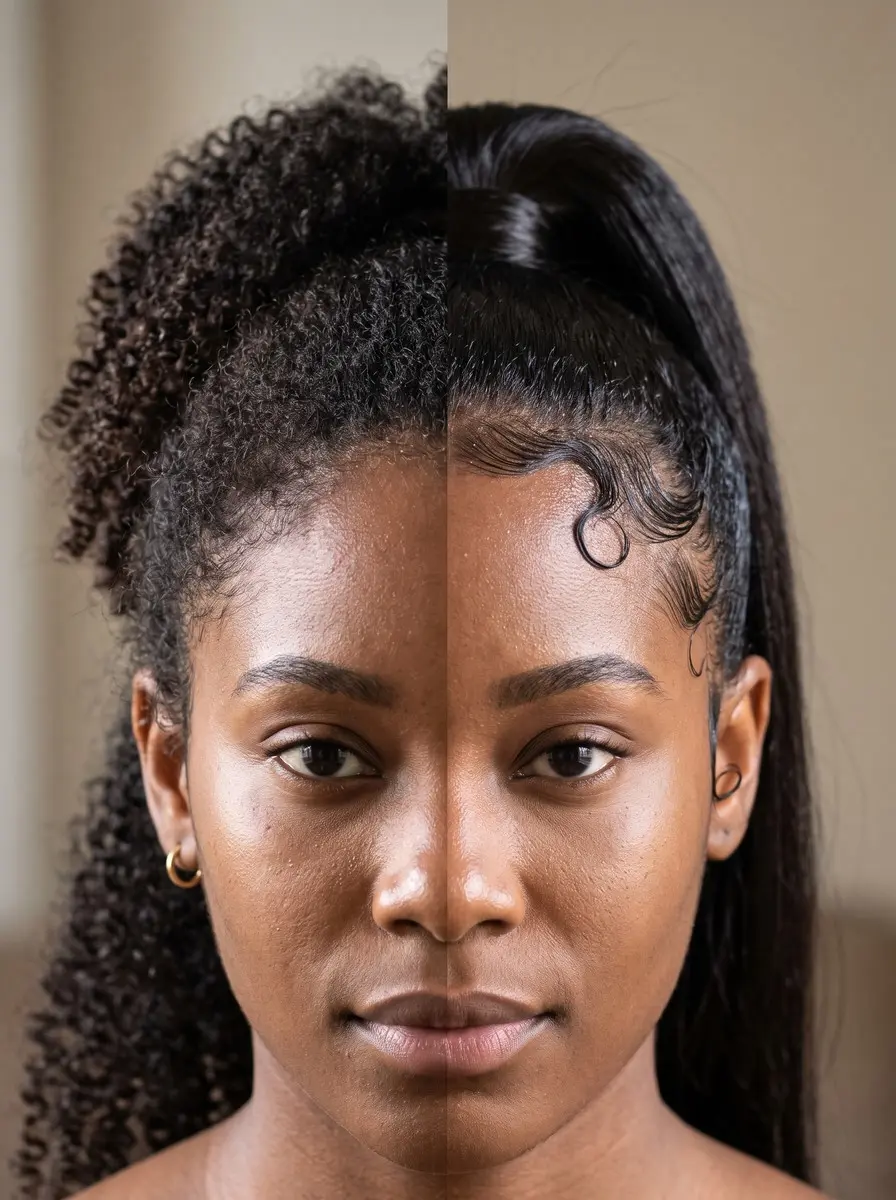
Quick answer To lay edges, start dry if your baby hairs are fine or loose and slightly damp if tightly coiled, add a light moisturizer, brush a dime-sized amount of low-alcohol gel toward your swirl, define with a comb tip, then set under a loose silk scarf for 5-10 minutes.
Learning how to lay edges well is what separates a sleek ponytail, braided style or wash-and-go from white flakes by lunch. Laid edges finish a look the way a sharp liner finishes an eye, and they’re also where most tutorials go wrong.
Use too much gel and a hard-bristled brush, then knot a scarf tight over the top, and the swirl turns stiff and crusty within hours. Do that for months and your hairline ends up thinner than when you started.
The good news is that the technique is simple once you match it to your hair. Other tutorials argue about two questions: dry or damp edges, and toothbrush or edge brush. This guide settles both by texture and explains why each choice works. You’ll need about ten minutes, a dime of product and a scarf. You’ll also learn a few habits that keep your edges intact through sleep, humidity and takedown.
Time 10-15 minutesDifficulty BeginnerSteps 9
How to Lay Edges by Texture
| Edge texture | Start edges | Brush | Shapes that hold |
|---|---|---|---|
| Fine, straight-to-wavy | Dry | Soft side or soft toothbrush | Flat swoops, small waves |
| Loose curls or waves | Dry, or barely damp if puffy | Soft side of edge brush | Swoops, S-waves |
| Tightly curled or coily, dense | Slightly damp | Firmer side of edge brush | Swirls, defined waves |
| Sparse or thinning | Dry | Soft toothbrush, light touch | Simple flat lay, no extra tension |
What You’ll Need
As an Amazon Associate, HairAide earns from qualifying purchases. Product links in this guide are affiliate links: they cost you nothing extra and help keep these tutorials free.
- Dual-sided edge brush The firmer side grips dense, coily edges and the soft side lays fine or loose baby hairs without snagging.
- Low-alcohol edge control gel A dime-sized amount holds the swirl and dries clear and flexible without the drying effect of high-alcohol gels.
- Rat-tail comb Its fine tip sharpens swoops and carves waves and swirls after brushing.
- Silk edge scarf Pressing the edges flat for 5-10 minutes sets the shape, and the smooth fabric protects fragile hairs overnight.
- Flexible-hold hairspray A light mist from 10-12 inches locks the set and helps it resist humidity without stiffening.
Step-by-Step
Step 1 Match your start to your edge texture
Before any product goes on, decide whether your edges start dry or slightly damp. The right answer depends on texture, which is why guides disagree.
Tightly curled or coily, dense edges lay best slightly damp, misted until pliable but never dripping: water temporarily loosens the hydrogen bonds that hold a coil’s shape, so the hair bends where you brush it and sets that way as it dries. Fine, straight-to-wavy baby hairs and sparse or thinning edges should start dry.
They already bend easily, and extra water only dilutes the gel so the swoop slides and dries patchy. Loose curls or waves also start dry, or barely damp if they’re puffy. Soaking-wet edges won’t hold on any texture because the gel is too diluted to grip.
Step 2 Smooth on a light layer of moisture
Rub a pea-sized amount of leave-in conditioner or light hair cream between your fingertips and press it along the hairline only. Moisture goes on first because gel on parched hair dries brittle, and brittle edges snap when you brush them.
A softened strand flexes instead. Keep it to a thin film. Heavy butters or oils underneath stop the gel from gripping and leave the swirl greasy rather than glossy. You’re done when the hairs feel soft and pliable but not slick or wet.
Step 3 Choose your brush by edge density
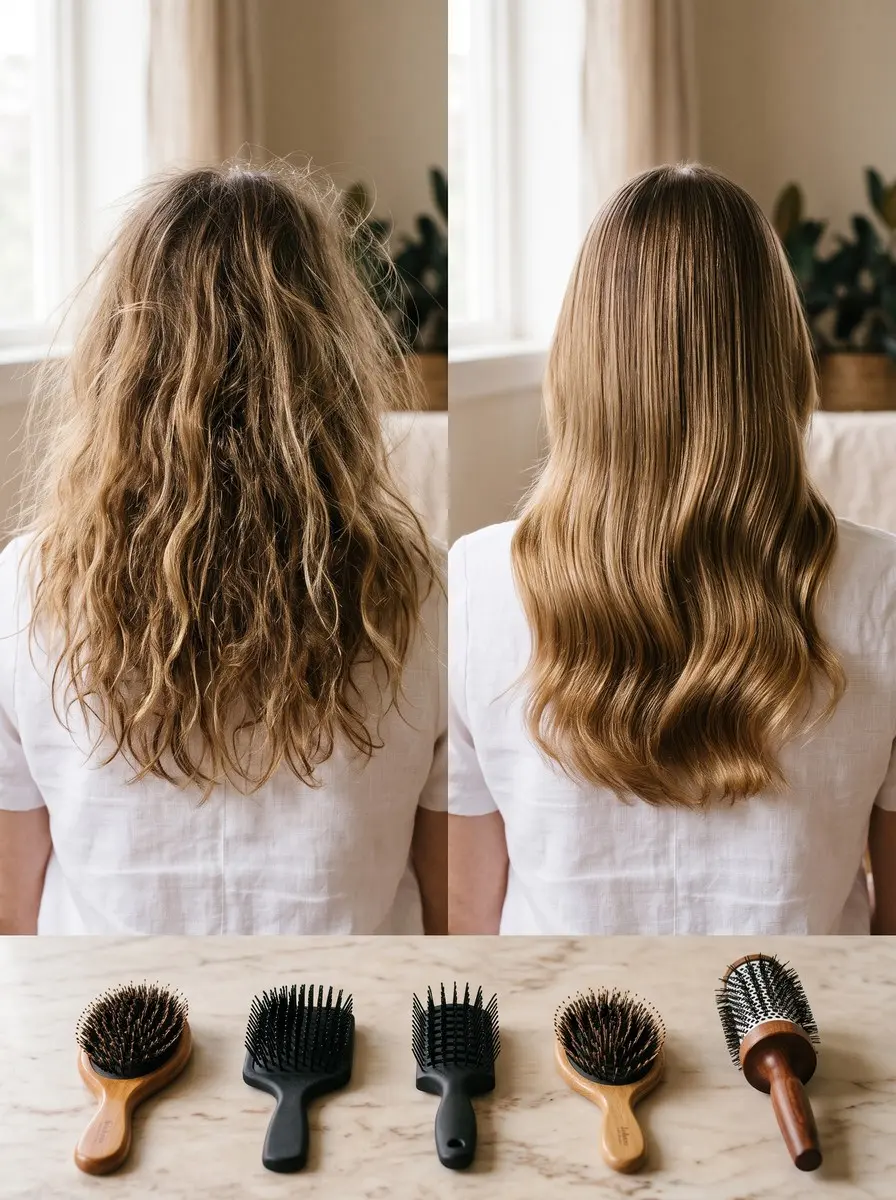
The tool matters as much as the gel. A dual-sided edge brush is the most versatile. Its firmer side suits tightly curled or coily, dense edges, because the packed bristles grip coils and move them as a group. Its soft side suits loose curls or waves and fine baby hairs.
A clean, soft-bristle toothbrush works well for fine, straight-to-wavy hair, and used with a light touch it is the safest choice for sparse or thinning edges. Skip medium or hard toothbrushes, which snag and pull. Keep a rat-tail or pointed comb nearby too: you won’t brush with it, but its tip carves the final shape.
Step 4 Load a dime-sized amount of gel
Pick an edge control or gel that doesn’t list drying alcohols near the top of the ingredients. Alcohol denat., SD alcohol or isopropyl alcohol among the first few ingredients will dry out the most fragile hair on your head.
Fatty alcohols such as cetyl or cetearyl alcohol condition the hair and are fine. Scoop a dime-sized amount onto the bristles rather than onto your hairline, and tap off any clumps.
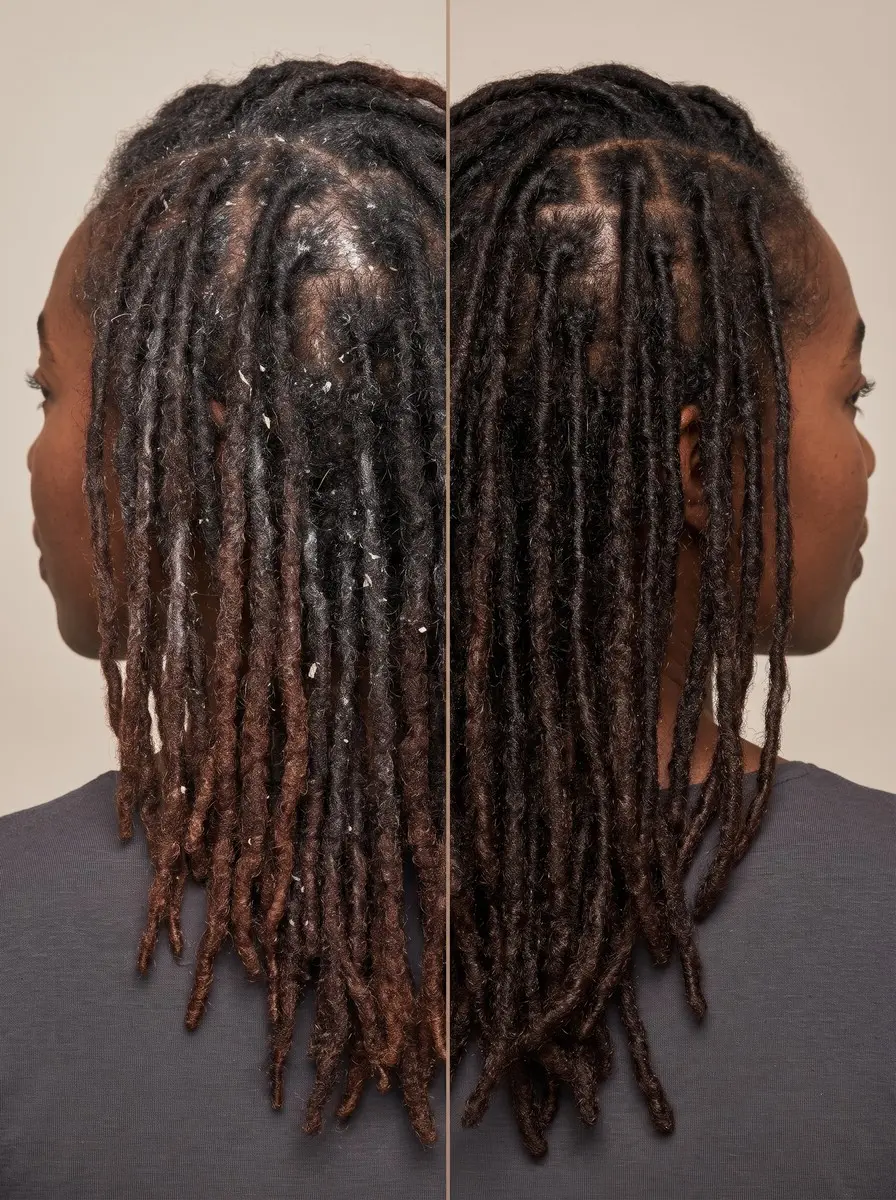
Less is better: a thin layer dries clear and flexible, while a thick one dries into a crust that flakes white and stiffens hair until it breaks. For most people a dime covers the whole front hairline, so only reload for a section that won’t stay down.
Step 5 Brush in the direction of your swirl
Start at one temple and brush the hair flat in the direction you want the swoop or swirl to travel, using short strokes from root to tip. As you brush, hold the laid section down with a fingertip so the next stroke doesn’t drag it out of position.
That keeps the base flat while the tip takes shape. Follow your natural growth direction rather than fighting it. If a section grows forward or swirls like a cowlick, curve your shape the way it already wants to go. Finish one side before starting the other so the gel doesn’t dry before you’ve shaped it.
Step 6 Define the shape with a comb tip
Once the hair is brushed flat, use the pointed tip of a rat-tail comb to sculpt the outline. Run the tip along the edge of the swoop to sharpen the curve, or nudge small sections into a C or S to build waves.
Pick shapes your edges will hold. Fine, straight-to-wavy hair holds flat swoops and small waves. Loose curls or waves suit swoops and S-waves. Tightly curled or coily, dense edges hold swirls and defined waves with crisp outlines.
Sparse or thinning edges look best in a simple flat lay with no extra tension. Longer baby hairs can carry one big sweeping wave, very short ones look neater in small, tight swirls, and a widow’s peak looks balanced with mirrored swoops on each side.
Step 7 Set it under a loose silk scarf
Tie a silk or satin scarf across the hairline and leave it on for 5-10 minutes while the gel dries. The scarf presses the hairs flat as the gel sets, so they dry in place instead of lifting at the tips.
It should sit flat and comfortable, never tight, because steady pressure on the hairline is exactly the kind of tension that thins edges over time.
Untie it carefully, then finish with a light mist of flexible-hold hairspray from about 10-12 inches away to lock the shape without re-wetting the gel. The edges are set when they feel dry and smooth and the tips don’t lift when you move your head.
Step 8 Protect your edges overnight and in humidity
Before bed, tie a silk or satin scarf loosely over your edges or sleep on a satin pillowcase. Cotton soaks up moisture, and its friction roughs up the swirl and snags fragile hairs.
On humid days, add an anti-humidity finishing spray over the set gel, because damp air makes hair absorb water and swell, which loosens the set and brings the puff back. To refresh in the morning, brush the shape back in with a clean brush and only a trace of product.
Stacking fresh gel on yesterday’s layer is what causes white flakes. When you can, give your hairline a day or two each week with no product and no tension.
Step 9 Take edges down without breakage
At the end of the day or on wash day, soften the gel before you touch it. Hold a warm, damp washcloth on the hairline for a minute, or massage in a little conditioner or a few drops of oil to loosen the cast.
Then wipe gently in the direction the hair grows, and shampoo the hairline with your fingertips instead of scrubbing with nails or a brush. Dissolving the product first matters because pulling on a gel-stiff hair bends it until it snaps, and repeated breakage shows up at the hairline first. A clarifying shampoo every few weeks clears the buildup that daily edge control leaves behind.
Common Mistakes to Avoid
- Using a big scoop of gel instead of a dime-sized amount. It dries into a crust that flakes white and stiffens the hairs until they snap.
- Using a gel with drying alcohols (alcohol denat., SD alcohol) high on the ingredient list every day, on the most fragile hair you have.
- Stacking fresh gel on yesterday’s layer, or putting gel over a leave-in it clashes with, which balls up into white flakes.
- Tying the setting scarf tight, or pairing laid edges with a ponytail pulled tight at the hairline every day. Constant tension is what thins edges.
- Brushing soaking-wet edges. The gel gets too diluted to grip and the shape never holds.
- Pulling gel-stiff edges apart at night instead of softening the product with warmth, conditioner or oil first.
Pro tip Lay your edges last, after your ponytail, bun or wig is fully secured. Adjusting the style afterward drags the laid hairs out of place and pulls on the hairline a second time.
The Bottom Line
Done right, laid edges take about ten minutes. Start dry or damp to suit your texture, add a light layer of moisture and a dime of low-alcohol gel, use a brush matched to your density, shape with a comb tip and set under a loose scarf.
Refresh with a clean brush rather than more gel, take the product down gently at night, and give your hairline regular rest days. That way the swirls stay crisp without costing you hair.
If your edges are thinning, tender, bumpy or receding at the temples, stop laying them and see a dermatologist before you do any more styling there. Tension-related hair loss is far easier to reverse when it’s caught early.
Frequently Asked Questions
Should my edges be wet or dry before I lay them?
It depends on texture. Tightly curled or coily, dense edges lay best slightly damp, misted until pliable but never dripping, because water lets the coil bend and set as it dries. Fine, straight-to-wavy, loose or thinning baby hairs work better dry, since water dilutes the gel and makes the swoop slide. Soaking-wet edges won't hold on any texture.
Can laying your edges every day damage your hairline?
Laying edges is gentle with a dime-sized amount of low-alcohol gel and a soft brush. Damage comes from repeated tension, such as tight scarves, tight ponytails and hard daily brushing, which can cause traction alopecia (hair loss from constant pulling). If you notice thinning, tenderness or small bumps along your hairline, ease off and see a dermatologist. It is far more reversible when caught early.
Why does my edge control flake?
Flaking usually comes from too much product, fresh gel layered over old gel, or a gel that clashes with the leave-in underneath. Use a dime-sized amount on a clean brush, let it dry before you touch it, and remove the product at night instead of stacking it. If the flakes continue, try a gel and leave-in with a similar base, for example both water-based.
Is a toothbrush or an edge brush better for laying edges?
Both work, so match the tool to your edges. A dual-sided edge brush is more versatile: its firmer side grips tightly curled or coily, dense edges, and its soft side suits looser textures. A clean, soft-bristle toothbrush works well for fine baby hairs and is the gentlest choice for sparse or thinning edges. Avoid medium or hard bristles, which snag.
How long do laid edges last?
With a scarf set and a light hairspray mist, laid edges usually hold all day. If you sleep in a satin scarf, you can refresh them the next morning with a clean brush. Sweat, rain and humidity cut that time, because water swells the hair and loosens the gel. Take the product off every day or two so it doesn't build up.
Keep Reading
Sources
- Laying edges hairstyle lorealparisusa.com
- A guide on how to do edges mielleorganics.com
- How to lay edges for beginners carolsdaughter.com