Quick answer To do a braid out, layer a leave-in, oil and cream (or gel for hold) on damp, sectioned hair. Braid each section down, twisting the last inch. Dry the braids completely under a hooded dryer or overnight, then unravel with oiled fingers and fluff only at the root.
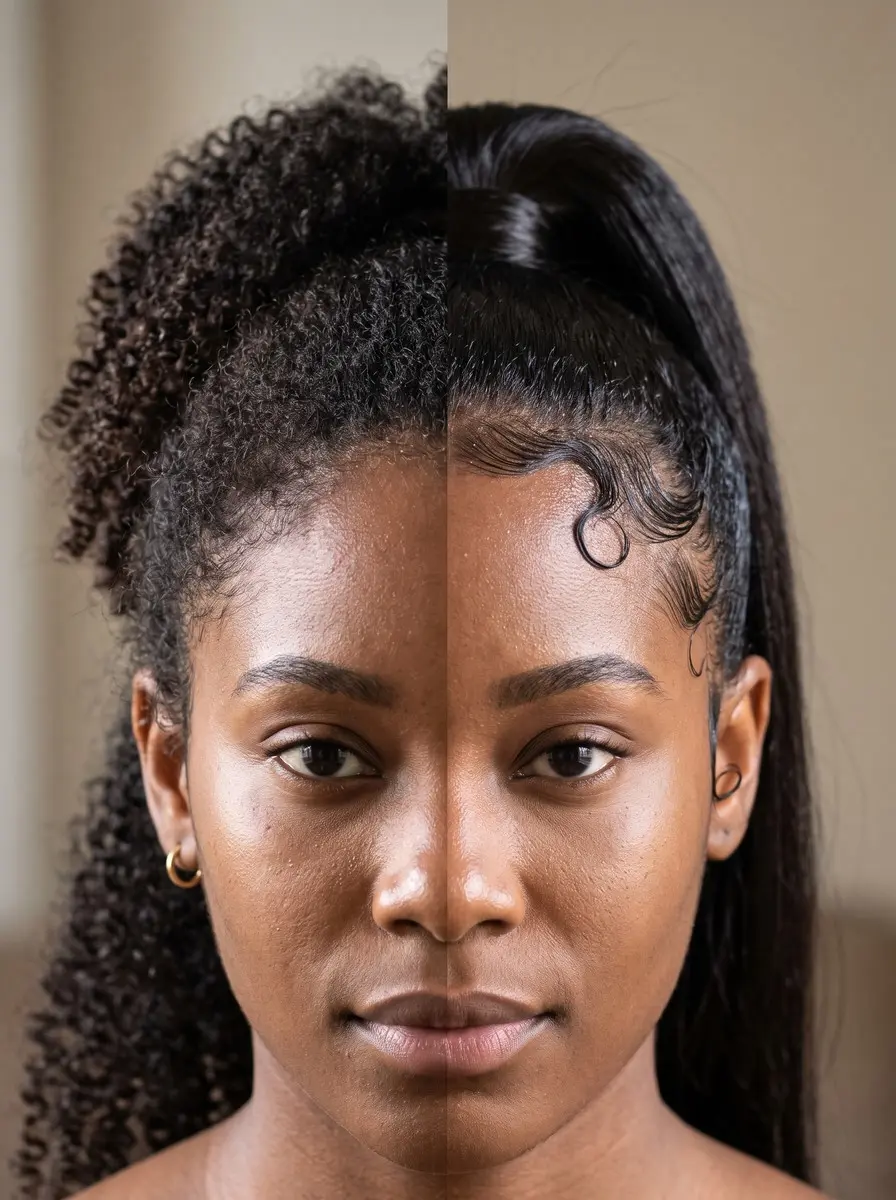
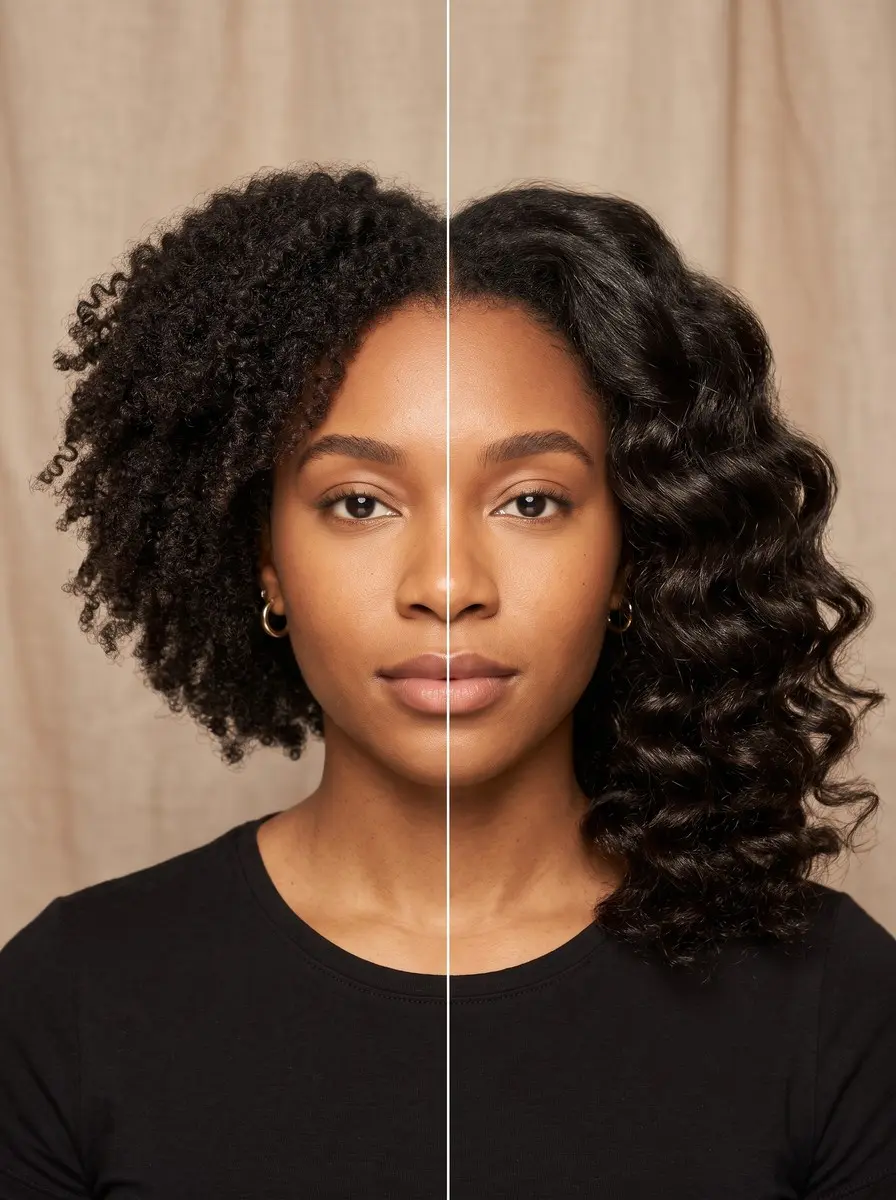
Twist outs give you defined coils, but a natural hair braid out does something different. Three strands cross over each other instead of two, so you get stretched, rippled waves with more length and a fuller shape.
It’s one of the most dependable heat-free sets for natural hair, and it also works on relaxed hair. The catch is that small things decide the result. If your hair is too wet, the braids never dry. If the take-down is rushed, the waves turn into a frizzy cloud.
This guide settles the points where most tutorials disagree. It covers how damp to start, how braid size changes the pattern, whether a hooded dryer or an overnight bonnet works better, and how to fluff without frizz. Each step explains why it works, so you can adjust it for your own hair. You’ll finish with a refresh plan that keeps the set going from day two to day five.
Time 45-90 minutes to braid, plus drying time (1-2 hours under a hooded dryer or overnight)Difficulty BeginnerSteps 9
Braid Out Size Guide
| Braid size | Rough count | Result |
|---|---|---|
| Small | 20 or more | Tighter, more defined waves; slowest to dry |
| Medium | About 10-20 | Defined waves, moderate volume |
| Large | About 4-10 | Loose, stretched waves, most volume |
What You’ll Need
As an Amazon Associate, HairAide earns from qualifying purchases. Product links in this guide are affiliate links: they cost you nothing extra and help keep these tutorials free.
- Moisturizing leave-in conditioner It’s the first layer: it adds the moisture the cream and gel lock in and keeps the braids from drying stiff.
- Curl-defining cream It gives the braids something to set against, so the waves come out soft, defined and glossy.
- Flexible-hold styling gel It adds hold, especially on the ends, so the wave pattern lasts through day five.
- Perm rods They curl heat-damaged or relaxed ends so the pattern matches from root to tip.
- Satin sleep bonnet It lets you air-dry the braids overnight and protects the finished set while you sleep.
Step-by-Step
Step 1 Start on damp, not soaking, hair
Wash and condition, then detangle while the conditioner is still in, using your fingers or a wide-tooth comb. Blot with a microfiber towel or cotton T-shirt until your hair is damp but not dripping. Wetter hair is easier to shape and holds the braid pattern more crisply.
But hair that’s soaking inside a braid can take a day or more to dry, and braids taken down damp frizz and lose their shape. You’re ready when a squeezed section feels cool and damp with no water running out.
Step 2 Section and clamp your hair
Part your hair into at least four sections, two in front and two in back, and clip each one out of the way. Use more sections if your hair is thick or dense, because tidy sections let product reach every strand evenly.
Working one section at a time also stops the rest from drying out before you get to it. Keep a spray bottle of water nearby to re-dampen any section that starts to feel dry before you braid it.
Step 3 Layer leave-in, oil and cream
Work through one section at a time. Smooth on a leave-in conditioner, then a light oil, then a curl or styling cream. This leave-in, oil, cream order is the LOC method. The leave-in adds moisture, the oil helps slow moisture loss, and the cream softens the hair and gives the braid something to set against.
If you want more hold, or have fine hair that cream weighs down, use a leave-in plus a flexible gel instead. Put a little extra on the last few inches. The ends are the oldest, driest hair and are the first to lose their pattern.
Step 4 Choose your braid size
Braid size sets your final pattern, so decide before you start braiding. Small braids, 20 or more on shoulder-length hair of medium density, give tighter, more defined waves but take longer to put in and to dry.
Medium braids, about 10 to 20, give defined waves with moderate volume. Large braids, about 4 to 10, give looser, stretched waves and the most volume, with less definition. Smaller braids hold their pattern longer, so they’re a better choice if you want the set to last all week.
Step 5 Braid down and twist the ends
Unclip a section and braid it from the root down with steady, even tension. Firm tension gives a more uniform wave, but braids that pull at the hairline cause soreness and traction stress over time. Stop braiding about an inch from the end and twist that last inch instead.
A braid at the very tip ends in a crimp, while a twist gives a soft curl that blends in. If your ends are straighter than the rest from heat damage or a relaxer, wrap them around a perm rod so the curl pattern stays even from root to tip.
Step 6 Dry the braids completely
Dry the braids completely before you take them down. A damp braid out frizzes and falls flat within hours. A hooded dryer on low or medium heat for 45 to 90 minutes dries the braids evenly without disturbing them.
A satin bonnet overnight takes no effort but can need more than one night for thick or small braids. Many people do both: about 30 minutes under the hood, then the bonnet overnight. To check, feel the center of your thickest braid near the scalp. If it feels cool, it’s still damp, so wait.
Step 7 Unravel with oiled fingers
Rub a few drops of light oil or serum between your fingertips. Oil reduces friction, and friction is what roughs up the strands into frizz. Take out any perm rods first, then undo each braid from the end up, following the path it was braided in.
Gently split each unbraided section into two or three pieces, re-oiling your fingers every few braids. Avoid splitting it any finer, because very small pieces turn into fuzz.
Step 8 Fluff at the root and set
To fill gaps and hide parts, lift the hair at the root with a pick or your fingers and leave the lengths alone. The definition lives in the lengths, and combing through them is what turns waves into frizz. Shake your hair gently to settle it.
Then mist on a flexible hairspray or press in a little light mousse to set the shape and help it hold up to humidity. Stop when the parts disappear and the shape looks even. You can always add more volume, but you can’t undo too much fluffing.
Step 9 Protect it nightly and refresh
Every night, gather your hair loosely on top of your head in a pineapple, or tuck it into a satin bonnet. This keeps you from sleeping on the waves, and satin creates less friction than cotton. Day two usually needs nothing. On day three, lightly mist any frizzy areas with water, smooth on a little leave-in, and fluff at the root.
On day four or five, re-braid your dry hair into a few large braids overnight with a little cream on the ends to bring back the stretch. When the roots feel heavy or the waves have dropped, it’s time to wash and start over.
Common Mistakes to Avoid
- Braiding soaking-wet hair. It can’t dry inside the braid, so the take-down frizzes and the waves fall flat by afternoon.
- Taking the braids down before they’re fully dry because the outside feels dry. Always check the center of your thickest braid near the scalp.
- Combing or picking through the lengths instead of only at the root, which breaks the waves into frizz.
- Braiding all the way to the tip. That leaves a crimped, blunt end instead of a soft curl that blends in.
- Braiding tightly at the hairline. It causes soreness and, over time, traction stress on the edges.
Pro tip Braid the front sections away from your face, in the direction you’ll part your hair. The waves will fall back off your face instead of flipping toward it, and the part will look natural instead of zig-zagged.
The Bottom Line
A good braid out depends on a few things: damp hair that isn’t soaking, product on every strand, braids that are completely dry, and a take-down that leaves the lengths alone. Once those are right, you’ll get stretched, glossy waves that last most of the week with a pineapple at night and a quick refresh around day three.
A note on heat: if you speed things up with a hooded dryer or diffuser, which are fine on damp braids, put a heat protectant on with your leave-in and keep the heat on low or medium. If you ever touch up stretched ends with a flat iron or curling iron, use it on completely dry hair only, with a heat protectant, and stay at about 150C/300F for fine or bleached hair, or 180-200C/355-390F at most for coarse hair.
If your ends stay frizzy or straight however you set them, they may be damaged or split. A trim from a stylist who works with textured hair will help more than any product. Book one too if braiding is pulling at your edges.
Frequently Asked Questions
What's the difference between a braid out and a twist out?
A braid out uses three-strand braids, and a twist out uses two-strand twists. Braids give longer, stretched, rippled waves with more volume. Twists give tighter, rounder, more defined coils with more shrinkage. If you want length and a fuller shape, choose a braid out. If you want coil definition, choose a twist out.
Should I dry my braid out under a hooded dryer or overnight in a bonnet?
Either works if your braids end up fully dry. A hooded dryer on low or medium heat takes 45 to 90 minutes and dries evenly. An overnight bonnet uses no heat, but thick hair or small braids may need more than one night. Many people combine them: about 30 minutes under the hood, then the bonnet overnight.
How long does a braid out last?
With a nightly pineapple or satin bonnet, a braid out usually lasts four to seven days. Smaller braids and a gel layer help it last longer. When it loosens, re-braid your dry hair into a few large braids overnight to bring back the stretch. Wash and restart when your scalp needs cleansing or the waves have dropped.
Can you do a braid out on dry hair?
Yes. Braiding dry or day-old hair with a little cream gives a softer, looser wave and dries faster, which suits refreshes between washes. Hair braided damp gives sharper definition and holds longer because it sets as it dries. For a first set after wash day, start damp. For a midweek refresh, dry braiding is quicker.
Does a braid out work on relaxed hair?
Yes. A braid out is a good heat-free way to add wave and volume to relaxed hair. Use lighter products, such as a leave-in and a mousse or light cream instead of heavy butters, so the hair isn't weighed down. Perm rods on the ends help them hold a curl. Relaxed hair usually dries faster, so overnight drying works well.
Keep Reading
Sources
- Braid out hairstyle hair.com
- naturallycurly.com naturallycurly.com
- Braid outs arent only naturals step step tutorial relaxed hair essence.com