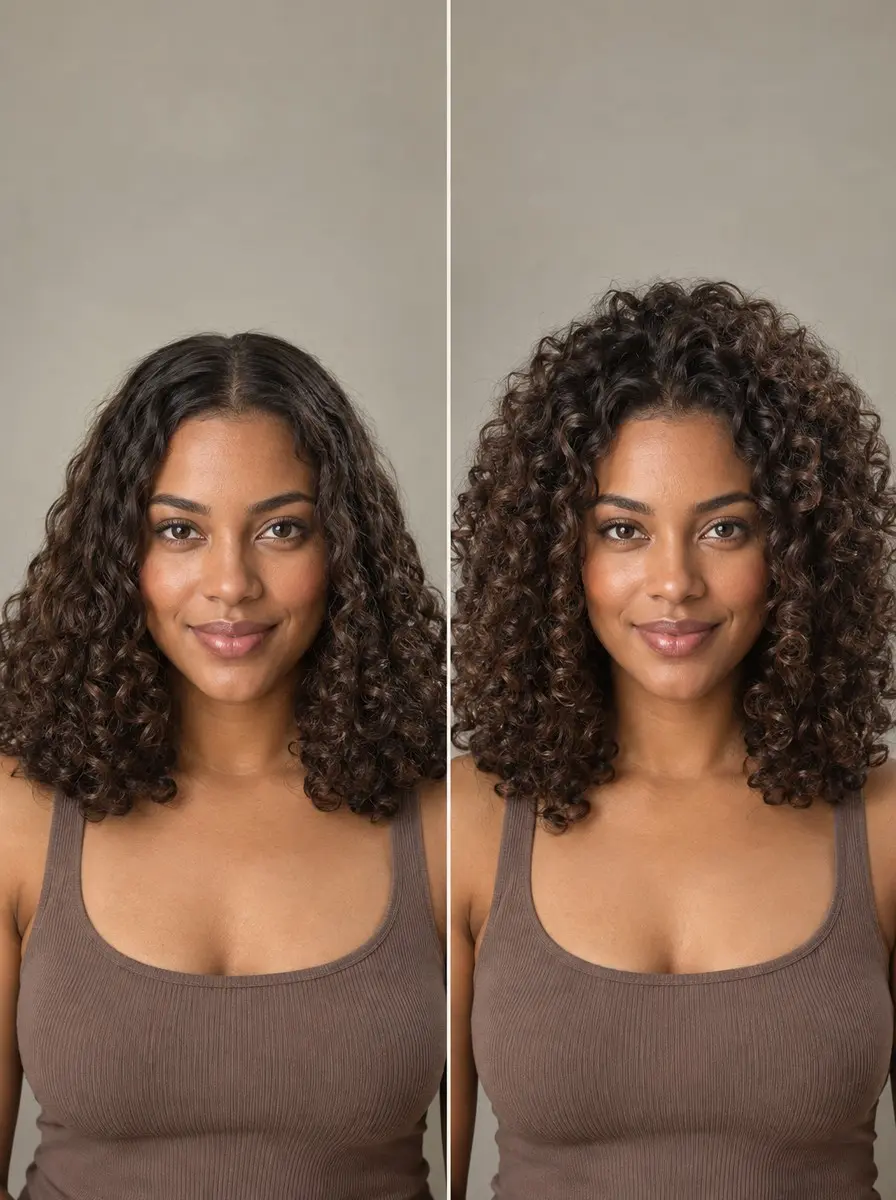
Quick answer To get volume at the roots of curly hair, keep heavy product off the scalp, lift small damp sections at the crown and part and hold each with a root clip, then diffuse or air-dry and take the clips out only once the roots are completely dry.
Curls that are full and springy at the ends but flat against the scalp are one of the most common curly-hair complaints, and the cause is rarely just one thing.
Product piles up where the hair starts, water makes every strand heavier while it dries, and long or dense hair drags the roots down with its own weight. Because hair sets in whatever position it dries in, roots that dry flat tend to stay flat all day.
The fix is a system rather than a miracle product: lighter styler near the scalp, the right clip for your density, clips left in until the roots are fully dry, and a quick refresh that doesn’t mean re-wetting your whole head.
All of it works at home with a few clips and either a diffuser or some patience, and it is the most reliable way to get volume at the roots of curly hair without teasing it or reaching for a heavy spray.
Time 10-15 minutes plus drying timeDifficulty BeginnerSteps 8
Root Clips by Hair Density
| Hair | Clip to try | Why it suits |
|---|---|---|
| Fine or low-density | Small duckbill clips | Light, so roots aren’t dragged down |
| Medium density | Duckbill or purpose-made root clips | Holds a section without much bulk |
| Thick or high-density | Small claw clips or sturdy root clips | Strong enough not to slip |
What You’ll Need
As an Amazon Associate, HairAide earns from qualifying purchases. Product links in this guide are affiliate links: they cost you nothing extra and help keep these tutorials free.
- Clarifying shampoo Removes the product buildup that weighs roots down, so new styler can grip; use it every two to four weeks.
- Curl gel Gives the mid-lengths and ends hold and definition without loading up the roots.
- Volumizing mousse Adds grip and lift at the roots with far less weight than gel or cream.
- Microfiber towel or soft cotton T-shirt Blots out heavy excess water without breaking up curl clumps, so clipped roots dry faster.
- Root clips Hold each root section upright while it dries; choose the type that suits your hair density.
- Heat protectant spray Optional: mist it through damp hair before you diffuse; skip it if you air-dry.
- Hair dryer with a diffuser attachment Optional: dries clipped roots much faster than air-drying and powers the day-two refresh; whether a diffuser comes in the box varies by model and bundle, so check the box list.
- Fine-mist spray bottle Dampens just the roots for a day-two refresh and softens clip dents without re-wetting your whole head.
Step-by-Step
Step 1 Clear buildup from your scalp
Start on wash day with roots that are free of old product. If your scalp feels coated or your roots go flat by the second day, wash with a clarifying shampoo every two to four weeks, massaging it into the scalp with your fingertips and letting the lather rinse down through the lengths; stretch that further apart if your hair is colour-treated or very dry.
Leftover gel, oil and silicone add weight exactly where you want lift, and they stop fresh styler from gripping the hair. You’re done when your roots feel clean and light rather than slick once rinsed.
Step 2 Keep styler light at the roots
On wet hair straight from the shower, work a curl gel through the mid-lengths and ends first, where curls need the most hold, and stop a couple of inches short of the scalp. Then rub a walnut-sized amount of volumizing mousse between your palms and work it into the first two inches of root only, using a little more if your hair is long or very dense.
Mousse gives the roots grip and lift with far less weight than gel or cream, so they can stand up instead of being dragged down. You’re done when the lengths feel evenly coated and the roots feel barely touched.
Step 3 Blot out the excess water
Scrunch your hair upward with a microfiber towel or a soft cotton T-shirt, pressing for a few seconds at a time and paying extra attention to the crown. Water adds real weight to every strand, and roots that start out soaking wet droop sooner and take far longer to dry under clips.
Press rather than rub, because rubbing breaks up curl clumps and causes frizz. Stop when your hair is damp but no longer dripping, with no water running down your neck.
Step 4 Lift and clip at the crown and part
Working from your part outward, lift a section about one to two inches wide straight up from the scalp with your fingers, then slide a clip in at the base so it grips the hair within the first half-inch of root and holds it standing up.
Place clips along the part line and around the crown, the areas that usually fall flattest; most heads need somewhere around four to eight. Match the clip to your hair: small duckbill clips for fine or low-density hair, because a light clip won’t drag the roots back down; duckbill or purpose-made root clips for medium density, which hold a section without much bulk; and small claw clips or sturdy root clips for thick, high-density hair, which can make a lighter clip slip.
You’re done when each clipped root stands visibly away from the scalp and the clip stays put when you tilt your head.
Step 5 Dry with the clips in
Leave every clip in place and either diffuse or air-dry. To diffuse, set your dryer to low heat and low airflow, hold the diffuser over the clipped crown and part first, then move on to the lengths; the gentle airflow dries the roots in their lifted position without blowing the clips loose.
To air-dry, simply leave the clips in and let your hair dry on its own, which takes longer but sets the lift just as well. Either way, keep your hands off the clipped sections while they dry, because handling damp curls breaks up the clumps and invites frizz.
Step 6 Unclip only when roots are fully dry
Before you take a single clip out, touch the scalp at the base of a clipped section: if it feels cool or even slightly damp, keep drying, because damp roots collapse the moment they’re released. Hair’s hydrogen bonds break when it’s wet and re-form as it dries, so the lift only locks in once the root is completely dry.
When it is, open each clip fully and slide it straight out rather than tugging, then scrunch out any stiff gel cast and lift the roots gently with your fingertips. Skip brushes and combs at this stage, since they separate curls into frizz.
Step 7 Prevent dents and rest your roots
If clips leave creases, clip one layer down: lift the very top layer, clip the hair underneath at the root, and let the top layer fall back over it, so the lifted hair props up the surface while any crease stays hidden.
Dents usually come from a clip that grips too far down the strand or comes out while the hair is still damp, so keep clips right at the root and wait for fully dry roots every time.
Save clipping for wash days rather than every morning, and shift the clip positions slightly each time, because the constant grip and tension of daily clipping stresses the roots. If a dent still shows, mist it lightly with water from a spray bottle and scrunch it back into shape.
Step 8 Refresh flat roots on day two
Instead of re-wetting your whole head, fill a spray bottle with water and mist only the roots at the crown and part until they’re damp but not dripping. Flip your head upside down, scrunch the roots up toward the scalp, and diffuse them on low heat and low airflow for a few minutes until they’re completely dry.
The water reactivates the gel already in your hair and lets the roots reset in a lifted position, so you get most of your wash-day volume back without redoing the routine. If you clipped yesterday, skip the clips today and let the diffuser do the lifting, which gives your roots their rest day.
Common Mistakes to Avoid
- Working leave-in conditioner, curl cream or oil right into the scalp: anything rich at the roots adds weight that no clip can fight.
- Pulling the clips out while the roots are still damp, so the lift you clipped in collapses within the hour.
- Clipping too far down the strand, which leaves a visible dent without actually lifting the root.
- Clipping every single day, which keeps constant tension on the same roots instead of giving them rest days.
- Brushing or combing the roots for extra volume once dry, which breaks curl clumps into frizz.
Pro tip Let your hair dry parted on the opposite side from usual, then flip the part back once the roots are completely dry: they set leaning the other way, so they stand up off the scalp instead of lying flat.
The Bottom Line
Root volume in curly hair comes from taking weight away and holding the lift while it sets: light styler near the scalp, clips matched to your density, and the patience to wait until every root is completely dry. Once you’ve found your clip placement, the routine adds only a few minutes to wash day, and a quick mist-and-diffuse keeps the lift going between washes.
If your roots stay flat even with clean, lightly styled hair and well-placed clips, the cut is the more likely culprit than your technique. A stylist experienced with curly hair can add layers at the crown or reshape the top to remove weight. If you notice thinning, a widening part or breakage at the scalp, see a dermatologist rather than adding more clips.
Frequently Asked Questions
How long should root clips stay in curly hair?
Leave root clips in until the roots are completely dry, not just the ends. Diffusing gets you there much faster than air-drying, which can take several hours on thick or long hair. Check by touching the scalp at the base of a clip: if it feels cool or damp, wait longer, because damp roots go limp as soon as they're released.
Is it bad to clip your roots every day?
Daily root clipping isn't recommended, because the constant grip and tension stresses the roots. Save clips for wash days, shift their positions slightly each time, and use a water mist and a few minutes of diffusing to refresh on the days in between. If your scalp feels tender or you notice breakage where the clips sit, take a longer break.
Should I diffuse or air-dry with root clips in?
Both work, because the roots set in their lifted position either way as long as the clips stay in until they're fully dry. Diffusing is faster, which helps thick, dense hair that takes hours to air-dry. If you diffuse, mist a heat protectant through damp hair first and keep the dryer on low or medium heat with low airflow.
Why do my curly roots still look flat after clipping?
Usually it's weight: buildup at the scalp, too much product near the roots, or long, dense lengths pulling everything down. Clarify, keep styler light at the roots, and if the lift still won't hold, ask a stylist for layers at the crown, which take weight off the top so curls can spring up. Book a shaping trim when those layers lose their shape.
Can you get volume at the roots of curly hair without clips?
Yes, though clips usually give longer-lasting lift. Keep product light at the scalp, flip your head upside down and diffuse your roots on low so they dry lifted away from the scalp, then lift them with your fingertips instead of a brush. Root clips simply hold that same lift in place while the hair sets.
Keep Reading
Sources
- Elevate your hair game with bounce curl volume root clips bouncecurl.com
- Root clipping is the perfect to keep your curly hair from looking flat thelist.com
- How to add volume to curly hair roots 20 techniques themestizamuse.com