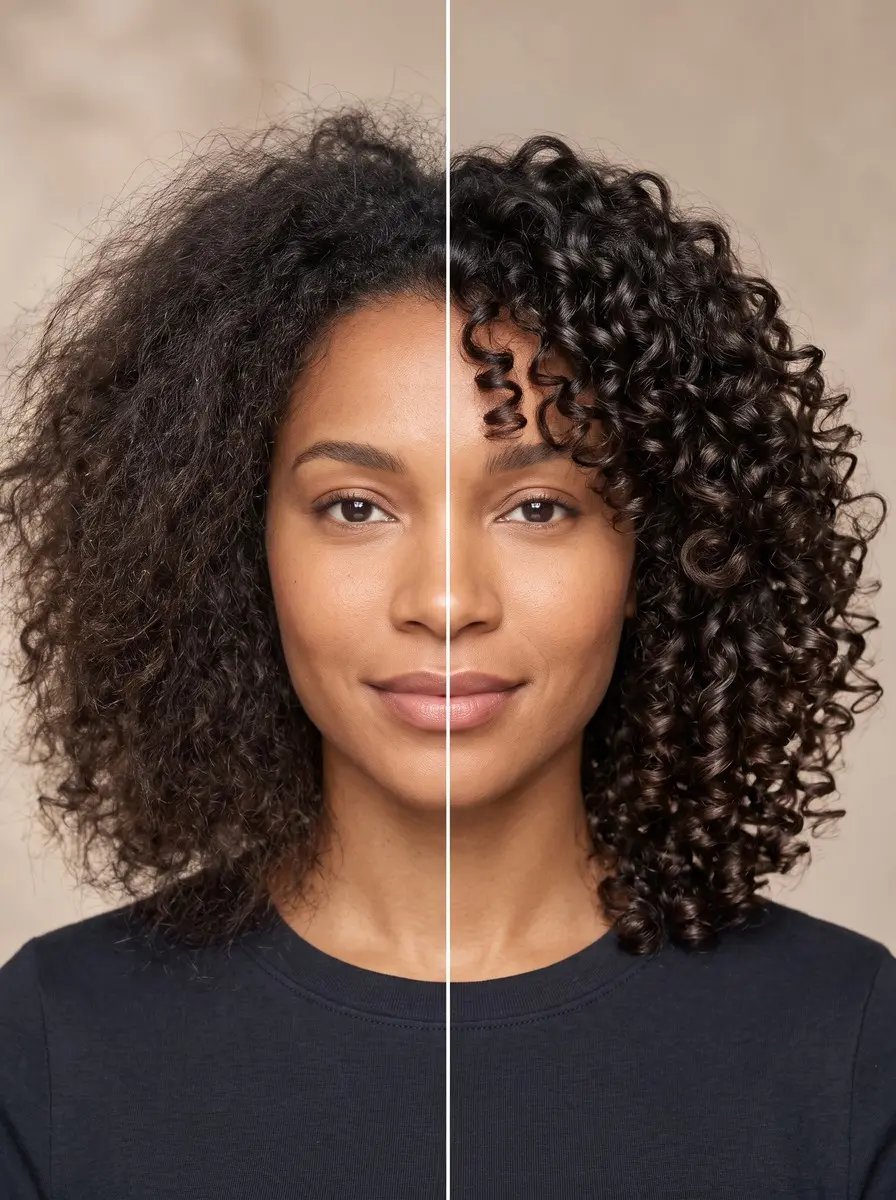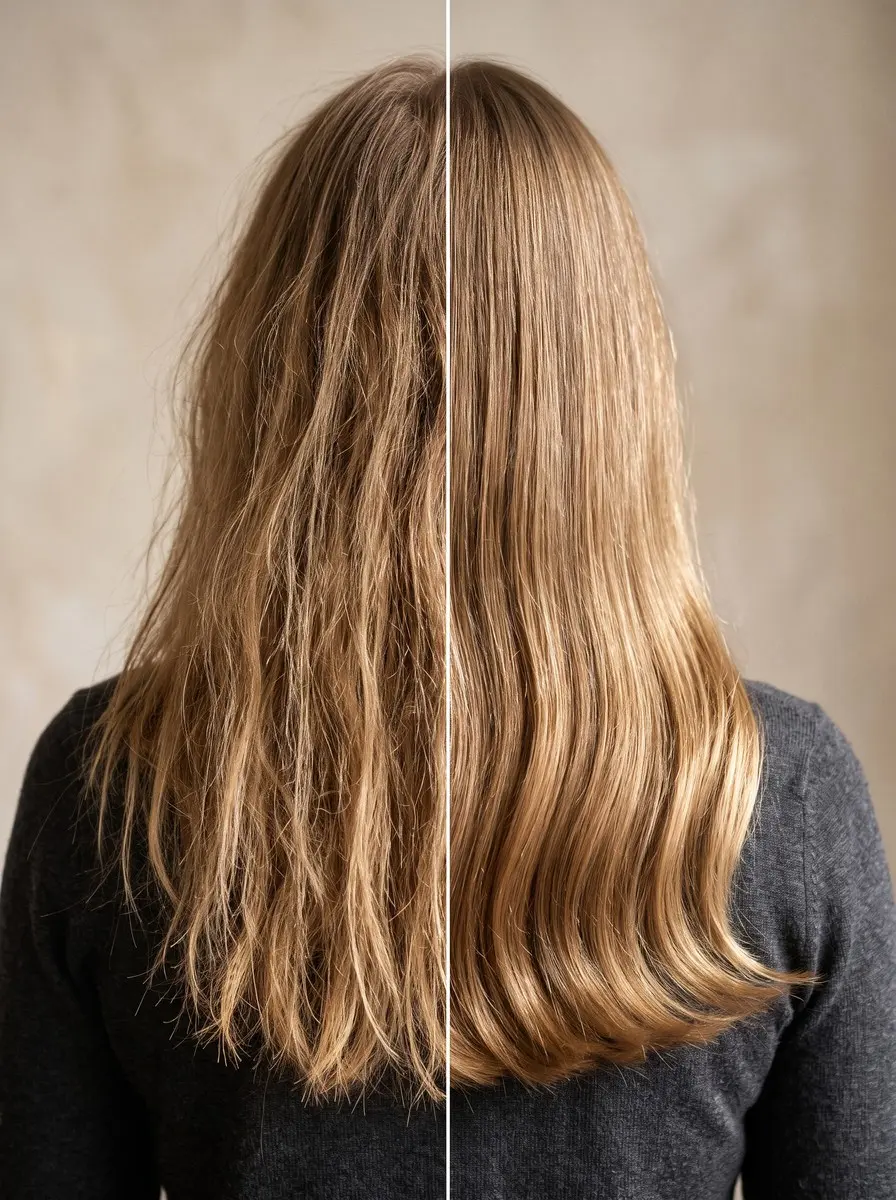
Quick answer To oil your hair, brush it out dry, then work a pea-sized amount of oil from mid-lengths to ends — argan or jojoba for fine hair, coconut or olive for coarse or coily hair. Leave it 20 to 60 minutes and shampoo it out twice.
Hair oiling comes with a lot of mixed advice. One video tells you to massage oil deep into your scalp every night, and a dermatologist tells you to keep it off your scalp altogether.
That leaves you wondering which oil to buy, how much to use, and why your hair still looks greasy two washes later. The good news is that the parts experts agree on are simple, and they make the biggest difference to dry, dull lengths.
This guide covers oiling the way dermatologists recommend it: on brushed, dry hair, from the mid-lengths to the ends, for 20 minutes to an hour, then washed out properly. You’ll match an oil to your hair type and learn when your scalp should stay oil-free.
You’ll also see what oil can do (shine, softness, less moisture loss) and what it can’t, like repairing split ends or growing hair. The hands-on part takes only a few minutes.
Time 30-75 minutes (mostly hands-off)Difficulty BeginnerSteps 9
Which Oil, Where and How Often by Hair Type
| Hair type | Oil to try | Where it goes | How often |
|---|---|---|---|
| Fine or straight | Argan, jojoba or grapeseed | Bottom half, one pea-sized amount | Once a week at most |
| Wavy | Argan; coconut if thick and dry | Mid-lengths to ends | Once a week |
| Thick, coarse or coily | Coconut, olive or diluted castor | Mid-lengths to ends, pea-sized per section | Once or twice a week |
| Color-treated | Argan or jojoba | Mid-lengths to ends | Once a week |
| Oily scalp, dry ends | Jojoba or argan | Bottom half only | Once a week |
What You’ll Need
As an Amazon Associate, HairAide earns from qualifying purchases. Product links in this guide are affiliate links: they cost you nothing extra and help keep these tutorials free.
- Argan oil A light oil that adds shine and softness to fine, wavy or color-treated lengths without flattening them.
- Jojoba oil A light, fragrance-free choice for fine hair and for an oily scalp with dry ends, and the oil dermatologists suggest if you do try scalp oiling.
- Unrefined coconut oil A richer oil for thick, coarse or coily lengths, and research has found it strengthens hair fibers.
- Detangling brush or wide-tooth comb Brushing dry hair until it’s knot-free lets a pea-sized amount of oil spread evenly instead of clumping in tangles.
- Clarifying shampoo Clears oil buildup when hair turns limp or coated; use it every few weeks, not every wash.
Step-by-Step
Step 1 Decide whether your scalp gets oil
Start by deciding where the oil goes, because the scalp is where the experts split. Cleveland Clinic dermatologist Dr. Khetarpal advises against putting oil directly on the scalp because it may raise the risk of seborrheic dermatitis. Dermatologists quoted by Goop take the other view: they treat scalp oiling as helpful for dry or textured hair and suggest jojoba about twice a week.
The safe default is to oil only your mid-lengths and ends, which is where the dryness, dullness and rough ends are. If you have dandruff or a flaky, itchy scalp, skip scalp oil completely and see a dermatologist, because the yeast linked to dandruff thrives on oil.
Step 2 Match the oil to your hair type
Fine or straight hair is easily weighed down, so pick a light oil such as argan, jojoba or grapeseed, and use it once a week at most. Thick, coarse or coily hair benefits more from richer coconut, olive or castor oil, once or twice a week.
Castor oil is very thick, so mix it half-and-half with a lighter oil to help it spread. Wavy hair can use argan, or coconut if the waves are thick and dry, and color-treated hair does well with argan or jojoba, both once a week.
If your scalp gets oily but your ends are dry, use jojoba or argan on the bottom half of your hair only, once a week. Weekly is the safe default because sources disagree on how often to oil, and it’s easier to add a session than to undo buildup.
Step 3 Patch-test any new oil
Before your first full application, dab a little of the oil on your inner forearm or behind one ear and leave it for 24 to 48 hours. This matters because oiled hair rests against the skin of your neck, shoulders and hairline. Redness, itching or bumps mean that oil isn’t for you.
Read the label too: a single-ingredient, fragrance-free oil is the safest choice, since added fragrance and essential oils commonly irritate skin. Almond oil comes from a tree nut and sesame is a common seed allergen, so skip both if you have those allergies, and ask your allergist before trying other nut-based oils such as argan.
Step 4 Brush out your hair while dry
Detangle fully before any oil goes on, working from the ends up toward the roots. Use a detangling brush, or on curly and coily hair, use your fingers or a wide-tooth comb one section at a time.
Knots trap oil in clumps, so tangled hair ends up greasy in some spots and still dry in others, while smooth strands let a small amount of oil spread evenly. Work on dry hair, as the Cleveland Clinic guidance recommends, so you can see and feel exactly where the oil lands. You’re ready when the brush or comb glides from root to tip without catching.
Step 5 Start with a pea-sized amount
Put a pea-sized amount of oil into one palm and rub your palms together until both look glossy but nothing pools in the creases. That’s enough for fine or shoulder-length hair. For long, thick or coily hair, split your hair into four sections and use a pea-sized amount for each section.
Oil spreads much farther than it looks, and whatever your hair can’t hold sits on the surface, making hair look greasy and harder to wash clean. Add another drop only if your ends still feel rough after the first pass.
Step 6 Work it from mid-lengths to ends
Apply the oil to your ends first, because they’re the oldest and driest part of each strand, then smooth what’s left on your palms up to the mid-lengths. Stop a few inches below the roots, or keep to the bottom half of your hair if it’s fine or your scalp gets oily, so the roots stay light.
Oil coats the outer layer of each strand, which slows moisture loss and helps hair reflect light, and one study found that oils can raise the hair’s moisture content. You’re done when the ends look glossy and feel supple, with no drips or clumped, wet-looking strands.
Step 7 Leave it on 20 to 60 minutes
Clip your hair up loosely and cover it with a shower cap or an old T-shirt so the oil stays on your hair and off your clothes and sofa. Fine hair needs only about 20 minutes. Thick, coarse or coily hair can stay closer to an hour, since drier strands get more from the extra time.
The 20-to-60-minute window comes from the dermatologist guidance; overnight oiling is popular but isn’t part of it, and it’s hard on pillowcases. If you want a heated, deep-conditioning session, that’s a hot oil treatment, which is a separate routine with its own steps.
Step 8 Shampoo it out in two rounds
Massage shampoo through the oiled lengths and rinse, then shampoo a second time. Oil cuts down lather, so the first round barely foams and the second foams normally, which tells you most of the oil is gone. Focus both rounds on the lengths and ends where the oil is, and use a color-safe shampoo if your hair is dyed.
Follow with a little conditioner on the ends only, or skip it if they already feel soft. Once your hair is dry, run your fingers down a section: clean hair moves freely, with no slick film or heavy, stringy strands near the roots.
Step 9 Finish with a drop on dry ends
Between pre-wash sessions, a finishing oil on dry, styled hair adds shine and tames flyaways. It never gets rinsed out, so the dose is tiny: one or two drops rubbed between your palms. Fine hair usually needs just one drop smoothed over the ends, while thick or coily hair can take two or three spread over the lengths.
Start at the ends and stop well below the roots, because oil there shows as shine rather than grease. If your hair looks limp or flat afterward, you used too much, so halve the amount next time.
Common Mistakes to Avoid
- Massaging oil into a flaky or itchy scalp, when dermatologists advise anyone prone to dandruff to skip oils and see a doctor instead.
- Using a palmful instead of a pea-sized amount, which leaves hair greasy and takes several shampoos to remove.
- Rinsing with water alone or one quick shampoo. Oil cuts down lather, so a single round usually leaves a slick film behind.
- Oiling fine hair several times a week, which builds up into limp, flat lengths that need a clarifying shampoo to reset.
- Expecting oil to mend split ends or grow hair. It only makes splits look smoother for a while, and a trim is the only real fix.
Pro tip Put your first round of shampoo on the oiled lengths before you wet them. Oil and water don’t mix, so undiluted shampoo grabs the oil much better; then add water, lather and rinse, and the second wash will foam right away.
The Bottom Line
Done right, oiling leaves your hair softer and shinier, with smoother-looking ends and roots that still move. Keep the routine simple: a pea-sized amount on brushed, dry hair, mid-lengths to ends, 20 minutes to an hour, two rounds of shampoo, and a weekly schedule you adjust to how your hair feels. If it turns limp or coated, clarify once and space your sessions further apart.
If your scalp is flaky, itchy or red, see a dermatologist rather than reaching for more oil. If split ends keep snagging, book a trim, because oil only hides them for a while. For a heated, deeper session, add an occasional hot oil treatment to this routine.
Frequently Asked Questions
Should you put oil on your scalp or just your hair?
Experts disagree. Cleveland Clinic dermatologist Dr. Khetarpal advises against oiling the scalp because it may raise the risk of seborrheic dermatitis. Dermatologists quoted by Goop say scalp oiling can help dry or textured hair, using jojoba about twice a week. Mid-lengths to ends is the safe default, and anyone with dandruff or a flaky scalp should skip scalp oil and see a dermatologist.
How often should you oil your hair?
Once a week is the safe default, since sources disagree. Fine or straight hair rarely needs more, while thick, coarse or coily hair can handle once or twice a week. If your hair looks limp, coated or greasy a day after washing, that's buildup: wash once with a clarifying shampoo, then oil less often.
What can oiling actually do for your hair?
Oil adds shine, softens the lengths and reduces moisture loss, and one study found coconut oil strengthens hair fibers. It makes split ends look better, but only temporarily, so a trim is still the fix. The claim that almond oil shields hair from UV rests on limited evidence. No oil makes hair grow faster: hair grows about half an inch a month either way.
Is it better to oil your hair before or after washing?
Both work, but they do different jobs. Pre-wash oiling is the deeper weekly treatment: a pea-sized amount on dry hair, left 20 to 60 minutes, then two rounds of shampoo. A finishing oil is one to three drops on dry, styled ends, left in, for shine and flyaways. Because it stays in, use much less of it.
Which hair oil is safe if you have a nut allergy?
Skip almond oil, which comes from a tree nut, and sesame oil, a common seed allergen. Jojoba and grapeseed come from seeds rather than nuts. Argan is pressed from the kernel of the argan nut, so check with your allergist first. Whatever you choose, patch-test it on your inner forearm for 24 to 48 hours before oiling your hair.
Keep Reading
Sources
- Oiling hair health.clevelandclinic.org
- Scalp oiling goop.com