Quick answer To refresh old braids, clarify your scalp, mist the lengths with water and smooth on alcohol-free mousse. Tuck knotless flyaways with a crochet hook, gel and band the roots only on larger box braids with an inch of new growth, then tie on a satin scarf until fully dry.
By about week three, even a neat install starts to show its age. Frizz builds up along the lengths, the parts go fuzzy, loose hairs poke out of knotless bases and a soft band of new growth appears at the roots. You don’t need to book another long install to fix any of that: you can refresh old braids at home, usually in under an hour, often with products you already own.
What matters is matching the fix to your braids. Every refresh runs in the same order: check your roots, clarify the scalp and smooth on water and alcohol-free mousse.
Then add only the extra fix your braids need, whether that’s a hot towel, a crochet hook for knotless braids, gel and bands for medium-to-large box braids with an inch of new growth, or a perimeter-only rebraid for small braids. Every version ends with laid edges and a scarf, and the first step tells you when to take your braids down instead.
Time 15 minutes for a quick fix, up to 2 hours for a perimeter rebraid, plus drying timeDifficulty IntermediateSteps 7
Which Braid Refresh to Use
| Your braids | Refresh method | Skip it if |
|---|---|---|
| Every install, any size | Water + alcohol-free mousse, then scarf | Never; clarify buildup first |
| Fuzz that won’t lie flat | Add a 10-minute hot towel | Scalp is tender or irritated |
| Knotless, loose hairs | Add a crochet-hook tuck | Roots loosening or hanging by strands |
| Medium-to-large box, 1+ inch growth | 4:1 water-conditioner, gel, rubber bands | Under 1 inch of new growth |
| Small, too frizzy for mousse | Perimeter-only rebraid | Hairline sore, bumpy or thinning |
What You’ll Need
As an Amazon Associate, HairAide earns from qualifying purchases. Product links in this guide are affiliate links: they cost you nothing extra and help keep these tutorials free.
- Alcohol-free foaming mousse Lays frizz flat along the lengths with light hold, without the drying alcohols that make braided hair brittle.
- Scalp purifier or clarifying scalp spray for braids Clears flakes and product buildup along the parts so no new product gets layered over residue.
- Latch hook or crochet hook for braids Pulls loose knotless hairs back inside the braid without taking the braid down.
- Non-drying edge control with a soft edge brush Smooths and shapes the hairline with hold that won’t flake or dry out fragile edges.
- Silk or satin scarf and satin bonnet The scarf sets the refresh while it dries, and the bonnet protects the braids from cotton friction overnight.
Step-by-Step
Step 1 Check your roots before anything else
Before you reach for any product, lift a few braids at the hairline, crown and nape and look closely at the base of each one. Measure the new growth with a ruler. Hair grows about half an inch a month, so an inch usually shows up around the two-month mark, and that number decides which of the refreshes below you can safely use.
Next, check for the signs that mean takedown, not refresh: soreness or small bumps along the hairline, roots that feel matted or are starting to lock, braids hanging by a few strands, or edges that look thinner than they did at install.
If you see any of these, skip every refresh below, because gel, bands or new braids on stressed roots add tension exactly where the hair is already breaking. You’re ready to move on once you know your new-growth length and have ruled out every warning sign.
Step 2 Clarify the scalp and parts first
Fill an applicator bottle with a scalp purifier or a clarifying scalp spray made for braids. Apply it straight along each part, work it in with your fingertips, then wipe the parts with a cotton pad or a clean cloth. This lifts the flakes, sweat and old product that collect at the base of braids over a few weeks.
Never layer mousse, gel or oil over buildup: it traps the residue against the scalp, leaves a white film on dark braids and makes the roots look duller, not fresher. You’re done when the cotton pad comes away clean. Let the scalp dry for a few minutes before the next step.
Step 3 Smooth every braid with water and mousse
Every refresh starts here, whatever your braid size or type. Mist the lengths with plain water from a fine-mist bottle until they’re damp but not dripping, then smooth a golf-ball-sized amount of alcohol-free mousse down each section, root to tip.
The water makes the raised hairs easier to smooth, and the mousse’s light hold lays them back against the braid as it dries. Alcohol-free matters because drying formulas make hair more brittle and more likely to break where your own hair meets the extension.
If the scalp still shows buildup, go back and clarify first, and if you’re planning a perimeter rebraid, leave the braids along the hairline and part for now, since they’re coming down anyway. Don’t tie the scarf yet: it goes on after any extra fix below, so everything sets under it together.
This step is done when the surface of each braid looks smooth and a little glossy, and for light frizz that’s often the whole job, so you can go straight to the edges and scarf.
Step 4 Pick a quick fix for leftover frizz
Look over the braids once the mousse is on. If they’re smooth, skip this step; if not, pick the fix that matches what you see, because extra handling you don’t need only raises fresh frizz.
For fuzz that won’t lie flat on braids of any size, wring out a small towel soaked in hot-but-comfortable water and wrap it around the lengths for about 10 minutes, or drape it over the whole head under a shower cap, pressing rather than rubbing.
The warmth and moisture soften the raised hairs so they settle into the damp mousse instead of springing back; it’s done when the braids look flat as you unwrap them, and you should skip it on a tender or irritated scalp.
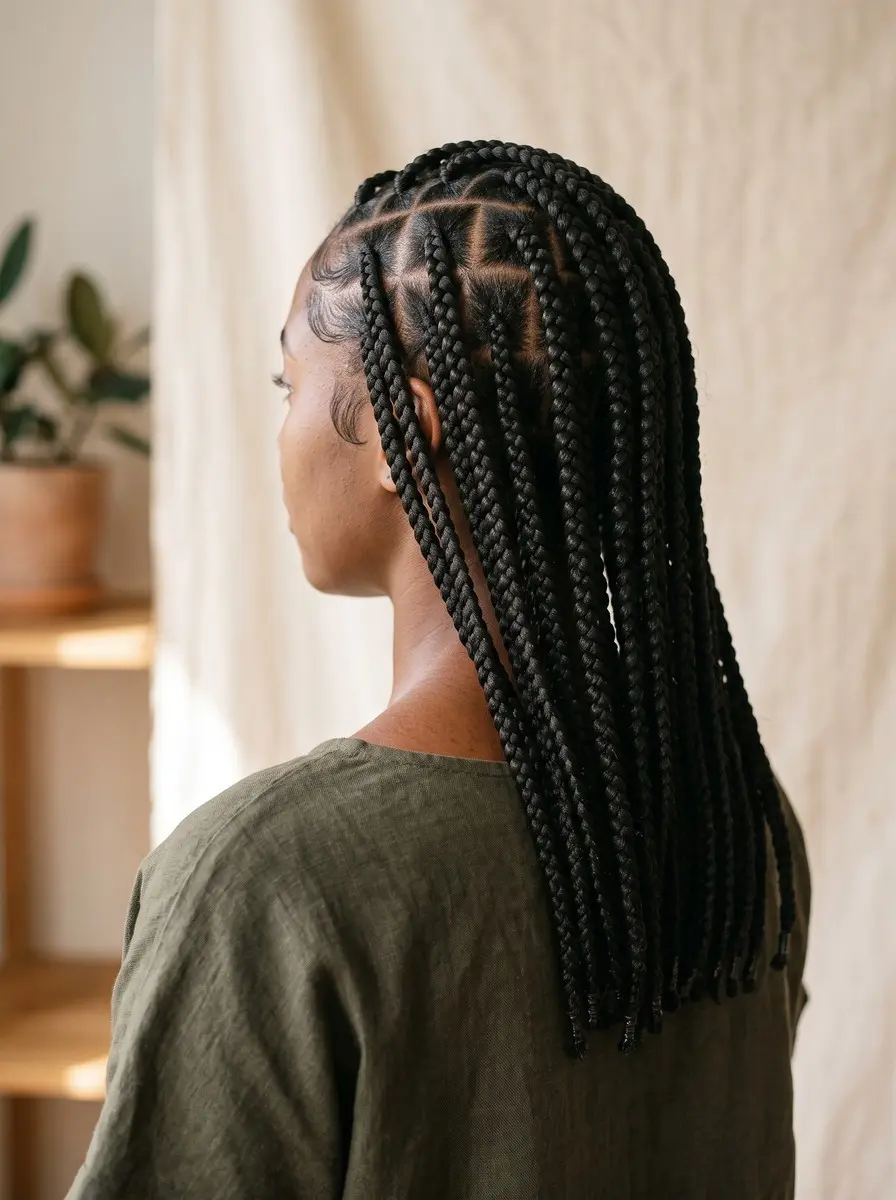
For knotless braids with loose hairs, push a small latch or crochet hook through the braid just above a stray hair, catch it in the latch and draw it back inside, then smooth a dab of mousse over the spot. It’s done when no loose hairs catch as you run a finger down the braid.
The tuck holds for one to two weeks before takedown, so treat it as a last refresh, and skip it on braids that are loosening at the root or hanging by a few strands, since pulling on them adds tension where the base is already weak.
Step 5 Refresh the roots by braid size
Only braids with visible new growth need this step, and the method depends on braid size; if neither case below fits, leave the roots alone. Medium-to-large box braids with at least 1 inch of new growth can take gel and bands, but with less, the band sits too close to the scalp and leaves the roots too tight.
Mix 4 parts water to 1 part conditioner in a spray bottle and mist the new growth until it feels soft and pliable, massage a few drops of light oil into the scalp only, then smooth a little gel over the new growth and wrap a small rubber band where it meets the braid, which holds the new growth flat while the gel sets.
Leave the bands on while the gel dries under the scarf in the next step, at least an hour, and snip them only once the roots feel firm and fully dry, cutting each band rather than dragging it down the braid.
Small braids too frizzy for mousse get a perimeter-only rebraid instead: take down just the braids along the hairline and either side of the part, detangle the new growth with conditioner-dampened fingers, rebraid with extension hair matched to your install, and smooth a little mousse over them.
Those braids do almost all of the visual work, while redoing the whole head costs hours and adds tension. Skip the rebraid if the hairline is sore, bumpy or thinning; it’s done when the outer row matches the size and part pattern of the rest.
Step 6 Lay your edges and tie the scarf
This is the last active step for every refresh, whichever fix you chose. If the mousse has already dried while you worked, mist the lengths lightly with water first so the scarf can press them flat.
Brush a small amount of non-drying edge control along the hairline and shape the edges with a soft edge brush, keeping the strokes light so you’re styling the baby hairs, not pulling on them. Then tie a silk or satin scarf over the whole head, snug but not tight, so its gentle pressure holds the mousse, gel and edges flat while they dry.
Leave it on for at least 30 minutes and take it off only when the hair is 100% dry: touch the roots first, and if they feel cool or damp, put the scarf back on, because taking it off early lets frizz spring back and leaves damp hair inside the braids, which is how that musty smell starts.
If you banded the roots, snip the bands only after the scarf comes off and the gel feels firm.
Step 7 Protect the refresh between sessions
Sleep in a satin bonnet or on a satin pillowcase every night, because cotton rubs against the braids and pulls up the frizz you just smoothed. Every few days, mist the lengths and scalp with a water-based braid spray instead of heavy oils, which sit on the hair and build up at the roots.
If your scalp feels dry, a few drops of light oil massaged into the parts is plenty. With friction and buildup kept down, the smoothed finish lasts much longer, so you’ll need the next mousse spritz in a week or two instead of a few days.
Common Mistakes to Avoid
- Spraying mousse, gel or oil straight over scalp buildup instead of clarifying the parts first, which traps the residue and makes the roots look duller.
- Doing every fix on the same head instead of only the one your braids need, which piles on product and handling and raises fresh frizz.
- Using the gel-and-rubber-band root refresh with less than an inch of new growth, which leaves the roots pulled too tight.
- Reaching for heavy oils or alcohol-based sprays: oils build up at the roots, and drying formulas make braided hair more likely to break.
- Taking the scarf off or snipping the bands while the roots are still damp, so frizz springs back and moisture stays trapped inside the braids.
- Rebraiding every small braid on the head instead of just the hairline and part, which adds hours and extra tension.
- Refreshing braids that are already sore, bumpy or hanging by a few strands instead of taking them down.
Pro tip Take a photo of your hairline on install day and compare it each time you refresh. If the edges look thinner or you spot small bumps, that’s your signal to take the braids down, and no amount of edge control should cover it up.
The Bottom Line
A good refresh leaves your braids smooth along the lengths, clean at the parts and neat at the hairline, close to how they looked the week you got them. To keep that finish, sleep in a satin bonnet, mist with a water-based braid spray every few days, and repeat the mousse spritz whenever frizz creeps back.
A refresh gives you a neater look, not unlimited wear time. If you’ve already done the full root refresh and the new growth is pulling away again, or you notice soreness, bumps, matted roots or thinning edges, it’s time to take the braids down and give your hair a rest. Book a stylist for the reinstall, and for any hairline that looks thinner than it did.
Frequently Asked Questions
How often can I refresh my braids?
Do the mousse-and-water spritz whenever frizz shows up, usually about once a week, and tie a silk or satin scarf on afterwards. Save the gel-and-rubber-band root refresh for medium-to-large box braids with at least an inch of new growth. Hair grows about half an inch a month, so that's usually around the two-month mark, which makes the full refresh a one-time fix for most installs.
Can you refresh braids without redoing them?
Yes. Clarify the parts, mist the lengths with water and smooth on alcohol-free mousse, then tie a silk or satin scarf until the hair is completely dry. A crochet hook tidies knotless braids. Only small braids that are too frizzy for mousse need any rebraiding, and then just the braids along the hairline and part, not the whole head.
Should I put oil on old braids?
Limit oil to a few drops of a light oil massaged into the scalp. Heavy oils sit on the braids and collect at the roots as buildup, which makes braids look dull and can leave the scalp itchy. For moisture between refreshes, a water-based braid spray and an alcohol-free mousse do more good without leaving residue.
Does refreshing braids mean I can keep them in longer?
A refresh improves how braids look, not how long the hair underneath can safely stay braided. Buildup, matting at the roots and tension keep building however neat the surface looks. Take them down if you notice soreness, small bumps along the hairline, roots starting to lock or braids hanging by a few strands, and see a stylist or dermatologist if your edges look thinner.
How long should the scarf stay on after refreshing braids?
Leave the silk or satin scarf on for at least 30 minutes, and keep it on until the hair is 100% dry. Check by touching the roots, which dry last. Taking it off early lets frizz lift before the mousse or gel has set and leaves damp hair trapped inside the braids, where it can start to smell musty.
Keep Reading
Sources
- How to fix frizzy braids curlcentric.com
- 3 easy ways to refresh your knotless braids 37597cf1 d0d0 4d52 8ba8 ce75f100c835 glamour.co.za