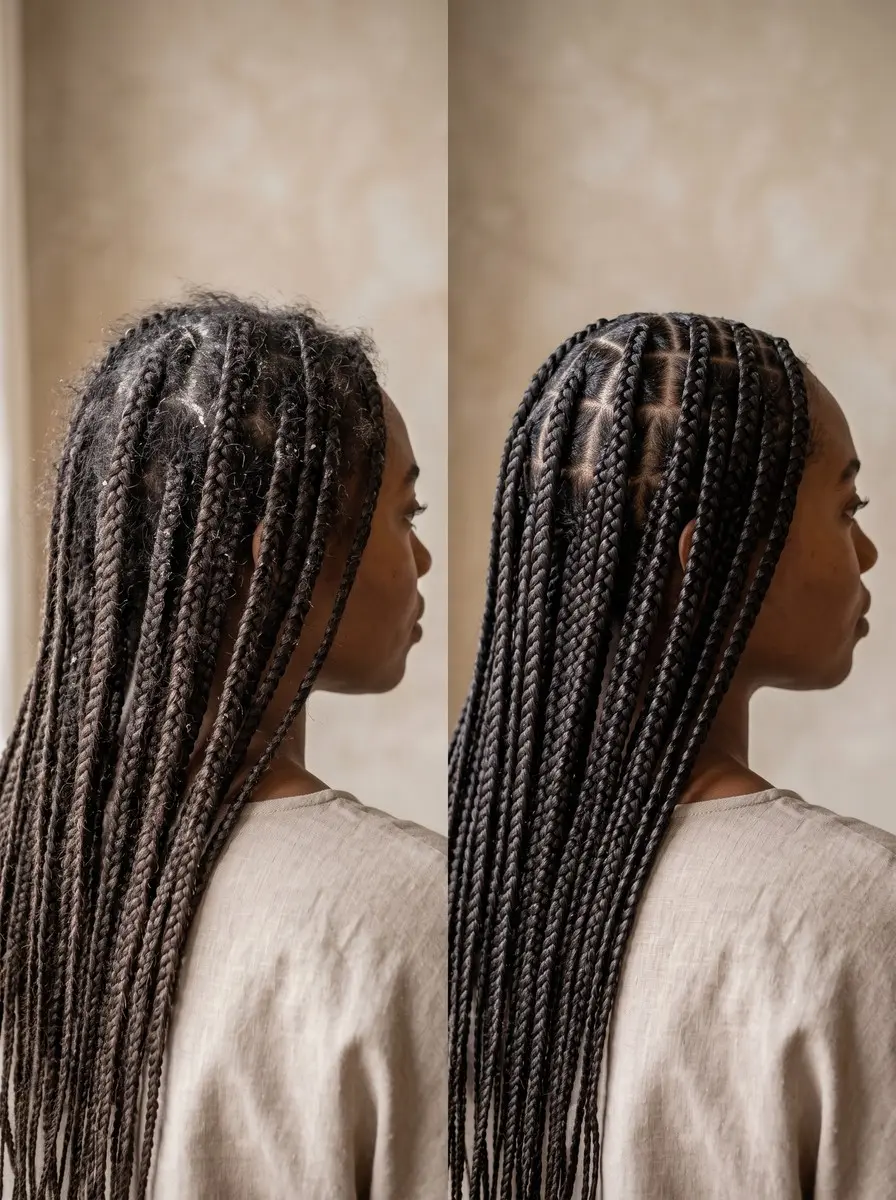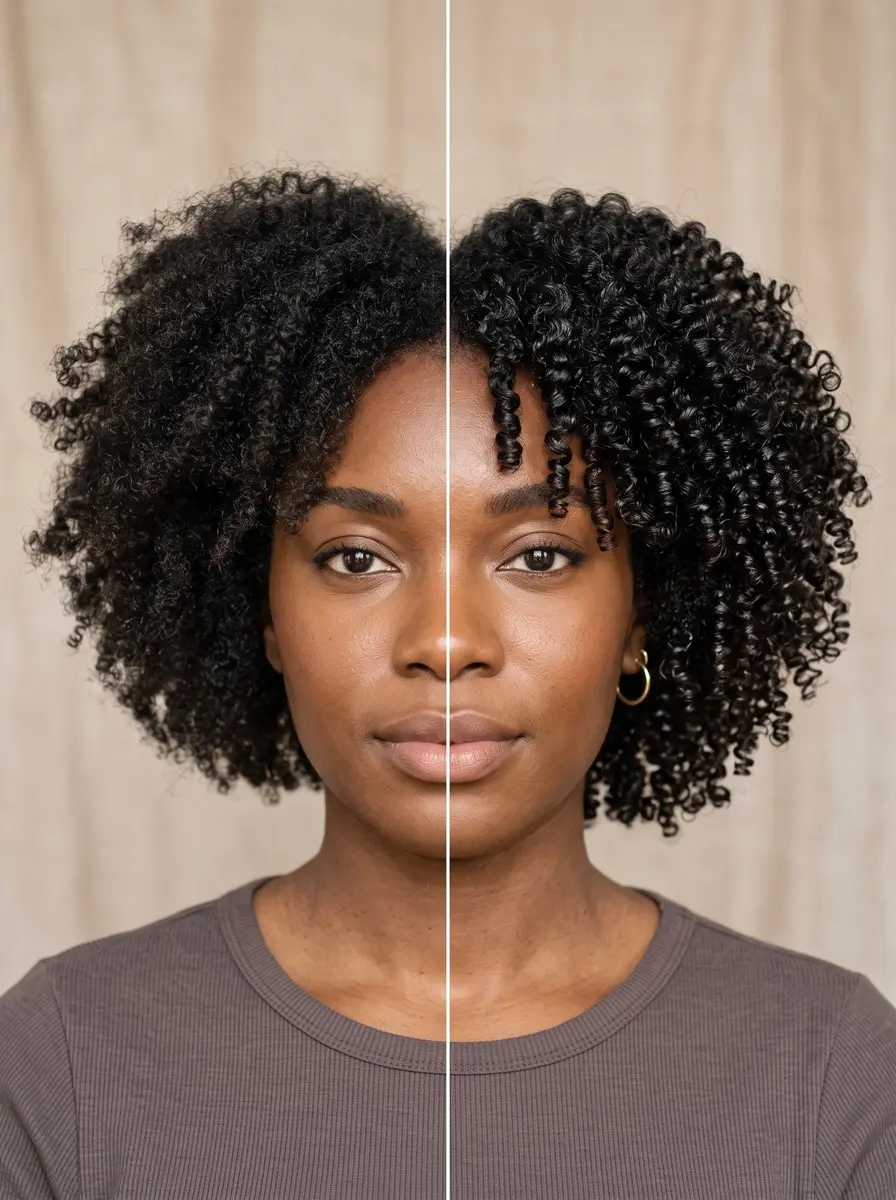
Quick answer To do a wash and go on 4c hair, start with clean, detangled hair and keep it soaking wet. Work a light leave-in through small sections, then gel, until the coils clump. Diffuse or use a hooded dryer without touching, then break the cast once fully dry.
A wash and go sounds like the easiest style there is: wash, add product, walk out the door. On 4c hair it rarely works that way. Coils shrink, clump unevenly and frizz before they dry. Any knots you missed on wash day turn up three days later at the nape. Most wash-and-go advice was written for looser curls, so it doesn’t help much either.
The fix is to stop chasing someone else’s curl pattern. A 4c wash and go defines the coils you actually have, and shrinkage is part of the result, not a sign you failed. What makes the difference is water, product weight, small sections and drying without touching.
Below is the full sequence with the reason behind each step, plus how to make your definition last through the week. All of it is doable at home with a few products and an afternoon.
Time 2-3 hours, including dryingDifficulty IntermediateSteps 8
Choosing Wash-and-Go Products for 4c Hair
| Product | What it does | On wash day |
|---|---|---|
| Gel | Clumps coils and sets the cast | Essential, applied last |
| Water-based leave-in or light curl cream | Adds slip and softness under gel | Pea-to-almond amount per section |
| Mousse | Slip with very little weight | Swap in for fine strands |
| Heavy butter or thick cream | Weighs coils down, blocks clumping | Skip |
What You’ll Need
As an Amazon Associate, HairAide earns from qualifying purchases. Product links in this guide are affiliate links: they cost you nothing extra and help keep these tutorials free.
- Strong-hold curl gel Clumps the coils and dries into the cast that holds definition for days.
- Water-based leave-in conditioner Gives slip and softness under the gel without the weight of a butter.
- Soft-bonnet hooded dryer attachment Dries dense coils evenly and hands-free, so the cast sets before frizz can form.
- Wide-tooth detangling comb Works through knots in conditioner-soaked sections so you start from a tangle-free base.
- Satin-lined bonnet Cuts friction overnight so your clumps last to day three and beyond.
Step-by-Step
Step 1 Start from a clean, detangled base
Shampoo or co-wash to clear the scalp, then soak your hair in a slippery rinse-out conditioner. Detangle in four to six sections with your fingers or a wide-tooth comb before you rinse. Working through knots while the conditioner is still in gives the coils slip, so they release instead of snapping.
This matters more for a wash and go than for most styles, because any knots and shed hairs you leave behind sit untouched for days and tighten into tangles. You’re done when your fingers glide from root to end in every section without catching.
Step 2 Keep hair soaking wet and sectioned
Skip the towel and squeeze out only the heaviest drips. Clip your hair into six to eight sections and keep a full spray bottle within reach. Water is what lets 4c coils find their clumps and spread product evenly, which is why experts recommend styling while the hair is very wet; if a section starts to dry, re-wet it before adding anything.
Some 4c textures clump better when only damp, so on your first try, style one half soaking wet and the other half damp, then compare once dry. Whichever wins, you’re ready when every section is evenly wet, not dripping in some places and drying in others.
Step 3 Layer a light leave-in, skip the butters
Smooth a thin layer of water-based leave-in conditioner or light curl cream through each section, about a pea-to-almond-sized amount per section rather than a palmful. This layer adds slip and softness under the gel, which helps dense coils that can feel stiff with gel alone.
If your strands are fine, a mousse gives the same slip with even less weight.
Avoid thick butters and heavy creams on wash day: they coat the coils, weigh them down, keep them from springing into clumps and can stop the gel from gripping evenly. You’re done when each section feels slippery and soft but not greasy, and the coils still spring back when you let go.
Step 4 Work gel through small sections
In sections no wider than two fingers, apply gel from root to tip, misting with water as you go. Keep smoothing until the gel almost emulsifies: it stops looking like a blob and becomes a slick, even coating you can barely see.
At that point the gel has spread down every strand, and the coils start pulling together into defined clumps on their own.
Small sections matter on dense 4c hair because in a large section the gel sits on the surface while the coils underneath stay bare and frizz. Check each section for white residue or dry patches before you clip it away and move on, paying extra attention to the crown and nape.
Step 5 Shape the hair and band for length
Once every section is done, unclip, gently shake your head or lift at the roots to place your volume, then stop handling the hair. If you want more visible length, loosely band a few sections from root toward the ends with soft, snag-free hair ties before drying.
The light tension stretches the coils without heat, though the banded parts will dry slightly looser than the rest. Banding is optional, so skip it if you love your full, shrunken shape. Either way, this is the last time you touch the hair until it is completely dry.
Step 6 Dry with a diffuser or hooded dryer
Sit under a hooded dryer, or use a diffuser on low speed, cupping the hair toward the scalp and holding it still rather than scrunching or moving it around. Faster drying sets the gel cast while the clumps are still intact.
Left to air-dry, dense 4c hair can stay damp for many hours, which gives the coils more time to frizz, shrink unevenly and get flattened as you move around.
Don’t touch, separate or test the hair with your fingers while it dries, because a half-set cast breaks into frizz. It’s done when your whole head feels hard and evenly cast, with no cool, damp spots at the crown, the nape or behind the ears.
Step 7 Break the cast and embrace shrinkage
Only when the hair is completely dry, rub a few drops of lightweight oil between your palms and gently squeeze the hair upward, section by section, until the crunch softens and the clumps feel soft.
Squeeze rather than rake: running your fingers through the clumps or picking them apart is what turns a defined wash and go into a frizzy halo, so for extra volume, lift only at the roots with a pick and leave the lengths alone.
Expect shrinkage: your coils will look much shorter than their stretched length, which is simply how 4c hair behaves and not a sign anything went wrong. For a little more hang, a few seconds of cool air over gently stretched ends, once the hair is fully dry, can help them fall longer without disturbing the clumps.
Step 8 Refresh, protect and know when to rewash
At night, cover your hair with a satin bonnet or sleep on a satin pillowcase. If your hair is long enough, gather it loosely on top of your head first so the lengths aren’t crushed.
On day two or three, mist each section with water (or water mixed with a little leave-in), smooth your palms over it to reactivate the gel, add a dab of fresh gel only where clumps have frizzed, and let it dry untouched.
This works because the wash-day gel is still in the hair and holds again once it’s rewet. Plan to wash it out within about a week, because coils left clumped much longer start to mat at the nape, and tangles there are hard to undo.
Common Mistakes to Avoid
- Towel-drying or letting the hair go damp before the gel goes on, so the coils dry apart instead of clumping.
- Using thick butters or heavy creams as the base layer, which weighs the coils down and stops defined clumps forming.
- Touching, fluffing or breaking the cast before the crown and nape are completely dry, which turns clumps into frizz.
- Applying gel to large sections, leaving the coils underneath bare and the definition patchy.
- Raking fingers through the clumps or picking out the lengths for volume instead of lifting only at the roots.
Pro tip Before you break the cast, feel the crown, the nape and behind the ears with the back of your hand. Those spots dry last, and if they still feel cool they’re still damp. Break them early and that’s where the frizz starts.
The Bottom Line
Done well, a 4c wash and go gives you soft, glossy, clearly defined coils with shrinkage you can work with rather than fight. Most of the result comes from the unglamorous parts: a thorough detangle, plenty of water, small sections and the patience to keep your hands off until the cast is fully dry.
Refresh between washes, protect your hair at night and rewash within about a week. If the definition stays patchy after a few tries, or you find knots or breakage you can’t work loose, see a stylist who specializes in tightly coiled hair. They can trim out single-strand knots and suggest products that suit your hair’s porosity.
Frequently Asked Questions
How long does a wash and go last on 4c hair?
Many 4c wash and gos last three to five days with nightly satin protection and a quick refresh on day two or three. Definition softens a little each day as clumps loosen and frizz builds. Try not to stretch it much past a week, because coils left clumped for longer start to mat and knot, especially at the nape.
Why does my 4c wash and go come out undefined?
The usual causes are hair that was too dry when the gel went on, sections that were too large, heavy butters or creams weighing the coils down, or product buildup that stops the gel gripping. Clarify on your next wash, keep the hair soaking wet, work in smaller sections, and compare damp and wet application to see which your texture prefers.
How do I get rid of crunch without causing frizz?
Crunch is the gel cast, and it should stay until the hair is completely dry. Then break it by squeezing the hair upward with a few drops of light oil on your palms instead of raking through it. If crunch lingers after that, use slightly less gel or a softer-hold formula next time.
Do I need a heat protectant for a wash and go?
If you diffuse or sit under a hooded dryer, yes, because both apply heat to the hair. Work a heat protectant in with your leave-in before the gel (many leave-ins double as one, so check the label), and keep the diffuser or dryer on a low-to-medium heat setting. Both are meant for wet hair, straight after styling.
Can a wash and go cause knots and tangles on 4c hair?
It can if the base isn't fully detangled, if the style stays in too long, or if the coils are over-fluffed and rubbed against cotton. Tightly coiled hair is prone to single-strand knots, so detangle thoroughly before styling, sleep on satin and wash the style out within about a week. Trim knotted ends rather than picking at them.
Keep Reading
Sources
- Wash n go 4c hair guide spring essence.com
- The best techniques for defining 4c hair naturalandproud.com
- 4c hairstyles curlynikki.com