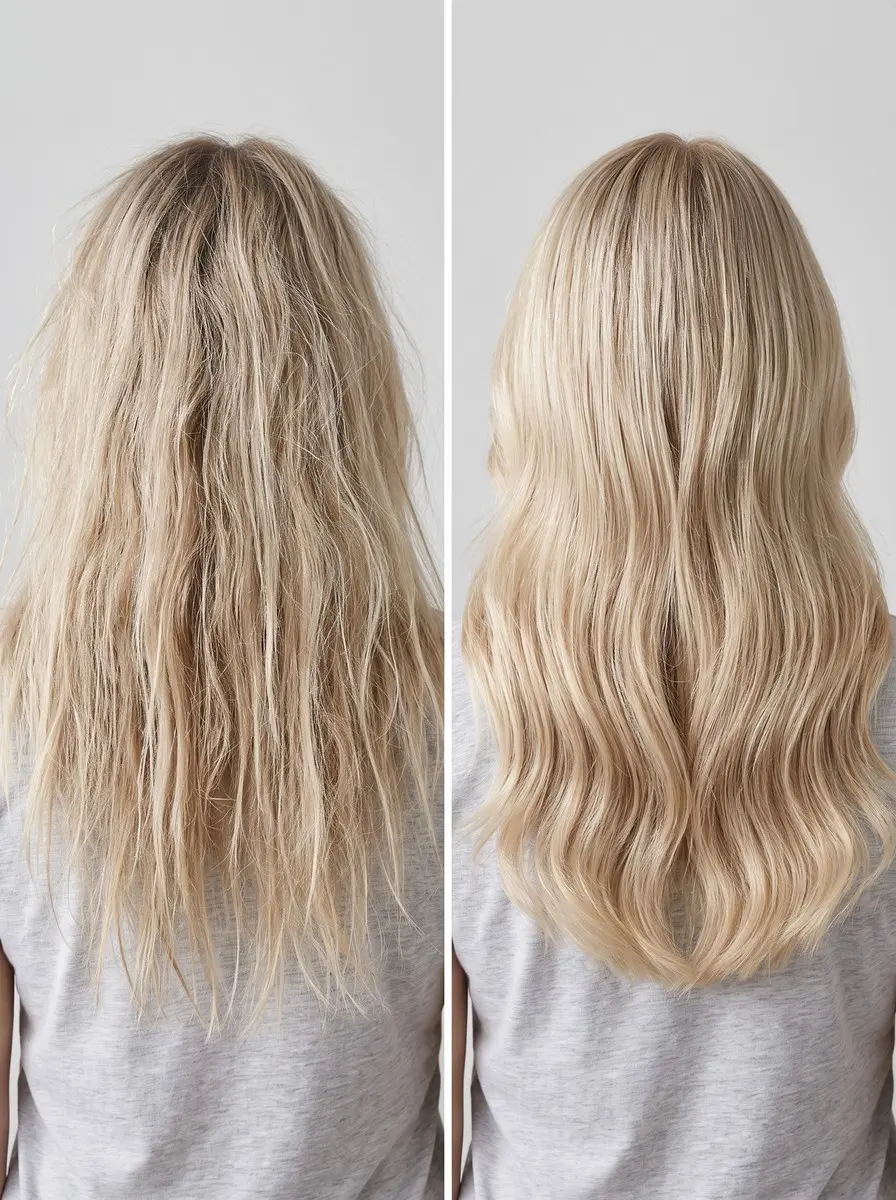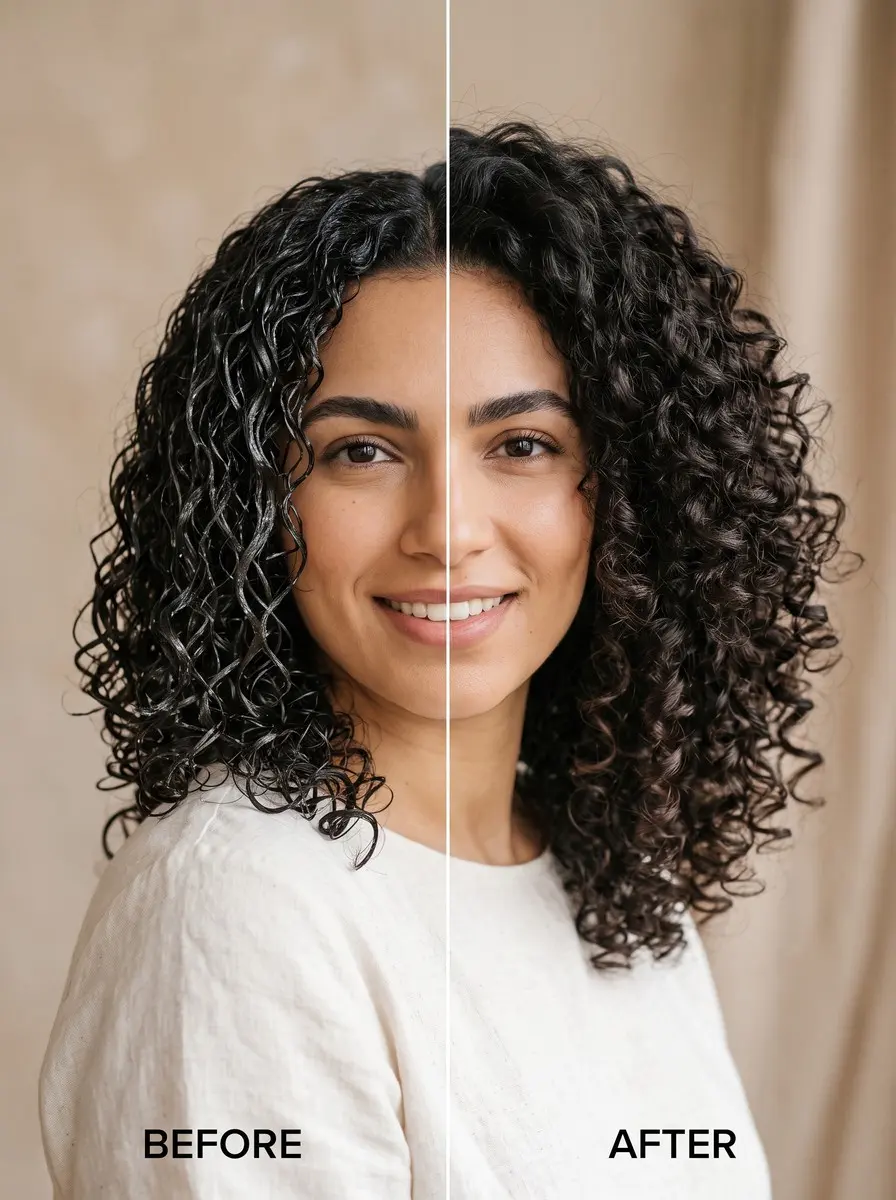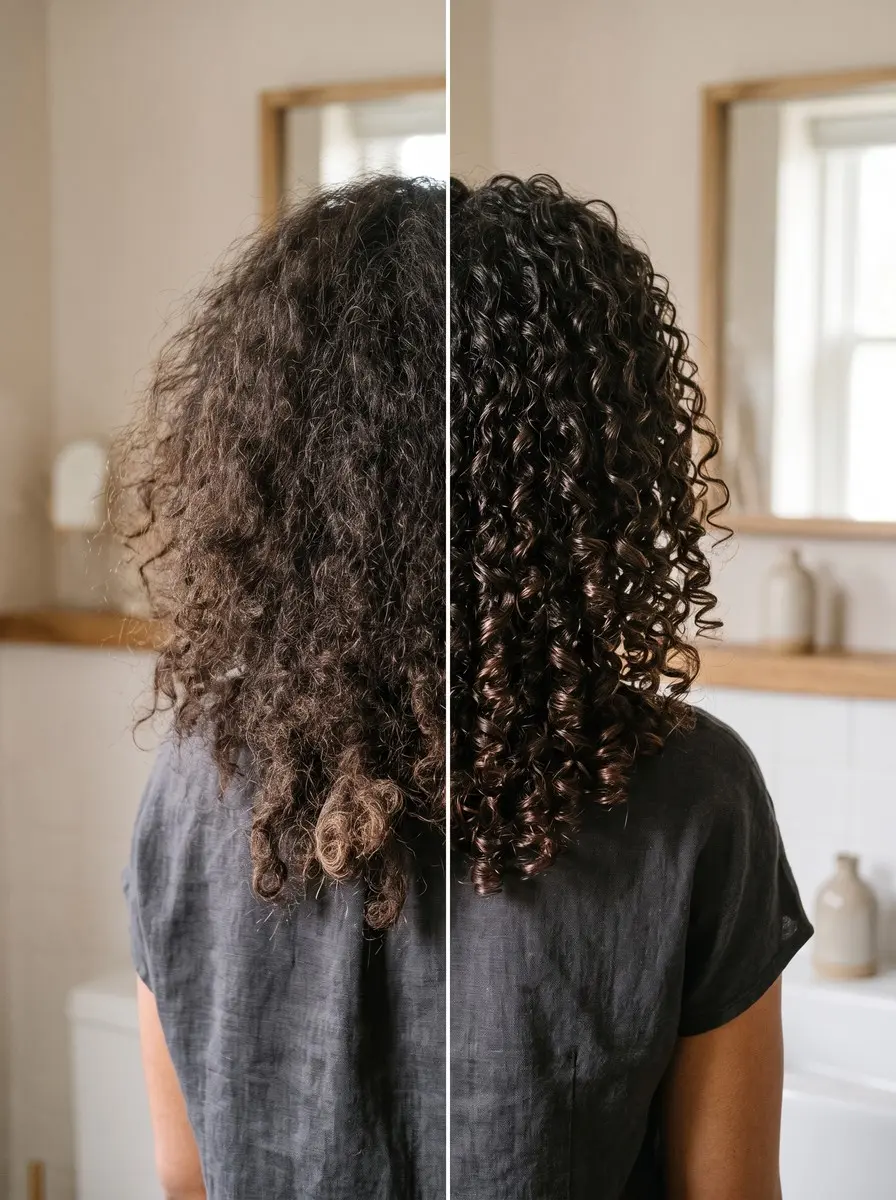
Quick answer To detangle curly hair, work on damp hair coated in conditioner or leave-in, split it into four to six clipped sections, and finger-detangle each one from the ends up before following with a wide-tooth comb or flexible brush. Twist each finished section so it can't re-tangle.
Detangling is the step where curly and coily hair is most likely to break. Curls wind around each other and hold on to the hair you shed every day, so by wash day the ends can hide a nest of knots. Dragging a comb through them dry, or from the roots down, snaps strands you have worked hard to keep.
The fix isn’t a miracle product. It’s doing the steps in the right order: slip first, then sections, fingers before tools, ends before roots. This guide takes you through that order step by step.
It also covers how the approach changes for waves, curls and 4A-4C coils, a simple rule for choosing fingers, a comb or a brush, and what to do about a section that has truly matted. It takes patience more than skill, and you can do all of it at home.
Time 20-60 minutes, depending on length and densityDifficulty BeginnerSteps 8
How to Detangle by Curl Pattern
| Hair type | Sections | Slip | Tool after fingers |
|---|---|---|---|
| Waves (2A-2C) | 4 | Conditioner in the shower or leave-in | Wide-tooth comb |
| Curls (3A-3C) | 4-6 | Conditioner in the shower or leave-in | Comb or flexible brush |
| Coils (4A-4C) | 6, smaller if dense | Water-based leave-in, damp not soaking | Comb or flexible brush |
| Matted section | Tiny pieces from the edge | Thick conditioner, reapplied | Fingers only |
What You’ll Need
As an Amazon Associate, HairAide earns from qualifying purchases. Product links in this guide are affiliate links: they cost you nothing extra and help keep these tutorials free.
- Seamless wide-tooth comb Its wide gaps let small tangles pass through and its seam-free teeth don’t snag strands, making it the safest tool for wavy, fine or fragile curls.
- Flexible-bristle detangling brush The bristles bend around knots instead of tearing through them, which speeds up dense hair once your fingers have loosened it.
- Water-based leave-in conditioner It gives damp hair the slip detangling depends on, and being water-based it suits 4A-4C coils that are detangled damp rather than soaking.
- Large sectioning clips They keep finished and waiting sections apart so damp, conditioned hair doesn’t wind back into the section you’re working on.
- Continuous-mist spray bottle It re-dampens a section evenly without soaking it when the leave-in starts to feel dry mid-detangle.
Step-by-Step
Step 1 Pick wash day or a pre-poo
Do one full detangle per wash day, either in the shower with conditioner in or as a pre-poo before you shampoo.
Choose the pre-poo if your hair knots during washing, which is common with long, dense or tightly coiled hair: shampoo strips the oils that help strands slide, and scrubbing winds loose curls around each other, so detangling first means you wash hair that’s already separated, ideally in loose twists or braids.
Choose the in-shower route if your hair comes out of shampoo with only light tangles, since rinse-out conditioner gives more slip than almost anything else in your routine. Either way, set aside unhurried time, because rushing is what turns a tangle into a broken strand.
Step 2 Coat damp hair in slip
Mist hair until it’s evenly damp, then work in a generous amount of rinse-out conditioner or leave-in until every strand feels slippery rather than squeaky.
Slip is the point: conditioner coats each strand so neighboring hairs, and the overlapping cuticle edges along them, slide past each other instead of catching, and dry curls break far more easily than damp, conditioned ones.
Waves (2A to 2C) and curls (3A to 3C) can be detangled in the shower with conditioner still in or on damp hair with a leave-in; coils (4A to 4C) do better damp, not soaking, with a water-based leave-in, because saturated coils shrink and clump together, which hides knots and makes them harder to separate. You’ve used enough when your fingers glide down a curl without dragging.
Step 3 Section and clip your hair
Part hair into sections and clip each one out of the way: 4 sections are enough for most wavy hair, curls usually want 4 to 6, and dense coils usually need 6, split smaller if a section is still too thick to see through.
Smaller sections let you see every knot and keep the work in front of you, and clipping the rest stops damp, conditioned hair from winding back into the section you’re working on. Work one section at a time and finish it completely before you unclip the next. It feels slower, but it is faster overall than chasing the same knots around a loose head of hair.
Step 4 Finger-detangle from the ends up
Hold the section a few inches above where you’re working, so any pull lands on your hand rather than your scalp, and use your fingertips to separate the bottom inch or two first. Ease curls apart sideways, slide out the loose shed hairs, and only move higher once the ends run free.
Starting at the ends matters because knots and shed hair collect at the bottom; begin at the root and every stroke drives them down into one tight knot. Your strokes still travel downward, the direction the cuticle scales lie, but each one starts a little higher until your fingers pass from root to tip without stopping.
Step 5 Follow with a comb or brush
Once your fingers glide through a section, go over it with a tool to catch the smaller tangles and shed hairs fingers miss, again starting at the ends.
Sources disagree on this step because both camps are right for different hair: fingers feel a knot and stop, so many stylists who work on tight coils rely on them almost entirely, while a tool removes shed hair more thoroughly and is far faster on long, dense hair.
Use this rule: a wide-tooth comb if your hair is wavy, fine, fragile or still snags, a flexible detangling brush if it’s dense and already loosened by your fingers, and the moment either tool catches, put it down and go back to your fingers with more slip. The section is done when the tool runs root to tip without resistance.
Step 6 Loosen matted spots in small pieces
A tangle loosens with slip and fingers; a mat feels felted and solid, and pulling at it only tightens it.
Saturate the mat with a thick conditioner and leave it 10 to 15 minutes to soften, then use your fingertips to tease single strands or tiny pieces out from the edge of the mat rather than trying to pull it apart from the middle. Reapply conditioner whenever it starts to feel dry, hold the hair above the mat so the tension stays off your scalp, and take a break if your scalp gets sore.
If the mat sits right at the scalp, is wider than a few fingers or hasn’t loosened after about an hour of patient work, book a stylist rather than reaching for scissors.
Step 7 Twist or clip each finished section
As soon as a section is fully detangled, twist it into one loose two-strand twist or a single twist, or clip it flat and out of the way. Detangled, conditioned hair re-tangles quickly when it brushes against sections you haven’t done, so securing it locks in the work.
Repeat the finger and tool passes on every remaining section, twisting each as you go. When the whole head is twisted you can rinse, wash or style straight from the twists, taking them down one at a time so the hair stays separated.
Step 8 Check the hair you removed
Before you style, look at the hair collected on your fingers, comb and towel. Curls hold onto shed hair until it’s detangled out, so a handful on wash day is usually normal shedding: shed hairs are full length with a small white bulb at one end.
Short pieces with no bulb are breakage, and a pile of them means you went too fast, used too little slip or worked on hair that was too dry. If the ends knot every single time despite plenty of slip, frayed, split ends are often the cause, and a light trim usually cuts down the tangling.
Common Mistakes to Avoid
- Detangling dry hair or hair without enough conditioner: dry curls catch on each other and snap instead of sliding apart.
- Starting at the roots and dragging a comb down, which pushes every knot and shed hair into one tight tangle at the ends.
- Forcing a comb or brush through a knot instead of putting it down and going back to fingers and more slip.
- Working the whole head at once, then leaving finished hair loose so it re-tangles with the sections you haven’t done.
- Combing or brushing dry curls between wash days, which breaks up curl clumps into frizz and snaps dry strands.
Pro tip Tiny beaded knots tied in a single strand, which stylists call fairy or single-strand knots, won’t come undone no matter how much conditioner you use. Snip just above each one with sharp hair shears instead of pulling, because pulling only snaps the strand higher up.
The Bottom Line
Done in this order (slip, sections, fingers, then a tool, ends first), detangling stops being the step that leaves a pile of broken hair in the sink. Do a full detangle once per wash day or during a pre-poo, twist each section as you finish it, and between washes separate curls with your fingers only rather than combing dry hair.
See a stylist if a mat sits at the scalp, feels felted solid or hasn’t loosened after an hour of slow work. The same goes when you take down a protective style you’ve worn for a long time and the hair near the roots has locked together. A professional can often save length you would otherwise lose to scissors, and can show you what your particular curl pattern needs.
Frequently Asked Questions
Is it better to detangle curly hair wet or dry?
Detangle damp hair coated in conditioner or leave-in. Dry curls break more easily because strands catch on each other without slip. Waves and looser curls can be detangled in the shower with conditioner in, while 4A to 4C coils usually do best damp rather than soaking wet, with a water-based leave-in, because saturated coils shrink and clump.
How often should you detangle curly hair?
Do one thorough detangle per wash day, which for most curly and coily hair means every few days to once a week. Between washes, separate curls with your fingers only. If you wear protective styles, detangle fully at takedown, before you shampoo, so washing doesn't lock the shed hair into knots.
Should I detangle curly hair with my fingers, a comb or a brush?
Start with your fingers every time, because they feel a knot and stop instead of ripping through it. Then use a wide-tooth comb if your hair is wavy, fine, fragile or still snags, or a flexible detangling brush if it's dense and already loosened. If either tool catches, put it down and go back to your fingers.
Why does so much hair come out when I detangle my curls?
Curls trap the hair you shed every day instead of letting it fall, so it all comes out at once when you detangle. Full-length hairs with a small white bulb at one end are normal shedding. Short pieces with no bulb are breakage. If shedding suddenly increases or you notice thinning patches, see a dermatologist.
When should you see a stylist for matted hair?
Book a stylist if the mat sits at the scalp, feels felted and solid, is wider than a few fingers or hasn't loosened after about an hour of patient work with conditioner. A stylist can work through a mat in stages and often saves length you'd otherwise lose. Avoid cutting a mat out with scissors at home.
Keep Reading
Sources
- How to detangle curly hair lorealparisusa.com
- How to detangle curls with fingers lorealparisusa.com
- How to detangle curly hair without damage us.lorealprofessionnel.com