Quick answer To use hair color remover, first confirm the dye was permanent, then patch-test and strand-test. Wash with clarifying shampoo, apply the freshly mixed remover in sections and process 20-30 minutes under a cap. Rinse thoroughly, often for 15-20 minutes, then deep condition.
A box dye that came out too dark, too flat or just plain wrong is one of the most stressful hair moments there is, and the urge to fix it tonight is strong. A hair color remover is often the right first move, because it breaks down permanent dye without bleaching your natural pigment. But it only works on certain dyes, and it rarely hands you back your original shade.
This guide starts with the step most people skip: working out what’s on your hair and whether you need a remover, a clarifying wash or a colorist. Then it walks through the patch and strand tests, mixing, application, the long rinse and the deep condition, with a safety check at each stage. Expect a warm result, and plan a toner or recolor afterwards. Done carefully, it’s a very manageable job at home.
Time About 2 hours, plus patch-test time beforehandDifficulty IntermediateSteps 9
Which Dyes a Hair Color Remover Can Lift
| Dye on your hair | Will a remover lift it? | Best first move |
|---|---|---|
| Permanent dye (mixed with developer) | Yes, it’s made for this | Color remover |
| Semi-permanent or bright direct dye | Generally no | Clarifying washes or a colorist |
| Henna | Generally no | Colorist consult |
| Metallic or ‘gradual’ dye | Don’t try at home | Colorist consult |
| Several layers of black box dye | Partly, often over rounds | Colorist opinion first |
What You’ll Need
As an Amazon Associate, HairAide earns from qualifying purchases. Product links in this guide are affiliate links: they cost you nothing extra and help keep these tutorials free.
- Hydrosulfite-based hair color remover kit It breaks down permanent oxidative dye and leaves natural pigment alone, so it’s gentler than bleach for undoing a box-dye mistake.
- Clarifying shampoo It clears buildup before the remover goes on and flushes out the loosened pigment during the long rinse.
- Applicator bottle, gloves and plastic processing caps The bottle lets you saturate each section evenly, and the cap stops the remover drying out while it processes.
- Hydrating deep-conditioning mask It brings back softness and slip after the remover leaves hair drier and rougher than usual.
- At-home demi-permanent color or toner kit Once your hair has rested, it corrects the warm base or recolors the emptied lengths, ideally in a shade a level or two lighter than your goal.
Step-by-Step
Step 1 Identify the dye on your hair
Start by working out what you’re removing, because a remover only works on one kind of color. Hydrosulfite-based removers break down permanent oxidative dye (the kind you mix with a bottle of developer) and leave your natural melanin alone. Bleach lifts both, so it carries more risk of damage.
Removers generally don’t touch semi-permanent or bright direct dyes, which fade with clarifying washes. They also won’t deal with henna or metallic ‘gradual’ dyes, which belong with a colorist. Several layers of black box dye may take more than one round, so get a colorist’s opinion before you start.
Step 2 Patch test and strand test first
Do a skin test behind your ear or on your inner elbow and leave it for as long as the package says. Skip the remover entirely if you get redness, itching or swelling. Then snip a small hidden section from underneath and run the whole process on it: mix a little remover, process, rinse and dry.
The strand shows how much dye lifts, what warm shade sits underneath and whether your hair stays strong. If the test strand feels gummy or mushy, or stretches without springing back, stop and book a colorist.
Step 3 Clarify, then skip the conditioner
Wash once with a clarifying shampoo to strip out silicones, oils and styling buildup. These can coat the hair and stop the remover reaching the dye. For the same reason, don’t follow with conditioner or a mask. Towel-dry and let your hair air-dry completely, since most kits go on dry hair (follow yours if it says damp).
Don’t scrub your scalp hard. Smooth a thin layer of petroleum jelly or barrier balm along your hairline and ears, keeping it off the hair, then put on gloves and an old towel and open a window. Hydrosulfite removers smell strongly of sulfur.
Step 4 Mix the remover just before applying
Measure the two parts into a clean applicator bottle exactly as the package says (usually equal amounts) and shake until fully blended. The reaction starts as soon as the parts meet, and the mix loses strength as it sits.
So only mix once your hair is sectioned and you’re ready, and never save leftovers for another day. If your hair is long or thick, you may need two kits. Buy both before you start rather than stretching one kit thin, because under-saturated sections lift unevenly.
Step 5 Apply in sections and saturate
Clip your dry hair into four sections, then work through each one in thin rows, applying remover from the bottle wherever the dye is. Start with the darkest or most layered areas, usually the mid-lengths and ends. Only go onto your regrowth if it was dyed too.
Saturate every strand rather than painting on a thin coat: the remover can only break down dye it touches, so patchy coverage gives a patchy result. Work quickly so the first and last sections process for roughly the same time.
Step 6 Cover and process for the full window
Once every section is saturated, loosely gather your hair and cover it with a plastic processing cap so the product doesn’t dry out. Set a timer for the time on your kit, typically 20 to 30 minutes, and don’t go over it.
Extra time adds dryness, not a better result. Halfway through, wipe one strand with a damp tissue to see how the color is changing. Mild tingling can be normal, but rinse straight away if your scalp burns or stings.
Step 7 Rinse longer than feels necessary
Rinse with lukewarm water for as long as your kit says, often 15 to 20 minutes, working the water through the roots and lengths the whole time. The remover shrinks dye molecules so they can wash out. But any left behind can re-oxidize and darken your hair again, especially once developer touches it.
Follow with two or three rounds of clarifying shampoo, or the kit’s own buffer or wash step, to flush out the loosened pigment. If your kit includes a test for leftover dye, do it now. If the test strand darkens, keep rinsing before you go any further.
Step 8 Deep condition and read your result
Apply a hydrating deep conditioner or mask from mid-lengths to ends and leave it on for the time on its label, since the process leaves hair drier and rougher than usual. Then let your hair dry and look at it in daylight.
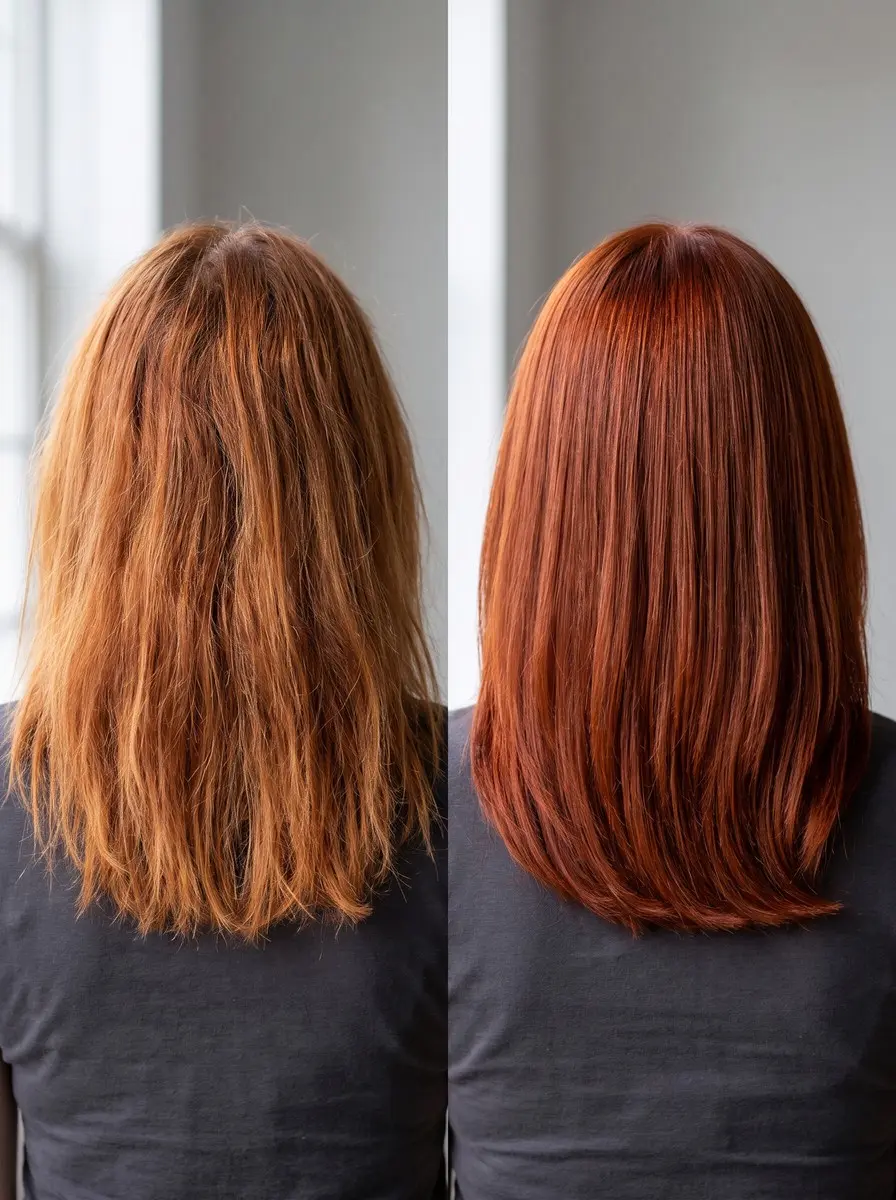
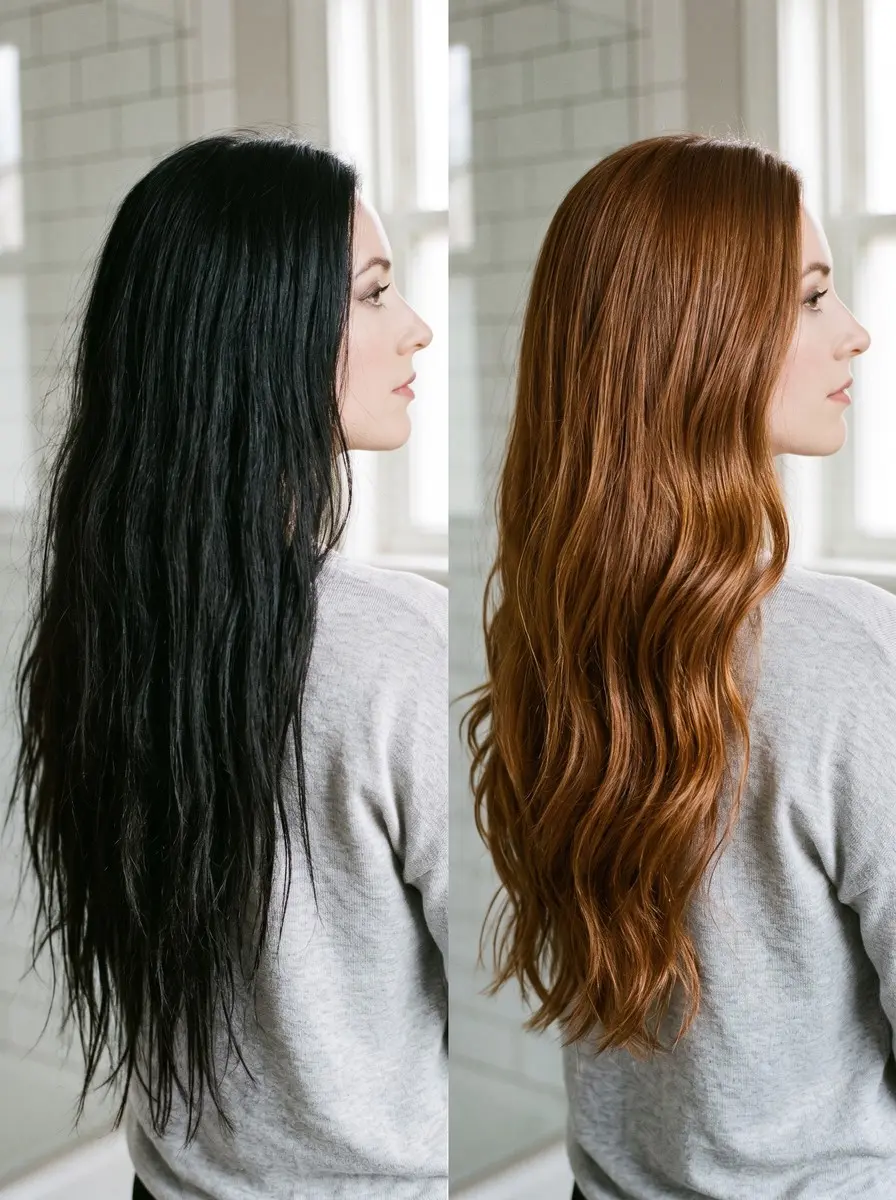
Expect a warm shade (orange, copper, red or golden yellow) rather than your old natural color. When permanent dye goes on, its developer usually lightens your natural pigment a little, and the remover reveals that lightened base. The warmth is normal, not a mistake, and it tells you what the next step needs to correct.
Step 9 Wait, then tone or recolor
Give your hair at least a day before any toner or dye, and longer if it feels dry. Never stack a second remover round, bleach or a vitamin C scrub onto the same day. If the warmth is the problem, a toner can fix it: violet cancels yellow, blue cancels orange and blue-green cancels red-orange.
Toner only neutralizes; it won’t lift. If you’re recoloring, pick a shade a level or two lighter than your goal and use a low-volume developer, because emptied, porous hair grabs color darker. Strand-test the new color first, since any dye the rinse missed can darken again under developer.
Common Mistakes to Avoid
- Using a remover on semi-permanent, henna or bright direct dye and expecting it to lift
- Cutting the rinse short, so leftover dye re-oxidizes and the hair darkens again
- Mixing the remover ahead of time or saving leftovers, when it starts losing strength as soon as the parts meet
- Skipping the strand test on hair that’s already dry, over-processed or layered with black box dye
- Stacking a second remover round, bleach or a vitamin C scrub onto the same day
- Recoloring straight away in your old shade, which porous, emptied hair grabs darker than before
Pro tip Photograph your rinsed, dried test strand in daylight next to your untouched roots. That warm shade, not the photo on the box, is your real starting level, and it’s what you should match your toner or new color to.
The Bottom Line
Used on the right dye, a color remover takes out permanent box color far more gently than bleach. It leaves a warm, lighter base that you can tone or recolor once your hair has had a day or more to recover. Keep the rinse long and the conditioning generous, and make the next color a shade or two lighter than you think you need.
Stop and book a colorist if your hair is already breaking or feels gummy, if you have several layers of black box dye, if henna or metallic dye might be involved, or if your scalp reacts at any point. A colorist can strip, fill and tone in one controlled plan, which often costs less than a string of at-home fixes.
Frequently Asked Questions
Does hair color remover damage your hair?
It's gentler than bleach because it targets artificial oxidative dye and leaves your natural melanin alone, but it's still a chemical process. Expect your lengths to feel drier and rougher afterwards, especially if your hair was already damaged or has been through several rounds. A deep conditioner straight after, plus at least a day's rest before any toner or dye, keeps the impact down.
Will color remover take my hair back to my natural color?
Usually not exactly. Permanent dye is mixed with developer, which usually lightens your natural pigment a little when it goes on. Removing the dye reveals that lighter, warmer base, often orange, copper, red or golden yellow. Any earlier bleach stays put too. Plan on a toner or a new color to reach a shade you like.
Does color remover work on semi-permanent dye or henna?
Generally not. Removers are made to break down permanent oxidative dye, so semi-permanent and bright direct dyes, which don't use developer, mostly ignore them. Those shades fade with clarifying washes, and a colorist can judge whether bleach is a better route. Henna and metallic or gradual dyes can react unpredictably with chemical services, so take them to a colorist.
Why did my hair turn dark again after using color remover?
The remover shrinks dye molecules so they can be rinsed away, but any that stay in the hair can re-oxidize and darken again, especially once developer touches them. It usually means the rinse was too short. Rinse longer, wash with a clarifying shampoo, and strand-test before you put any new color over the top.
How soon can I dye my hair after using color remover?
Wait at least a day, longer if your hair feels dry, and follow any timing on your kit. Strand-test the new color first. Choose a shade a level or two lighter than your goal, because emptied hair grabs color darker, and use a low-volume developer. Never pile bleach or a second round of remover onto the same day.
Keep Reading
Sources
- Colour remover vs bleach coloredhaircare.com