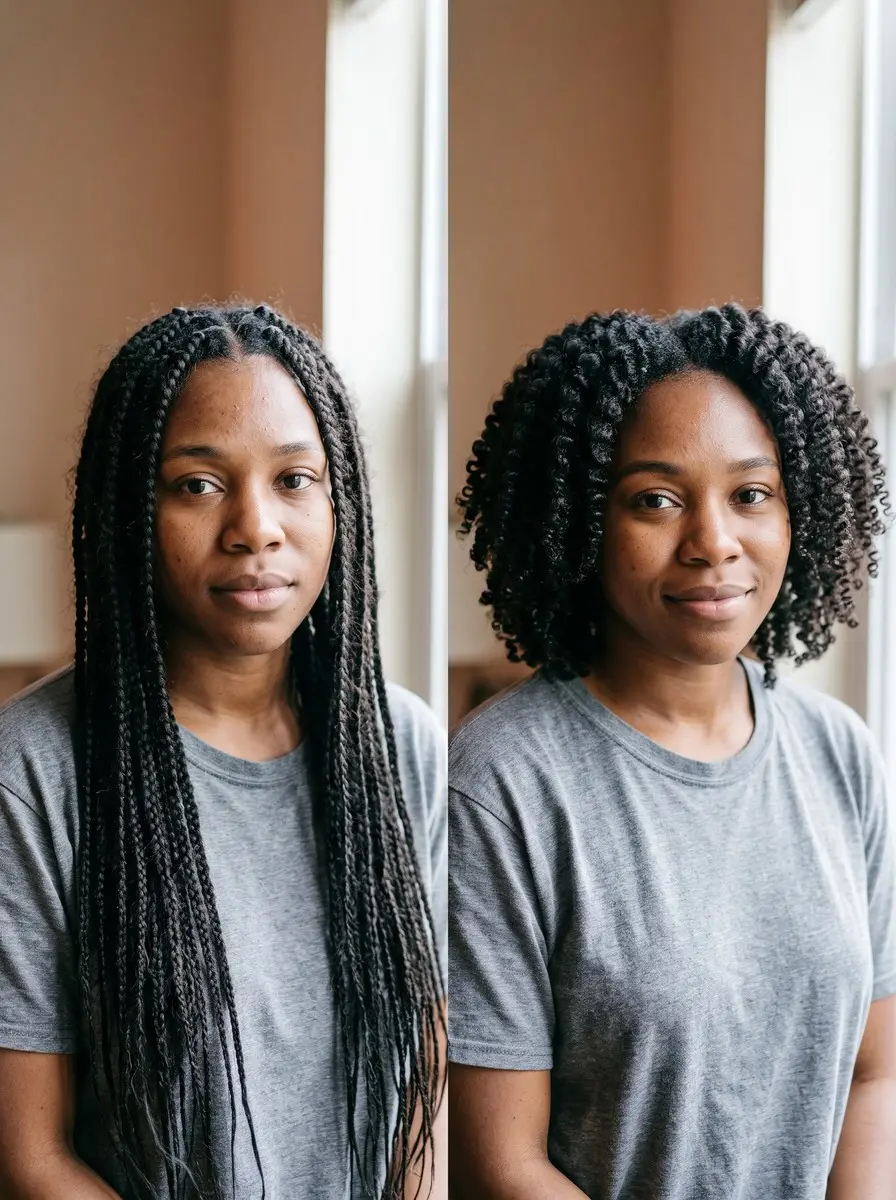
Quick answer To wash box braids, squeeze diluted sulfate-free shampoo onto your scalp, rinse so water runs downward, and dry them completely. To take down box braids, condition the roots the day before, spritz with warm water and detangler, unravel from the ends up, and finger-detangle before combing.
Box braids are meant to give your own hair a break, but the weeks they spend in can go wrong at both ends. Wash them carelessly and the roots frizz, the parts itch, and braids that go to bed damp start to smell of mildew. Rush the takedown and the shed hair trapped at each base mats into knots that snap healthy strands on the way out.
This guide follows one set from wash day to removal, in that order. Steps one to three are the wash routine, step four is optional upkeep between washes, including a front-row rebraid if the set is staying in past week four, and steps five to eight show you how to take down box braids without breakage, starting the day before.
None of it needs a stylist, only patience, a free afternoon and a few inexpensive tools you can reuse for every install.
Time 1-2 hours per wash day plus drying; 3-6 hours for the takedownDifficulty IntermediateSteps 8
Drying Box Braids: Three Options Compared
| Method | Why choose it | Watch for |
|---|---|---|
| Hooded dryer | Stylist-preferred; dries roots and lengths evenly | Check the thickest braids before stopping |
| Blow-dryer on low heat | Works when no hooded dryer is available | Low setting only; check the nape |
| Air drying | No heat at all | Start early in the day, never overnight |
What You’ll Need
As an Amazon Associate, HairAide earns from qualifying purchases. Product links in this guide are affiliate links: they cost you nothing extra and help keep these tutorials free.
- Applicator bottle Lets you run diluted shampoo straight along each part so it reaches the scalp, not just the surface of the braids.
- Sulfate-free shampoo Diluted in the applicator bottle, it cleans sweat and oil from the scalp without stripping the lengths.
- Standalone hooded hair dryer Dries braids evenly from the roots to the thickest ends, the stylist-preferred way to prevent mildew.
- Alcohol-free witch hazel Wiped along the parts between washes, it lifts sweat and oil so the scalp stays fresh without soaking the braids.
- Leave-in detangler spray Mixed with warm water, it gives each braid the slip to unravel from the ends up without snagging shed hair.
Step-by-Step
Step 1 Dilute shampoo and cleanse the scalp
Mix roughly one part sulfate-free shampoo to three parts warm water in an applicator bottle and shake it. Divide your braids into four to six sections, run the nozzle along each part, and massage the scalp with the pads of your fingers, not your nails.
Diluted shampoo reaches the skin without leaving a thick residue inside the braids, which is where buildup and that dull, gritty feel come from, and the suds that run down are enough to clean the lengths. You are done when the scalp feels clean along every part, with no slick or oily residue under your fingertips.
Step 2 Rinse from the scalp down
Rinse with lukewarm water, tipping your head so the water runs from the scalp down the length of the braids, and keep going until it runs clear and no suds remain at the parts. Squeeze the braids gently a few at a time instead of piling them on top of your head or rubbing them together.
Friction is what raises the fuzzy halo around each braid and loosens the base, while downward water flushes shampoo out without disturbing the pattern. If your hair feels dry afterward, finish with a light mist of leave-in conditioner on the scalp and lengths.
Step 3 Dry every braid to the core
Squeeze out the excess water, then wrap the braids in a microfiber towel or an old cotton T-shirt for 10-15 minutes to blot, never rub.
Finish under a hooded dryer, which stylists prefer because it dries the roots and the thick lengths evenly, or use a blow-dryer on its low setting, or air dry starting early in the day; if you use either dryer, mist the lengths with a heat protectant first.
A thick braid holds water in its core long after the surface feels dry, and damp braids can develop a mildew smell overnight. They are done when the roots, the nape and the ends of the thickest braids all feel completely dry, with no cool, damp spot when you squeeze them.
Step 4 Refresh scalp and edges between washes
This step is optional and happens between washes, not on wash day. Dab alcohol-free witch hazel along the parts with a cotton pad or massage dry shampoo into oily spots, then mist on a light moisturizer, because both lift sweat and oil but leave hair feeling parched.
Keep heavy butters and greases off the roots, since they collect lint and become the gummy buildup that mats at takedown; the refresh is done when the parts look clean and the itch is gone.
If the set is staying in past week four, rebraid the front row: take down and redo only the braids along your hairline, slightly looser than before, because your edges are the finest, most easily stressed hair on your head and a fresh perimeter takes the tension off them.
You are done when the front row sits flat with no pull at the edges. Plan to take the full set out by about week eight, before the new growth at every base starts to mat with shed hair and buildup.
Step 5 Condition the roots the day before
The day before takedown, work a slippery leave-in conditioner, thinned with a little water, into your roots and the first few inches of each braid, without saturating the braids through. Cover with a satin bonnet and leave it in overnight.
The conditioner softens the buildup, lint and shed hair packed into each base, so they release instead of snagging when you start unravelling. Use only enough to coat the roots: they are ready when the bases feel soft and slippery but the braids are not wet by bedtime.
Step 6 Unravel each braid from the ends up
First find where your own hair stops: run the braid between your thumb and finger from the tip upward and feel for the point where it thickens or the texture changes, because that is where your hair ends and only extension hair continues below. Snip the end off an inch or so below that point.
Spritz the braid with warm water mixed with a detangler, then unravel it from the bottom up, separating the strands as you work toward the scalp, and slide the extension hair free once the braid is fully open.
Working upward means you never drag a tangle down the length, and the slip from the detangler keeps strands from catching on each other. Take down one braid at a time, re-spritz whenever the hair starts to feel dry, and move on when the strands hang loose all the way to the scalp and the extension hair slides away with no resistance.
Step 7 Finger-detangle the base before combing
Before any comb touches the section, use your fingers to gently separate it and pull out the shed hair and lint gathered at the base. Then work through with a wide-tooth comb from the ends up toward the roots, adding more detangler wherever it catches.
Fingers feel a knot before it tightens, while a comb pulls straight through it and snaps healthy strands along with the shed ones. Expect what looks like a lot of hair, because weeks of normal daily shedding were held inside the braid and are released all at once.
The section is done when the comb glides from ends to roots without catching; then twist each detangled section loosely so it stays separate while you work on the next.
Step 8 Wash, moisturize and massage the scalp
Once every braid is out, wash your hair in those loose twists with a sulfate-free shampoo, focusing on the scalp to lift weeks of buildup, then follow with a deep conditioner. Apply a leave-in conditioner to damp hair and give your scalp a few minutes of massage with your fingertips.
The leave-in restores slip and softness to hair that went weeks without direct care, and the massage loosens the last residue and eases the tenderness braids can leave behind.
You are finished when your hair feels soft and springy with no dry, straw-like patches and the scalp is free of flakes. Many stylists suggest letting your hair rest for a week or two before the next install, so your edges get a break from the tension.
Common Mistakes to Avoid
- Going to bed while the roots or the thickest braids are still damp, which is how the mildew smell starts.
- Piling the braids on top of your head and scrubbing them together in the shower, which frizzes the lengths and loosens the bases.
- Layering heavy grease or butter on the scalp every day; it traps lint and becomes the gummy buildup that mats at takedown.
- Leaving the set in well past eight weeks, when new growth, shed hair and buildup tangle into mats at every base.
- Snipping the ends too high, or reaching for a comb before you have finger-detangled the base.
Pro tip If you can’t tell where your own hair stops inside a braid, always cut lower: unravelling an extra inch of extension hair costs you a minute, while snipping off an inch of your own hair costs about two months of growth.
The Bottom Line
A good set of box braids stays clean at the scalp, dries to the core after every wash and comes out with nothing but normal shedding in the comb. Wash every one to three weeks, refresh the scalp in between, rebraid the front row if the set is staying in past week four, and plan the takedown for about week eight.
Treat the takedown as the start of your next install rather than an afterthought: hair that comes out soft and fully detangled is ready for the next set after a short rest. See a stylist if your bases are matted beyond what your fingers can loosen, and a dermatologist if your edges are thinning, tender or bumpy.
Frequently Asked Questions
How often should you wash box braids?
Dermatologist Dr. Crystal Aguh advises washing braids once a week if you have tightly coiled hair, and every one to three weeks is acceptable if weekly isn't realistic. Focus diluted shampoo on the scalp, and use dry shampoo or a witch hazel astringent between washes to keep it fresh.
Why do my braids smell like mildew after washing?
A mildew smell means the braids stayed damp too long, usually at the nape or in the core of thick braids. Damp braids can develop it overnight, so never sleep on braids that aren't completely dry. Rewash with diluted shampoo and dry fully under a hooded dryer or with a blow-dryer on low, checking the nape and the thickest braids before you stop. If the smell lingers, take the set out.
How long can you keep box braids in?
Plan on about eight weeks. If the set is staying in past week four, rebraid the front row to take tension off your edges, then remove the full set by about week eight. Hair grows roughly half an inch a month, so by then about an inch of new growth sits at each base, where shed hair and buildup start to mat.
How much hair loss is normal when taking out braids?
More than you expect. The hair you would normally shed each day stays trapped inside the braids for weeks and comes out all at once during takedown. Shed hairs are full-length strands with a tiny white bulb at one end; short, snapped pieces without a bulb are breakage. If you notice thinning edges, bald patches or a tender, bumpy hairline, see a dermatologist.
Should you wash your hair before taking out braids?
You don't need a full wash beforehand. Conditioning the roots the day before softens buildup and shed hair so they release, and warm water mixed with detangler handles the rest as you unravel. Save the full shampoo, deep conditioner and leave-in for after every braid is out, when you can finally reach the whole scalp.
Keep Reading
Sources
- How to wash your box braids un-ruly.com
- How to avoid damage when undoing your braids 20260615 0589 news24.com