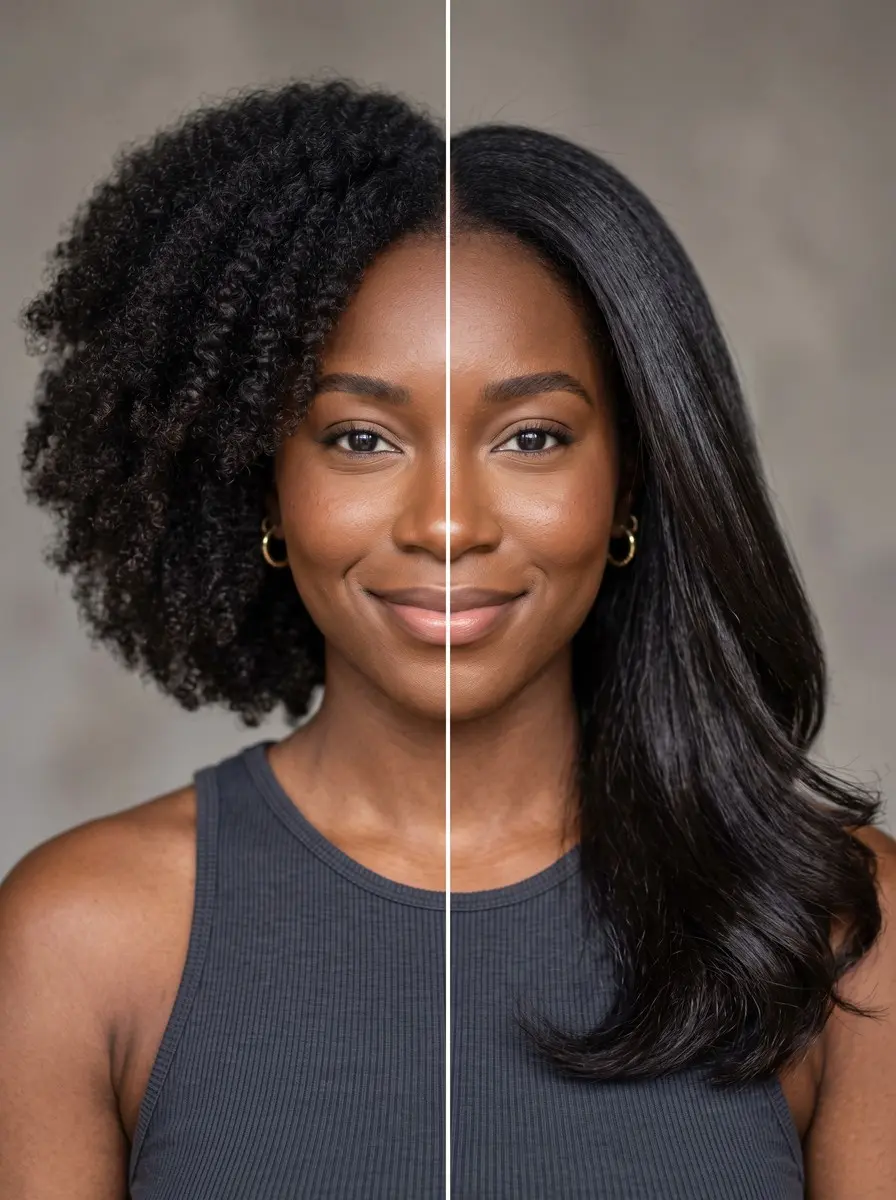
To style a shag haircut, apply mousse at the roots, then match the method to your hair: air-dry and scrunch wavy hair, diffuse curly hair, bend straight hair with a flat iron, or round-brush blow-dry medium-length hair. Finish with light texturizing spray for separation.
Learning how to style a shag haircut at home comes down to matching the method to your hair type. A shag looks effortless in the salon chair, then turns flat, frizzy or oddly shapeless the first time you wash it yourself. The cut isn’t the problem. The styling doesn’t suit your hair. A shag is built from short crown layers, feathered ends and usually a fringe, and each of those parts has to dry with lift and separation before the shape shows.
Once you know which method is yours, the daily routine is simple: air-drying for wavy hair, a diffuser for curls or flat roots, flat-iron bends for straight or limp hair, and a round-brush blow-dry for a smoother medium-length shag. Below you’ll find each method, how to style curtain or choppy bangs, a five-minute refresh for second-day hair, and fixes for the most common shag problems.
What You’ll Need
- Microfiber hair towel — Blots water out without the friction of a terry towel, so the layers start smooth instead of frizzy.
- Heat protectant spray — Goes on damp hair in step 1, before the blow-dryer, diffuser or flat iron touches it.
- Lightweight volumizing mousse (root-lift foam) — Lifts and holds the crown without weighing down the shag’s feathered ends.
- Sea salt spray (texturizing wave spray) — Adds grip and boosts the natural wave pattern on wavy shags whose waves drop as they air-dry.
- Diffuser attachment (bowl diffuser for your blow-dryer) — Dries curly shags on low airflow so curls set in their clumps with lifted roots instead of frizzing.
- Flat iron (1-inch plate straightener) — Makes the loose, mixed-direction mid-length bends that bring out the layers on a straight or limp shag, and flicks choppy bangs.
- Medium round brush (about 1.5-inch barrel) — Rolls curtain bangs away from the face and puts the outward flick into each layer’s ends.
- Texturizing spray (dry texture spray) — Adds grit so the layers separate into visible, piecey sections.
- Dry shampoo (volumizing powder spray) — Lifts the crown on day one and refreshes flattened roots on day two or three.
As an Amazon Associate, HairAide earns from qualifying purchases. Some links above are affiliate links — they cost you nothing extra and help support free tutorials.
Step-by-Step
-
Start with clean, damp hair and blot it with a microfiber towel or cotton T-shirt. Squeeze rather than rub, so the layers don’t rough up before you style them. If you’ll use a blow-dryer, diffuser or flat iron at any point, mist a heat protectant through the damp lengths now, because it has to be in place before the first hot tool touches your hair, not added halfway through. Then work a golf-ball-sized puff of volumizing mousse into the roots only, concentrating on the crown and the top layers, and keep it off the feathered ends. A shag’s shape depends on lift at the crown and light, separated tips, and mousse on the ends glues those tips together and drags them down. You’re ready when the roots feel lightly tacky and the ends still swing freely.
-
Style your bangs first: they are the shortest pieces, they dry fastest, and they set in whichever direction they happen to dry. For curtain bangs, blow-dry the roots side to side to flatten any cowlick, then wrap each side around a medium round brush and roll it up and away from your face as you dry. For choppy bangs, blow-dry them flat. Once they are completely dry, take small sections with a flat iron, flick each one in a different direction and break them up with your fingers. When you’re done, curtain bangs open off the face in two soft arcs, and choppy bangs look piecey instead of like one solid line.
-
If your hair is wavy, air-drying is the easiest method and gives the most natural shag texture. After the mousse, mist on a little sea salt spray if your waves tend to drop. Flip your head forward and scrunch the lengths up toward the scalp, then twist a few face-framing and top sections around a finger. Leave it completely alone until it is dry, because every touch pulls apart the wave clumps as they form and roughens the surface, which is where most shag frizz comes from. The staggered layers let each tier form its own wave, so the shape builds itself if you don’t disturb it, and it’s done when it feels fully dry and slightly firm from the mousse.
-
If your hair is curly, or your roots fall flat whatever you do, diffuse instead. With the mousse in, flip your head upside down. Cup a section of lengths into the diffuser bowl, lift it gently toward the scalp, hold for 20-30 seconds and release, working around your head on low airflow and medium heat. Drying upside down lets gravity pull the roots away from the scalp so they set with lift, and low airflow dries curls in their clumps instead of blowing them apart into frizz. Stop when your hair is about 80 percent dry and still slightly damp, then let the rest air-dry untouched.
-
If your hair is straight or limp, a shag’s layers need help to show, so blow-dry it until it is completely dry and add bends with a flat iron. Take 1-inch sections from mid-length, clamp, turn the iron a half-turn and glide down. Release before the last inch or two so the ends stay straight, and skip the roots entirely. Alternate directions, bending one section away from your face and the next toward it: mixed directions copy the irregular movement a shag is cut to have, and straight ends with untouched roots stop it looking like a head of uniform curls. Let the bends cool, then rake through them with your fingers until they read as loose, broken-up waves.
-
For a medium-length shag, or hair whose texture has changed over the years and no longer air-dries predictably, a round-brush blow-dry gives the smoothest, most controlled finish. Rough-dry with your fingers to about 80 percent. Then work in 2- to 3-inch sections with a medium round brush, lifting the crown sections straight up at the root and rolling the ends out, away from your face. Hold the brush in place for a few seconds after the dryer moves on so each section cools in its curve, since hair keeps the shape it cools in. The brush tension smooths the surface and the outward roll puts a soft flick at the end of each layer, and those flicked ends keep a shag’s layers visible instead of letting them blend into a bob.
-
Once your hair is completely dry, whatever method you used, finish it for separation and lift. Scrunch out any stiffness left by the mousse. Mist a light texturizing spray from 8-10 inches (20-25 cm) away over the mid-lengths and ends, and pinch or twist a few pieces so the layers read as separate sections. Spray dry shampoo into the crown roots, even on clean hair, and massage it in with your fingertips, because the powder adds grip and space between strands and keeps the crown lifted all day. When you’re done, the crown is lifted and the layer ends are visible and piecey, but the hair still moves when you shake your head.
-
On day two or three, skip the full routine and reset only the zones that have flattened, usually the bangs and the crown. Dampen the bangs at the roots with water and re-dry them with the round brush, rolling away from the face. For choppy bangs, re-flick them with the flat iron once they’re dry. Mist any flat or frizzy lengths with a little water, scrunch, and give them a minute with the diffuser on low, or add two or three fresh bends to the dry face-framing pieces if your hair is straight. Finish with dry shampoo at the crown and a quick tousle. A shag’s shape lives in its crown and fringe, so resetting just those zones brings the whole cut back in about five minutes.
-
If the result still isn’t right, match the problem to its fix. Flat roots mean the crown dried down against the scalp, so dry it upside down next time and add dry shampoo at the crown for grip. Frizz usually comes from touching hair while it dries, high airflow or diffusing until bone-dry, so keep your hands off, turn the airflow down and stop while hair is slightly damp. Disappearing layers mean the ends were smoothed or blown straight, so put bends or flicks back into the layer ends and pinch them with texturizing spray; if they still won’t show, the cut has lost its shape and is due a trim. An over-styled, stiff or too-uniform look comes from too much product or curls that are too perfect, so rake through with your fingers and use less spray next time, since a shag should look lived-in rather than set. The fix has worked when your shag shows a lifted crown and separated layer ends that still move when you shake your head.
Common Mistakes to Avoid
- Putting mousse or cream on the ends, which glues the feathered layers together and makes a shag look stringy instead of piecey.
- Touching, scrunching or raking hair while it air-dries, which breaks up the wave clumps and causes frizz.
- Starting flat-iron bends at the root or bending every section in the same direction, which turns the shag into uniform curls and hides the layers.
- Rolling curtain bangs under toward the face, so they close over the eyes instead of opening into two soft arcs.
- Diffusing on high airflow until hair is bone-dry, which blows curls apart and leaves a frizzy halo.
- Overdoing texturizing spray or hairspray, which makes the cut look crunchy and over-styled instead of lived-in.
Pro Tip
Dry the crown and the fringe first and the lengths last. Those two zones flatten first and define the shag’s silhouette, so if you run out of time, a styled crown and fringe with air-dried lengths still reads as a finished cut.
Frequently Asked Questions
How often should I trim a shag haircut?
Many stylists suggest a trim every 4-6 weeks for a short shag and every 6-8 weeks for mid-length and long shags. Hair grows at a steady rate of about half an inch a month. A shag relies on short crown layers and a defined fringe, though, so even that much growth makes the cut lose its shape sooner than a one-length style.
Do I need a heat protectant to style a shag?
Yes. Apply a heat protectant before using a blow-dryer, diffuser or flat iron. The blow-dryer and diffuser are used on damp hair, but use the flat iron only on completely dry hair, since an iron on wet hair is what genuinely damages it. Keep the iron no hotter than about 150C/300F for fine or bleached hair and 180-200C/355-390F for coarse hair.
How do I style a shag if I have thin hair?
Use only a little mousse, about the size of a walnut, at the roots, and blow-dry with your head upside down so the short layers dry lifted away from the scalp. Finish with very little texturizing spray, a quick mist rather than a soak, because heavy product makes thin hair collapse. Dry shampoo at the crown adds grip and fullness without weight.
Can I style a shag without heat?
Yes. Wavy and curly shags can be air-dried: put mousse at the roots, scrunch upward, leave the hair untouched until it's dry, then finish with texturizing spray. Straight hair holds less natural shape. For heat-free bends, twist damp hair into two or three loose sections or braids, let it dry fully, then break the bends apart with your fingers.
How long does a styled shag last between washes?
Most shags hold for two to three days with a quick refresh. The crown and bangs flatten first, so re-wet and re-dry the bangs, scrunch any flat lengths with a little water, and add dry shampoo at the crown. Sleeping on a silk or satin pillowcase, or with your hair loosely piled on top of your head, cuts down on overnight flattening and frizz.
You Might Also Like
- 20 medium-length 70s shag ideas to inspire your next cut
- 20 70s shag ideas for thick hair to inspire your next look
- how a wolf cut and a shag differ before you book
- how to diffuse curly hair for defined, frizz-free curls
- how to blow-dry curtain bangs at home
- heatless beachy waves for fine hair
- how to make a blowout last longer
A well-styled shag comes down to three things: mousse at the roots, a drying method that suits your texture, and a light finish that keeps the layers separate. Get those right and your style should last two or three days with a quick refresh, so you don’t have to restyle from scratch every morning.
If your layers stop showing even after a fresh styling session, or your fringe falls into your eyes, the cut has grown out of its shape. Your technique isn’t the problem, and a trim will fix it faster than any product. See your stylist too if you want to switch bang styles or reshape the crown layers, because those are cutting jobs, not styling ones.
Sources
- Air-dry method for wavy hair: apply mousse at the roots, scrunch upward, twist a few sections, don't touch while drying, and finish with texturizing spray. haiirology.com
- MasterClass: the daily routine is simple (air-dry or a tousled look). Sea salt spray suits wavy hair and mousse suits thin hair or frizz. Suggested trim intervals are 4-6 weeks for short shags and 6-8 weeks for mid-length and long. I could not fetch this page (403), so these points come from the search summary and need verification. masterclass.com