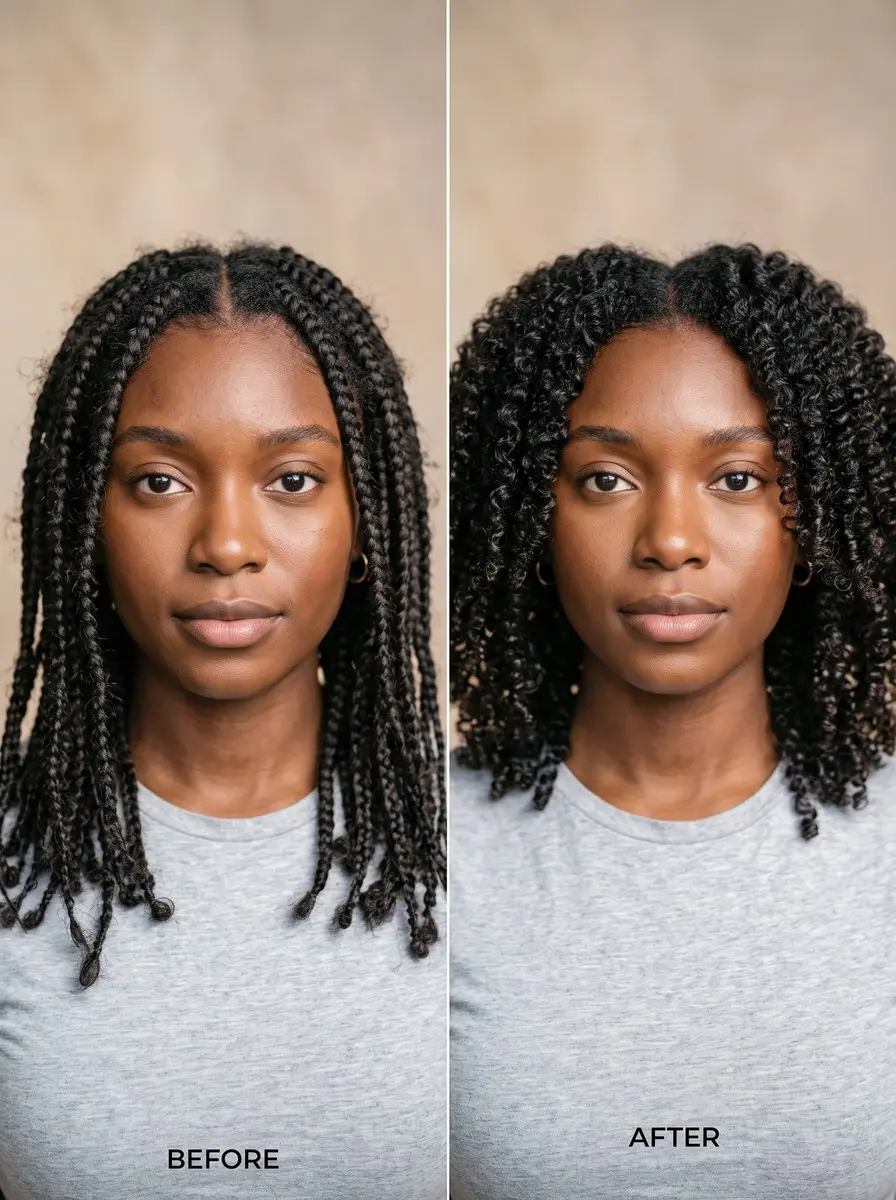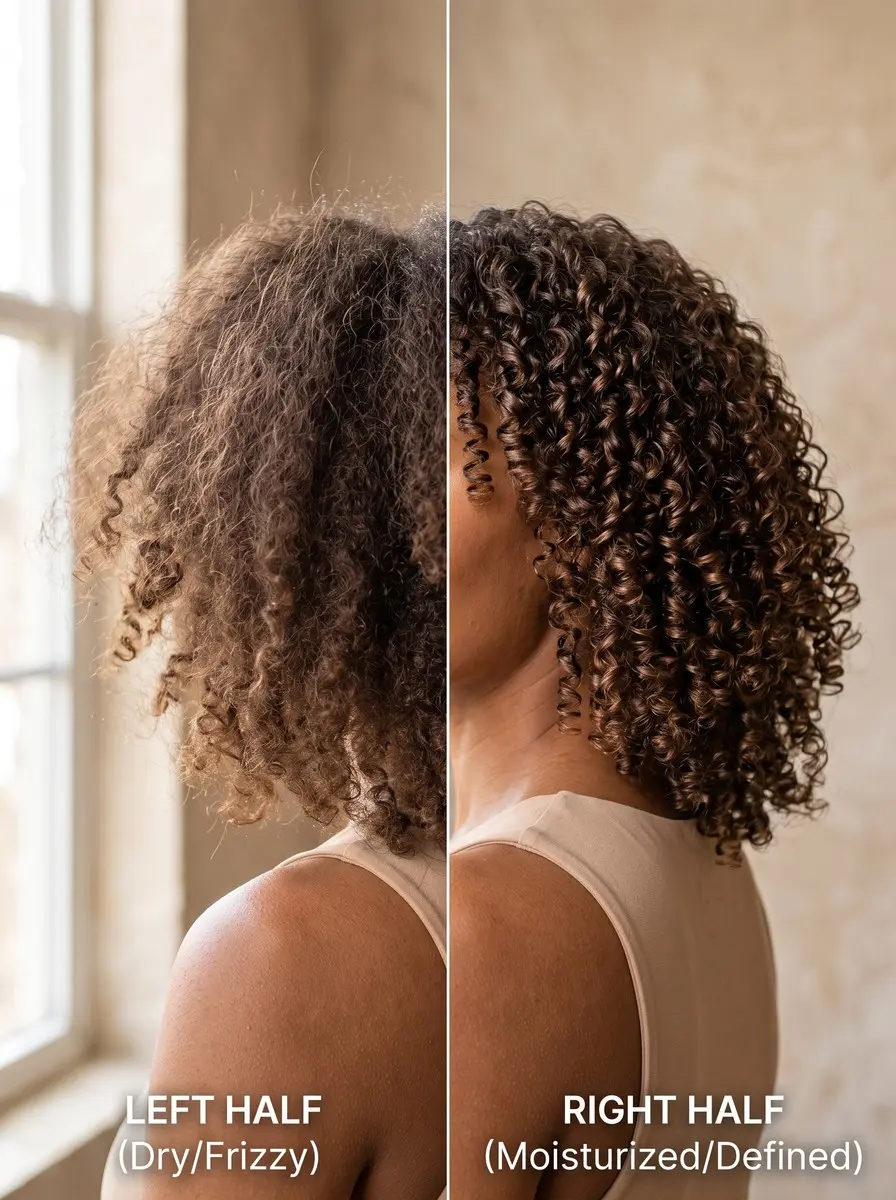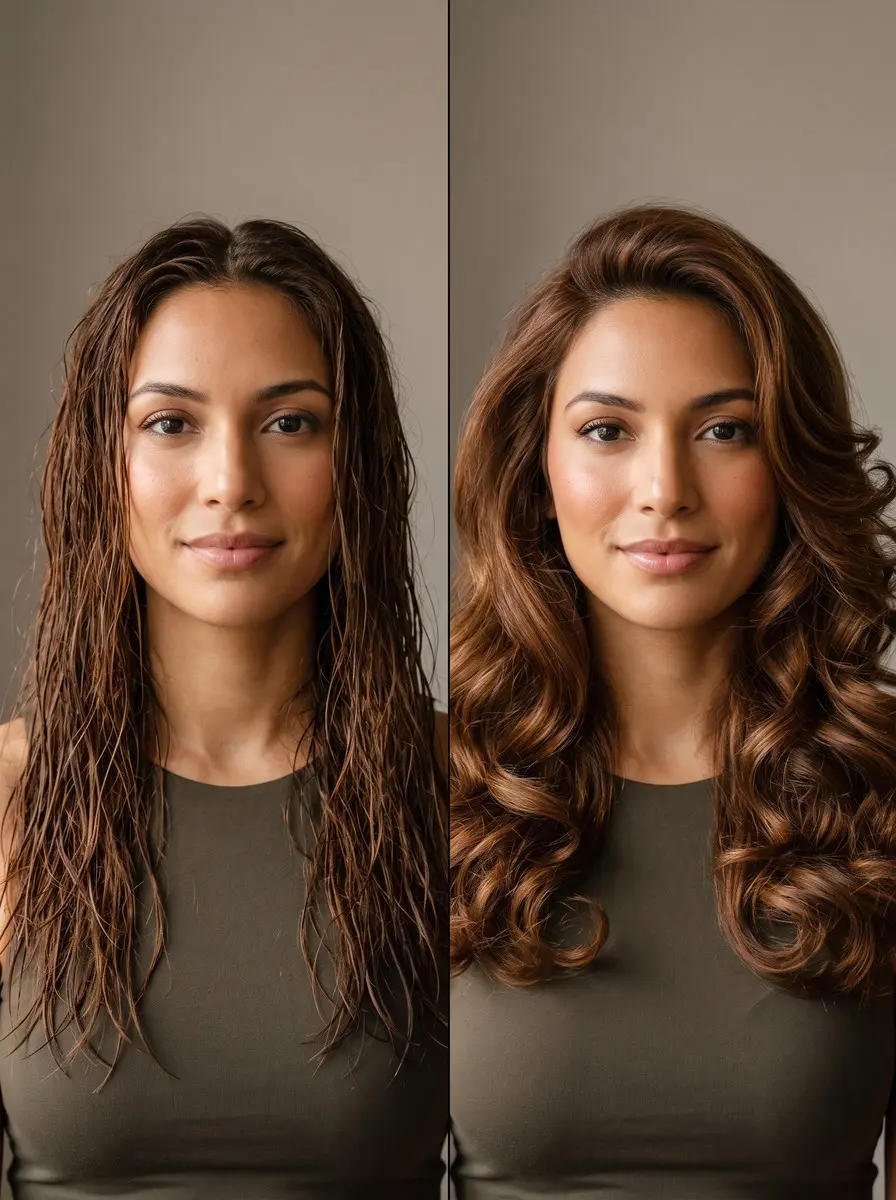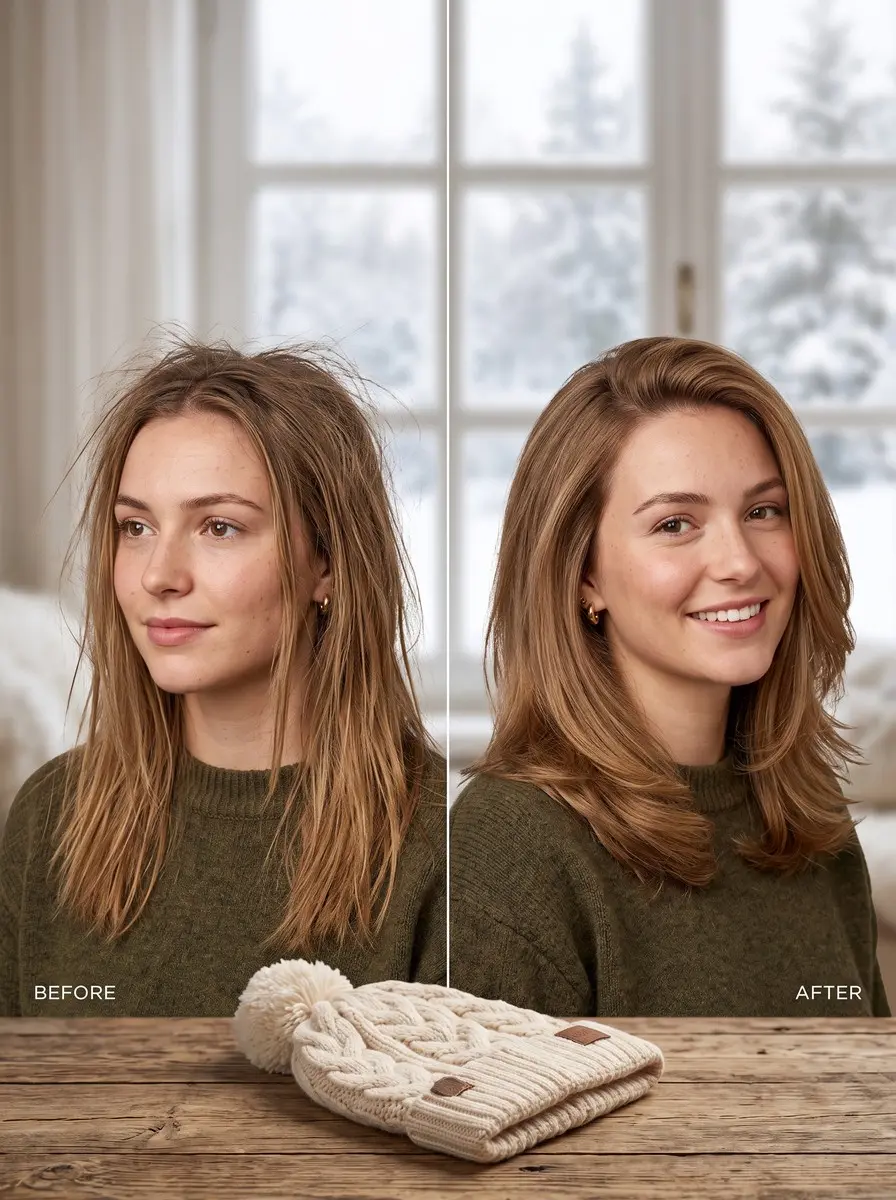
Quick answer To prevent hat hair, put the hat on only over completely dry hair, add root lift with mousse or dry shampoo, smooth on a drop of serum against static, and choose a loose cotton, cashmere or satin-lined hat. Afterward, shake the roots out with your fingers, not a brush.
You blow-dried your hair and pulled on a beanie for the walk in. Twenty minutes later the hat comes off and your roots are stuck flat to your scalp, there’s a ridge where the band sat and a halo of static at the crown.
Hat hair isn’t bad luck. Three things you can control cause it: pressure that flattens the roots, moisture that lets hair set into the shape of the hat, and friction that builds static in dry winter air.
This guide shows you how to prevent hat hair by dealing with all three in order. First comes prep before the hat goes on, then choosing a hat that presses and rubs less, then a two-minute fix once it comes off.
Along the way there are adjustments for fine and straight hair, curls, long or thick hair and bangs. You don’t need a salon for any of it, just a few products you probably already own.
Time 10 minutes of prep, plus a 2-minute fixDifficulty BeginnerSteps 8
Hat-Hair Plan by Hair Type
| Hair type | Before the hat | Under the hat | After the hat |
|---|---|---|---|
| Fine or straight | Mousse or dry shampoo at roots | Loose beret or slouchy beanie | Flip your part, dry shampoo |
| Curly or coily | Leave-in, satin barrier | Satin-lined hat, loose pineapple | Water mist, curl cream, scrunch |
| Long or thick | Fully dry, serum on ends | Low braid or high messy bun | Unbraid, shake out the waves |
| Bangs | Dry and set them first | Fully out or pinned to the side | Mist, blow-dry 30 seconds |
What You’ll Need
As an Amazon Associate, HairAide earns from qualifying purchases. Product links in this guide are affiliate links: they cost you nothing extra and help keep these tutorials free.
- Satin-lined slouchy beanie A smooth satin lining cuts the friction and static a bare knit causes, and the slouchy shape keeps pressure off the crown.
- Volumizing mousse Worked into damp roots before blow-drying, it gives strands enough grip to resist being pressed flat.
- Travel-size dry shampoo Use it at the crown before the hat for lift, then again afterward to absorb trapped moisture and revive flat roots.
- Lightweight anti-frizz serum or hair oil A drop on the mid-lengths and ends reduces friction against the hat and keeps static flyaways down.
- Mulberry silk scarf or satin-lined headband Worn under an unlined wool or synthetic hat, it acts as a smooth barrier against friction and static.
Step-by-Step
Step 1 Build lift at the roots
Start by giving your roots enough structure to push back against the hat. If your hair is freshly washed and still damp, work a golf-ball-sized puff of volumizing mousse into the roots at the crown before you blow-dry; if it’s already dry, spray dry shampoo at the crown roots, wait 30 seconds and massage it in with your fingertips.
Both leave a light grip on each strand, so the roots resist being pressed flat and spring back faster once the hat comes off.
This matters most for fine and straight hair, which has the least body of its own to recover with, so pair it with a loose beret or slouchy beanie. You’re done when the product is worked evenly through the crown roots, with no wet clumps of foam or white cast left behind.
Step 2 Dry your hair completely
If you used mousse, blow-dry until your hair is bone-dry from root to tip, including the crown and the nape, which are the last places to dry. Hair holds its shape through hydrogen bonds that break when strands get wet and re-form as they dry, so damp hair under a hat dries into whatever shape the hat presses it into, dent included.
Lift the roots away from the scalp with your fingers as you dry, then finish with the cool shot over the crown, because hair sets its shape as it cools and the lift you just built will stay put.
If you used dry shampoo on hair that was already dry, just run your fingers through the crown and nape to check nothing is still damp. You’re done when the roots at the crown feel dry and room-temperature, not cool and slightly damp, and stand slightly away from the scalp as you tilt your head forward.
Step 3 Head off static before it starts
Static builds when hair rubs against hat fibers in dry winter air, and strands carrying the same charge push away from each other as flyaways. Smooth one or two drops of a lightweight serum or hair oil through your mid-lengths and ends, and keep it off the roots so it doesn’t flatten the lift you just built.
That thin film cuts friction against the hat, and hair that holds more moisture lets charge dissipate instead of building up, which is why moisturizing regularly and cutting back on heat tools both help over the winter.
In a pinch, wipe a dryer sheet lightly over the surface of your hair. To check, hold your palm an inch above your head: no strands should rise to meet it.
Step 4 Choose a softer, looser hat
The hat itself decides how much pressure and friction your hair takes. Cotton, cashmere and silk- or satin-lined hats are the gentlest choices, while wool and synthetics like polyester tend to flatten hair or cause static, so if you love a wool beanie, pick one with a satin lining.
Shape matters as much as fabric: a beret or slouchy beanie sits loosely over the crown instead of clamping it down, and less pressure means less flattening.
If your favorite hat is unlined, wear a silk scarf or a satin-lined band underneath as a smooth barrier. A good fit lets you slide one finger under the band and leaves no red line on your forehead.
Step 5 Wear a style the hat can’t dent
Hair that’s already gathered can’t get creased halfway down its length, and that mid-length crease is where a band leaves the most visible mark on long or thick hair. Under a beret, wear a low braided ponytail.
Under a beanie, wear a high messy bun that the hat sits over, or for something softer, a loose side braid or hair tucked behind your ears so the band presses it flat and even instead of kinking it.
Mist the finished style with a little hairspray to hold it, and with long, heavy hair you get a bonus: a braid taken out later leaves soft waves that hide any mark the hat did leave. You’re set when no loose section runs under the band at an angle.
Step 6 Protect curls and bangs
Curly and coily hair loses its definition to friction more than to pressure, so it needs a smooth barrier: apply your leave-in, then wear a satin-lined hat, or a satin scarf under an unlined one.
If your curls are long enough, gather them into a loose pineapple on top so a slouchy beanie sits over them instead of crushing them.
Bangs get dented when the band sits halfway down the fringe, so dry and set them first, then either let them fall fully out below the band or pin them flat to the side under the hat. You’re done when nothing is folded mid-length under the band and every curl sits against satin, not knit.
Step 7 Shake it out with your fingers
Lift the hat straight up and off instead of dragging it back across your hair, which rubs up a fresh round of static. Flip your head upside down and rake your fingertips through the roots, shaking gently for 15 to 20 seconds so they fall away from the scalp.
Use your fingers, not a brush, because bristles add more friction to hair that’s already carrying a charge. Flip back up and move your part to the other side, or zigzag it, so the roots stand up against the direction they were pressed.
If you wore a braid or bun, take it down now and pull the waves apart with your fingers so they hide any band mark. You’re done when the roots stand away from the scalp and the part sits on the opposite side from where the hat pressed it.
Step 8 Reset any dent in two minutes
For lingering flatness, spray dry shampoo or texture spray at the crown roots and work it in with your fingertips; it adds grip and absorbs any scalp moisture the hat trapped. For a visible ridge or creased bangs, mist just that section with water to loosen the bonds holding the dent, then blow-dry it for about 30 seconds while you smooth it with your fingers in the direction you want it to fall.
Without a dryer, mist the section, twist it loosely around a finger and hold it with two bobby pins until it dries. Curls get the water mist too, then a little curl cream, a gentle scrunch and no brushing.
The whole routine takes about two minutes, so you can do it in an office bathroom or a car mirror. You’re done when the ridge is gone and the section lies smooth and even when you run a hand over it, with no cool or damp spots left.
Common Mistakes to Avoid
- Pulling a hat on over hair that’s still slightly damp at the crown or nape, so it dries into the exact shape of the band.
- Brushing your hair as soon as the hat comes off, which adds friction to hair that’s already charged and multiplies the flyaways.
- Smoothing oil or a heavy serum onto the roots to fight static, which weighs them down and makes the flatness worse.
- Wearing a hat that’s too tight, so it presses the crown flat and leaves a hard ridge and a red line across your forehead.
- Dragging the hat off from front to back across your hair instead of lifting it straight up.
Pro tip Part your hair on the opposite side from usual before the hat goes on, then flip it back to your normal part when the hat comes off. Roots that were pressed flat one way stand up when you comb them back the other way, so you get instant lift at the crown without any product.
The Bottom Line
Bone-dry hair, a little root lift, a drop of serum and a looser, smoother hat stop most hat hair before it starts, and the two-minute finger-shake, dry shampoo and part flip take care of the rest.
Repeat the prep each time you wear a hat; it adds only a few minutes to your routine. One heat note: whenever you blow-dry, before the hat or on a dent afterward, mist on a heat protectant first.
If your roots stay flat whatever you try, the problem may be your cut rather than your hat. A stylist can add crown layers that build in lift, and our guide to adding volume at the crown covers the day-to-day styling.
Frequently Asked Questions
Why do hats flatten your hair?
Three things combine. The hat's pressure pushes the roots flat against your scalp. Moisture from damp hair or a warm scalp lets strands set into that pressed shape as they dry. And friction against wool or synthetic fibers builds static in dry winter air. Dry hair, root lift, an anti-static layer and a looser hat deal with all three.
What kind of hat is least likely to cause hat hair?
Loose, smooth hats do the least damage. Cotton, cashmere and silk- or satin-lined hats cause less flattening and static than wool or polyester, and shapes like berets and slouchy beanies sit over the crown instead of pressing it down. If you prefer a wool hat, choose a satin-lined one or wear a silk scarf underneath.
How do you fix hat hair without a blow dryer?
Flip your head and shake the roots out with your fingers, then spray dry shampoo or texture spray at the crown for grip. For a dent, mist that section with water, twist it loosely around your finger and hold it with two bobby pins until it dries. Moving your part to the other side adds instant lift.
Can wearing a hat every day damage your hair?
A comfortably fitting hat won't harm healthy hair or cause hair loss for most people. The everyday problems are friction, which can rough up and break strands where the band rubs, and static from coarse fibers. A satin lining, a fit loose enough to slide a finger under the band, and hair that's dry before the hat goes on keep that wear to a minimum.
How do you keep curls from frizzing under a hat?
Put a smooth barrier between your curls and the knit: a satin-lined hat, or a satin scarf under an unlined one. Apply your leave-in first, and gather long curls into a loose pineapple so the hat sits over them instead of crushing them. Afterward, mist with water, add a little curl cream, scrunch and skip the brush.
Keep Reading
Sources
- Steps to avoid hat hair lorealparisusa.com
- Goodbye flatness 10 ways to prevent hat hair cliphair.com