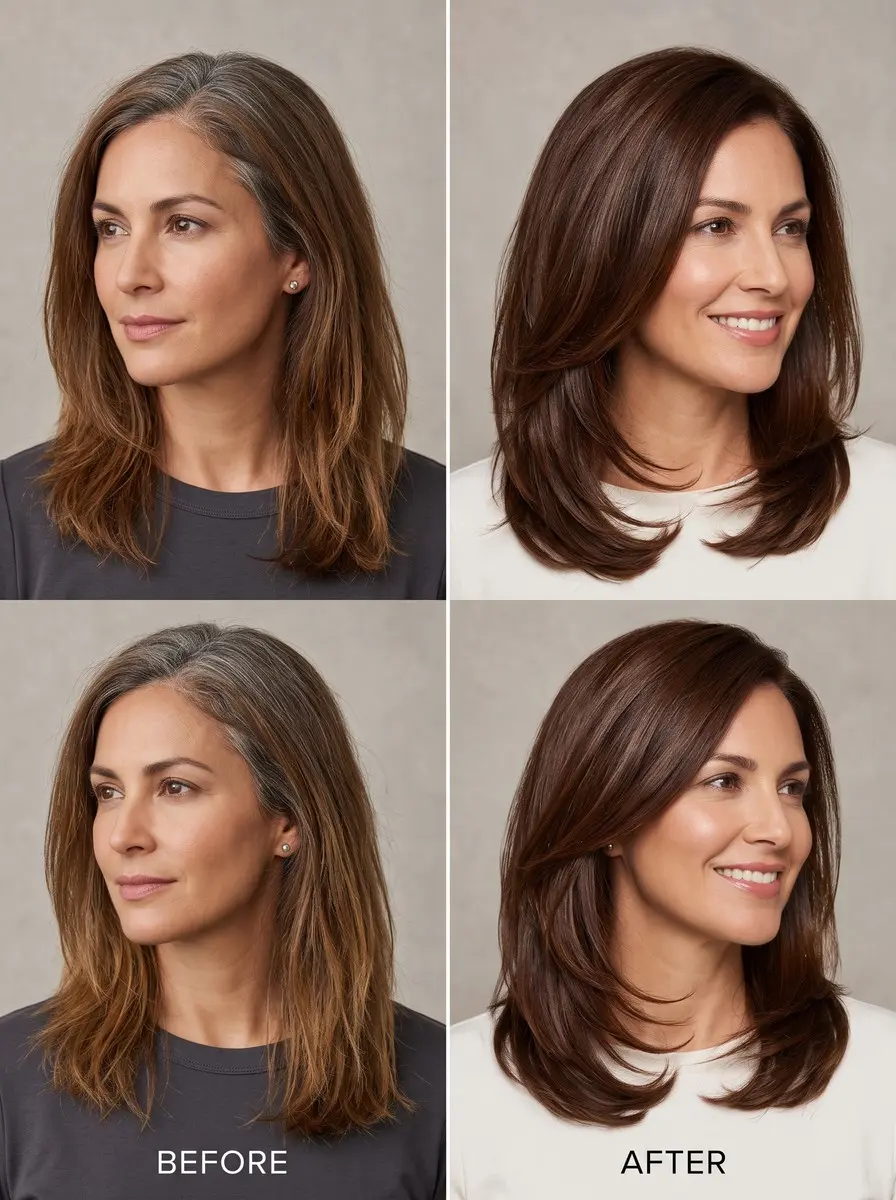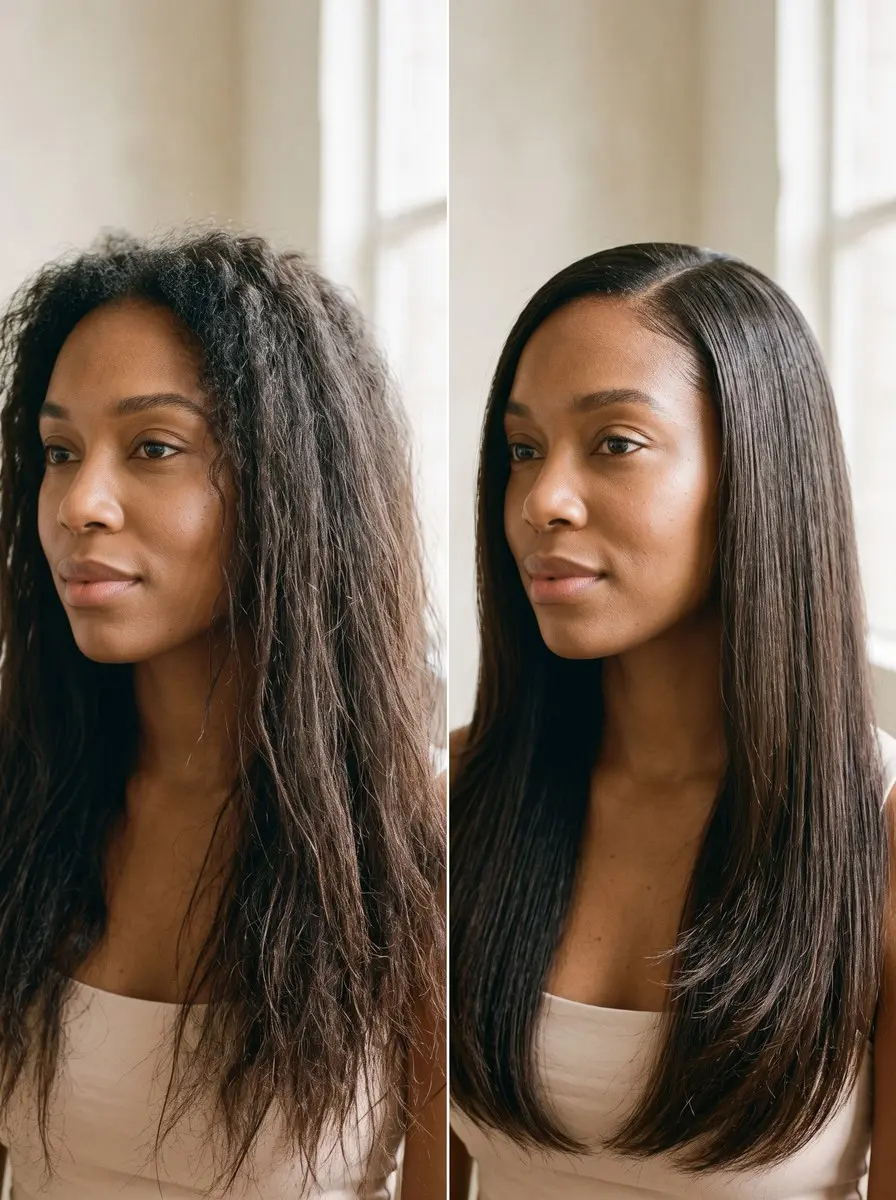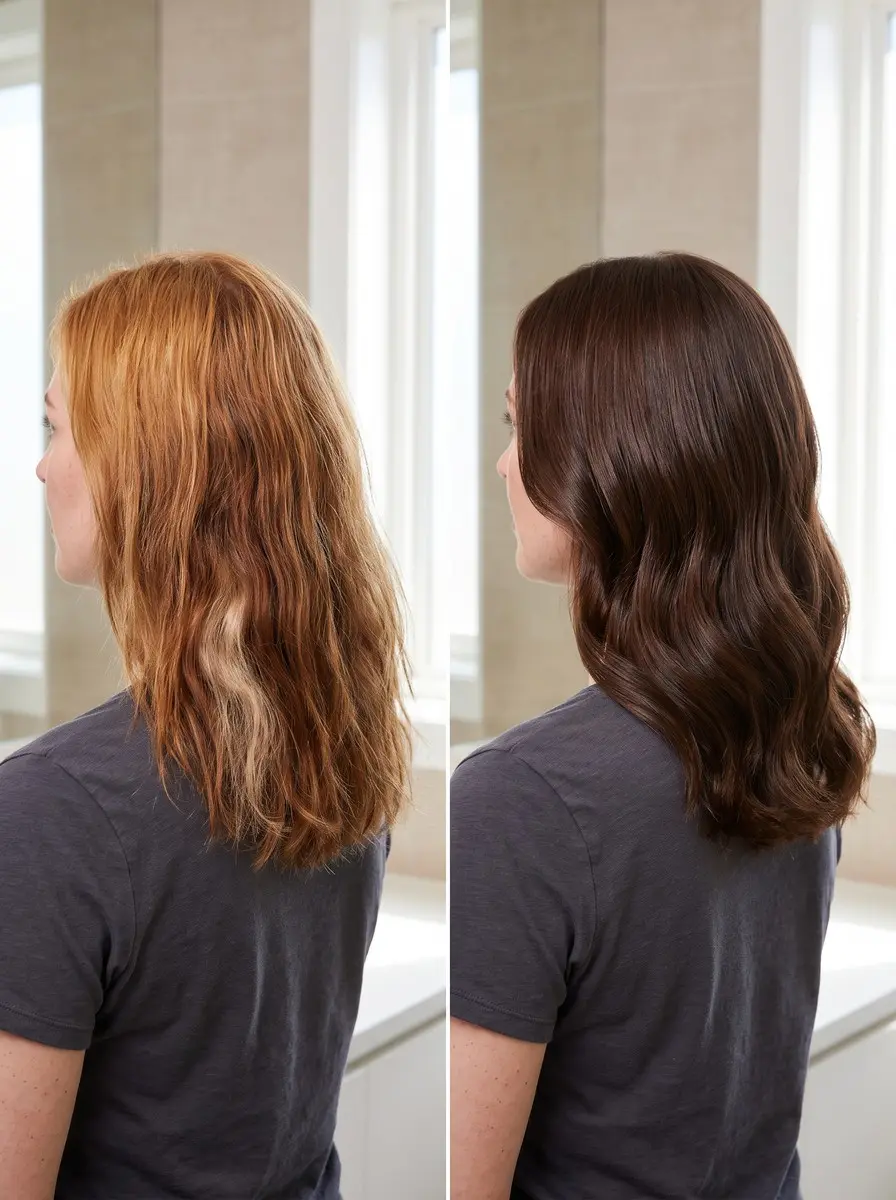
Quick answer To dye hair evenly at home, section clean, dry, product-free hair into four quadrants and saturate half-inch subsections, nape or densest gray first. On previously colored hair, color roots first and ends only for the last 5-10 minutes; if lightening never-colored hair, do mid-lengths and ends before roots.
Patchy color is one of the most common ways an attempt to dye hair evenly at home goes wrong. The roots glow brighter than the lengths, the ends soak up too much and turn a darker band, or there’s a pale patch at the nape you only notice in a photo.
None of this means box dye can’t give you a salon-looking result. It almost always comes down to a few decisions made before and during application: how you section, how much product you use, and which part of your head gets color first.
This guide covers a full-head, single-color application from the patch test to the rinse. Every step gives the reason behind it and a quick check to make before you move on. If you only need to refresh regrowth, a root touch-up is simpler. If you’re coloring all over, either for the first time or to refresh faded lengths, start here.
Time 60-90 minutes, plus a patch test 48 hours aheadDifficulty IntermediateSteps 9
What Went Wrong: Uneven Dye Fixes
| Problem | Likely cause | Fix |
|---|---|---|
| Patchy or missed spots | Thin product, dry subsections | Same shade on patches only |
| Hot roots | Scalp warmth on first-time lightening | Deeper demi gloss on roots |
| Ends darker than roots | Color pulled through too early | Clarifying washes or color remover |
| Stained hairline | Skipped barrier cream | Makeup remover or micellar water |
| Ends faded, roots fine | Porous ends lose color first | Gloss on mid-lengths and ends |
What You’ll Need
As an Amazon Associate, HairAide earns from qualifying purchases. Product links in this guide are affiliate links: they cost you nothing extra and help keep these tutorials free.
- Madison Reed Radiant Hair Color Kit A cream permanent color for full-head application. The brand’s shade-matching quiz makes it easier to land on the lighter, safer side of your goal.
- ESalon custom hair color It’s mixed from your hair details and photos, which takes the guesswork out of choosing a shade that won’t come out too dark.
- Tint brush, mixing bowl and sectioning clip set The brush paints thin half-inch subsections precisely, and the clips hold the other three quadrants out of the way.
- Wide-tooth comb It spreads color evenly through each coated quadrant and catches missed strands without dragging the product into clumps.
- Petroleum jelly or barrier cream A thin layer along the hairline, ears and nape stops dye from staining the skin around your face.
Step-by-Step
Step 1 Pick a shade that errs lighter
Choose by the shade number and the results chart on the side of the box, not the model photo, because the photo shows the color on light, untreated hair.
If you’re torn between two shades, take the lighter one: a result that’s a touch light is easy to deepen next time, but an over-dark one is far harder to undo. Permanent dye can lift natural pigment slightly, but it can’t lighten hair that’s already dyed (color doesn’t lift color), so a box won’t take you lighter than your current dyed shade.
Safety check: if you want to go more than a couple of shades lighter, or from dark brown to blonde, stop here, because that’s a bleach job for a colorist.
Step 2 Patch test and strand test first
Forty-eight hours before you color, do the skin allergy test exactly as your kit’s leaflet describes. That’s usually a small dab behind the ear or inside the elbow, left uncovered and unwashed.
Do it every time, even with a brand you’ve used for years, because you can become sensitive to dye ingredients at any point. Use the same small mix on a hidden snip of hair from the nape underlayer and time it exactly, so you see the true result on your own hair before it goes on your whole head.
Safety check: if the test spot itches, turns red, swells or burns, don’t dye. Rinse it off and ask a pharmacist or doctor.
Step 3 Prep clean, dry, product-free hair
Apply color to clean, completely dry hair with no leave-in conditioner, oil, dry shampoo, hairspray or root concealer. Any coating sits between the dye and the strand and shows up later as a blotchy patch.
Many guides suggest washing a day or two beforehand rather than that morning, so your scalp isn’t freshly scrubbed when the dye goes on. Smooth petroleum jelly or a barrier cream along your hairline, over the tops and backs of your ears and across the nape, then put on the kit’s gloves and drape an old towel around your shoulders.
Safety check: never color over a scratched, sunburned or irritated scalp, and keep hair dye away from your eyebrows and lashes.
Step 4 Section into four quadrants
Detangle fully. Part your hair from ear to ear over the crown, then part it again from the center of your forehead straight down to the nape, which gives you two front and two back quadrants. Twist each quadrant and clip it out of the way.
This works because one mass you can’t see becomes four small areas with clean edges, so you always know exactly which hair is done and which isn’t. Check: before you mix anything, prop up a hand mirror so you can see the back of your head in the bathroom mirror, since you’ll otherwise be working the back half partly by feel.
Step 5 Start where color needs longest
Begin where color needs the longest contact: if you’re covering gray, that’s where the gray is densest, often the temples or part, because those resistant strands need the full time; otherwise, start in a back quadrant at the nape and work upward and forward for control.
Then follow the case that matches your hair. Never colored, going darker or staying at your natural depth: apply from roots to ends in one pass. Previously colored: apply to the regrowth only and leave the lengths until the last 5-10 minutes, because they already hold pigment and go darker with full processing time.
Never colored, going lighter: scalp warmth makes the roots process faster and brighter, which is what causes ‘hot roots’, so unless your kit gives its own first-time directions for lightening, apply to the mid-lengths and ends first, about an inch from the scalp, then go back for the roots.
Safety check: mix the color only when you’re ready to apply it, and never store leftover mixture in a capped bottle, because it keeps reacting and the container can burst.
Step 6 Saturate thin half-inch subsections
Within each quadrant, take subsections about half an inch thick and coat both sides of each one before moving on. Thicker slices leave a dry core that shows up as patches once you rinse.
Use more product than feels necessary: the hair should look visibly coated and feel slippery, with no pale strands when you lift it. A creamy, gel-like mix stays where you put it, while a thin, runny one bleeds onto finished sections and drips onto skin, so work in smaller sections if your formula is liquid.
If your hair is past your shoulders or very thick, have a second kit ready, because stretching one box leaves the back and underside under-saturated. Safety check: wipe drips off your face, neck and ears straight away with a damp cotton pad.
Step 7 Comb through and time it
Once every subsection is coated, set a timer exactly as the leaflet says. Most kits count from the moment you finish applying. For first-time color, gently run a wide-tooth comb through each quadrant right away.
This spreads the product evenly and catches strands you missed, which stops darker blotches forming where color sits in clumps. On previously colored hair, leave the lengths alone until the last five to ten minutes, then work the remaining color through the mid-lengths and ends and comb it through.
Those lengths already hold pigment, so a short refresh evens them out without building them up darker than the roots. Safety check: never leave color on past the kit’s maximum time, and don’t cover it with a cap unless the instructions say to.
Step 8 Check a strand, then rinse
A few minutes before the timer ends, wipe the color off a small section at the nape and one at the front with a damp paper towel and compare them. Roots, gray and lengths should all look like the same shade.
If the gray or regrowth still looks lighter and you haven’t reached the kit’s maximum time, leave it on for the remaining minutes rather than adding more product. When it’s done, rinse with lukewarm water, which feels comfortable on a freshly colored scalp.
Massage the hairline and nape until the water runs completely clear, then apply the kit’s conditioner. Safety check: tilt your head back under the shower and keep your eyes closed. If dye gets in an eye, flush it with plenty of water and get medical advice.
Step 9 Diagnose and fix uneven results
Judge the result in daylight once your hair is fully dry, then match the problem to its fix. Patchy or missed spots come from thin product or dry subsections. Wait a few days, then apply the same shade to the light patches only.
For hot roots, apply a demi-permanent gloss a shade deeper to the roots alone. Ends that went darker, usually from pulling color through too early, soften with a few clarifying washes, or with a color remover if they’re very dark. Dye left on the hairline comes off with makeup remover or micellar water.
If your ends fade faster than your roots (porous lengths lose color first), even them out with a gloss on the mid-lengths and ends. Safety check: if the result is more than a couple of shades off, or your scalp feels sore, stop adding more color and book a colorist.
Common Mistakes to Avoid
- Coloring over leave-in conditioner, oil, dry shampoo or root concealer, which blocks the dye and leaves blotchy patches.
- Combing color through the full length at every recolor, which builds up pigment on the ends until they band darker than the roots.
- Taking thick sections and coating only the top of each one, so the underside and the middle of the section stay pale.
- Stretching one box over long or very thick hair, which leaves the back and nape under-saturated.
- Picking the darker of two shades ‘to be safe’, when over-dark color is much harder to fix than color that’s a touch light.
Pro tip Before you start the timer, flip each back quadrant up and check it in a hand mirror. Missed spots almost always hide on the underside of the back sections, at the nape and behind the ears, not on the top layer you can see.
The Bottom Line
An even result depends more on saturation and order than on the brand on the box. Use four clean quadrants, coat thin subsections on both sides, color the most resistant hair first, and give the lengths only a short refresh.
Hair grows about half an inch a month, so regrowth usually shows within four to eight weeks. From then on, color the roots only and save the pull-through for when your lengths look faded.
See a colorist instead if you want to go more than a couple of shades lighter, if you’re correcting a result that’s badly uneven or much too dark, or if your patch test or scalp reacts at all. Those are jobs for a professional, not another box.
Frequently Asked Questions
Should hair be wet or dry when you dye it at home?
Most permanent box dyes are made for dry hair, so water doesn't dilute the color and it clings evenly, but check your leaflet and follow it. Hair should be dry, detangled and free of leave-in products, oils and dry shampoo. Some demi-permanent glosses and semi-permanent colors are designed for damp, towel-dried hair, so the instructions should decide, not habit.
How many boxes of hair dye do I need for long or thick hair?
One kit usually covers short to shoulder-length hair of average thickness. If your hair is past your shoulders or very thick, buy two boxes of the same shade. Running short leaves the back and underside under-saturated, which is where patchiness starts. Mixed color can't be stored, so throw away anything left over.
Why are my ends darker than my roots after dyeing?
Lengths that have been colored before, or that are dry and porous, absorb more pigment than new growth, so they turn darker if they get the full processing time. Next time, color the roots first and pull the color through the ends only for the last 5-10 minutes. Colorists often use a lighter formula on the lengths. Clarifying washes can soften ends that are already too dark.
Can I fix patchy hair dye right away?
It's better to wait a few days so your scalp can recover. Then strand-test and apply the same shade only to the light patches, timing it like a fresh application. Don't recolor your whole head, because that darkens the parts that took evenly. If the patches are large, the color is more than a couple of shades off, or your scalp is irritated, see a colorist.
How long should I wait to wash my hair after dyeing it?
Many color brands suggest waiting about 48 to 72 hours before your first shampoo. The conditioner in the kit is all you need right after rinsing. After that, a sulfate-free, color-safe shampoo and fewer washes a week help the color fade evenly, since porous ends tend to lose pigment first.
Keep Reading
Sources
- How to section hair for dying coloredhaircare.com
- How to section hair for dyeing zotosprofessional.com
- 10 tricks to help you color resistant gray hair us.wella.professionalstore.com