Quick answer To do a wash and go, cleanse and detangle in sections. Then, on soaking-wet hair, apply a hydrating cream followed by a gel, shingle it through each curl, and let it dry untouched before scrunching out the crunch. Use lighter products for waves and richer ones for coils.
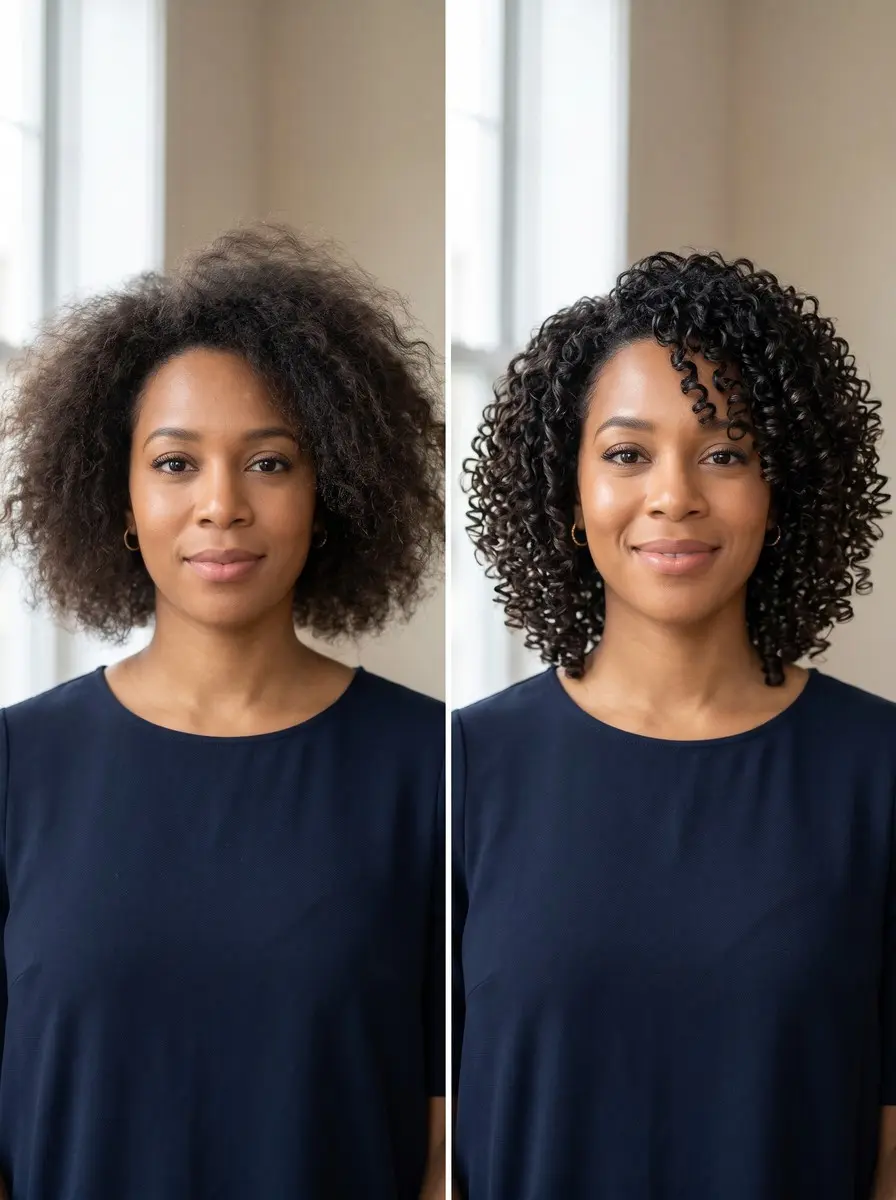
A good wash and go looks effortless. You get defined curls with no crunch and no frizz halo, and all it takes is a shower and some patience. For many people, though, the style dries frizzy, flakes by lunchtime or falls flat by evening.
The products are often not the problem. The usual causes are the order the products went on, how wet the hair was at the time, or how often hands went back in while it dried.
This guide takes you through the full method, from scalp-only cleansing to breaking the gel cast. It adjusts the section count and product weight for type 2 waves, type 3 curls and type 4 coils. The last step is a diagnosis: whatever went wrong this time tells you what to change on your next wash, so each attempt is better than the one before.
Time 30-45 minutes of styling, plus drying timeDifficulty BeginnerSteps 9
Wash and Go Products by Curl Type
| Curl type | Sections | Hydration layer | Hold layer |
|---|---|---|---|
| Type 2 waves | 2 | Light lotion, used sparingly | Strong-hold gel or mousse |
| Type 3 curls | 4 | Medium curl cream | Medium-to-strong gel |
| Type 4 coils | 4 | Thicker cream, more of it | Thicker gel, more of it |
What You’ll Need
As an Amazon Associate, HairAide earns from qualifying purchases. Product links in this guide are affiliate links: they cost you nothing extra and help keep these tutorials free.
- Slippery rinse-out conditioner Gives your fingers and comb enough slip to detangle each section from the ends up without snapping strands.
- Curl cream or leave-in The first styling layer: it softens curls and reduces dry frizz before the gel goes on.
- Strong-hold curl gel Dries into the cast that keeps each curl clump defined while your hair dries.
- Continuous-mist spray bottle Re-wets any section that starts drying before you reach it, so your products always go onto soaking-wet hair.
- Bowl diffuser attachment Spreads the airflow so curls dry without being blown apart, saving hours of air drying.
Step-by-Step
Step 1 Cleanse your scalp, not your lengths
Wet your hair thoroughly. Then work a gentle shampoo into your scalp only, using your fingertips in a back-and-forth motion rather than circles. Scrubbing in circles, or piling your hair on top of your head to wash it, twists curls around each other and can leave the lengths matted before you’ve even started styling.
The lather that runs down as you rinse is enough to clean the ends, so leave them alone. You’re done when your scalp feels clean but your hair doesn’t feel ‘squeaky’, which is a sign it has been stripped of the oils that help curls clump together.
Step 2 Section and detangle with conditioner in
Split your hair into two sections if you have type 2 waves, or four if you have type 3 curls or type 4 coils, and clip each one away. Smooth a slippery conditioner onto each section from the ends upward.
The ends are the oldest, driest part of each strand, and they are where knots collect. Detangle with your fingers first, then use a wide-tooth comb or detangling brush, always starting at the ends and working up toward the root.
Working this way releases knots instead of pushing them down into a tighter tangle. Rinse until your hair still feels slippery rather than bare. The section is done when your fingers glide through from root to tip without catching.
Step 3 Keep your hair soaking wet
Skip the towel completely. Your styling products need to go onto hair that is dripping, so stay in the shower or stand over the sink, and keep a spray bottle of water within reach. Water lets neighboring strands slide together into curl clumps and spreads products evenly through every strand.
Hair that has started to dry is already separating into frizz, and the product will only glue that frizz in place. Work one section at a time, and re-mist any section that loses its shine before you reach it. Your cue is simple: squeeze a section, and water should run out.
Step 4 Layer hydration first
Unclip one section and apply your hydrating product (a leave-in, lotion or curl cream) before anything else. Smooth it from mid-lengths to ends, then up toward the root, with flat ‘praying hands’.
Hydration goes on first because it has to touch the hair directly to soften it and cut down on dry-looking frizz, and the gel you add next will hold everything on top of it.
Match the weight to your curl type: a light lotion used sparingly for type 2 waves, a medium curl cream for type 3 curls, and a thicker cream used more generously for type 4 coils. The section is ready when every strand feels coated and slippery but not greasy or heavy.
Step 5 Add hold on top
While the section is still soaking wet, smooth a gel over the cream with flat palms, then work it through from ends to root. Hold is what keeps a wash and go defined.
As the water evaporates, the gel dries into a firm film, called a cast, that keeps each clump in shape and helps it resist humidity until it is completely dry. Loose waves drop easily under their own weight, so type 2 hair often needs more hold: reach for a strong-hold gel or mousse.
A medium-to-strong gel suits type 3 curls, and type 4 coils usually need a thicker gel, and more of it. When the section feels slick and squishes slightly as you squeeze it, it’s ready to shingle.
Step 6 Shingle each curl, then let it set
Take a curl-sized piece of the section and run the product down its full length between your thumb and fingers. That way the gel coats each individual curl instead of sitting on the surface of the section.
Stretch the piece gently as you go, then release it and let it spring back into a defined clump, and repeat across the whole section. Leave each finished section hanging and don’t go back into it before you move on, because every return trip splits the clumps apart.
On type 2 waves, scrunching upward with cupped hands often defines better than shingling, which can stretch a loose wave nearly straight. Try both and keep whichever works for you.
Step 7 Dry it without touching
Let your curls air dry or use a diffuser, and either way keep your hands off them until they are completely dry. While your hair is wet the gel hasn’t set yet, so touching, parting or scrunching breaks the clumps apart, and the cast then dries around the frizz.
If you diffuse, use low airflow and keep the diffuser close and steady so the curls aren’t blown around. Dry the roots well, because they take the longest. Your hair is done when it feels firm or crunchy all over, roots included, with no cool, damp spots.
Step 8 Break the cast once fully dry
Once your hair is completely dry, scrunch upward with your palms to crack the gel film. If it feels very stiff, rub a drop or two of lightweight oil or serum between your palms first. The cast held each clump in shape while it dried, and breaking it now leaves soft, movable curls with the definition still in place.
If you do this any earlier, you break the clumps along with the cast, which is where a lot of unexplained frizz comes from. Finish by gently shaking the roots for volume. You’re done when the crunch is gone but the curls still move as defined clumps rather than single strands.
Step 9 Read your result and adjust
Look at the finished style, and change only one thing on your next wash so you know what made the difference. Frizz all over usually means your hair wasn’t wet enough when the products went on, there wasn’t enough hold, or it was touched while drying, so apply your products wetter and add a little more gel.
Crunch that won’t soften, or white flakes, points to too much gel or a cream and gel that don’t mix. Rub a little of both together in a wet palm, and if the mix turns white or balls up, swap one of them.
Limp, weighed-down curls need a lighter hydrator, or less of it, kept off the roots. Uneven definition usually comes from sections that were too big, that dried before you reached them, or that you didn’t shingle.
Common Mistakes to Avoid
- Putting products on towel-dried or half-dry hair, which locks in the frizz that has already formed instead of defining the curls.
- Touching, parting or scrunching while the hair is still damp, which pulls clumps apart before the gel has set.
- Using the same rich cream on type 2 waves as on type 4 coils, which drags loose waves flat and leaves them greasy.
- Scrubbing the scalp in circles, or piling hair on top of your head to shampoo, which twists curls together and can mat the lengths.
- Scrunching out the cast before every section, roots included, is completely dry, which breaks the clumps and creates frizz.
Pro tip Finish each section with a glaze: after shingling, smooth a thin layer of gel over the surface with flat palms without separating anything. This smooths the top layer, where frizz shows first, and leaves the clumps underneath untouched.
The Bottom Line
Done well, a wash and go gives you soft, defined curls that hold for several days with nothing more than a quick refresh in between. Repeat the full routine on each wash day, and note how much cream and gel you used, so the version that worked becomes your routine rather than a lucky accident.
Your curls may stay limp, frizzy or straight in patches no matter how you adjust the products. If so, the cause may be heat or color damage, or a cut that works against your natural pattern. A stylist who specializes in curly hair can trim away the damaged ends and shape the cut so your wash and go has something to work with.
Frequently Asked Questions
How long does a wash and go last?
A wash and go usually lasts two to four days, and tighter curl patterns often hold their shape longer than loose waves. At night, sleep on a satin pillowcase or gather your curls loosely at the crown in a soft scrunchie so they aren't crushed. When a refresh no longer brings the definition back, it's time for a full wash day.
Should I diffuse or air dry a wash and go?
Both work. Air drying is the gentlest option but can take hours, while diffusing gets you out the door faster and often gives more volume at the root. The rule is the same either way: don't touch your hair until it's completely dry. If you diffuse, work a heat protectant in with your styling products and use low to medium heat with low airflow.
How do I refresh a wash and go on the second day?
Mist your hair with water until it's damp, not soaking. Smooth a small amount of curl cream or gel thinned with water over any frizzy or flattened curls, and scrunch them back into shape. Let them dry without touching, just as you did on wash day. Refresh only the pieces that need it rather than re-wetting your whole head.
Can you do a wash and go on wavy hair?
Yes, but type 2 waves need a lighter touch: two sections instead of four, a light lotion used sparingly, and a strong-hold gel or mousse, because heavy product makes loose waves drop. Scrunching upward often defines waves better than shingling, which can stretch them straight. If your waves still fall flat, use less cream before you add more gel.
Can I do a wash and go without gel?
You can swap the gel for any styler with hold, such as a strong mousse or a curl jelly. Cream on its own gives softer curls that lose definition and frizz sooner. Cream adds moisture, but it doesn't form the cast that holds each clump in shape while your hair dries.
Keep Reading
Sources
- How to wash and go for naturally curly hair lookfantastic.com
- Your guide to shingling the latest curly hair technique carolsdaughter.com