Quick answer To prepare natural hair for braids, start a day or two before install: clarify the scalp, deep condition with extra attention on the ends, detangle from ends to roots, trim split ends, then stretch with loose twists or a low-heat blow-dry and keep edges lightly moisturized.
Braids can stay in for weeks, so the time you take to prepare natural hair for braids is your last real chance to clean your scalp, add moisture and clear out the tangles that would otherwise set in.
If you skip the prep, the problems show up later: an itchy, flaky scalp you can’t wash properly, dry ends snapping under the extensions, and a take-down that turns into an afternoon of matted knots and broken hair.
The routine itself is simple, and you can do all of it at home. Over one or two days you’ll clarify, deep condition, detangle, trim, stretch and protect your edges, adjusting each step to your hair’s porosity and curl pattern. Do it well and your braids protect your hair the way they’re meant to. They’ll also come out far more easily.
Time 3-4 hours hands-on, spread over 1-2 daysDifficulty BeginnerSteps 8
Pre-Braid Prep by Porosity
| Porosity | Deep conditioner | Protein | Stretch |
|---|---|---|---|
| Low (water beads, dries slowly) | Lighter, water-based, on damp hair | Only if mushy or limp | Twists dry slowly; allow overnight or longer |
| Medium | Standard moisturizing formula | Only if mushy or overly stretchy | Loose twists or low-heat blow-dry |
| High (soaks up water, dries fast) | Richer formula | Most likely to help | Twist while damp with leave-in |
What You’ll Need
As an Amazon Associate, HairAide earns from qualifying purchases. Product links in this guide are affiliate links: they cost you nothing extra and help keep these tutorials free.
- Clarifying shampoo Removes the oil, gel and hard-water build-up that would otherwise sit on your scalp under the braids for weeks.
- Moisturizing deep conditioner Your last big dose of moisture before weeks under braids, worked in from the ends up where hair is most fragile.
- Protein treatment Optional: only for hair that feels mushy, limp or overly stretchy when wet; skip it if your hair already feels stiff.
- Sectioning clips Hold detangled sections out of the way so they don’t re-tangle while you work through the rest.
- Leave-in conditioner Adds slip for detangling, softens the no-heat stretch and gives the edges light moisture without heavy oil.
- Wide-tooth comb or detangling brush Glides through damp, conditioned coils from ends to roots with far less breakage than a fine-tooth comb.
- Hair-cutting shears Sharp shears snip split ends and single-strand knots cleanly; household scissors crush the tip and start new splits.
- Heat protectant and a blow-dryer with a comb attachment Optional: only for the low-heat stretch; the protectant shields strands while the comb attachment stretches hair on a low setting.
Step-by-Step
Step 1 Plan a two-day prep timeline
Book your braid appointment first, then work backwards. Wash, deep condition, detangle and trim the day before, or two days before if your hair is very thick or long, and let the stretch dry overnight so install day is only a final check. Rushed prep is where most damage starts: hurried detangling rips through knots, and hair gets braided before it’s fully dry.
Hair that’s still damp inside braids can stay wet under the extensions for days and develop a musty smell, and coils that shrink as they dry pull tighter at the roots. You’re ready to start when you’ve set aside three to four unhurried hours before install day.
Step 2 Clarify your scalp and lengths
Start with a clarifying shampoo to lift the oils, gels, butters and hard-water film that everyday shampoo leaves behind. This matters more before braids than at any other time.
Once the style is in, your scalp is hard to reach and the lengths can’t be washed properly for weeks, so anything left on now sits under the braids and can turn into itching, flaking or lint-catching build-up. Massage the lather into your scalp with your fingertips in four to six loose sections, let the suds run down the lengths instead of scrubbing them, and rinse thoroughly.
One clarifying wash is usually enough. You’re done when your scalp feels clean and your hair feels bare rather than coated. Go straight to conditioner from here.
Step 3 Deep condition from the ends up
Apply a moisturizing deep conditioner to damp hair section by section, starting at the ends. They’re the oldest, most fragile part of each strand and the first to snap under the weight of extensions.
Leave it on for the full time on the label: braids keep conditioner out for weeks, so this is your last good chance to add moisture. If wet hair feels mushy, limp or overly stretchy, use a protein treatment first and follow it with the deep conditioner.
If it feels stiff or straw-like, or snaps without stretching, skip protein, because too much leaves hair brittle right before it goes under tension. Adjust for porosity. Low-porosity hair (water beads on it and it dries slowly) takes a lighter, water-based formula on damp rather than dripping hair. Medium-porosity hair suits a standard moisturizing formula.
High-porosity hair (it soaks up water and dries fast) usually wants a richer one and is the type most likely to need protein. The conditioner has done its job when your hair feels soft, slippery and pliable from root to tip.
Step 4 Detangle from ends to roots
Divide damp hair into small sections, smaller the tighter your coils, and clip each one out of the way. Detangle with the deep conditioner still in for maximum slip, or rinse first and smooth on a leave-in conditioner. Hold each section near the middle so the pull doesn’t reach your scalp.
Ease knots apart with your fingers, then follow with a wide-tooth comb or detangling brush, starting at the ends and working up a little at a time. Starting at the roots pushes every tangle down into one dense knot at the ends, which is where breakage happens.
Expect a handful of built-up shed hair. Removing it now stops it from matting around the base of the braids by take-down. A section is done when the comb glides from root to tip without catching. Twist it loosely, clip it away, and once every section is finished, rinse out any remaining conditioner.
Step 5 Trim split ends and knots
Work through your sections one at a time while the hair is still damp. Unravel each one, hold it gently straight between two fingers, and look for split ends, thin see-through tips and tiny single-strand knots.
Snip just above the damage with sharp hair-cutting shears, taking off only what’s damaged rather than a set length. Split ends keep splitting up the strand under the extra weight of braiding hair, and single-strand knots act like hooks that catch neighbouring strands. If you leave them in, you get more tangles and broken pieces when the braids come out.
If you plan to blow-dry, you can do a final light dusting on the stretched hair, where uneven ends are easier to see. You’re finished when the ends feel smooth between your fingers and no longer snag.
Step 6 Stretch with low heat or none
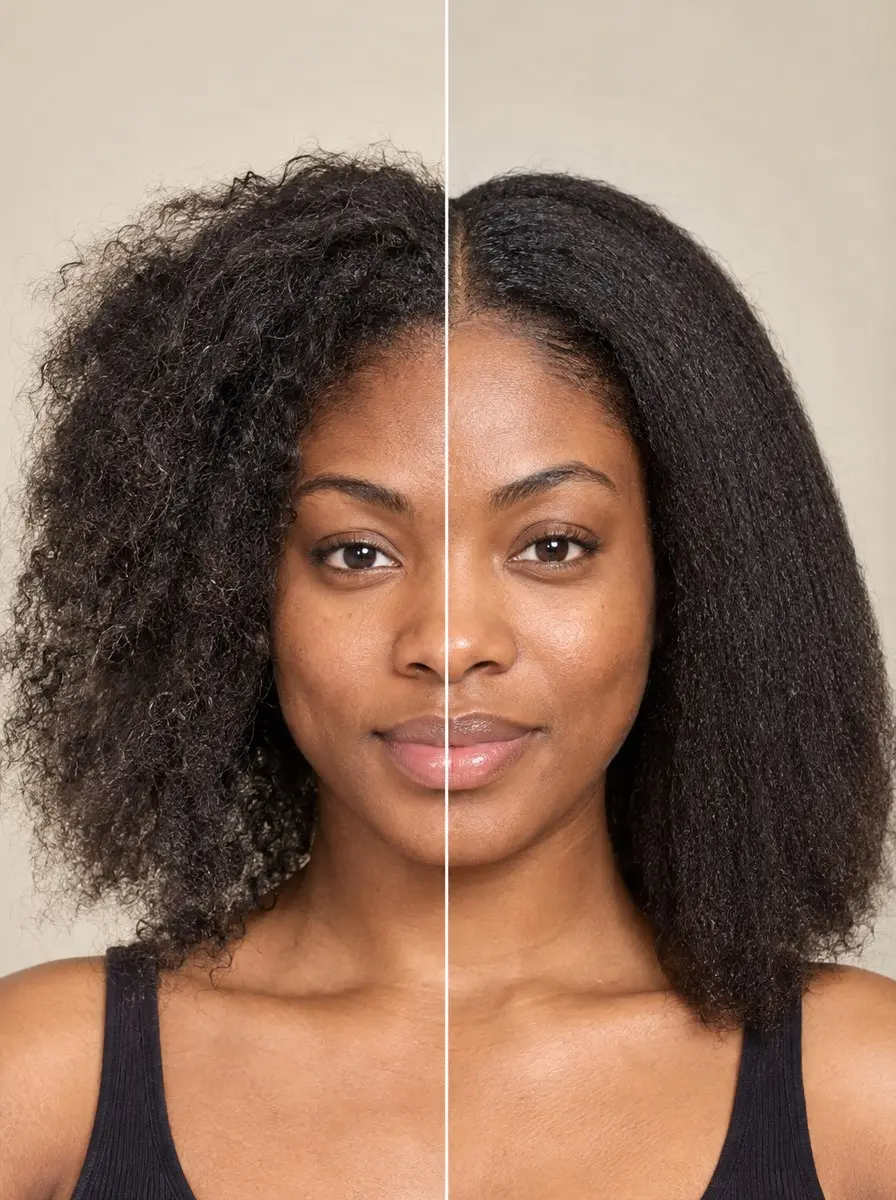
Braiders ask for stretched hair because it’s easier to part cleanly, tangles less inside the braids and needs less pulling at the roots. Tightly coiled hair shrinks the most, so it benefits most from a stretch. For a no-heat stretch, smooth a little leave-in conditioner through damp hair and set it in large, loose two-strand twists or plaits, keeping the roots relaxed rather than snug.
Then let them air-dry completely, overnight or longer for low-porosity hair, which dries slowly. High-porosity hair holds the stretch with less frizz if you twist it while damp with leave-in.
For a faster stretch, mist on heat protectant and blow-dry each section with a comb attachment on a low heat setting, pointing the airflow down the strand from root to end. Avoid high heat and avoid pulling hair taut with a brush: both weaken strands that are about to spend weeks under tension. The stretch is done when your hair is completely dry from root to tip.
Step 7 Keep edges and product light
Moisturize your hairline with a pea-sized amount of leave-in conditioner smoothed on with your fingertips, and skip heavy gels at this stage. The edges are the finest, most fragile hair on your head, and repeated pulling there is what leads to traction alopecia.
Set the front in loose twists or a soft plait rather than slicking it tight. Ask your braider to leave the baby hairs out, or to braid the hairline with low tension in slightly larger sections. Go easy on oils and butters everywhere else too.
Slippery hair makes braids slide, so the braider grips and pulls tighter, and the excess sits under the style attracting lint and build-up. Your hair is ready when it feels soft and moisturized but not greasy or slick.
Step 8 Run an install-day readiness check
On install day, unravel your stretch twists or check your blow-dried hair, and run your fingers through every section to confirm it’s fully dry, tangle-free and stretched. Check your scalp too. If it’s sore, broken or flaking heavily, postpone rather than braid over it.
Healthy scalp care and low tension are what a Baylor College of Medicine dermatologist stresses for braided styles. Tell your braider which areas are fragile, and speak up as soon as a braid feels tight, stings or raises small bumps at the base: tension pain is a warning, not something to wait out.
The prep pays off again at the end. Clean, detangled, trimmed hair with the shed strands already removed comes out of braids far more easily, with fewer knots and less breakage.
Common Mistakes to Avoid
- Braiding hair that’s still damp at the roots, which can stay wet and musty under the extensions and pulls tighter as coils shrink.
- Detangling from the roots down or on dry hair, which drives tangles into dense knots at the ends and snaps them off.
- Coating hair in heavy oil or butter before install, so braids slip, get gripped tighter and collect lint.
- Using a protein treatment on hair that already feels stiff or straw-like, leaving it brittle just before weeks of tension.
- Skipping the clarifying wash because braids will ‘cover it’, then dealing with an itchy, flaky scalp for weeks.
- Slicking the edges tight with heavy gel or letting the braider pull the hairline taut.
Pro tip Right after clarifying, pick up a single shed strand from the shower and gently stretch it while wet. If it stretches a long way and doesn’t spring back, use the protein treatment before deep conditioning; if it snaps almost at once, skip protein and go straight to moisture.
The Bottom Line
Prepped properly, your hair goes into braids clean, moisturized, detangled and stretched, with a calm scalp and edges that aren’t being pulled. That’s what lets a protective style actually protect your hair. It’s also why take-down is so much easier: fewer knots, less shed hair matted at the roots and far less breakage.
Repeat the full routine before every new install. Between styles, give your hair at least a week or two out of braids so you can wash, deep condition and check your edges. If you notice thinning at the hairline, a sore or flaky scalp that won’t settle, or breakage you can’t explain, see a dermatologist or a natural-hair specialist before your next set.
Frequently Asked Questions
How long before getting braids should I wash my hair?
Wash, deep condition and detangle one to two days before your appointment. That leaves time for a no-heat stretch to dry completely overnight and keeps install day free for a final check. Washing much earlier lets oil and product build back up, and washing the same morning usually rushes the drying, which risks braiding damp hair.
Should I blow-dry my hair before braids?
You don't have to, but a gentle blow-dry is a fast way to stretch your hair. Use it on damp hair with a heat protectant, a low heat setting and a comb attachment, pointing the airflow down the strand, and stop as soon as hair is dry. Avoid high heat. Smooth, stretched, fully dry hair is all your braider needs.
Do I need a protein treatment before braids?
Only if your hair needs it. Wet hair that feels mushy, limp or stretches a long way without springing back benefits from a protein treatment followed by a moisturizing deep conditioner. If your hair feels stiff or straw-like, or snaps without stretching, skip protein, because extra protein leaves hair brittle just before weeks of tension.
Should I oil my hair before getting braids?
Keep it minimal. A leave-in conditioner is usually all the moisture your hair needs before install. Heavy oils and butters make hair slippery, so braids slide and get gripped tighter, and the excess builds up under the style and attracts lint. Add moisture through your upkeep routine once the braids are in.
How long can I keep braids in after prepping my hair?
Even with good prep, braids are a temporary style. Many stylists suggest taking them out by around six to eight weeks. A Baylor College of Medicine dermatologist cautions against leaving styles in too long, and stresses low tension and scalp care throughout. Take them out sooner if you notice persistent pain, bumps at the base or thinning edges.