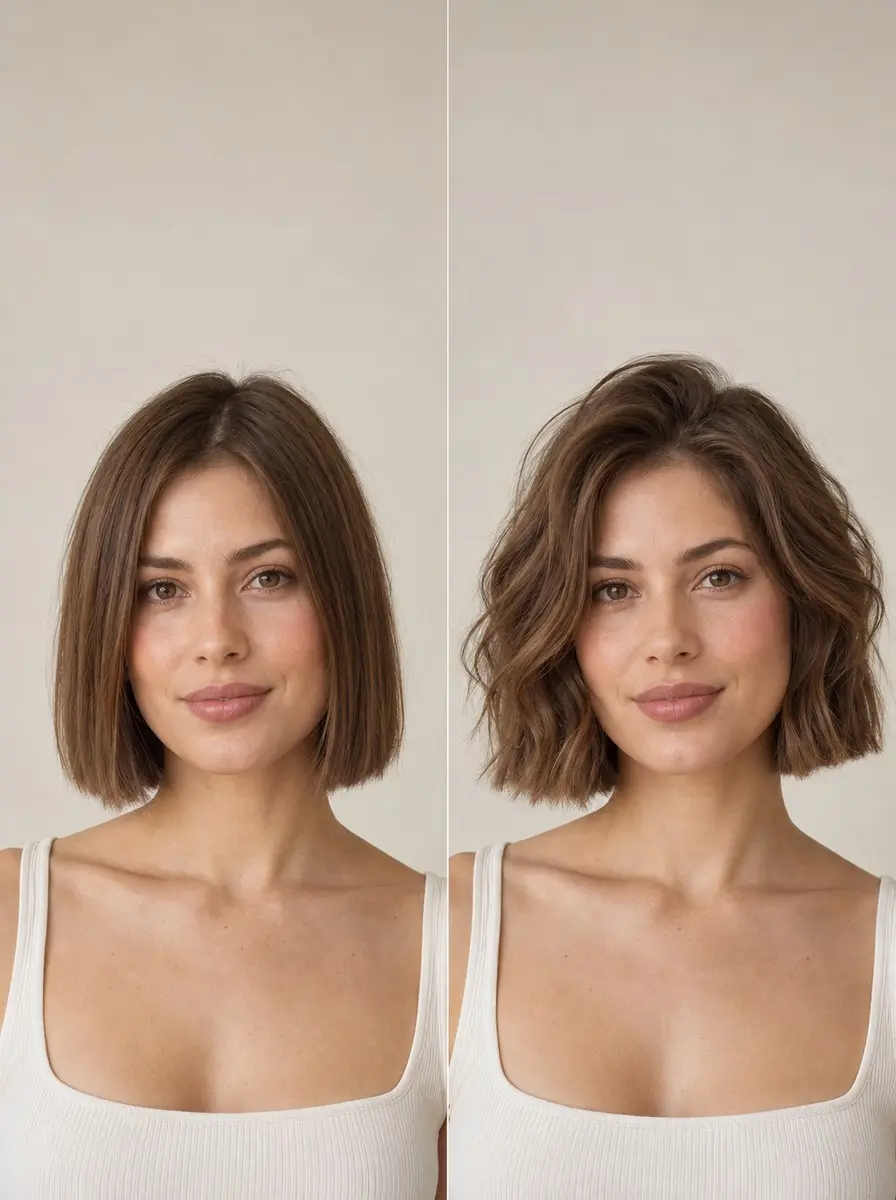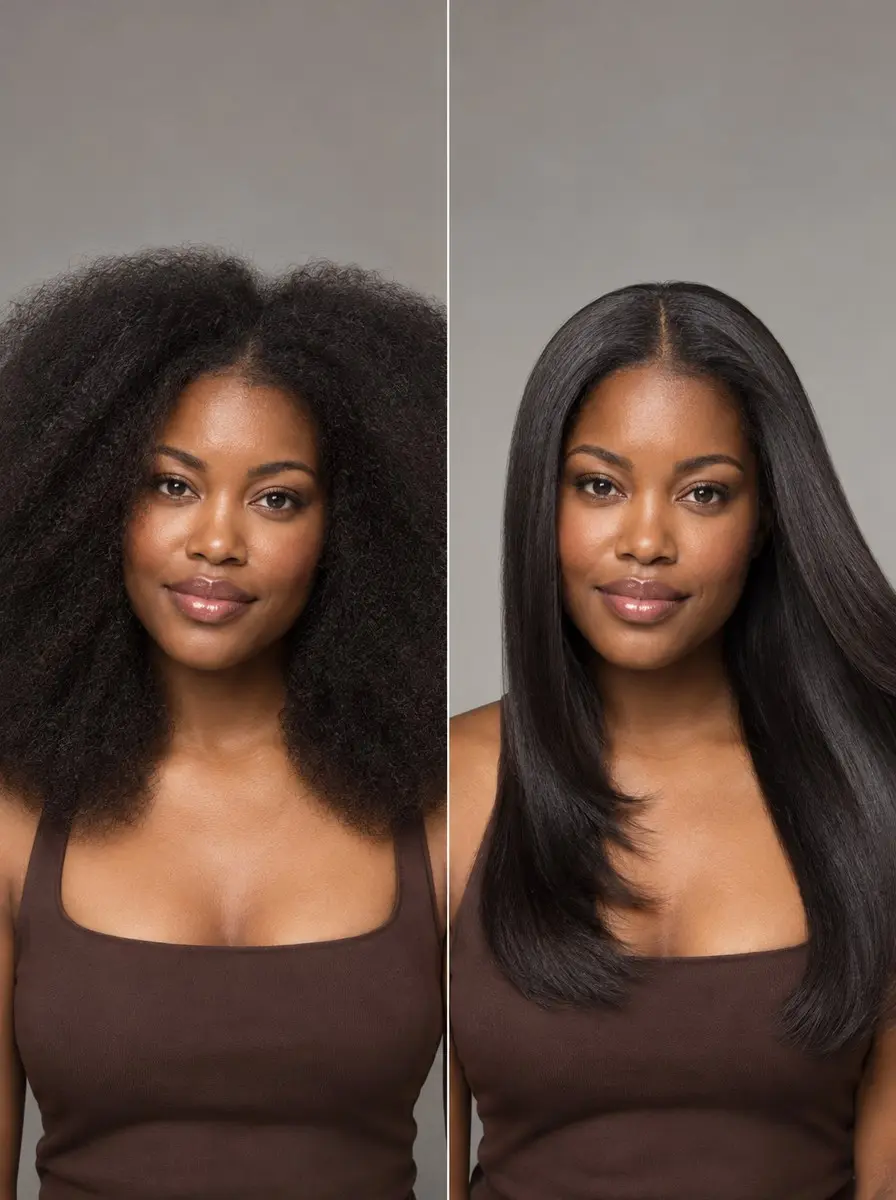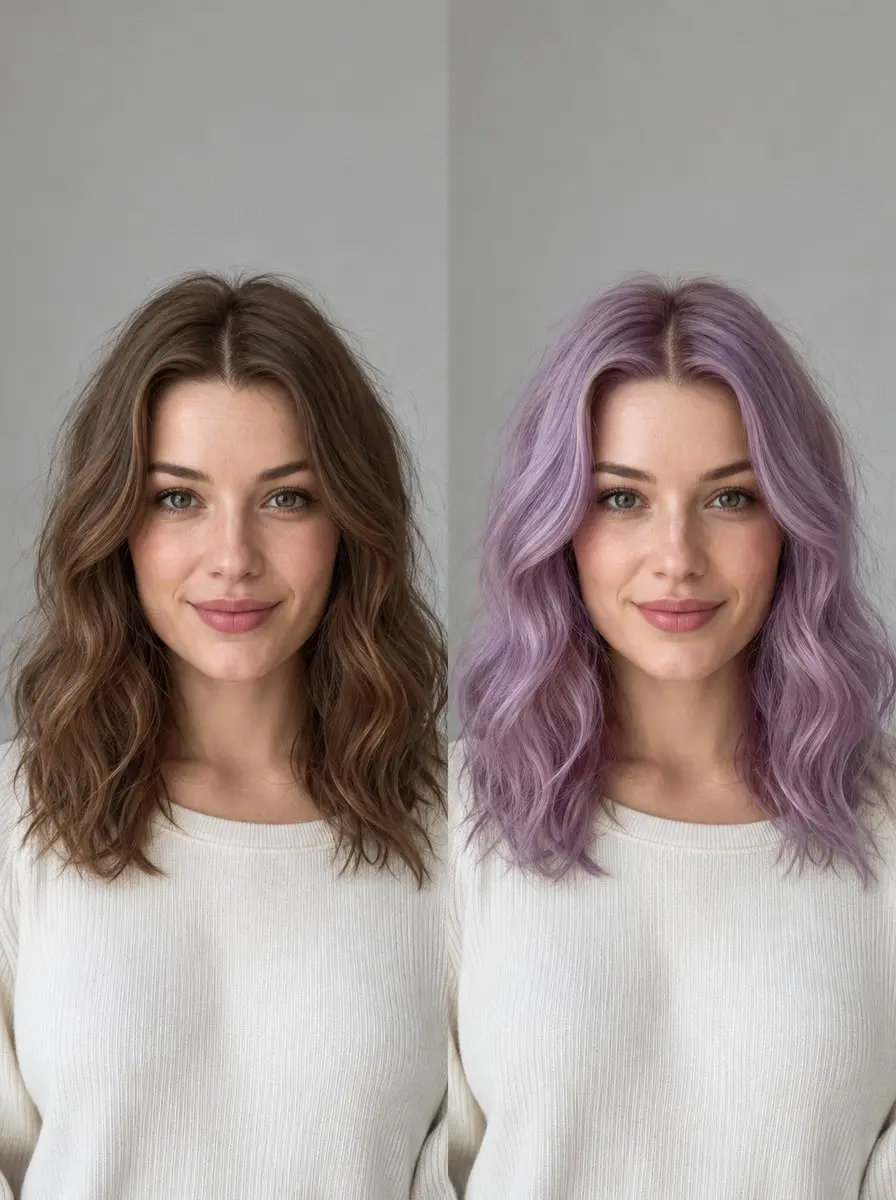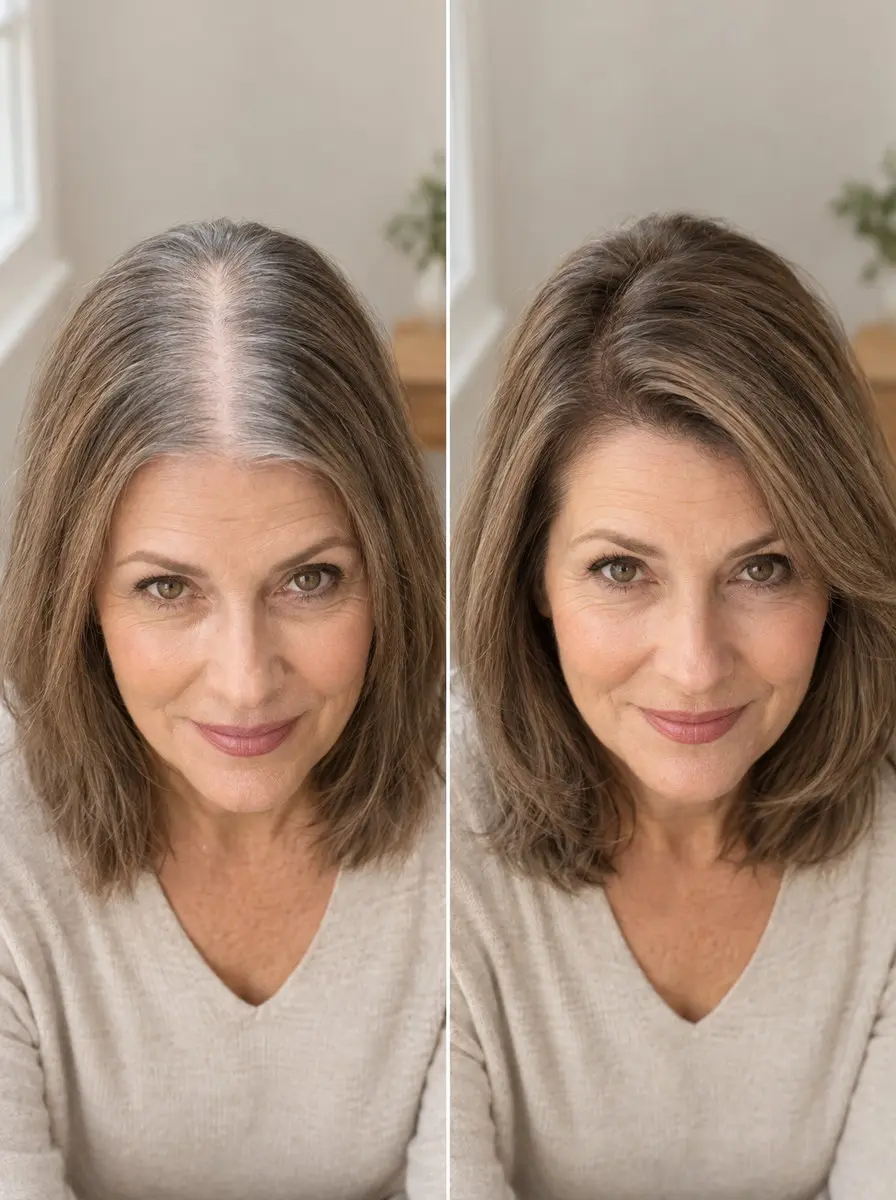
Quick answer To hide a wide part, shift it to a side or zigzag line, tint the gap on fully dry roots with root powder or spray, pat in hair fibers and blur the edge with a jagged comb. A blunt cut, forward-falling fringe or soft highlights make the result last.
A part that used to be a fine line can start to look like a stripe, especially under bathroom lighting or in a photo taken from above. It’s a familiar frustration for many women over 50, and it rarely calls for anything dramatic.
Most of what makes a part look wide is contrast: pale scalp against darker hair, a straight line the eye can follow, and strands that have learned to fall open in the same place.
That means you can hide a wide part in about ten minutes with a comb, a tinted root product and a little technique. Below, you’ll move the part, fill it so nothing looks painted on, and then decide whether a cut, a color tweak or a clip-in topper would save you the daily effort. It’s all cosmetic: the goal is hair you stop thinking about once you’re out the door.
Time 10-15 minutesDifficulty BeginnerSteps 9
Which Part Concealer to Use When
| Tool | Best for | How it goes on |
|---|---|---|
| Root powder or stick | Precise control along a narrow part | Dabbed on dry roots, then patted |
| Root spray | A longer stretch or gray regrowth, fast | Short bursts from a few inches |
| Hair fibers | Scalp that still shows after tinting | Atomizer pumps, pressed in with fingertips |
| Clip-in topper | A wide area or crown fillers can’t cover | Clipped into your densest hair |
What You’ll Need
As an Amazon Associate, HairAide earns from qualifying purchases. Product links in this guide are affiliate links: they cost you nothing extra and help keep these tutorials free.
- Rat-tail comb Its tail draws a clean side, diagonal or zigzag part in seconds.
- Tinted root touch-up powder, stick or spray Tints the exposed scalp along the part so it stops contrasting with your hair and blends gray regrowth between colors.
- Hair-building fibers with an atomizer pump applicator Cling to existing strands at the part to add apparent fullness where tinting alone isn’t enough.
- Hairline comb with a jagged edge Breaks the filled part into an irregular, natural-looking edge so it never reads as painted on.
- Sulfate-free color-safe shampoo Optional: helps new highlights or lowlights fade slowly if you’re coloring your hair for the first time.
- Clip-in hair topper Optional: covers a wide part or sparse crown when daily powder and fibers stop being practical.
Step-by-Step
Step 1 Move your part off its old line
Find where your hair naturally parts, then flip it to a side part or a slightly diagonal one that starts about an inch away from the old line. Hair that has fallen the same way for years tends to lie flat and split open along that line, so pushing it against habit makes it lift a little at the root and close over the gap.
Stylists also recommend rotating between two or three part positions so one spot isn’t under daily pressure. It’s working when the new part looks narrower in the mirror than the old one did.
Step 2 Break up the line with a zigzag
Use the tail of a rat-tail comb to trace a zigzag along your new part, working in small back-and-forth steps about half an inch wide from the hairline back toward the crown, then let the hair fall.
A straight part is a clean stripe the eye locks onto; a zigzag makes the strands from each side interlock, so there’s no continuous line of scalp to read. Keep the zigs small and slightly uneven, because a wide, tidy pattern looks deliberate rather than natural. It’s done when you can’t trace a single straight line of scalp from front to back.
Step 3 Start with completely dry roots
Before any root product goes on, make sure the hair along your part is completely dry right down to the scalp, with no leave-in conditioner, oil or serum near the roots. Moisture and oil make root powders streak and make hair fibers clump into visible specks instead of clinging to single strands, a point fiber makers stress.
Keep any leave-in on your mid-lengths and ends, and save root products for the very last step of your routine. Run two fingertips along the part: if it feels even slightly damp or tacky, give it more time.
Step 4 Tint the part with root color
Pick a tinted root touch-up powder, stick or spray that matches the color of your hair at the scalp rather than your ends, and test it on the part in daylight if you’re between two shades.
Powder and sticks give the most control on a narrow line, so dab them along the part and about a quarter inch to each side; a spray covers a longer stretch or gray regrowth fastest, so mist it in short bursts held a few inches away, following the distance on the can.
Then pat, never swipe, with a fingertip so the color settles onto the scalp and the base of the hair instead of sitting on top as a flat line. It works by lowering the contrast between scalp and hair, so aim for less visible rather than painted over, and stop as soon as the stripe stops catching your eye.
Step 5 Pat in fibers where scalp still shows
If scalp still shows after tinting, add hair-building fibers, which cling to your existing strands and make them look fuller, where powder only colors the skin.
Fit the bottle with an atomizer pump so you can aim at the part itself, give it a few short pumps from a few inches away, then press the fibers in with your fingertips rather than rubbing, which knocks them loose. Build in thin layers and stop while a hint of scalp still shows, because one heavy dose sits on the surface as a solid patch.
On silver or white hair, choose the lightest gray or white shade a range offers, since dark fibers on pale hair create exactly the contrast you’re trying to hide.
Step 6 Blur the edges with a jagged comb
Real parts have slightly uneven edges with a few strands crossing over, so a perfectly filled, even line is what gives concealer away. Lightly tap a comb with a jagged, irregular edge along each side of the part to scatter the color and fibers into a broken, natural-looking edge, then let a few hairs fall across the line.
This blending matters more than how much product you use, because the eye reads a soft, irregular edge as hair and a sharp one as makeup. Check from above in daylight, where a quick phone photo shows the angle people see when you’re seated, and stop when nothing looks drawn on.
Step 7 Book a cut that hides the line
At your next appointment, ask your stylist to keep the perimeter blunt, add long, soft layers through the top, and give you a fringe or curtain bangs that fall forward.
A blunt perimeter keeps your ends at one strong line, which reads as density, while wispy, tapered ends make hair look sparser than it is. Long layers on top add piecey texture that breaks up the part, and a fringe borrows hair from the front so the most visible stretch of the part disappears under it.
Ask them to skip heavy texturizing or short, choppy layers on top, which remove the very bulk that covers your scalp. The cut is right when your hair falls across your usual part without being pushed there.
Step 8 Soften the contrast with color
Because a part looks widest where pale scalp meets darker hair, ask a colorist for fine highlights or babylights placed along the part and hairline to narrow that contrast; if your hair is already light or silver, a few lowlights add depth that reads as fullness.
A band of gray regrowth against darker lengths also makes a part look wider, so keep it blended between appointments with your root touch-up product.
If you have never dyed your hair, ask for a patch test 48 hours before the appointment and switch to a sulfate-free, color-safe shampoo afterward so the new tone fades slowly. The color is right when, from arm’s length, the part no longer reads as a stripe.
Step 9 Switch to a clip-in topper when needed
If you’re layering powder and fibers every morning and still see scalp across the crown, a clip-in hair topper is often the less fiddly tool. It’s a small hairpiece on a base that clips into your own hair and lays new hair over the part, so there’s no line left to conceal.
Choose a base slightly larger than the area you want to cover, match it to your roots and lengths in daylight, and clip it where your own hair is densest so the clips have something to grip.
Take it off at night and vary the clip positions so the same strands don’t carry its weight every day; our topper guides cover sizing and fitting in detail.
Common Mistakes to Avoid
- Applying root powder or fibers to damp roots or over leave-in conditioner, which makes them streak and clump into visible specks.
- Filling the part edge to edge with a solid, opaque line instead of blending it, so it reads as painted on rather than as hair.
- Matching the concealer shade to your ends instead of the hair at your scalp, which leaves a halo of the wrong color around the part.
- Wearing the same tight high ponytail or slicked-back bun every day, which keeps pulling on the hair around the part; rotate in looser, lower styles.
- Asking for heavy texturizing or short, choppy layers on top, which strips away the bulk that covers the scalp.
Pro tip Lay down the tinted powder first and the fibers second: once the scalp is tinted, the gaps between strands stop showing, so the fibers only have to thicken the hair and you need far fewer of them, which is what keeps the finish from looking dusty.
The Bottom Line
With practice, hiding a wide part takes a few minutes: a moved or zigzagged part, a tinted root product patted into dry roots, fibers only where scalp still shows, and a jagged comb to blur the edge.
Root products wash out, so repeat after every shampoo, rotate your part every week or two, and give your hair breaks from tight ponytails and buns. A blunt cut with long layers or a forward-falling fringe, plus soft highlights, means you’ll reach for the products less.
Book a stylist when you want the cut or color done, or help fitting a topper. And if your part has widened noticeably over a few months, a dermatologist or your doctor can look at the cause, because concealing is a styling layer, not the whole plan.
Frequently Asked Questions
Does changing your part make a wide part less noticeable?
Yes, cosmetically. Hair that has fallen the same way for years tends to lie flat and split along that line, so flipping it to a side or diagonal part makes it lift slightly at the root and close over the gap. Stylists also suggest rotating between two or three part positions so one spot isn't under daily pressure. It changes how the part looks, not how your hair grows.
Should I use root powder or hair fibers to cover my part?
They do different jobs, so many people use both. A tinted root powder, stick or spray colors the scalp, which lowers the contrast that makes a part look wide, while hair fibers cling to existing strands and make them look fuller. Apply the powder first and pat it in, then add a few pumps of fibers only where scalp still shows, always on completely dry hair.
How long do root touch-up powders and hair fibers last?
Both are temporary and are designed to stay put until your next shampoo, so you reapply after each wash. Water-resistance claims come from the brands and vary, so test a new product on a quiet day before relying on it in rain, at the gym or in a pool. Expect some transfer onto light-colored collars and pillowcases, especially if you sleep in it.
Will a clip-in topper pull on thinning hair?
Its clips grip your own strands, so the hair under each clip carries the topper's weight. To keep that gentle, choose a topper no larger or heavier than you need, clip it where your hair is densest, vary the clip positions and take it off at night. If the clips ever feel tight or sore, loosen or move them.
When should I see a doctor about a widening part?
Plenty of women notice their part looking wider over time, and styling it is a perfectly reasonable choice. If it has changed noticeably over a few months, shedding suddenly increases, or your scalp is itchy, flaky or sore, a dermatologist or your doctor can look at the cause. As one dermatologist told mindbodygreen, concealing is not a full plan on its own.
Keep Reading
Sources
- 4 tips to conceal and cover up thinning hair from hairstylists mindbodygreen.com
- Beyond the part how to instantly conceal a wide parting and thinning hair finallyhair.com