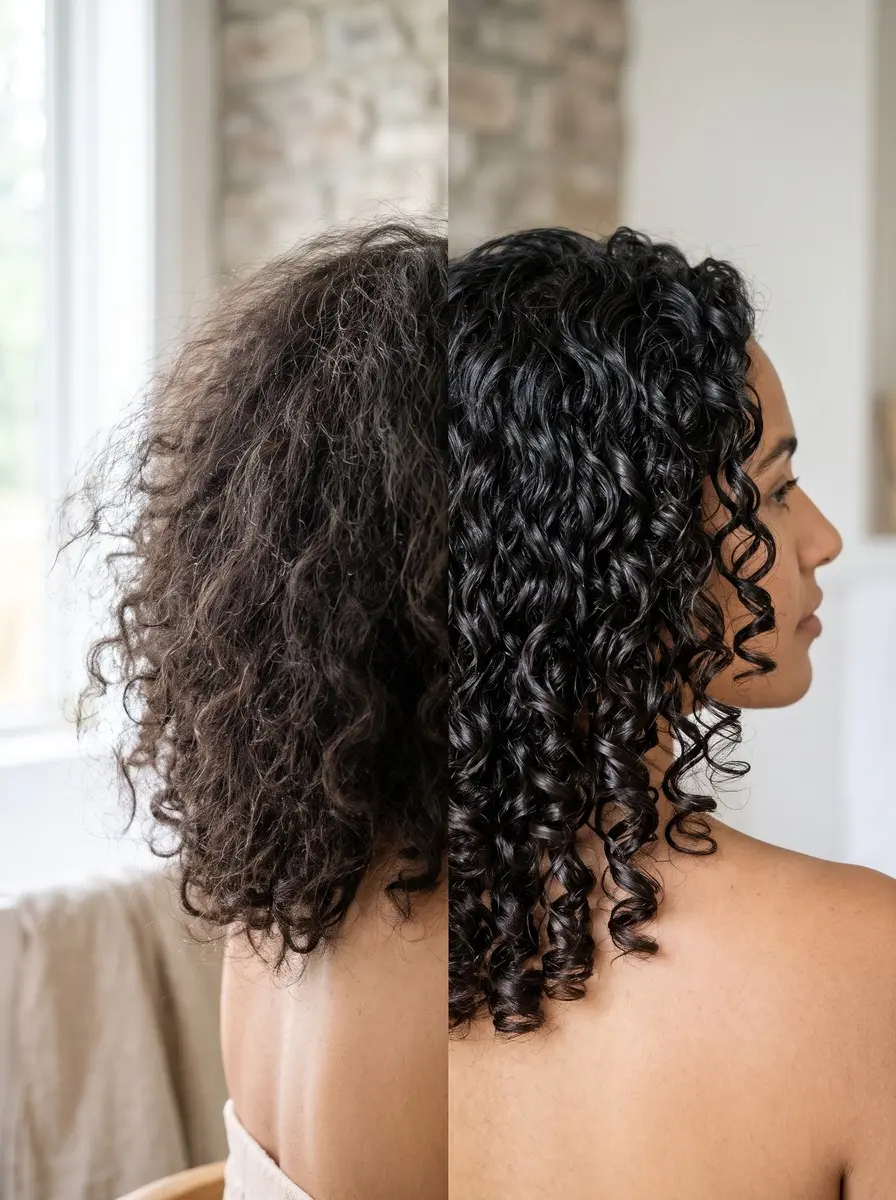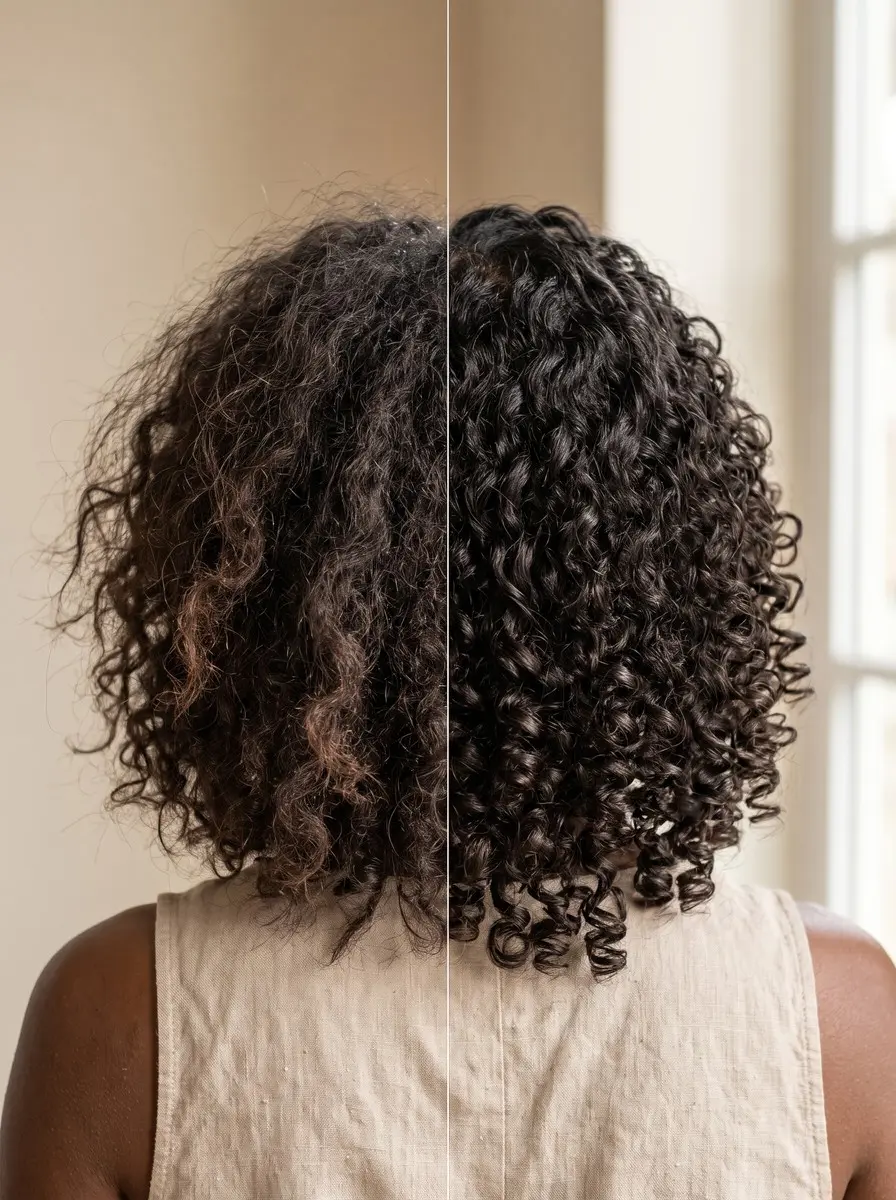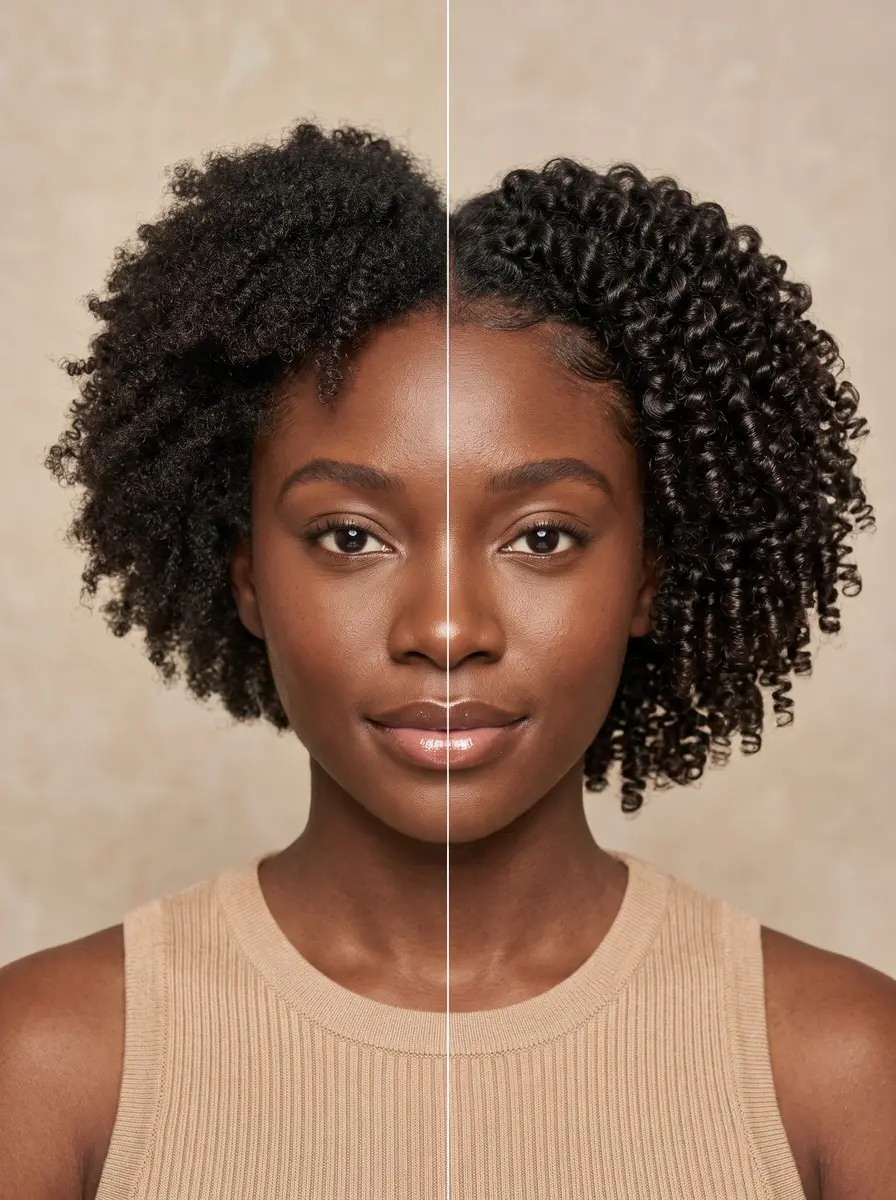
Quick answer To finger coil natural hair, start with clean, detangled, soaking-wet hair. Smooth gel or curl custard through small sections, then wrap each one around your finger from root to tip until it springs into a coil. Let the coils dry completely before you touch them.
Finger coils turn tightly curled natural hair into rows of glossy, springy spirals with definition from root to tip. Unlike a twist-out, nothing is unraveled at the end.
Each coil is a single strand set on wet, gelled hair, so the result is uniform and long-lasting, and it gets fluffier and fuller as the days pass. The style is slow to install, but the hands-on part is simple, and once you learn it you can wear one set for weeks.
This guide explains which curl types and lengths suit coils, how to prep your hair so the set holds, and how to choose between gel, custard and cream. It also covers how section size controls coil size, three ways to dry the set, and the night routine and refresh that help it last. Set aside at least two hours, put on something to watch, and keep a spray bottle close.
Time 2-4 hours, plus drying timeDifficulty IntermediateSteps 8
Finger Coil Troubleshooting
| Problem | Likely cause | Fix |
|---|---|---|
| Frizzy, fuzzy coils | Hair dried out while coiling, or touched while damp | Re-wet each section first; hands off until fully dry |
| Coils unravel in a day or two | Soft-hold styler, or a curl pattern looser than 3C | Switch to gel and use smaller sections |
| Flat at the root | Conditioner on the roots, or roots squashed while drying | Condition lengths only; clip coils at the root to dry |
| Loose, straggly ends | Ends dried or skipped during wrapping | Mist the ends and wrap all the way to the tip |
| Still damp after hours | Large sections or heavy product | Hooded dryer on medium, smaller sections next time, less product |
What You’ll Need
As an Amazon Associate, HairAide earns from qualifying purchases. Product links in this guide are affiliate links: they cost you nothing extra and help keep these tutorials free.
- Strong-hold curl gel Gives the firmest, longest-lasting hold, so coils can survive up to three weeks.
- Curl custard Gives softer, shinier coils for anyone who wants less crunch than gel.
- Continuous-mist spray bottle Keeps every section soaking wet while you coil, which is the single biggest factor in definition.
- Duckbill clips Keeps sections out of the way while you work and holds coils at the root for banded drying.
- Satin bonnet Reduces friction and moisture loss overnight so the set stays defined for weeks.
Step-by-Step
Step 1 Check your curl type and length
Finger coils work best on hair that already has a tight curl pattern, roughly 3C through 4C, because the coil you make only exaggerates the spiral your hair already forms.
Looser 3A–3B curls can be coiled, but they tend to drop and relax within a day or two. For length, pull a wet strand gently straight: if it can’t wrap at least once or twice around your finger, it is too short to hold a coil, and a wash-and-go will give you better definition.
Most people find coils easiest from a few inches of length up to shoulder length. Longer hair works too, but it takes much longer to install and dry.
Step 2 Start with clean, detangled, moisturized hair
Wash with a moisturizing shampoo in lukewarm water, never hot. Hot water strips the natural oils that help coils clump and leaves strands drier and frizzier.
If you need to clarify buildup, work the clarifying shampoo into your scalp only and let the rinse run over the ends, because clarifying the ends dries out the part of the coil most likely to frizz. Condition the mid-lengths and ends but keep heavy conditioner off the roots, or the coils will sit limp and flat at the scalp.
Detangle with your fingers or a wide-tooth comb while the conditioner is in. Then apply a light leave-in to soaking-wet hair. You’re ready when a section slides through your fingers with no knots.
Step 3 Choose gel, custard or cream
Your styler decides how long the coils last and how they feel. Gel gives the firmest hold and the longest wear, and it suits 4B–4C hair and anyone who wants a multi-week set, although it can dry with a slight cast that you scrunch out later.
Curl custard falls in the middle, with soft, flexible hold and more shine. Cream gives the softest coils but also the most frizz and the shortest wear, so save it for a look that only needs to last a few days.
Whichever you use, your hair must stay wet while you work. Wet strands clump together and take the product evenly, while dry strands separate into fuzz. Keep a continuous-mist spray bottle in your hand, and re-wet every section before you coil it.
Step 4 Section to match your coil size
Section size controls coil size. Smaller sections make smaller, tighter coils that hold longer and look denser. Larger sections install faster but loosen sooner. For most people a section about the width of a pencil to a fingertip is a good middle ground.
Divide your hair into four quadrants and clip three away, then start at the nape and work up in horizontal rows so each finished coil sits clear of the next. Part with a rat-tail comb, but don’t pull the scalp tight to get crisp parts. That tension stresses the hairline and the roots, and you’ll feel it for days.
Step 5 Wrap each strand from root to tip
Mist the section, then smooth gel or custard through it from root to end until the strand looks glossy and clumped. Starting right at the root, wrap the hair around your finger and twirl it down the full length, sliding your finger out at the end so the coil springs free.
Work all the way to the very tip, because a loose end is where unraveling starts. Coil in the direction your curls naturally turn. A finished coil holds its spiral without being touched and looks defined from scalp to end. If a section has started to dry, re-wet it before you coil it.
Step 6 Set your edges gently
When every section is coiled, finish the hairline. Smooth a small amount of edge gel or the same styler over the edges with a soft brush. Shape them lightly, then tie a satin or silk scarf over the hairline for 10–20 minutes while the rest of the set starts to dry.
Keep the scarf snug but not tight. Edges are the most fragile hair on your head, and repeated pulling there causes thinning that can be hard to reverse. The edges are set when they lie flat and stay there once the scarf comes off.
Step 7 Dry completely without touching
Coils need to dry fully before you handle them. Touching damp coils breaks up the clumps and causes frizz. You have three options. Air-dry, which takes several hours to overnight depending on density. Sit under a hooded dryer on medium, which speeds things up a lot.
Or, for 4C hair, clip each coil at the root and band it to dry overnight, which stretches the root and keeps the coils from shrinking flat against the scalp. To check, squeeze a coil gently at the root. If it feels cool or damp, keep drying. Once it’s dry, scrunch out any gel cast with a few drops of oil on your palms.
Step 8 Protect at night and refresh
Every night, cover the coils with a satin or silk bonnet or scarf, or sleep on a satin pillowcase. Cotton absorbs moisture and creates friction that fuzzes the coils. Each morning, lightly mist with water mixed with a few drops of a light oil, then smooth any loose coil back around your finger.
With this routine, coils made on clean, moisturized hair can last up to three weeks. After the first few days you can separate them for more volume, but expect a fluffier, less uniform look once you do.
Common Mistakes to Avoid
- Coiling on dry or half-dry hair, which gives fuzzy, undefined coils that unravel quickly
- Pulling the scalp tight to get crisp parts, which stresses the roots and the edges
- Putting heavy conditioner on the roots, which leaves the coils limp and flat at the scalp
- Using clarifying shampoo on the ends or washing with hot water, both of which dry out the lengths
- Touching or separating the coils before they are completely dry
- Skipping the satin or silk scarf or bonnet at night
Pro tip Before you start, let one wet, gelled clump spring up on its own and watch which way it turns, then wrap every coil in that same direction. Coils wrapped against the hair’s natural spiral are the first to unwind.
The Bottom Line
Done well, finger coils give you weeks of defined, glossy spirals from a single afternoon’s work. Clean, moisturized hair, soaking-wet sections, the right styler, root-to-tip wrapping and a hands-off dry do most of the work. After that, a satin bonnet and a quick water-and-oil mist each morning keep the set going, and you can separate the coils for extra volume once they start to loosen.
When the set looks tired, wash it out and give your hair a moisturizing rest before coiling again. See a stylist who specializes in natural hair if your edges are thinning, your scalp feels sore after installing, or your coils frizz no matter what you change. They can check your curl pattern, porosity and product choice in person.
Frequently Asked Questions
How long do finger coils last?
Finger coils made on clean, moisturized hair can last up to three weeks if you sleep in a satin or silk bonnet or scarf and refresh with a water-and-oil mist. Gel sets on 4B–4C hair usually last longest. Cream sets and looser curl patterns often look their best for only a few days to a week.
Can you finger coil short natural hair?
Yes, as long as a stretched strand can wrap at least once or twice around your finger. If it can't, the hair is too short to hold a coil and will just stay as small defined curls. Short coils dry faster than long ones and are a popular way to style a short tapered cut.
Can I use a hooded dryer to dry finger coils faster?
Yes. A hooded dryer on medium can cut drying time from overnight to roughly one to two hours. Apply your styler first, and let the coils cool and dry fully before touching them, because handling them while they are still warm or damp breaks up the clumps and causes frizz.
What is the difference between finger coils and a twist-out?
A twist-out is a two-strand set that you unravel once it's dry, which gives a fluffy, wavy texture. Finger coils are single-strand spirals made on wet, gelled hair and worn as they are. They look more uniform and defined, and they usually last longer than a twist-out before needing a restyle.
Will finger coils turn into locs if I leave them in?
Not within a normal wear of up to three weeks. On very tight curl patterns, though, coils left in much longer without washing can start to mat at the root, which is how some people deliberately start locs. If you don't want locs, wash the set out and detangle gently once it's past its best.
Keep Reading
Sources
- Finger coils curlcentric.com